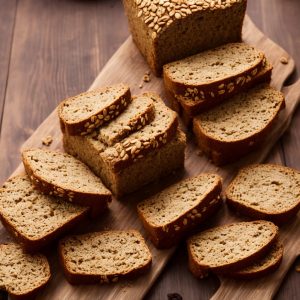
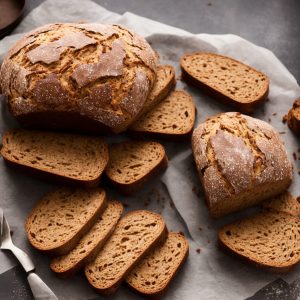
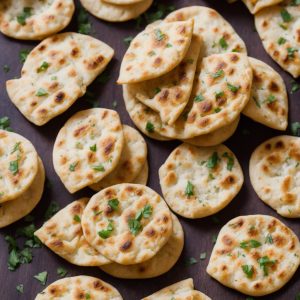
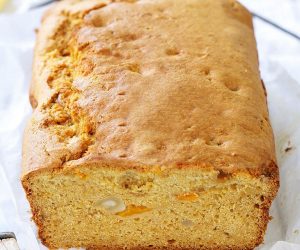
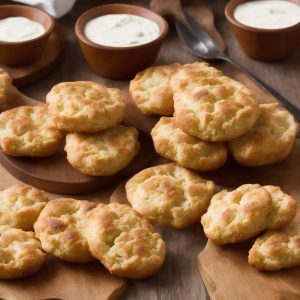
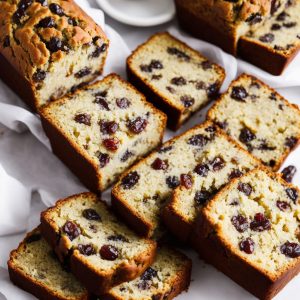
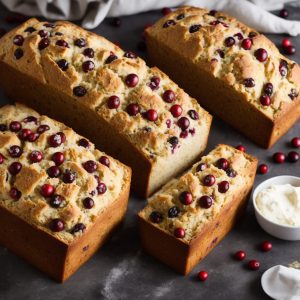
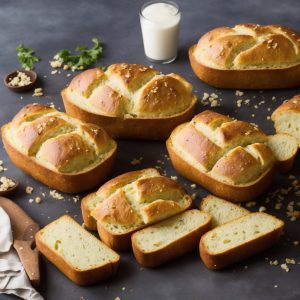
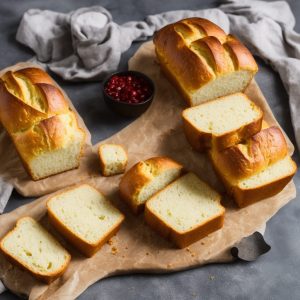
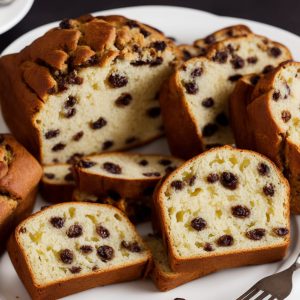
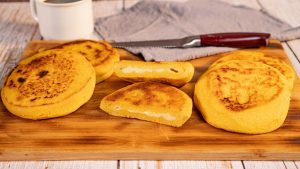
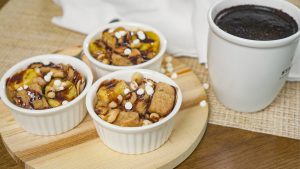
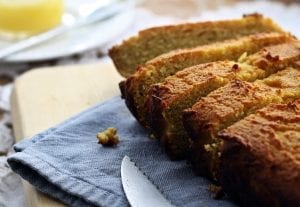
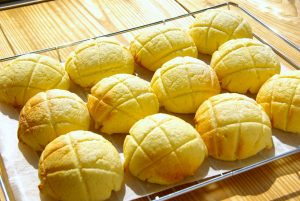
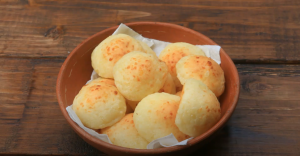
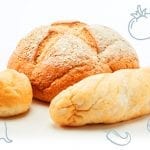
Homemade Pastry Dough (Quick Method) Recipe

Homemade Pastry Dough (Quick Method) Recipe

How To Make Homemade Pastry Dough (Quick Method)

Bake a wonderfully flaky, sweet, and buttery layered pastry the fastest way with this homemade pastry dough recipe that you can use for lots of pastries!

Preparation: 1 hour
Cooking: 18 minutes
Chill and Cool Time: 5 hours 20 minutes
Total: 6 hours 38 minutes

Serves:

Ingredients

For Pastry Dough:

  • ¼cupwarm water,between 100 to 110 degrees F
  • tspactive dry or instant yeast,(1 standard packet)
  • ½cupwhole milk,at room temperature, between 68 to 72 degrees F
  • 1large egg,at room temperature
  • ¼cupgranulated sugar
  • 1tspsalt
  • 14tbspunsalted butter,cold
  • cupsall-purpose flour,spoon and leveled, plus more for generously flouring hands, surface, and dough

For Egg Wash:

  • 1large egg
  • 2tbspwhole milk

Instructions

Pastry Dough:

  1. Whisk the warm water, yeast, and 1 tablespoon of sugar together in a large bowl. Cover and allow to rest for about 5 minutes until foamy on top. If the surface doesn’t have bubbles on top or look foamy after 15 minutes (it should if the yeast isn’t expired), start over with a fresh packet of yeast.

  2. Whisk in remaining sugar, milk, egg, and salt. Once these wet ingredients are mixed together, lightly cover and set the bowl aside as you work on the next step.

  3. Cut the cold butter into ¼-inch slices and add to a food processor or blender. Top with 2½ cups of flour. Pulse the mixture 12 to 15 times, until butter is crumbled into pea-size bits. While pastry cutter works too, using a food processor or blender is best for this dough.

  4. Pour the flour mixture into the wet yeast mixture. Very gently fold everything together using a rubber spatula or wooden spoon. Fold just until the dry ingredients are moistened. The butter must remain in pieces and crumbles, which creates a flaky pastry. Turn the sticky dough out onto a large piece of plastic wrap, parchment paper, aluminum foil, or into any container that can be covered tightly.

1st Refrigeration:

  1. Wrap the dough/cover up tightly and refrigerate for at least 4 hours and up to 48 hours.

To Roll and Fold:

  1. Take the dough out of the refrigerator to begin the “rolling and folding” process. If the dough sat for more than 4 hours, it may have slightly puffed up and that’s okay. (It will deflate as you shape it, which is also okay.)

  2. Very generously flour a work surface. The dough is very sticky, so make sure to have more flour nearby when rolling and folding. Using the palm of hands, gently flatten the dough into a small square. Using a rolling pin, roll out into a 15×8-inch rectangle. When needed, flour the work surface and dough when rolling.

  3. Fold the dough into thirds as if it were a business letter. Turn it clockwise and roll it out into a 15-inch long rectangle again. Then, fold into thirds again. Turn it clockwise. Repeat rolling and folding 1 more time for a total of 3 times.

2nd Refrigeration:

  1. Wrap up/seal tightly and refrigerate for at least 1 hour and up to 24 hours. At this point, the dough can also be put in the freezer for up to 1 month. Thaw overnight in the refrigerator.

  2. Line two large baking sheets with parchment paper or silicone baking mats. Rimmed baking sheets are best because butter may leak from the dough as it bakes. If rimmed baking sheets are not available when it’s time to preheat the oven, place another baking sheet on the oven rack below to catch any butter that may drip.

  3. Take the dough out of the refrigerator and cut it in half. Wrap 1 half up and keep refrigerated as when working with the first half. (The half of the dough can be put in the freezer at this point for up to 1 month then thaw overnight in the refrigerator.)

  4. On a floured work surface, roll the dough out into a 12×8-inch rectangle. Roll out the dough on a lightly floured piece of parchment paper or lightly floured silicone baking mat instead because the shaped dough will be transferred to a lined baking sheet next.

  5. Using a sharp knife, cut off two corners of the dough (on one 8-inch side) and then two small triangles 3 inches apart from each other on the other end (the other 8-inch side).

  6. Spread ½ of the filling (raspberry or cream cheese) down the length of the center of the strip, which should be about 3 inches wide. Using a sharp knife, pastry wheel, or pizza cutter, cut 10 slanting strips (¾ to 1 inch wide each) along both sides.

  7. Fold strips over filling, alternating each side to resemble a twist or a braid. Fold the bottom end up to seal the filling inside. Repeat with the second half of the dough and the rest of the filling. The braids may seem very narrow, but they puff up and out as they bake.

Egg Wash:

  1. Whisk the egg wash ingredients together. Brush all over the dough.

  2. It is strongly recommended to refrigerate the shaped braids before baking for at least 15 minutes and up to 1 hour before baking. The braids tend to leak more butter and/or lose more shape if they haven’t chilled.

  3. Preheat oven to 400 degrees F.

  4. Bake each braid for about 18 to 22 minutes or until golden brown. Some butter may leak from the dough, that’s completely normal and expected. Feel free to remove the baking sheets from the oven halfway through baking and brush the dough with any of the leaking butter, then place back in the oven to finish baking.

  5. Remove baked danish braids from the oven and cool for at least 5 minutes before cutting and serving.

Recipe Notes

  • Do not use an electric mixer for this dough. It’s best if the dough is folded together with a wooden spoon or rubber spatula since it is so sticky. There is very minimal mixing required.
  • Make Ahead & Freezing Instructions: The dough can be refrigerated up to 48 hours. You can also prepare the dough through step 6. At this point the dough can be refrigerated up to 24 hours. During or after this second chilling time, you could also freeze the dough for up to 1 month. (I don’t recommend freezing the dough before the rolling and folding step.) Thaw overnight in the refrigerator, then continue with step 8. You can also freeze the shaped and filled braids after shaping them in step 12. Thaw in the refrigerator, then continue with step 13.
  • Temperature: The temperature of the ingredients is imperative to this pastry’s success. Make sure to take the time to warm the water and bring the milk to room temperature. Keep the butter in the refrigerator until you need it in step 3 of making the pastry dough.
  • Substitutions: Any substitutions are not recommend in this carefully formulated dough, though a lower fat or nondairy milk works in a pinch. For the egg wash, low fat or nondairy milks work, as do heavy cream or half-and-half.

Nutrition

  • Calories: 251.78kcal
  • Fat: 14.95g
  • Saturated Fat: 9.05g
  • Trans Fat: 0.55g
  • Monounsaturated Fat: 3.95g
  • Polyunsaturated Fat: 0.80g
  • Carbohydrates: 25.03g
  • Fiber: 0.90g
  • Sugar: 4.91g
  • Protein: 4.58g
  • Cholesterol: 67.88mg
  • Sodium: 170.84mg
  • Calcium: 27.37mg
  • Potassium: 67.34mg
  • Iron: 1.38mg
  • Vitamin A: 132.48µg
  • Vitamin C: 0.00mg
Share your thoughts and experiences with making homemade pastry dough using this quick method recipe in the Baking and Desserts forum section.

Was this page helpful?

Chat Bubble Icon Share your own special recipe
Submit Your Own Recipe

Have your own special recipe to share? Submit Your Recipe Today!

Comments