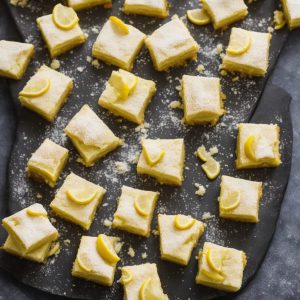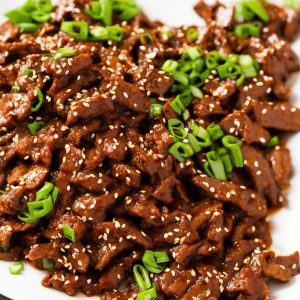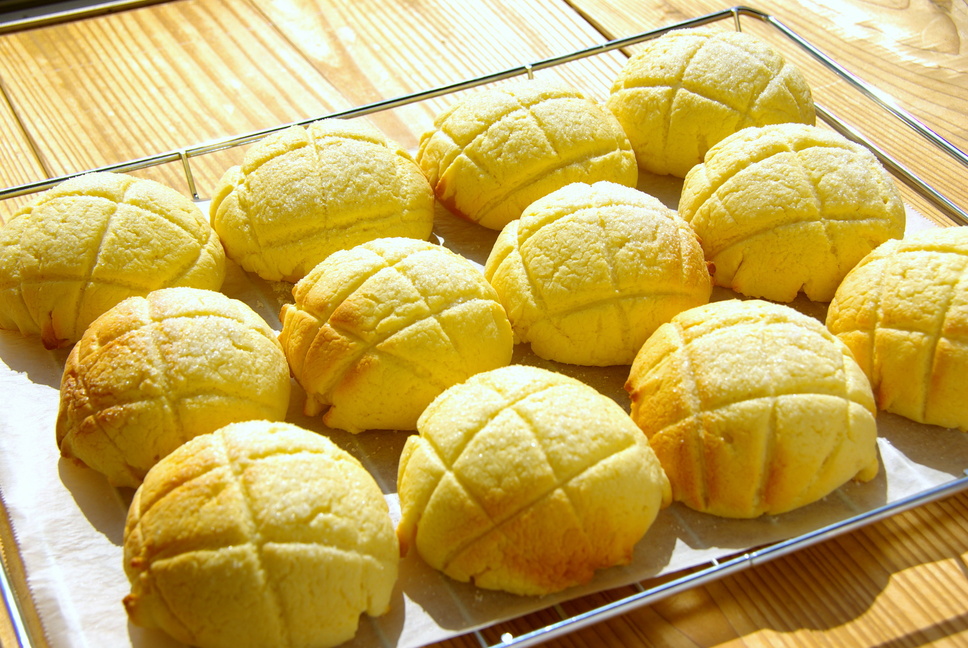
Photos of Japanese Melon Pan (Melon Bread) Recipe
How To Make Japanese Melon Pan (Melon Bread)
Enjoy delightful bites with this Japanese melon pan! It has layers of sweet bread and biscuit cookies topped with a grid line pattern.
Ingredients
For Main Dough:
- 1¾ cups bread flour, plus 2 tbsp
- 3½ tbsp cake flour
- 1 tsp kosher salt, or sea salt
- 3 tbsp sugar
- 1¼ tsp instant yeast
- 1 large egg, (50 grams without shell) beaten
- 3½ tbsp whole milk, at 86 degrees F
- 3½ tbsp water, at 86 degrees F
- 2½ tbsp unsalted butter, cut into small cubes, at room temperature
For Biscuit Dough:
- 4 tbsp unsalted butter, at room temperature
- 1⁄2 cup sugar
- 1 large egg, beaten
- 1⅔ cups cake flour
- 1⁄2 tsp baking powder
For Toppings:
- 2 tbsp sugar
Instructions
Main Dough:
-
In a stand mixer bowl, combine bread flour, cake flour, granulated sugar, kosher salt, and instant dry yeast. Whisk all together.
-
Set the mixer with a dough hook attachment.
-
Add egg and milk and water to the bowl with dry ingredients.
-
Start kneading at low speed. Use a silicone spatula to scrape the sides and bottom of the bowl a couple of times.
- Continue to knead until it clings to the hook and cleans the sides of the bowl.
- Once the dough starts to come together, add the butter and continue to mix at low speed until the butter has been incorporated. Then increase speed to medium and knead until the dough is silky, smooth, and elastic.
-
When the dough gets silky and smooth, pull the end of the dough using a thumb and fingers. Keep spreading the dough, stretching the dough into a thin translucent membrane. If the dough tears, the gluten isn’t quite ready yet. Knead the dough for another 2 minutes and test again.
-
Shape the dough into a ball by pulling all sides of the ball to the bottom and pinching them together. Place the dough in a bowl (the seam on the bottom).
-
Cover the bowl with plastic wrap and let the dough rise in a warm place for about 1 to 2 hours until the dough has doubled in size.
Biscuit Dough:
-
In a clean stand mixer bowl, add unsalted butter and granulated sugar.
- Mix until well blended and smooth.
-
Slowly add a very small amount of egg into the bowl and blend well together before adding another small amount of the egg. Continue until all the egg is well blended.
-
Sift cake flour and baking powder into the mixture.
- Mix until it’s incorporated and the dough is not floury. Then take out the dough and form it into a ball.
-
Measure the weight of the biscuit dough. It should be around 400 to 410 grams.
- Roughly cut the dough into 10 pieces.
-
Starting from the big piece, measure the weight again till it weighs ⅒ of the total weight. If it’s heavier, pinch off the dough and add the extra dough to a smaller dough, by stuffing the extra into the inside of the smaller dough.
- Roll the 10 pieces of biscuit dough into 10 balls. Place them on a baking sheet lined with silicone baking mat or baking sheet. Cover with plastic wrap and rest in the refrigerator for 10 minutes until it hardens a bit.
Shaping the Main Dough:
-
Once the dough has doubled in size, dust index finger with flour and put it in the center of the dough. If the hole doesn’t close, then the dough is ready for the next step.
-
Remove the dough with a silicone dough scraper and transfer it to a lightly floured work surface. Press the dough using the hands to release gas in the dough and deflate.
-
Fold the dough in ⅓ and then fold in ⅓ again. Flip to keep the seam side on the bottom. Shape the dough into a ball. To close the seam line, rotate the dough (clockwise) with both hands while the seam line is touching the work surface.
-
Measure the weight of the main dough. It should be around 460 to 470 grams.
-
Using a dough scraper, roughly cut the dough into 10 equal pieces. Starting from the big piece, measure the weight again till it weighs ⅒ of the total weight.
-
If it’s heavier, pinch off the dough from the center and add the extra dough to a smaller dough, by stuffing the extra into the inside of the smaller dough. Knead to combine well. Shape each dough piece into a nice round ball, pulling from all the sides and tucking into the bottom.
-
Place the dough on the left palm, and rotate it with the right hand, keeping the seam side on the bottom.
-
Put the dough on a baking sheet lined with parchment paper or a silicone baking mat. Cover the dough with plastic wrap to prevent it from drying. Rest the dough for 15 minutes at room temperature.
Final Shaping:
-
Put the biscuit dough on the lightly floured work surface and flatten the dough using the hand.
-
Using a rolling pin, roll out into 4-inch flat rounds. Continue the rest until the main dough is ready.
-
After 15 minutes of resting, flatten the main dough with hand and fold in ⅓.
-
Then fold in ⅓ one more time and pinch both ends to shape the dough into a ball.
-
Pull the dough from all sides towards the seam on the bottom. Place the dough on the left palm, and rotate it with the right hand a few times, keeping the seam side on the bottom.
-
Place the biscuit dough on the palm and put the main dough in the middle, seam side facing up.
- Then flip to show the biscuit dough on top. Gently pull all sides of the biscuit dough wrapping around the main dough.
-
Coat the biscuit dough with granulated sugar and remove the excess sugar. Then using a dough scraper or knife, gently score the biscuit dough into a crisscross pattern.
- Place the dough on the baking sheet, seam side on the bottom. Cover the dough with plastic wrap to prevent from drying.
-
Let the dough rise in a warm place for about 50 minutes until the dough rises 1½ in size.
-
When the dough has risen halfway, preheat the oven to 350 degrees F.
-
Bake at for 13 to 15 minutes.
- Once the bread is baked, transfer to a wire rack. Let it cool for 5 minutes, and enjoy!
Recipe Notes
If you're using active dry yeast, it requires being activated in a little bit of 110 degrees F warm water before being added to the rest of the ingredients. In this recipe, add the active dry yeast in 110 degrees F warm milk, hotter than the temperature specified in the recipe because if the milk is not hot enough, the yeast won't dissolve nicely.
Nutrition
- :
- :
Was this page helpful?
Have your own special recipe to share? Submit Your Recipe Today!

