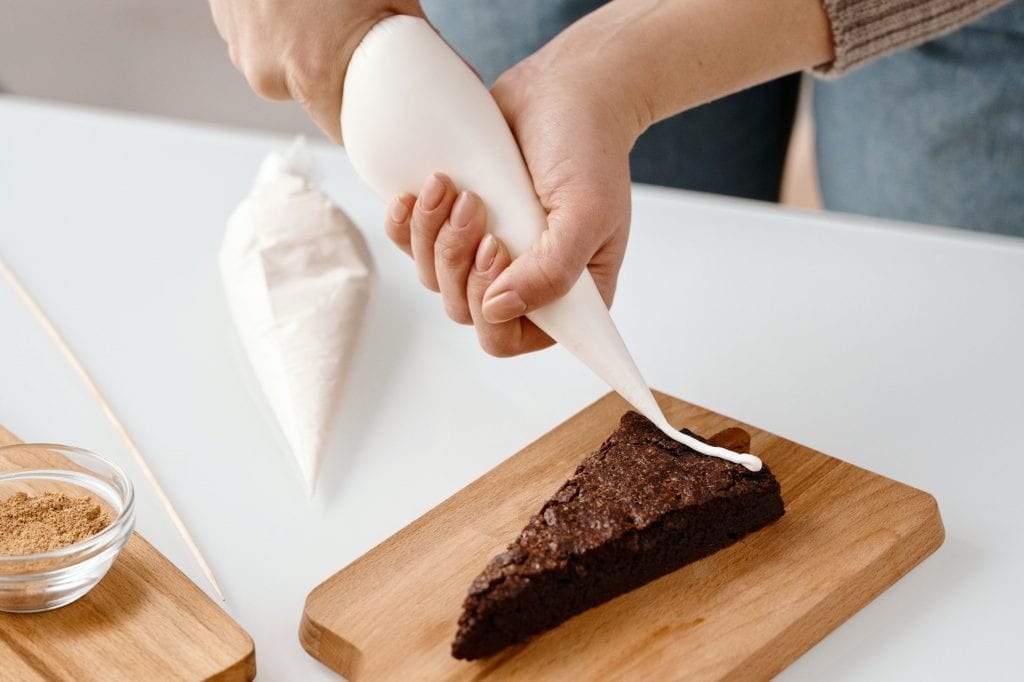
Say you’ve baked these delectable chocolate cupcakes, and now it’s time to top them off with beautiful swirls of strawberry mousse frosting. You grab the perfect tool for the task: a piping bag. However, if you are unfamiliar with how to use it the right way, you might just end up making a mess in the kitchen. While using such a tool can be intimidating for beginner bakers, it’s one of the skills you should definitely know.
For those who don’t know, a piping bag is a cone-shaped plastic bag designed for decorating cakes, piping buttercream frosting on pastries, and more. With this baking essential at your disposal, you can easily make your go-to easy dessert recipes look even more exquisite.
So, here’s an easy guide on how to use piping bags to create colorful icings and swirling buttercreams on your favorite pastries!
How to Use a Piping Bag with a Coupler
When you’re cake decorating, there is a chance that you will be using different piping tips to create various intricate designs on your sweet food. In that case, you might want to use a coupler, a two-section plastic nozzle that makes sure that the piping tips are firmly attached to the icing piping bags. This small tool also lets you switch from one piping tip to another easily without changing decorating bags. Here’s what you should do when using a piping bag with a coupler:
Assembling a Piping Bag
Firstly, prepare the materials you need for piping: pastry bags, coupler base and ring, scissors, and your preferred decorating or icing tips. Then, assemble your piping bag:
- First, separate the coupler base and ring. Place the coupler base at the bottom of the pastry bag.
- Then, using a pen, marker, or scissors, put a label in-between the first thread of the coupler and the narrow end coupler. Remove the coupler base from the bag and snip off at the marking.
- After cutting the tip of the decorating bag, drop the coupler and push until the first thread emerges from the small opening. Make sure that the coupler will not slip out once you squeeze out the icing or the frosting.
- Next, fit the decorating tip to the end of the pastry bag. Attach the coupler ring to the tip, then tightly screw the ring to the coupler base. This ensures that the decorating tip is properly fitted to the bag and coupler base.
Note
When you want to use another decorating tip, detach the coupler ring from the base and replace the tip with the new one. Then, attach the coupler ring to the coupler base again.
Filling a Piping Bag
Filling pastry bags might be a little bit of a mess, especially if you’re going to enjoy it with the kids. And although it’s all going to be worth it in the end, you can avoid all the unnecessary mess with the help of a tall drinking glass.
Here’s how to fill a piping bag:
- Place the tall glass down and fold the big end of the bag, creating a cuff. This way, you get a nice and wide opening for your frosting, homemade icing, or purees. This also enables you to scrape your spatula easier later on.
- Using a spatula, take some of the frostings you made and put them in the icing bag. Once you’ve filled it up to ½ or ⅔ of it, you can stop. Filling the pastry bag too much will make it harder to use, especially when you’re using thick frostings.
- After stuffing the pastry bag with enough icing, twist the end of the bag to push down the icing into the tip. Doing so also releases excess air and prevents icing bubbles.
There, now you can decorate your favorite dessert!
Holding a Piping Bag
The most important thing to remember when using a piping bag is to never do it with only one hand. This is not a stable way of using frosting bags, and you’ll also end up applying too much pressure. Instead, use your dominant hand to hold the larger end of the bag for more pressure and direction control. Then, use your non-dominant hand to guide where you want the contents of your bag to go. In cake piping, especially decorating on the sides, hold the bag and make a 45-degree angle for pleasant and eye-pleasing strokes. Now you can step up your cake decorating and hold your piping bag like a pro!
How To Use a Piping Bag Without a Coupler
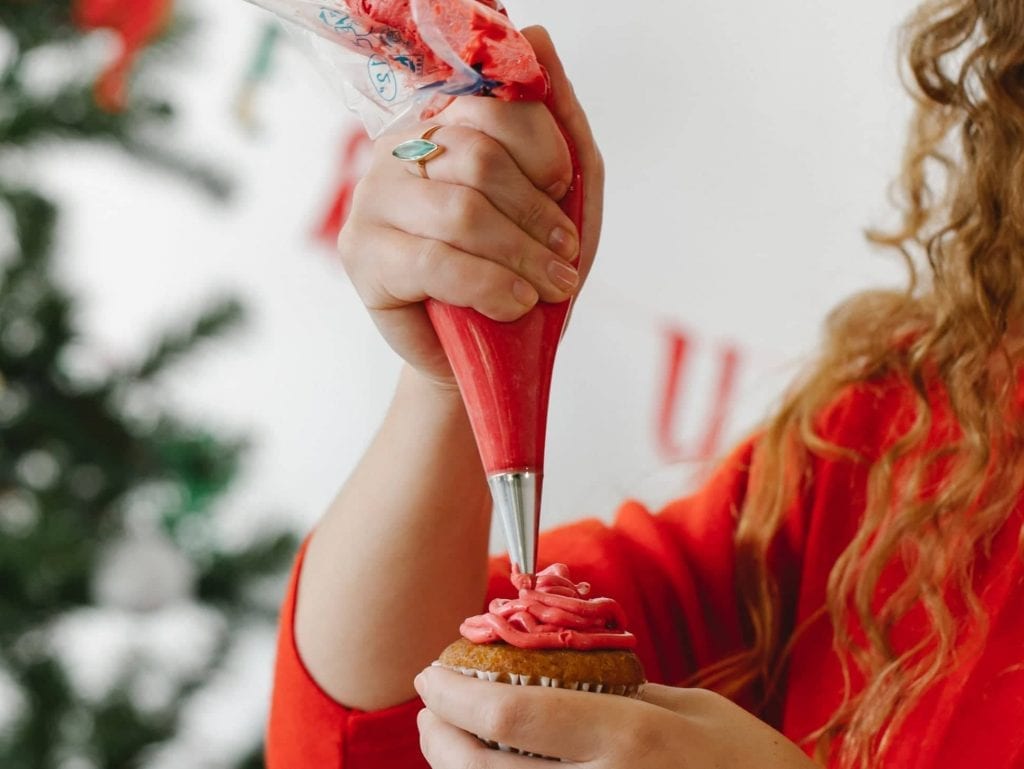
While using a coupler might help lessen the mess in your work area, you can also pipe icing to your cake without this little tool. There is also no need for the coupler if you will be using only one decorating tip. Here’s how you should go about it:
- Place your chosen piping tip at the bottom part of the piping bag. Then, label the midpoint of the decorating tip.
- Slip the pastry tip back a little, and cut the bag at the mark. Push the tip into the opening and ensure it does not slip through.
- Next, make a wide opening before filling the bag. Hold the bag and fold the top half over your hand. Alternatively, you can put the pastry bag into a tall glass. Then, fold the top of the bag over the rim of the glass.
- Fill the bag with the icing using a spoon or spatula and scrape off any excess. Make sure not to put too much icing in the pastry bag. Fill only ½ or ⅔ of the bag for better results.
- Then, press the icing down towards the bottom of the bag. Twist the top of the bag and use a bag tie or rubber band to keep the icing from squeezing out.
How To Choose The Right Piping Tips
There are several kinds of piping bag tips, all in different shapes, sizes, and functions. Some produce lovely swirls, whereas others are used for writing messages. Decorating tips are often available in metal, but some are also made in plastic.
Generally, when making detailed designs for cakes, cookies, and other pastries, it is best to use small piping tips. Here are the most common piping tips for the job: writing, round, star, petal, and leaf tips.
If you want to decorate your cookies with finer details or write on your cakes, then writing tips are the way to go. Meanwhile, you can use round tips to pipe whipped cream on chocolate cream pie and other baked goods, and it will leave round and thick swirls. Star tips can be used for lots of cake decorations, including stars, grooved shells, flowers, and more. Petal and leaf tips, on the other hand, do exactly as their names suggest—pipe petals and leaves for flower designs on your pastries.
Conversely, large piping tips are helpful when adding fillings to pastries, cakes, and more. They are also commonly used for frosting cupcakes.
Frequently Asked Questions
How do I choose a piping bag?
There are two types of pastry bags: disposable and reusable. The high grip bag is the most common type of disposable piping bag available at stores and even online. It is the easiest to hold and pipe, and is also easy to store. The next is a soft bag. It is thicker than the other disposable icing bags, and it can fit any size tips. The last one is the striping bag inserts. With the use of this pastry bag, you can pipe two or more colors at once! It has a single tube that connects through the others, giving you a colorful result. All of these bags are microwave-safe, so you can melt any ingredient you wish by using a microwave directly. Conversely, some bakers prefer reusable piping bags such as canvas, nylon, and polyester icing bags as they are more flexible and easier to clean.
What can I use instead of a piping bag?
If the recipe calls for a piping bag, there are many substitutes that you can use instead. You can opt for plastic sandwich bags if you want a disposable tool. Plus, they are easy to handle as well. Other piping bag replacements include Ziploc bags, slider-tip bags, and kitchen towels lined with plastic wrap.
How many times can you reuse a piping bag?
Different kinds of piping bags each have a different shelf life and can be used multiple times, depending on the material. Case in point: silicone piping bags are reusable and eco-friendly. Meanwhile, some disposable pastry bags have the tendency to break easily. Although generally, you can reuse piping bags at least ten times. Although, make sure that you clean them up well before using them again.
Can you wash piping bags?
Proper care of kitchen tools is also imperative in cooking, so make sure to clean your piping bags. To clean piping bags, take the insides out, then wash them with soap and hot water. After that, stuff it with paper towels and leave it to dry. If you’re going to use it after you wash it, then you can dry it directly after washing.

