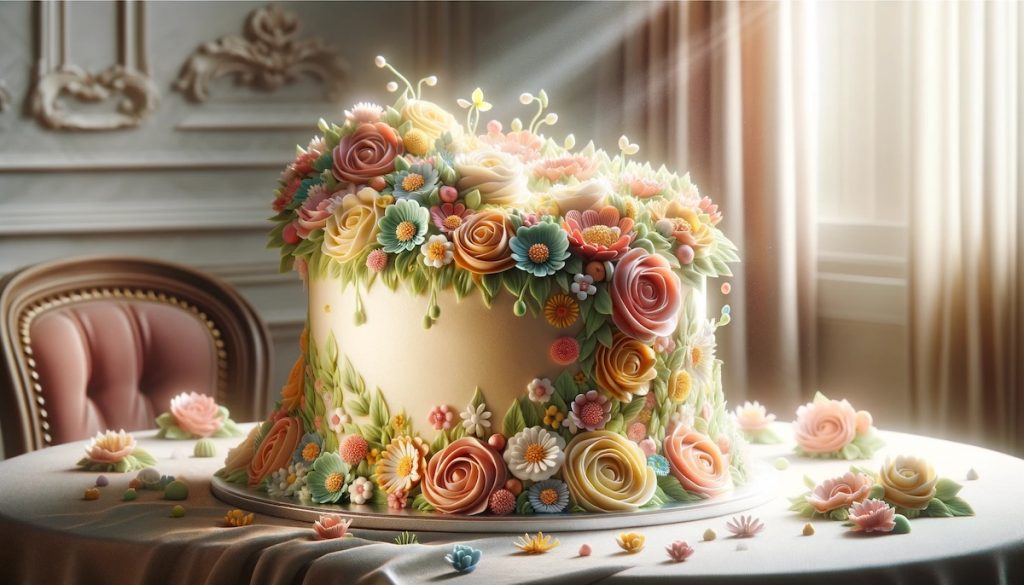
Welcome to the enchanting world of buttercream flower garden cakes! Today, we’re embarking on a delightful journey where you’ll learn how to transform a simple cake into a breathtaking masterpiece. Have you ever wondered how those intricate floral designs magically appear on cakes, making them look almost too beautiful to eat? Well, wonder no more! In this step-by-step tutorial, we’re going to reveal the secrets of creating a whimsical buttercream flower garden cake that will leave everyone in awe.
Ingredients:
- One pre-baked cake (your choice of flavor)
- Buttercream frosting (colored as desired)
- Piping bags
- Various piping tips (round, petal, leaf)
- Gel food coloring (for vibrant flower shades)
- Offset spatula
- Flower nail
- Flower scissors
- Cake turntable
Step 1: Preparing Your Workstation
Before we start crafting our floral wonders, ensure you have all your tools ready. Make sure your cake is cooled and leveled, sitting on a cake board atop a turntable. Place a dab of buttercream on the board to anchor your cake.
Step 2: Creating the Base Layer
Spread a thin layer of buttercream on the cake’s surface. This will serve as a base to hold your flowers. Use an offset spatula to achieve a smooth finish.
Step 3: Piping Flower Centers
Start with the centers of your flowers. Using a round tip, pipe small dots in the desired flower color. These dots will become the hearts of your blossoms.
Step 4: Crafting Petals
Now, let’s create some flower petals! Attach a petal tip to your piping bag and choose a contrasting color for the petals. Hold the bag at a 45-degree angle and pipe petals around the center, gently squeezing and releasing the bag as you go.
Step 5: Adding Leaves
To add a touch of realism, use a leaf tip with green buttercream to pipe leaves beneath your flowers. Position them strategically for a natural garden appearance.
Step 6: Roses, Daisies, and More
Repeat the above steps to create a variety of flowers like roses, daisies, and tulips. Each flower requires a unique approach in terms of petal shape and arrangement.
Step 7: Filling the Space
Continue piping and arranging your flowers until the entire cake is adorned with your whimsical garden. Mix and match flower types and colors for a visually captivating cake.
Step 8: Final Touches
To make your cake truly magical, add small details like tiny buttercream buds, vines, or even ladybugs using a fine-tip round nozzle.
Step 9: Presentation
Place your masterpiece in the fridge for a brief chill to firm up the buttercream. Once it’s ready, present your whimsical buttercream flower garden cake to your amazed guests and bask in the admiration!
Conclusion
Now that you’ve unveiled the artistry of buttercream flower decorating, let your creativity blossom. Experiment with different flower types, color combinations, and cake flavors to create your own signature masterpiece. Happy decorating!
Was this page helpful?
Related Articles

4 Restaurant Chains That Accept Cryptocurrency Payments

45 Best Crepe Fillings (From Sweet to Savory)
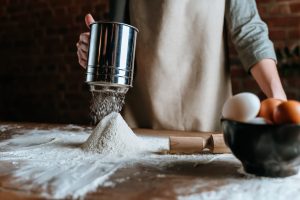
Best 10 Flour Sifters For Your Home Baking
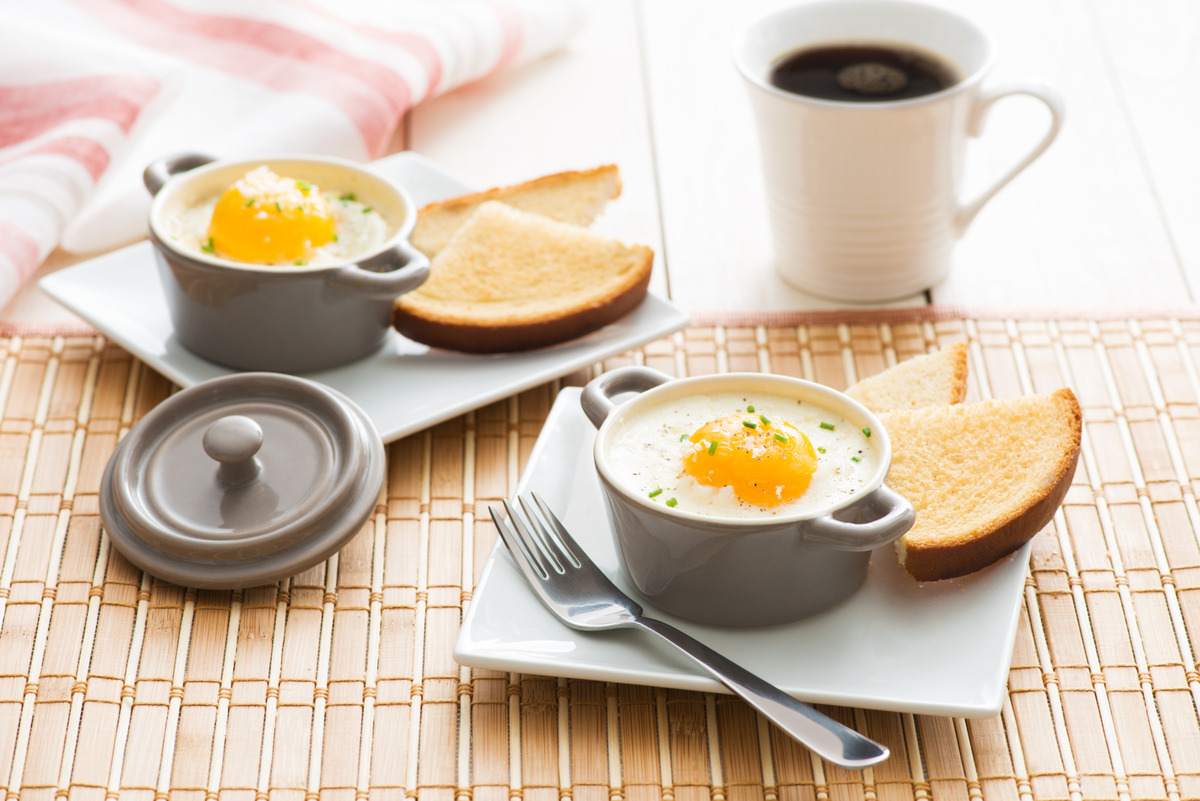
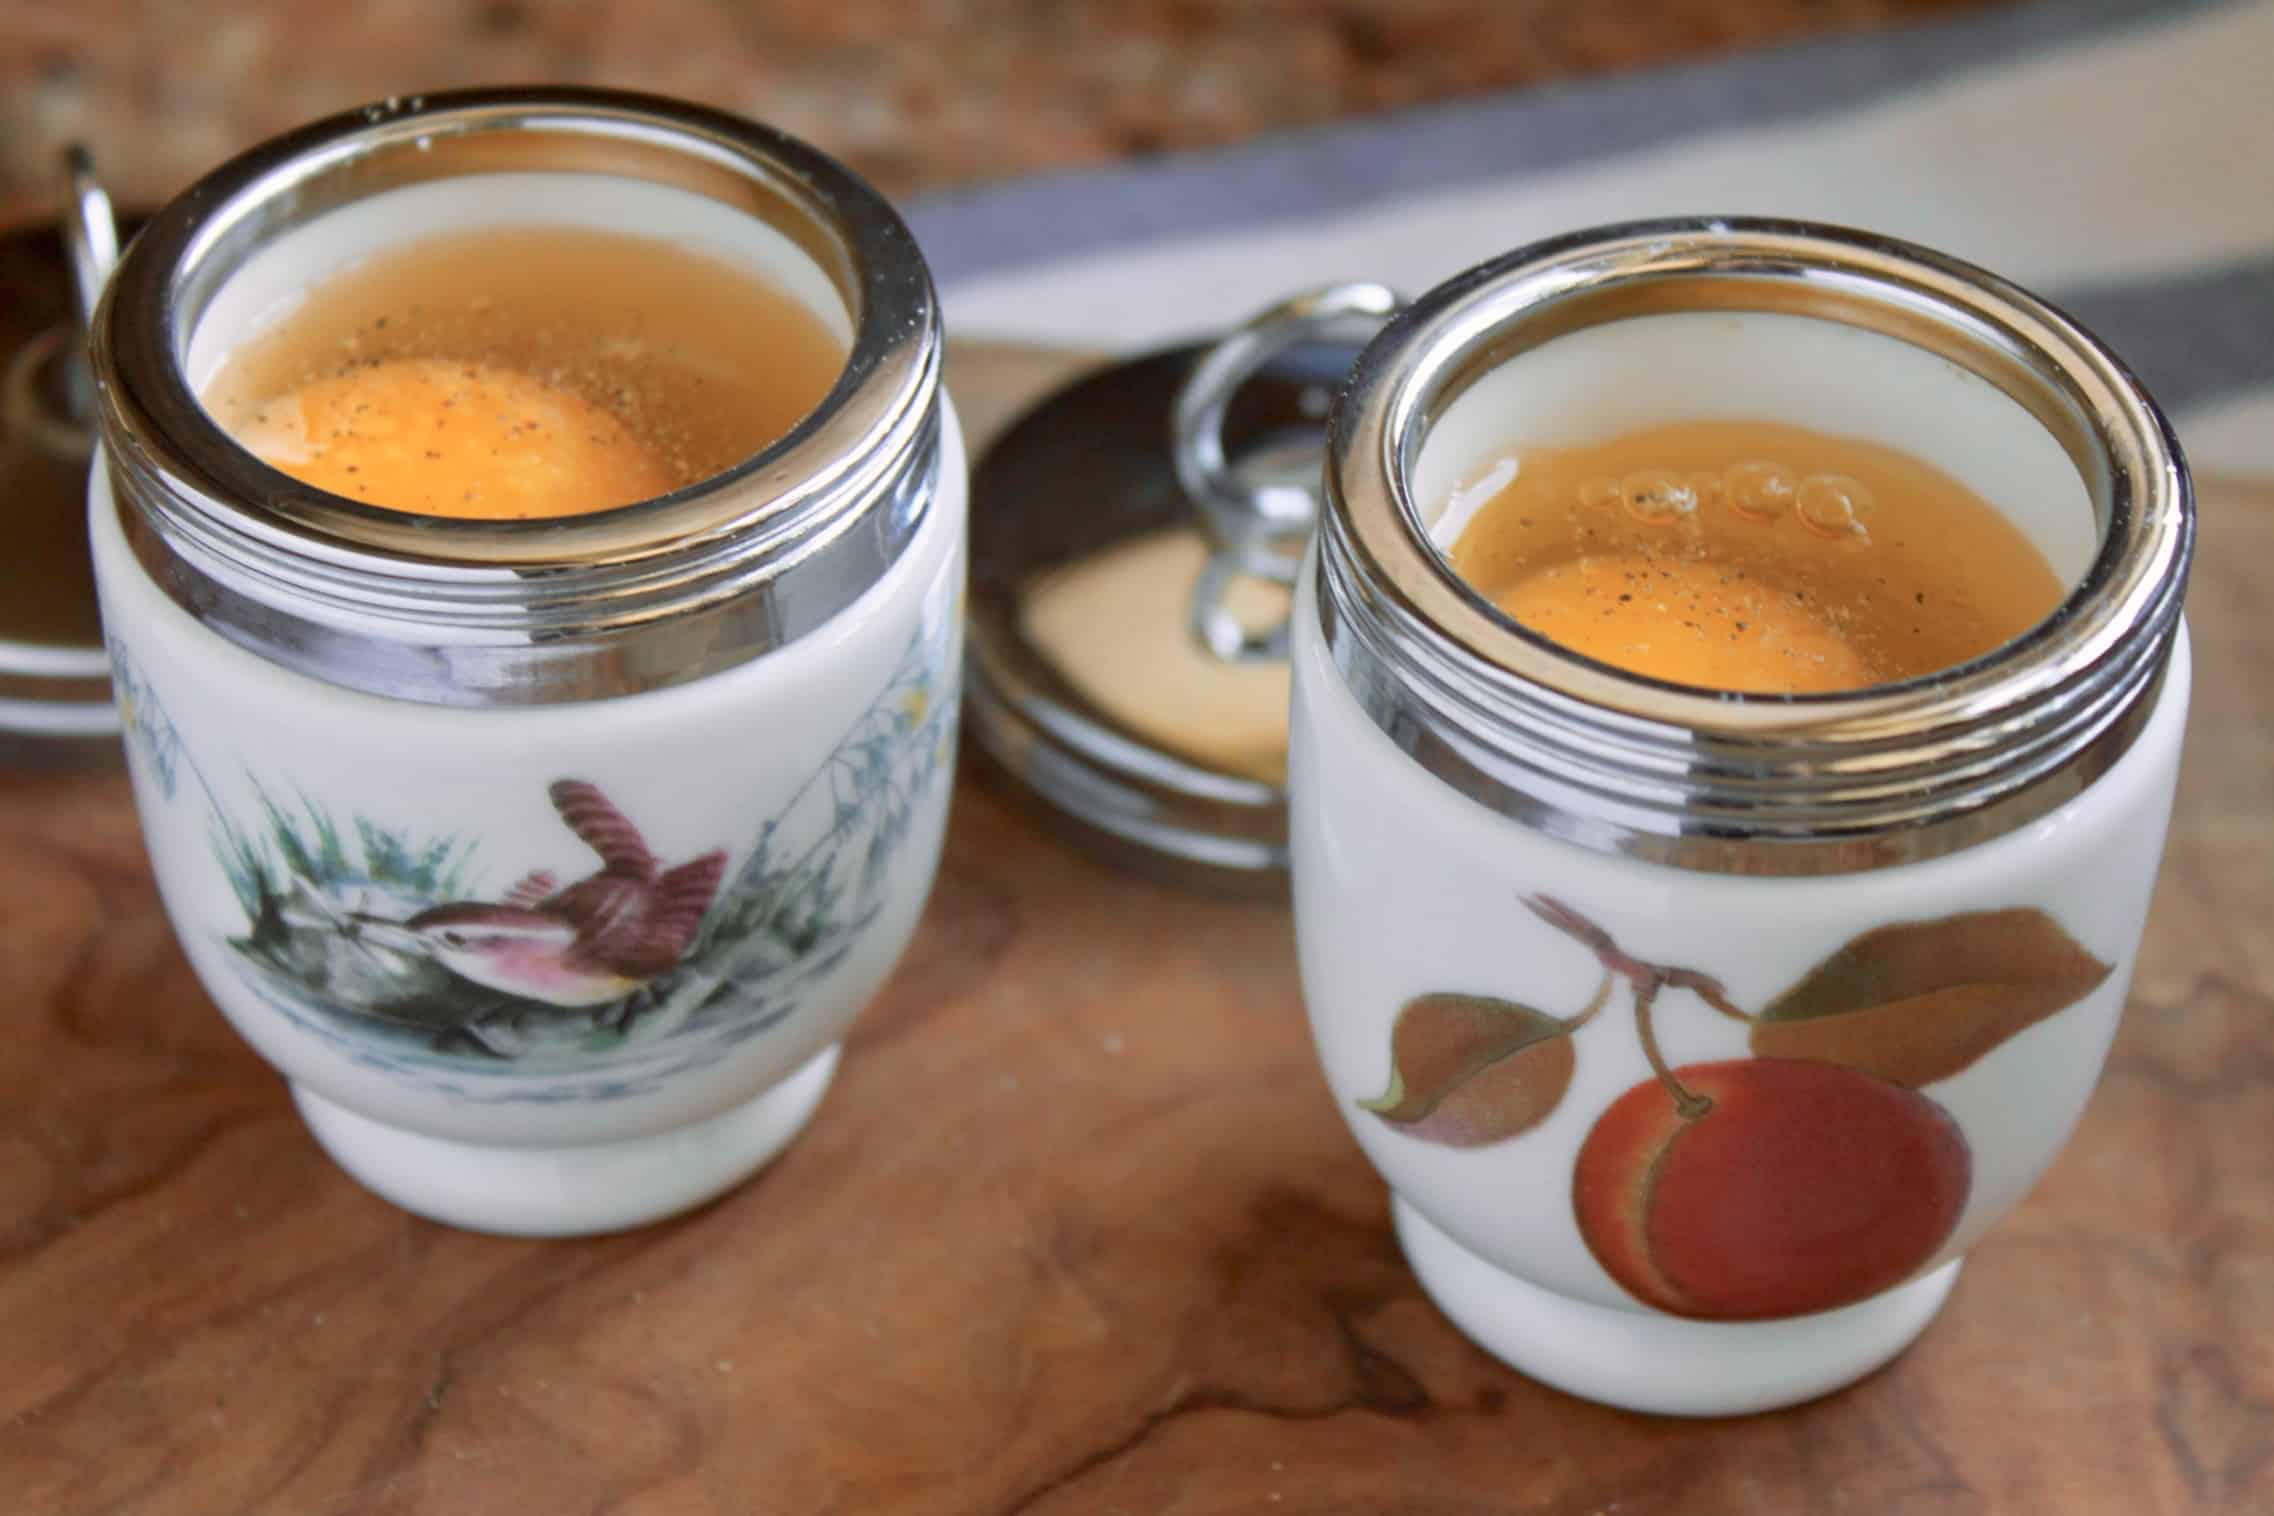
How To Coddle An Egg In The Microwave
How To Coddle An Egg Without A Coddler
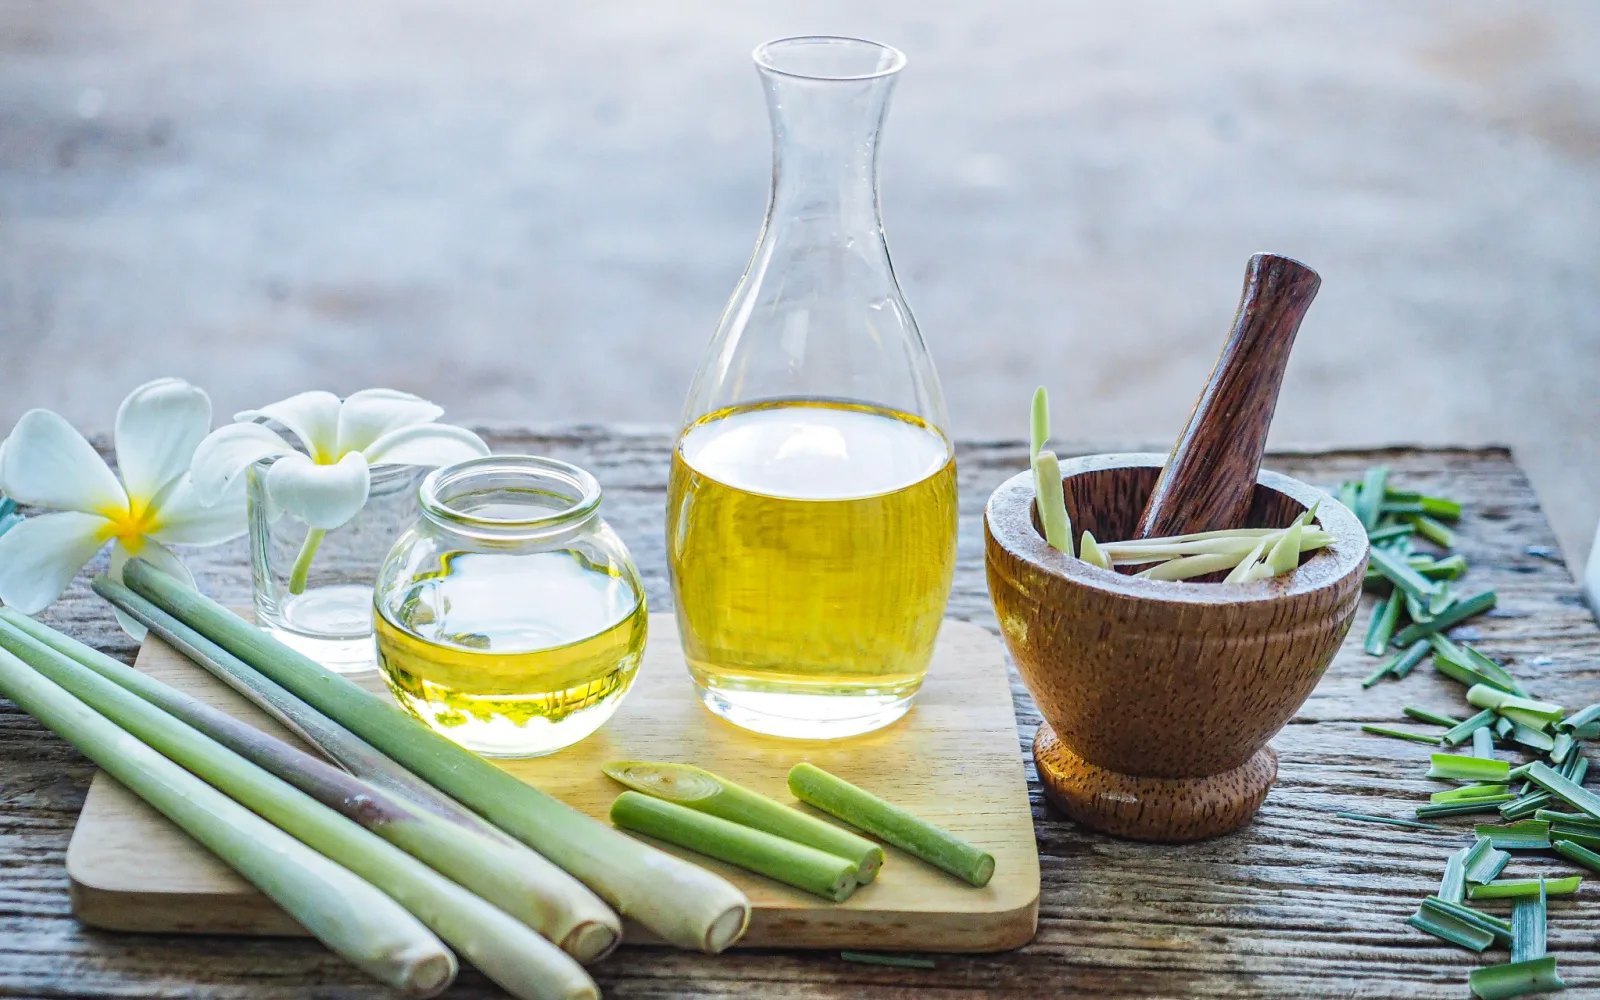
How To Infuse Fresh Lemongrass Into Coconut Oil
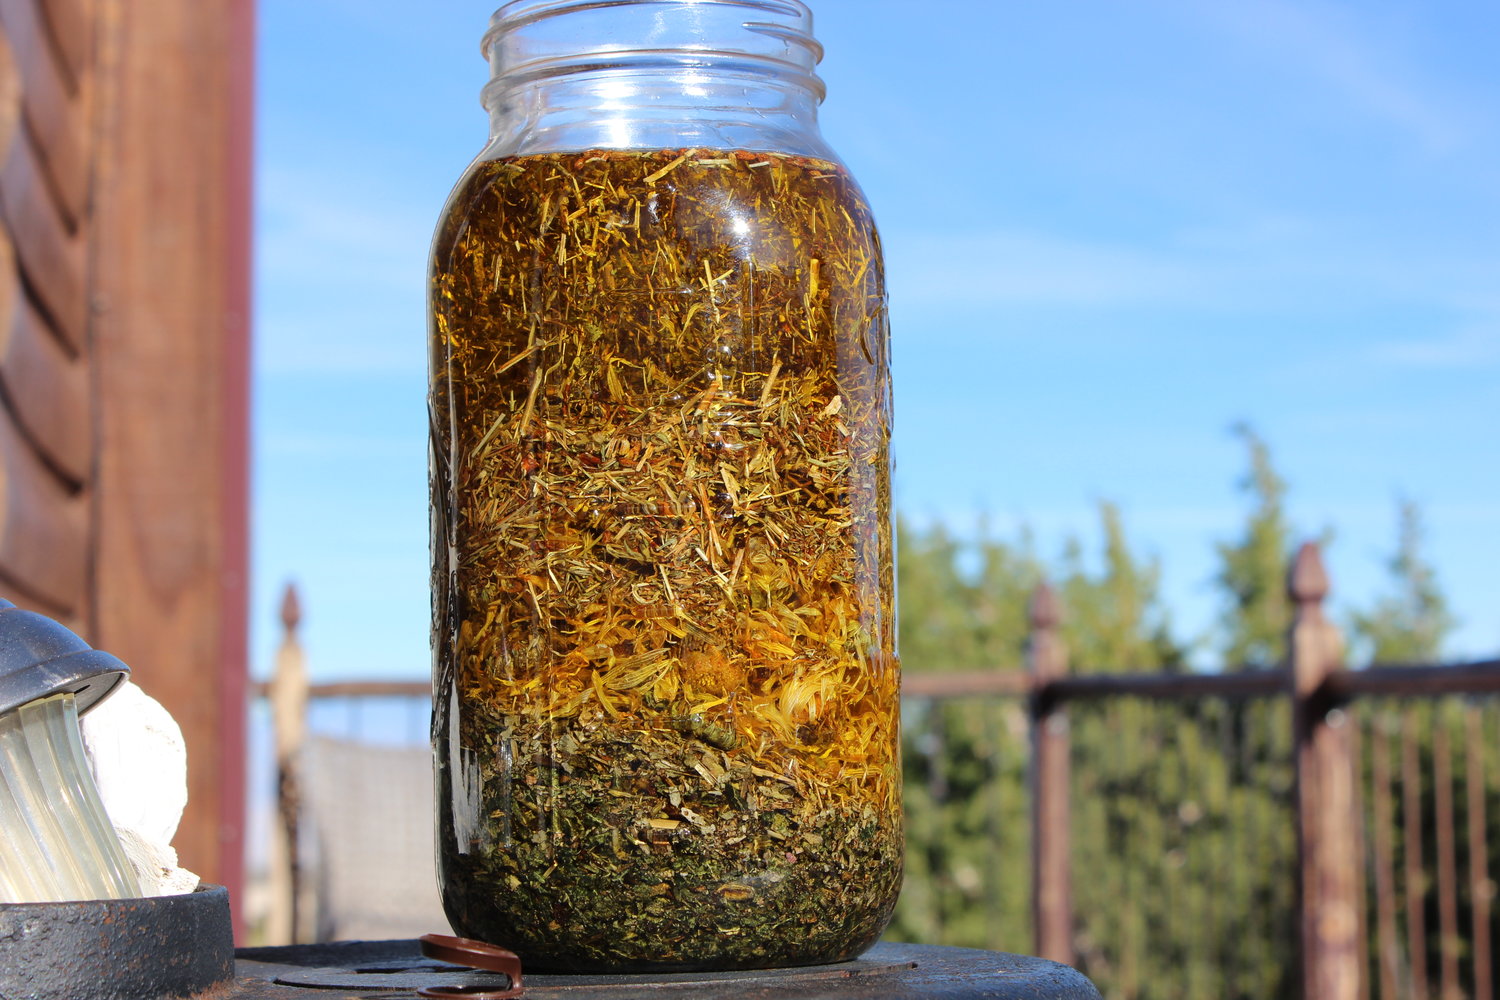
How To Infuse Herbs Into Oil Using A Crockpot
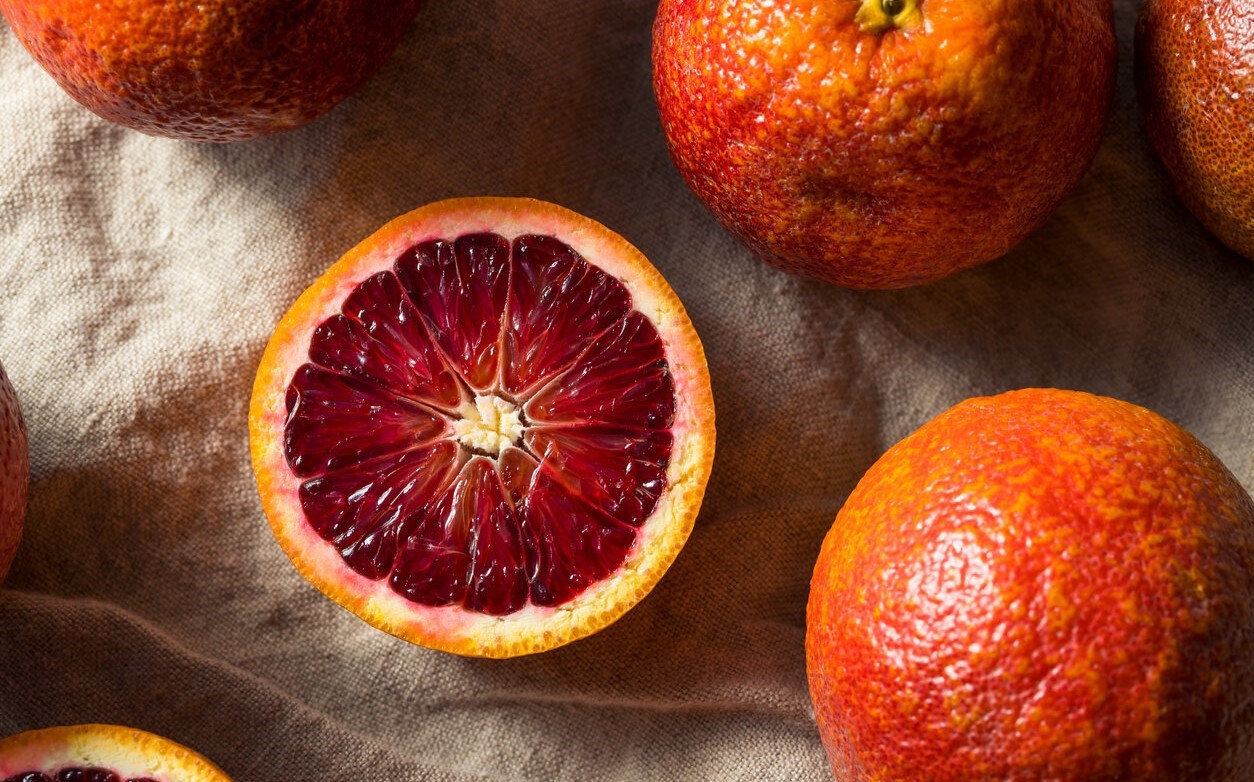
How To Infuse Olive Oil With Blood Orange
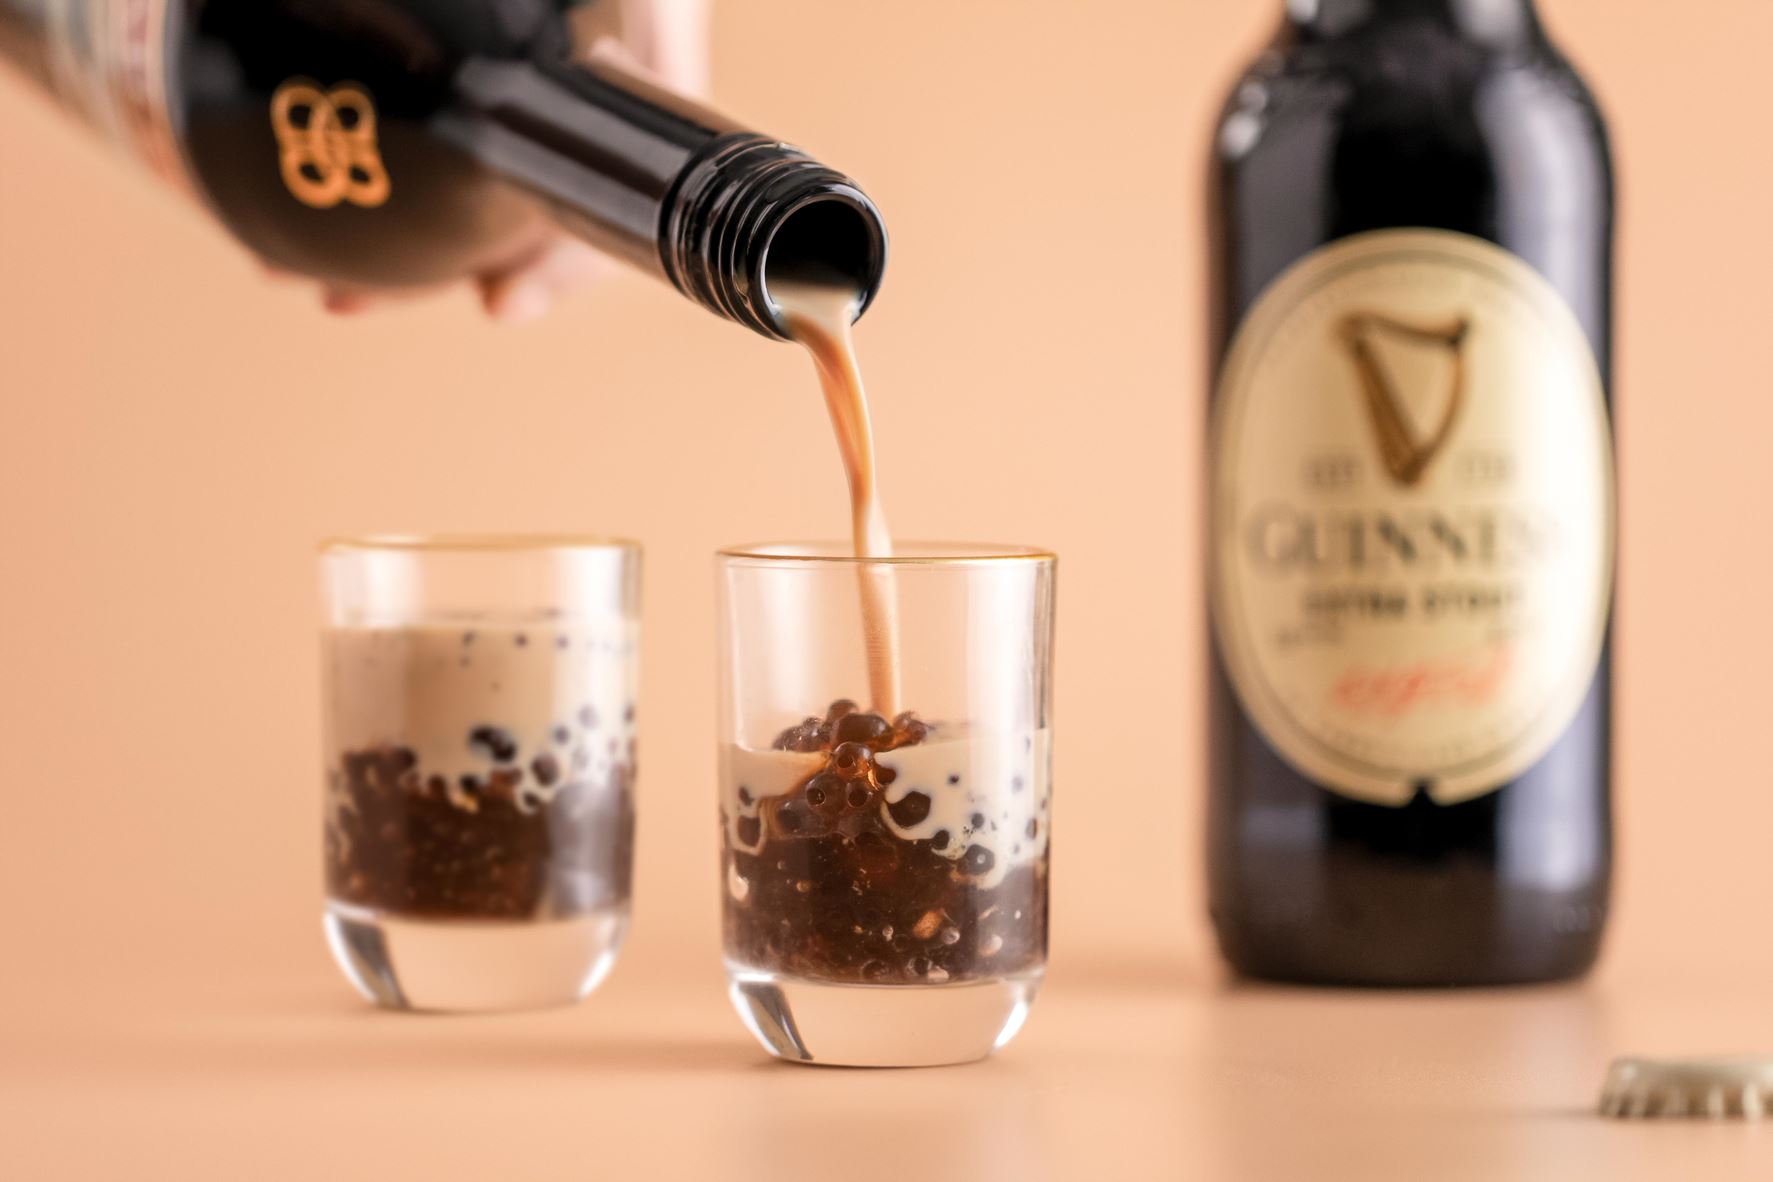
How To Infuse Liquor Into Tapioca Pearls
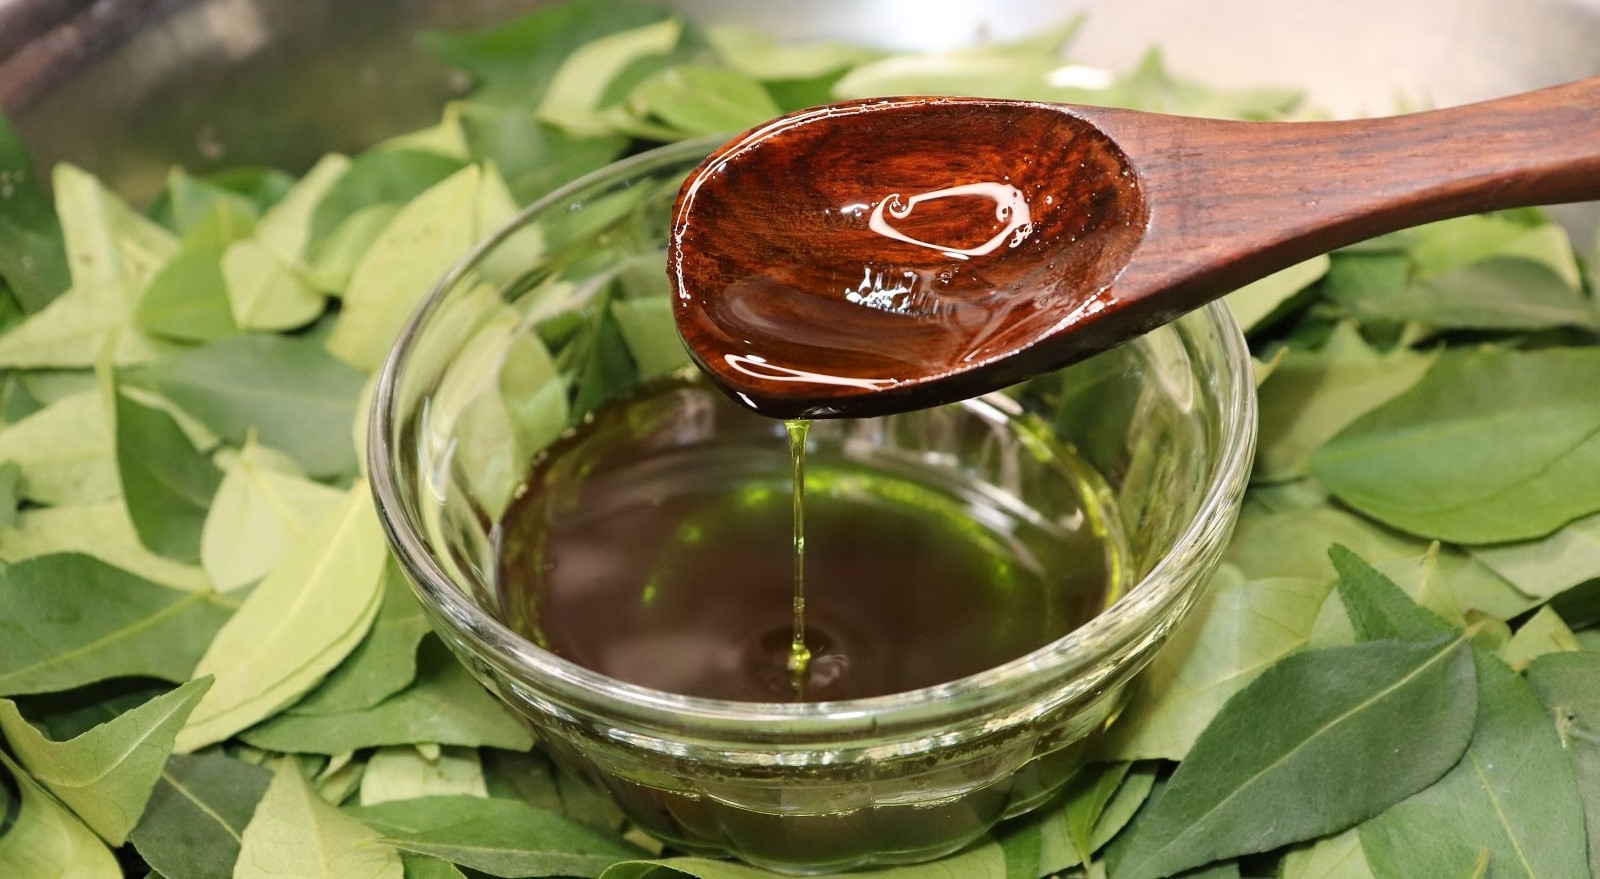
How To Infuse Curry Leaves Amla Fenugreek In Coconut Oil
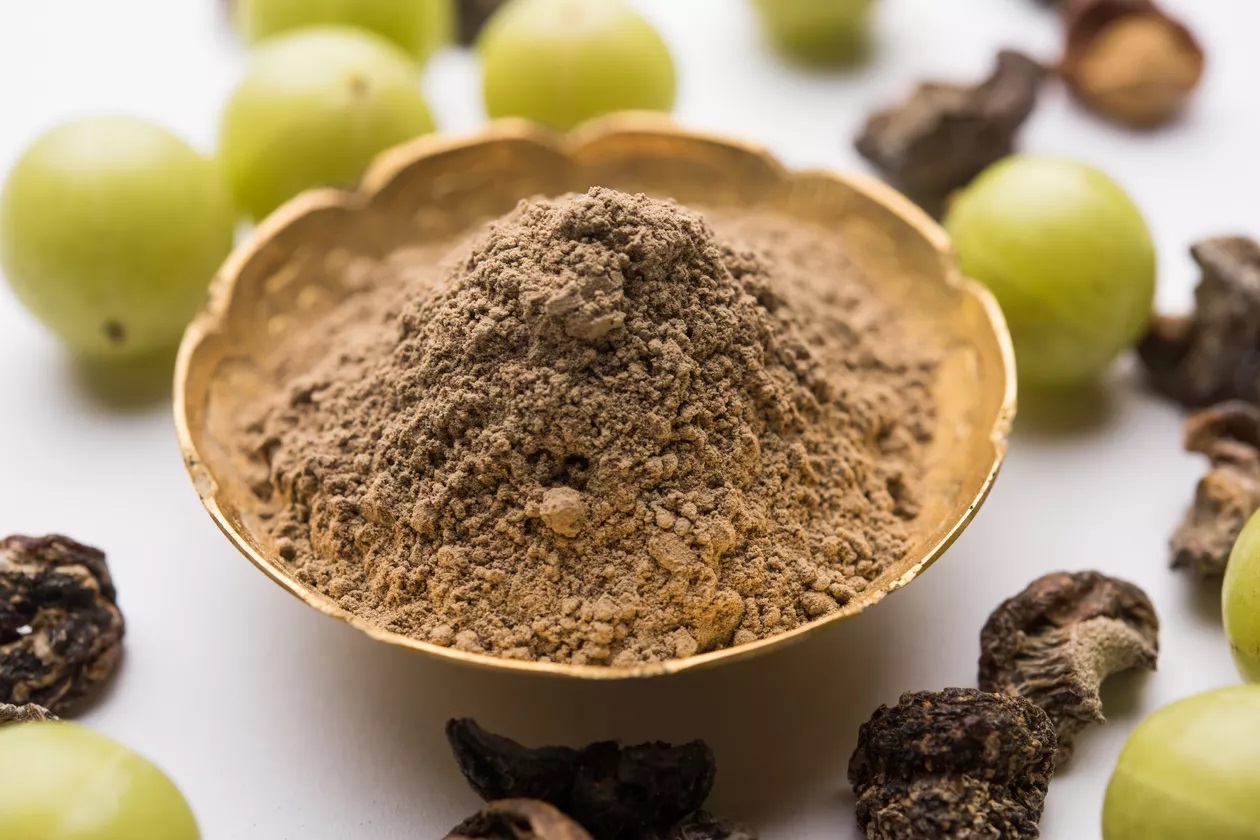
How To Infuse Amla Powder In Coconut Oil