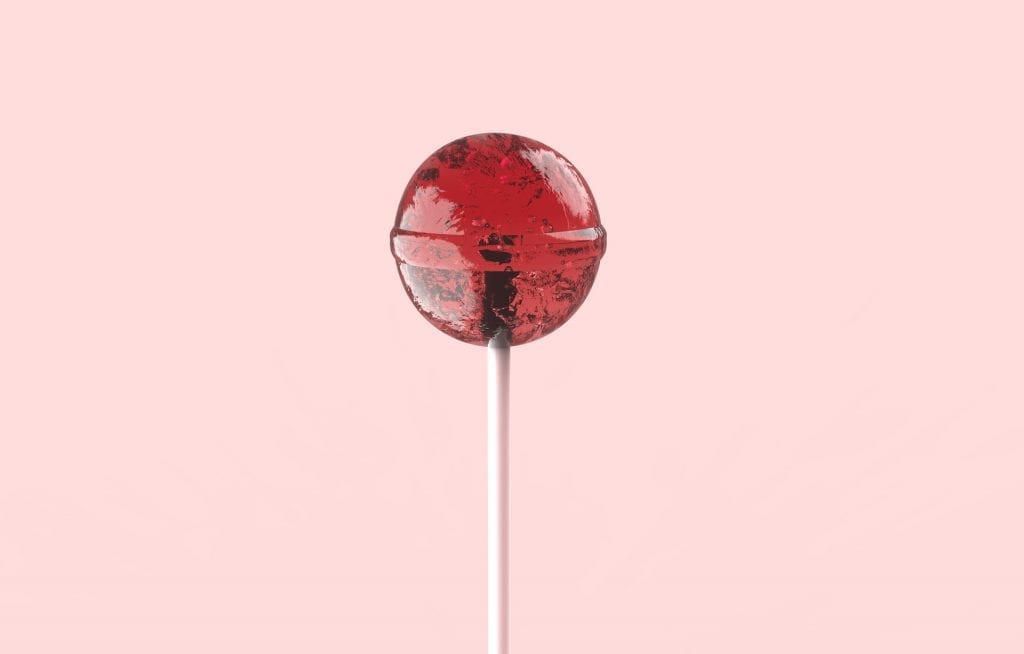
Isomalt is a type of sugar substitute discovered in the 1960s that has since made waves in the world of baking and food manufacturing. Despite not being as widely known, you can absolutely use it for cooking and baking at home! It works wonders for crafting cakes, candy making, and edible decors for treats like glass-like gingerbread house windows.
Continue reading to discover the wonders of this special sweetener. Find out the easiest way of incorporating it into your cakes and candy desserts, as well as how to keep your isomalt sugar art in tip-top shape with some of our tips below.
What Is Isomalt?
Isomalt is a sugar alcohol commonly used as a less sweet alternative to sugar. Oftentimes, it’s mixed with other artificial sweeteners like sucralose to make up for the lack of sugary taste. The upper hand of isomalt when compared to sugar though is its stability.
Unlike sugar, it remains consistent throughout its molten state. It doesn’t undergo the “Maillard reaction” or browning effect. In other words, it doesn’t caramelize and darken like sugar, but stays transparent. This sweetener is odorless and its flavor doesn’t change too. You can mix it with different colors and flavors, and you can reuse it as often as you want as long as it’s not burnt.
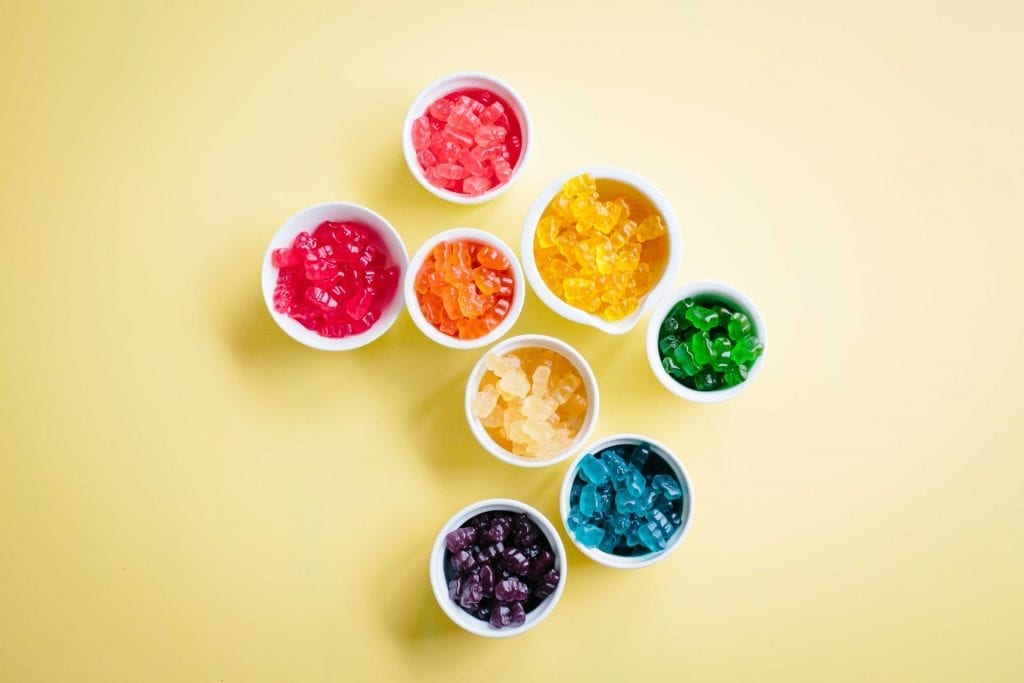
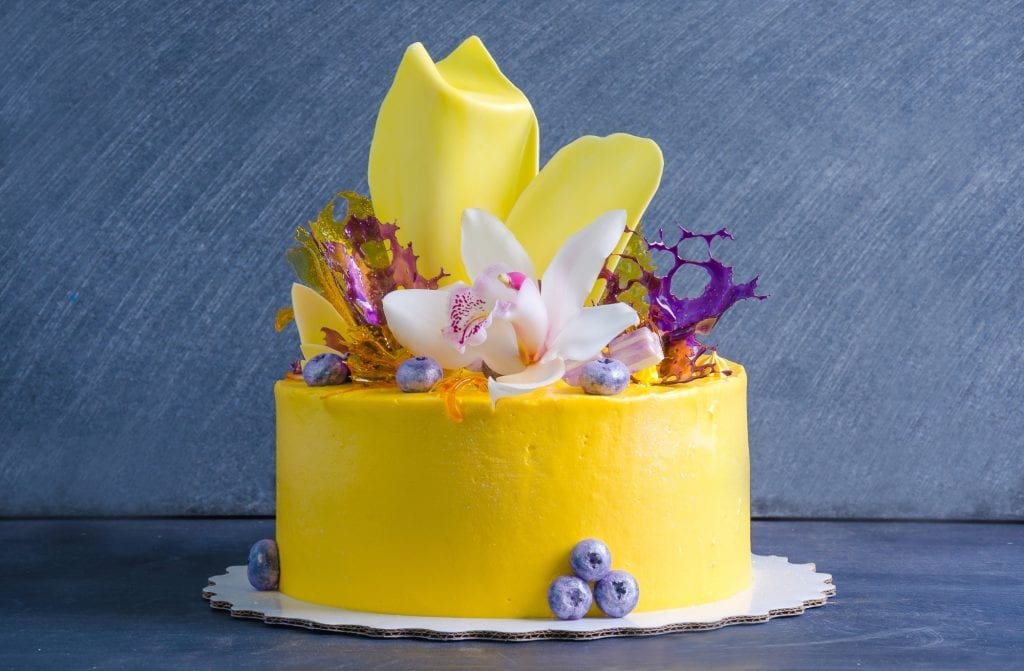
This sugar alcohol is most known for its role in making hard candy, chocolates, chewing gum, sugar-free and low-calorie sweets, and many others. It’s also used to make art for cakes and other baked goods. For example, you can make edible cake jewels and candied diamonds using isomalt crystals. Isomalt sugar glass is also among the trendy isomalt cake decorations. These are great alternatives to the usual pre-formed edible cake decor like sprinkles and cake art made of fondant or royal icing.
Is Isomalt Safe?
Yes, but in moderation. Not more than 50 grams per day, to be exact. Experts don’t advise replacing sugar entirely with this alcohol as the body can’t absorb it properly and could cause diarrhea. Stay within the 50-gram limit to get the most out of this gluten-free and keto-friendly sweetener. It’s not only low in calories but is also ranked low in the glycemic index, making it relatively safe for those who are looking after their blood sugar levels.
How to Use Isomalt in Cooking

To use this sweetener, you have to melt some isomalt nibs first. The procedure is much like melting sugar, but precautions still have to be taken because you’ll be handling items at a high temperature. Keep yourself safe with these tips on how to work with this ingredient:
Figure Out the Proportions
Check the packaging for instructions on how much isomalt sugar to use. As a rule of thumb, use ¼ cup of distilled water for every cup, just enough to dampen the powder. If you’re aiming for exact measurements, a kitchen scale will come in handy.
Note
Cook three pounds per batch (or more). Using less than that can result in yellowing.
Melt the Isomalt
Pour your mixture into a clean cooking pot, preferably stainless steel or non-stick. Turn up the heat, keeping the lid on the pot. An induction cooker is the best choice for cooking isomalt, but you can also use a gas or electric stove. Just make sure that the flame stays underneath the pot, and does not spread on the sides. Occasionally stir the mixture with a stainless steel or silicone spoon.
Note
Do not use plastic utensils as they could melt.
Stir In Food Coloring
If you want to add color to your isomalt syrup, it’s best to do it at this stage. Stir in food-grade gel, liquid, or powdered food coloring while it’s still hot. On the other hand, if you plan on using glitter spray, you can do this step once your sugar art has cooled and hardened into your desired shape.
Check For the Ideal Temperature
A candy thermometer is a must-have when cooking isomalt. Test the accuracy of your equipment by dipping it in boiling water. It should read 212 degrees F. Once ready, dip the candy thermometer into the syrup. Wait until it reaches 333 degrees F, then turn off the heat.
- The melting point of sugar is lower than that of isomalt, so be extra careful not to get the mixture on your bare hands as it’s very hot. Use cloth gloves or food-safe, powder-free nitrile gloves to protect your skin from unwanted burns.
Cool Down the Syrup
Transfer the pot from the cooker, and let it sit in a bowl of water for around 5 seconds.
Shape the Isomalt
At this point, you’re ready to use your isomalt.
Option 1: Pour Syrup Into Molds
Pour the mixture into silicone isomalt molds. Regular candy molds used for shaping chocolate will do. You can use plain rectangular molds if you’re planning on storing the crystals to re-melt and use for later, or pour them into fun-shaped molds so they harden as edible decor for cake decorating and other uses.
Option 2: Shape by Hand
You can also form different isomalt candy shapes by hand. Pour the syrup into a microwave-safe pyrex bowl or a silicone one. When the molten isomalt cools and hardens a bit, slowly work it using your gloved hand. Keep forming the shape on food-grade silicone mats. See the following section for popular shaping techniques.
Reheat Once Hardened
The best thing about working with isomalt is that you can take your time with your designs. You don’t have to worry if it begins to harden, because you can always re-melt it without consequences. The fastest way of doing this is by popping it into the microwave. If you don’t have one, you can always melt it over the stove.
Where to Buy Isomalt
Isomalt may seem difficult to acquire, but you’ll be surprised to know that this special ingredient is widely available online and in your local baking supply stores. You might encounter two types of isomalt: raw and pre-cooked. Here’s what you need to know:
Raw isomalt is the type that you have to mix with distilled water and cook until it reaches the proper temperature. Mostly, this type is available in granular or powdered form, and it’s generally cheaper than the other kind. The only downside to using raw isomalt is you have to start from scratch. You have to do everything correctly or you won’t achieve the consistency that you need.
Meanwhile, the pre-cooked kind is ready to use. As its name implies, this variant has already been prepared for you, so you can already tick off the long cooking process from your to-do list. These are available in different colors, too. All there’s left to do is melt the nibs or isomalt sticks and you’re all set. The melting procedure may vary depending on the manufacturer, so it’s always best to check the label of your product for the best way to go about this step.
How to Make Isomalt Sugar Art
Here are some of the most fool-proof isomalt sugar art techniques that you can follow:
Candy Gems
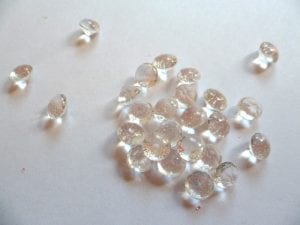
Andy Cleaver | Flickr
Making candy gems out is pretty straightforward. This design is the easiest to achieve. First, you have to melt isomalt and mix it with your desired coloring agent. Then, pour the syrup into diamond or crystal-shaped silicone candy molds. All that’s left to do is wait for it to harden. Once it solidifies, easily take the candies out of the mold.
Pulled Sugar
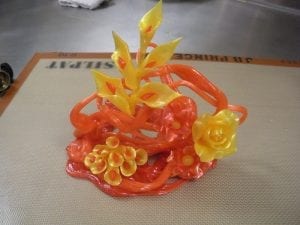
Rachel Huggins | Flickr
To make pulled sugar, take the isomalt syrup away from the heat when the candy thermometer reaches anywhere from 305 to 315 degrees F. Add cream of tartar to soften it, and corn syrup for extra sweetness. Pour the isomalt syrup onto your food-grade silicone mat to let it cool. When it begins to harden a bit, fold and stretch your semi-hardened isomalt syrup into itself 10 to 20 times or until it looks glossy and polished. Form it into your desired shape, let harden, and use it to decorate cupcakes and other baked goods. The possibilities for pulled sugar recipes are endless!
Note
Always use gloves when handling hot isomalt syrup to avoid burns and other accidents.
Blown Sugar

Becky | Flickr
Form a piece of pulled isomalt into a ball and flatten it. Then, wrap all edges of the disc around a sugar blower, and carefully pump into it around two to four times. Once you achieve the desired size, cut the isomalt where it touches the blower for a clean-cut, or pull it off. Sugar apples are a popular blown sugar shape to make. It’s visually appealing and show-stopping, perfect if you’re looking to impress your guests.
Recipes to Try With Isomalt Sugar Art
Use your homemade isomalt art to decorate sweet treats and baked goods. Check out these recipes for inspiration:
- Peppermint Chocolate Fudge – Infuse your syrup with a dash of peppermint extract and a splash of color, so when it hardens you get sugar-free mint candies. Roughly crush them and incorporate the pieces into your fudge batter for a dessert that’s bursting with chocolatey goodness and crunchy mint pieces.
- Candy Cane Cake – This is another great use for peppermint-flavored isomalt candies. This dessert is perfect for the holidays. Pull your isomalt into a candy cane shape, and adorn your cake with this festive edible decor.
- Stained Glass Cookies – Instead of buying candy, you can make a sugar-free alternative to use for your stained glass cookies.
How to Store Isomalt
Uncooked isomalt sugar will stay good for up to two years in storage if kept in the right conditions. For the best results, store your isomalt powder in an airtight container at room temperature. You wouldn’t want to place this sugar alternative in the refrigerator or the freezer because the low humidity would ruin its quality.
The same goes for cooked isomalt crystals and other decorations. Although they won’t melt, they may lose their transparent glass-like appearance. For this reason, they should always be kept in silicone packets and other airtight containers. Isomalt decors should retain their appearance for up to four days.
It’s Easy to Use Isomalt
You don’t have to be a professional candy maker or pastry chef to make a unique and show-stopping decor for your sweet treats. All you need are isomalt on one hand, plus creativity and our tips on the other. With a bit of practice, you’re well on your way to creating the best sugar art of your life!
Was this page helpful?
Related Articles

Cooking with Beer: 10 Beer Recipes To Try

What Is Veal and Is It Good for You?
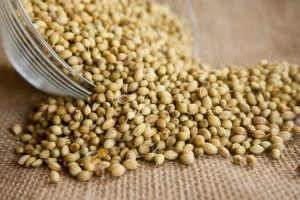
Coriander Seeds: Why It’s an Essential Spice in Your Kitchen
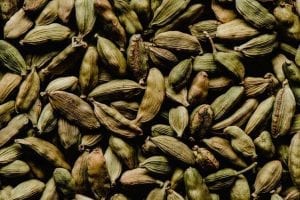
Cardamom Pods: What Are They and How to Use Them
Celery Seed: What Is It And Best Substitutes

How to Freeze Carrots (Step-by-Step Guide)
Frisee: What It Is and Ways to Serve It
Can You Freeze Onions? Yes, Here are 2 Easy Ways!
How To Use a Piping Bag (Step-by-Step Guide)

Bear Meat: A Guide to a Risk-Free Feast
Frangelico Liqueur: What It Is and 5 Must-Try Recipes