There’s nothing like the taste and smell of freshly brewed coffee to perk you up in the morning. Essential to start the day, brewing a revitalizing cup of coffee as part of our routine requires various tools and methods.
You may be familiar with the classic French press, the meditative pour-overs, and the modern coffee drips but have you ever tried a coffee percolator? If you’re still on the hunt for the brewing method that suits your taste, take a look at this traditional and nostalgic kettle. Read below to learn how to use a percolator, how it works, and more!
What Is a Percolator?
The percolator is one of the earliest modern coffee brewing tools that predate the automatic drip coffee machines we’re probably most familiar with.
It is made with two chambers, with the bottom one as the water reservoir and the top as the coffee basket or filter. This tool is made for home use as it functions on the stove, but it’s also a popular choice among campers. All it needs is a source of heat after all, so a campfire or a kitchen stove will make it work. Not to mention that it’s incredibly portable too. Aside from the camping or stovetop percolators, electric models are also available for modern homes.
How Does It Work?
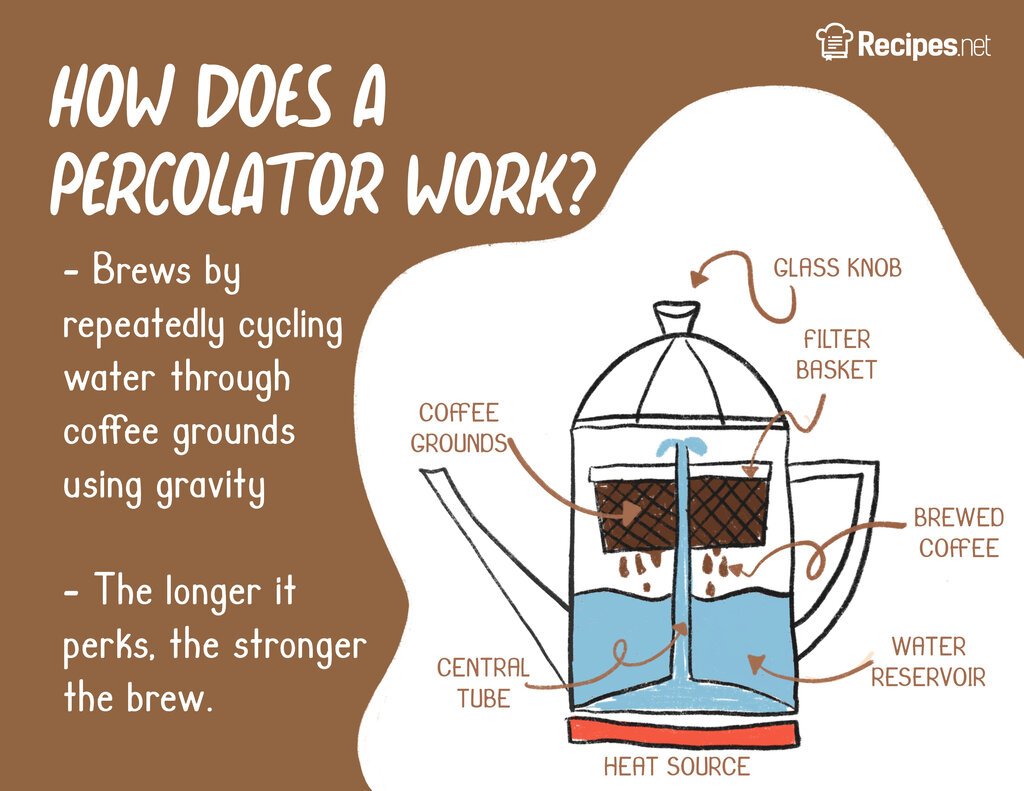
As mentioned, the percolator pot has two main parts. Basically, the upper chamber is the basket filter that holds the coffee grounds, while the lower chamber holds the water. These chambers are connected by a vertical tube that stands from the bottom of the pot to the top of the perforated coffee basket.
When heat is introduced, water will slowly come up to temperature and ascend through the tube to start the percolation process. Percolation or perking has begun when you see bubbles forming through the glass or transparent knob, or when you hear a sputtering sound every few seconds. Boiling water saturates the coffee grounds then drips back to the bottom of the pot through the perforated chamber and cycles until perking stops.
Essentially, percolated coffee is extracted multiple times with the use of gravity. The longer it perks, the stronger the brew. As liquid circulates in the process and passes through the grounds frequently, the result tends to be strong and intense for some people.
However, percolators were originally invented to improve the old decoction method that boils coffee grounds in water, which makes muddy and impure coffee. As it addresses those flaws, this crafty device gradually became the benchmark until new methods came to light. The percolator was once a staple for home coffee bars but with the popularity of other brewing techniques, the classic and trusty percolator slowly lost its glimmer among coffee aficionados.
Percolator vs Other Brewing Methods
Percolators certainly improved coffee brewing during its time, as people used to simply boil ground coffee beans in water before this invention. Despite its bitter brew, this tool brought life to many households as it whips coffee in no time. And to this day, many folks prefer this old-time pot to the modern ones. But the question is, how does it differ from other brewing methods?
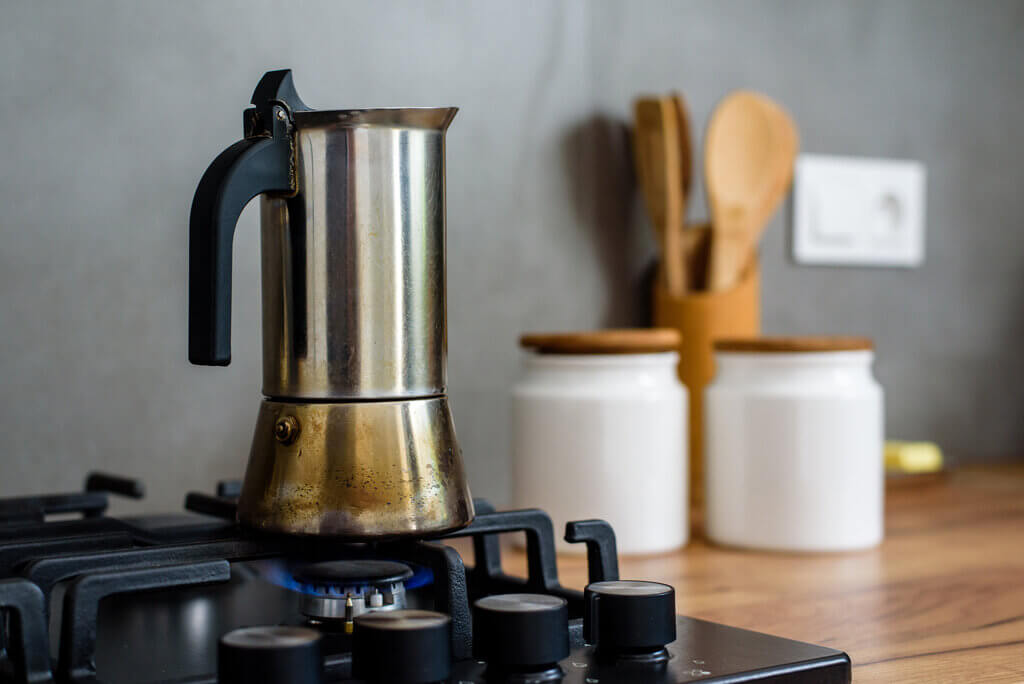
Moka pots and percolators are often confused with one another, but quite frankly, they share a lot more similarities with other brewing methods than with each other. Simply put, percolators rely on gravity to brew coffee and are akin to drip coffee makers. However, as liquid recirculates in a percolator, there is a risk of over-extracting the grinds, turning the coffee bitter. Moka pots, on the other hand, rely on pressure to extract coffee from the grounds. Like espresso, Moka pot coffee is full-bodied and concentrated in flavor. It also needs finer coffee grounds (medium to medium-fine) than a percolator and is consumed in smaller quantities. But it lacks the smooth crema that coffee aficionados love most about espresso.
Another technique that circles back to percolators is the fancy siphon method. This process involves heating up water just enough to create a vacuum or vapor pressure to extract coffee. But it never goes beyond boiling point unlike a percolator, which results in a less bitter and more delicate drink.
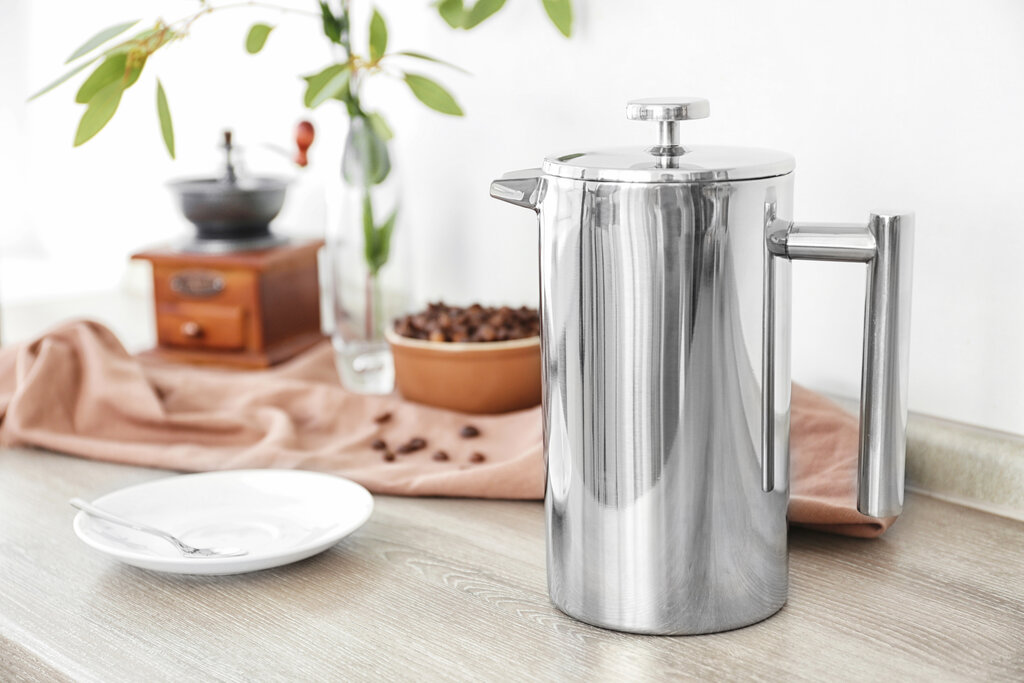
Some folks, however, may prefer a French press to make a robust brew. It involves a completely different method, specifically the immersion method which soaks the grounds in water for a certain period. This focuses more on the brew time instead of controlling temperature and when mastered, you’ll be able to make a consistent and flavorful brew with this method. The downside to French presses is that you can only make a few cups at a time compared to percolators that can make more.
You might prefer a quicker way to jumpstart your mornings or a meditative approach to ease you through the day, nonetheless, the best cup is what fits your taste and caters to your lifestyle.
How to Make Coffee Using a Percolator
Without further ado, here’s our handy guide on how to use a percolator:
What You Need:
- Coffee beans (preferred blend)
- Coffee grinder
- Water
- Coffee percolator
Steps:
- Prepare the percolator. Make sure that it is clean before you use it. Leftover coffee residue can affect the flavor of the fresh brew. Remove the coffee basket and stem, then add water to the kettle. A standard percolator usually holds four to eight cups but you can check the manufacturer’s directions for its maximum capacity. Some percolators have a fill line to indicate this. Generally, you will need two cups of water to make one mug of coffee.
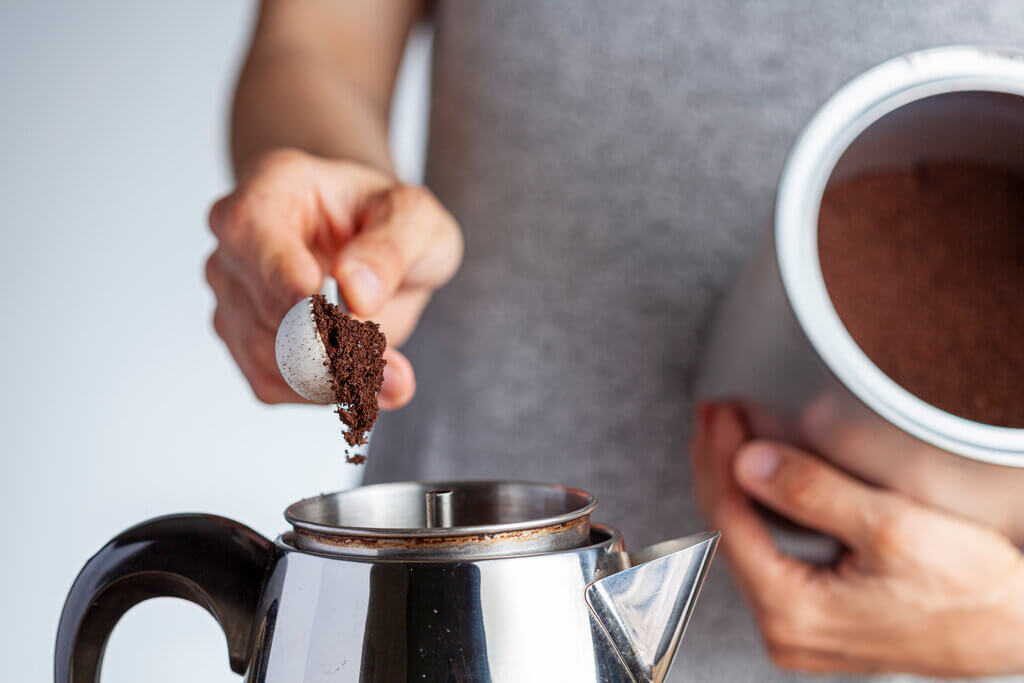
- Measure and prepare your coffee grounds. Make sure that the coffee grinder you are using can produce a coarse grind, similar to what you’d need for a French press. Using freshly ground beans makes a huge difference but using pre-ground beans will work fine and can save you time. You will need 20 to 22 grams of coarsely ground coffee or 2 tablespoons if you don’t have a scale at home. You might need to tinker with this ratio a bit, though. Since percolators yield a stronger brew compared to other methods, reduce the coffee grounds or increase the amount of water if it’s the resulting brew is too intense.
- Add the pre-measured grounds to the coffee basket. Evenly distribute the coffee in the basket by giving it a little shake. Attach the basket lid and secure all its part in place.
- Turn on the heat. What makes or breaks your brew is the heat of the liquid in your percolator. It is important that the water slowly heats up to avoid burning the coffee. Set the stove on medium-low heat and watch it gradually come up to boil. The ideal percolation is when you see perking from the transparent knob with one bubble forming every few seconds. If you observe a steady formation of bubbles, it means that the water is too hot and you might risk over-extracting your coffee. On another note, if you’re using an electric version, simply plug the device and switch it on. Electric percolators have sensors and will automatically stop once it reaches a certain temperature.
- Let the coffee perk. A brewing time of 7 to 10 minutes is recommended, depending on your preferred intensity or strength.
- Remove from heat and let it sit. Carefully remove the coffee basket and discard the grounds. Let the coffee sit for a few minutes to let bits settle at the bottom for a smoother cup.
- Pour and serve.
Tips for Using a Percolator
If you don’t mind watching the pot as it boils, this method can be a calming way to help you focus throughout the day. Who knows? Maybe this method is what you’re looking for. So, here are some tips to help you better on your coffee percolating journey:
Best Coffee Beans to Use
Percolators brew coffee multiple times, so using a milder or low acidity roast will yield a smoother cup of coffee. Using dark roast may become too overpowering in a percolator. A coarse grind is recommended for this method.
READ ALSO: 13 Best Ground Coffee For Your Coffee Bar This 2022
How to Clean a Percolator
Clean your percolator right after brewing as the coffee grounds tend to cake up when left to dry inside the chamber. Leaving coffee grounds in the chamber may also stain the pot. This can affect the flavor of your new brew and make it bitter. Use warm water with soap to clean the coffee chamber, the water reservoir, and the stem. You can scrub them lightly with a sponge if necessary.
A deep clean is recommended for stained percolators using either baking soda or vinegar. Fill the pot with water as you would when brewing coffee and instead of adding grounds, add 2 to 3 tablespoons of baking soda. Put it on the heat, run a few perks, and let it cool down completely. You can use vinegar in place, but you might need to run it a few times with clean water to remove the lingering vinegar aroma.
Frequently Asked Questions
Do you need to use a filter with a percolator?
You don’t need to use a filter with a percolator as it comes with its own filter basket. As long as you use the appropriate grind size and let it settle, you don’t have to worry about getting bits in your coffee. While some people prefer using a filter to make cleaning easier, you can go your merry way without it.
Can you use tea leaves in a percolator?
Yes! Just make sure that it’s clean before you use it to not alter the taste of your tea. Similar to coffee, you only need to boil water and let it perk until it reaches your preferred intensity.
How do you make percolated coffee taste better?
Ensure a gradual boil to avoid bitter-tasting coffee. It is best to keep a close eye on the kettle and adjust the flames when it sputters too much. Keep things consistent from preparation to brewing by using a measuring scale and a timer. Also, if you don’t take your coffee black, you can also add milk, syrups, or spices to your cup of joe and customize it to your liking.
Was this page helpful?
Related Articles

How to Tell if Chicken Is Bad: 5 Signs to Look For and How to Avoid Them
12 Best Decaf Coffee Brands To Buy In 2022

Why Your Tanghulu Isn’t Hardening
11 Best Sake Substitutes For Japanese Cooking

12 Best Oyster Sauce Substitute Options to Try
8 Types of Oats and Which Is the Best

19 Classic Italian Cocktails Worth Making
15 Best Bread Box Options for Fresher Bread in 2022

Egg Roll vs Spring Roll: How Exactly Are They Different?

37 Father’s Day Dinner Ideas Fit for a King
33 Popular Korean Snacks That Are Worth the Hype