Proofing Bread in Your Samsung Oven
One of the most satisfying experiences for a home baker is watching their bread dough rise and proof to perfection. If you own a Samsung oven, you’re in luck because it provides the ideal environment for proofing bread. Here’s a step-by-step guide on how to proof bread in your Samsung oven to achieve delicious, bakery-quality results.
Step 1: Prepare the Dough
Before you can begin the proofing process, you’ll need to prepare your bread dough. Whether you’re making a simple white loaf, a hearty whole wheat bread, or a flavorful sourdough, ensure that your dough has been kneaded to the right consistency and is ready for its final rise.
Step 2: Set the Oven Temperature
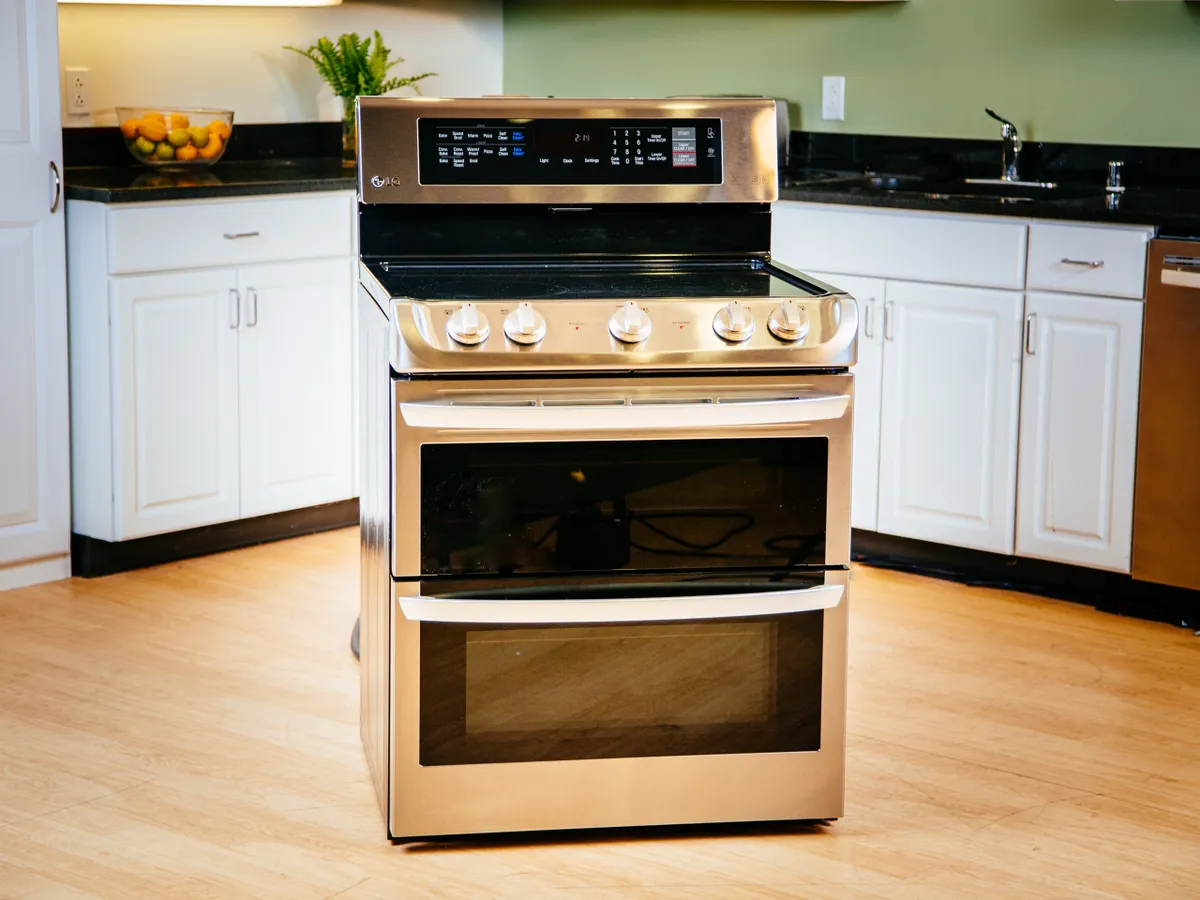
Preheat your Samsung oven to a low temperature, around 100°F (37°C). This gentle warmth will create the perfect environment for the yeast in the dough to become active and help the bread rise effectively.
Step 3: Choose the Proofing Setting
If your Samsung oven is equipped with a proofing setting, this is the time to use it. The proofing setting provides a consistent, low level of heat that is ideal for encouraging dough to rise. If your oven doesn’t have a specific proofing setting, don’t worry – you can still use the low temperature setting to achieve similar results.
Step 4: Prepare the Dough for Proofing
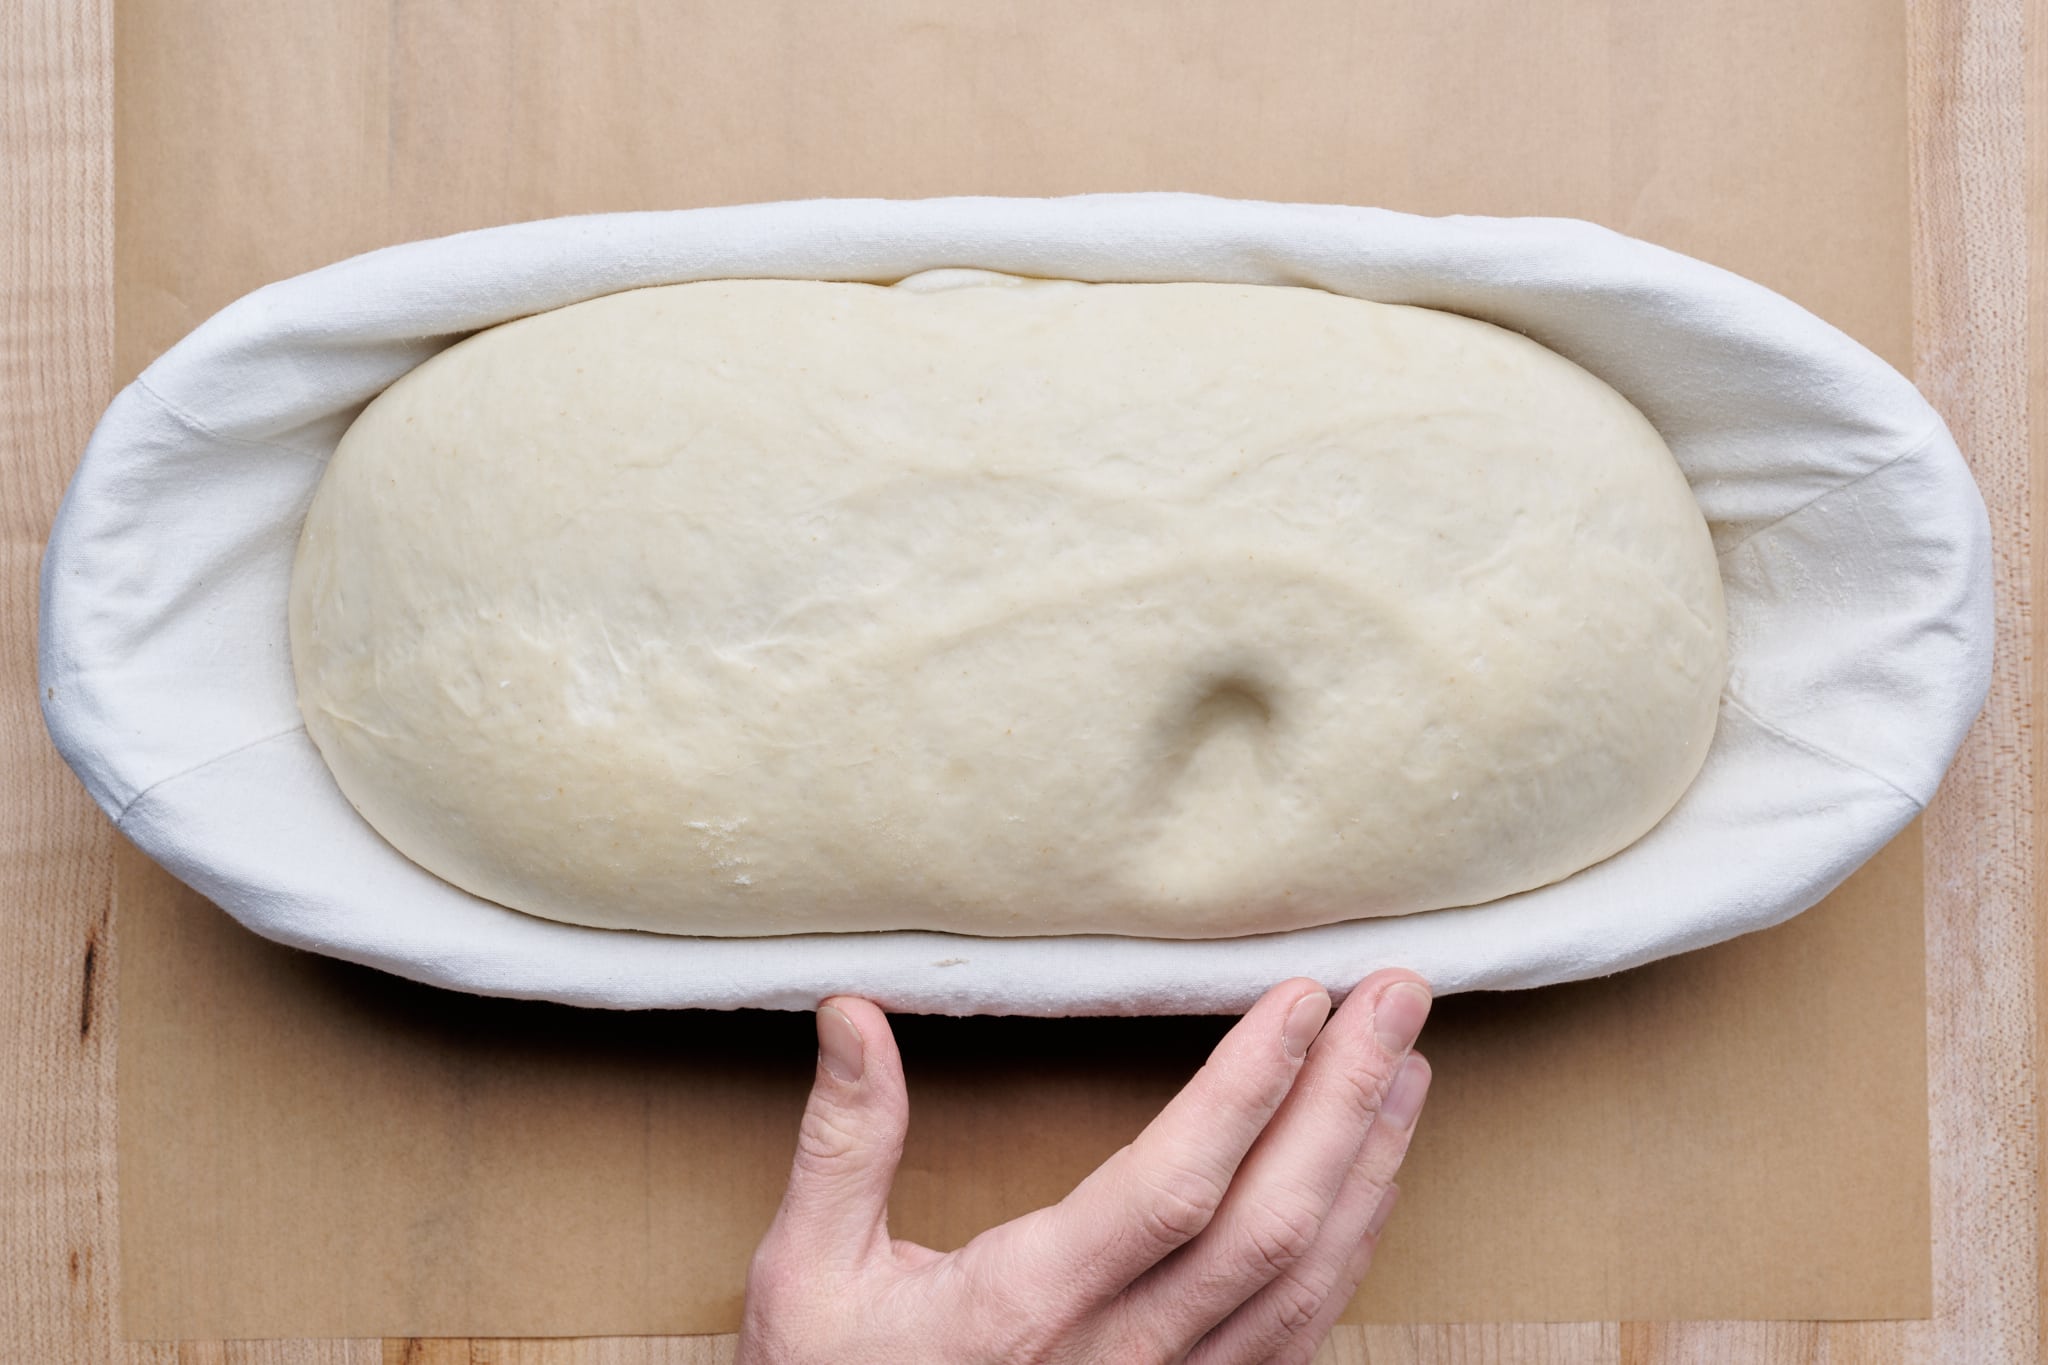
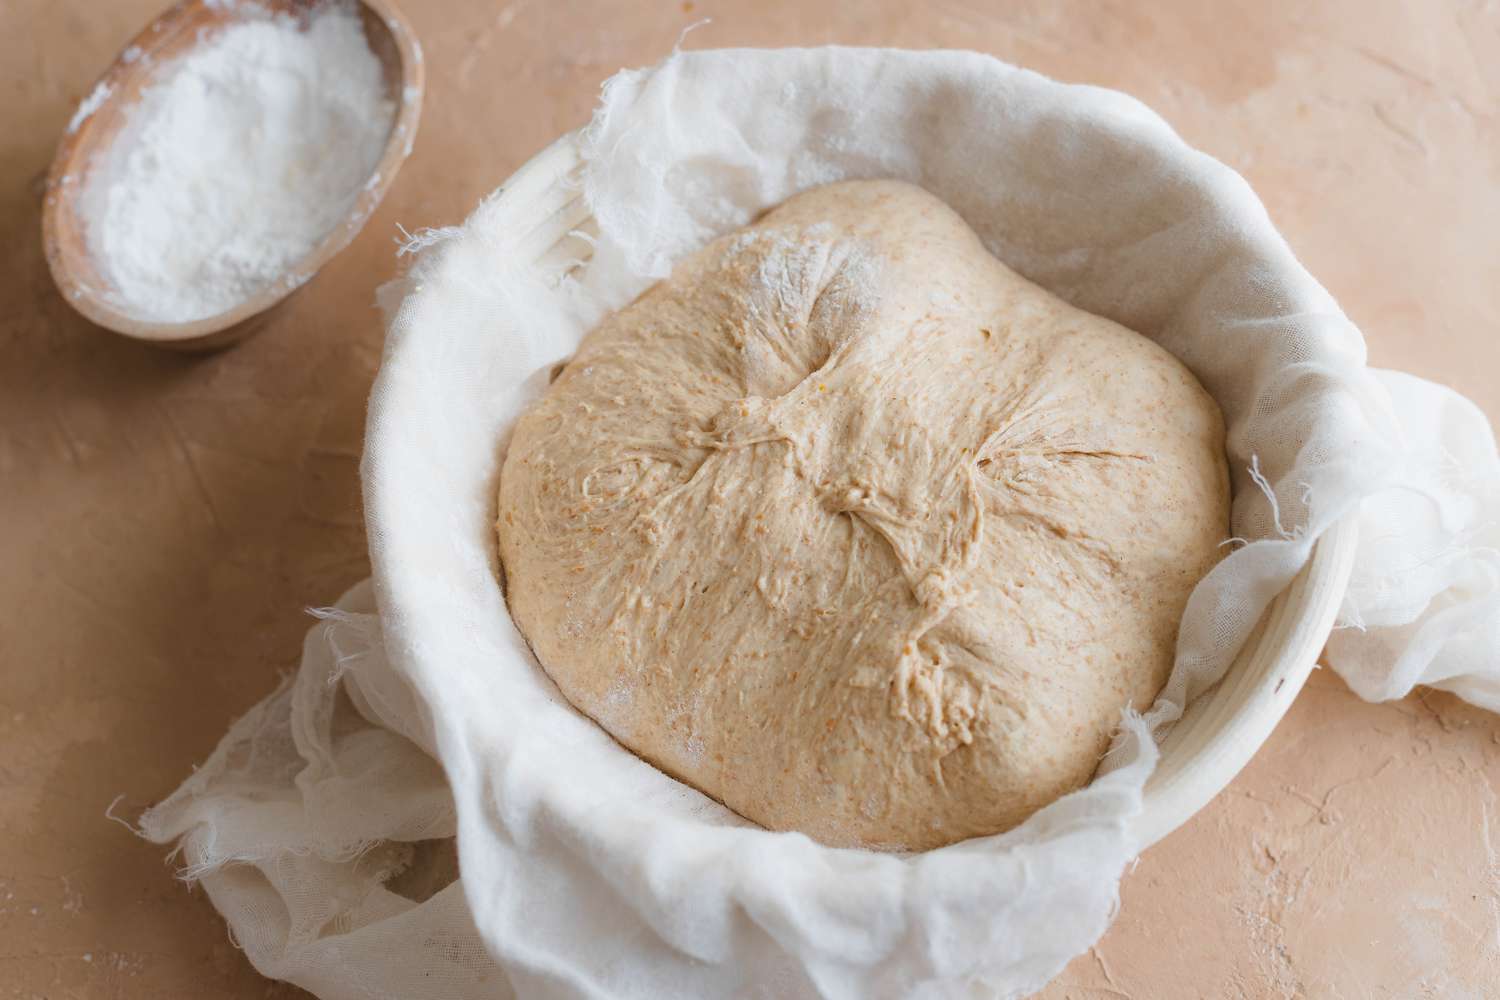
Place your prepared bread dough in a lightly greased bowl and cover it with a clean kitchen towel. This will help to trap the warmth and moisture, creating the perfect environment for the dough to rise. Alternatively, you can use a silicone bowl cover or plastic wrap to cover the bowl.
Step 5: Monitor the Proofing Process
Once your dough is in the oven, keep a close eye on it to ensure that it’s proofing correctly. Depending on the type of bread you’re making, the proofing time may vary. However, a general rule of thumb is to let the dough double in size, which can take anywhere from 30 minutes to 2 hours.
Step 6: Test for Proofing Readiness
To check if your dough has finished proofing, gently press your finger into the dough. If the indentation remains and slowly fills back in, your dough is ready to be baked. If the dough springs back quickly, it needs more time to proof.
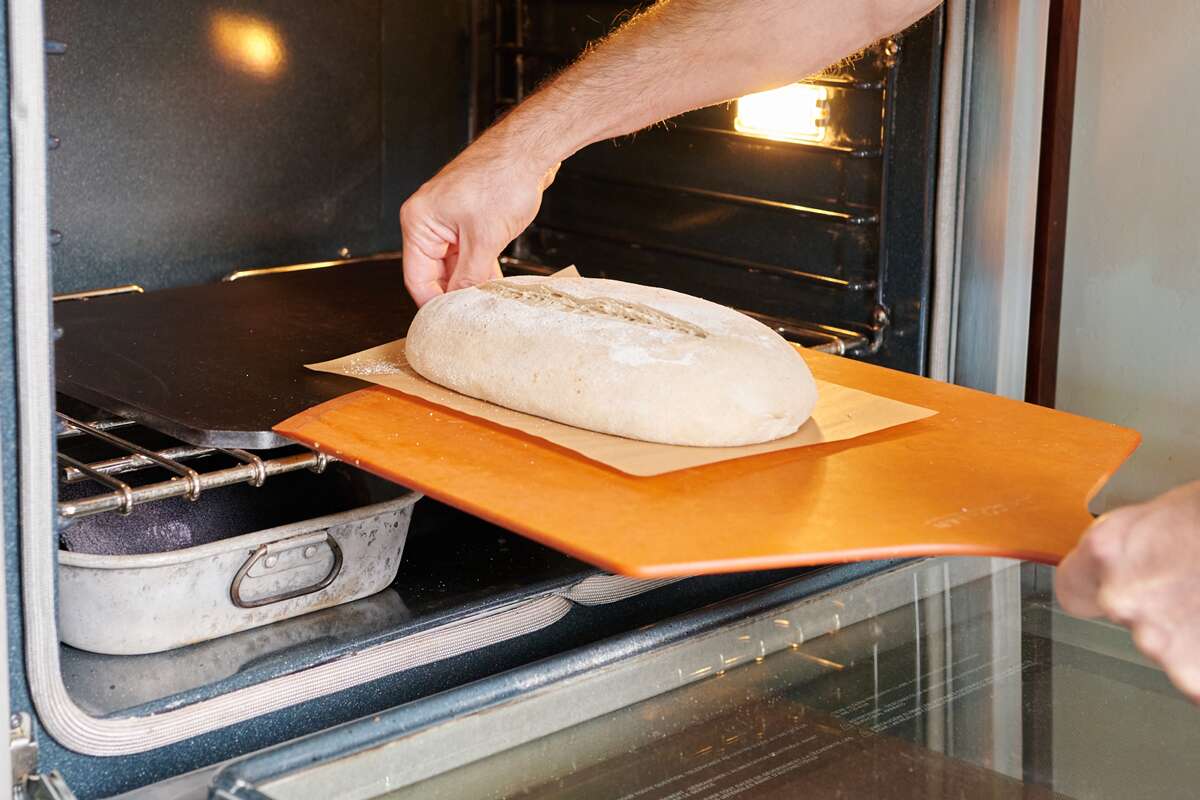
Step 7: Bake to Perfection
Once your bread dough has successfully proofed, it’s time to bake it in your Samsung oven. Follow the recipe instructions for the correct baking temperature and time, and soon you’ll be enjoying the delicious aroma of freshly baked bread filling your kitchen.
Tips for Successful Bread Proofing
- Use a clear bowl to monitor the rise of the dough without needing to uncover it.
- If your oven has a warming drawer, you can also use it for proofing by placing the dough inside and setting the temperature to low.
- For a boost in humidity during proofing, place a small dish of hot water on the bottom rack of the oven to create a steamy environment.
- Experiment with different proofing times and temperatures to find the ideal conditions for your specific bread recipe.
With these simple steps and tips, you can easily proof bread in your Samsung oven and elevate your baking game. Enjoy the process and the delightful results of freshly baked, homemade bread.
Happy baking!
More Delicious Bread Recipes to Try in Your Samsung Oven
Now that you've mastered the art of proofing bread in your Samsung oven, why not put your new skills to the test with a variety of bread recipes? From the comforting embrace of a Delving into Gluten-Free Baking to the classic crunch of a Mastering the French Baguette, there's no shortage of options to explore. I recommend starting with the Exploring Rustic Sourdough for its depth of flavor and satisfying texture. If you're feeling adventurous, the Crafting Perfect Ciabatta offers a delightful challenge with its high hydration dough. For those who love rich, flavorful breads, the Baking Rich Brioche is a must-try. Each recipe allows you to apply the precise proofing techniques learned, ensuring delectable results that are sure to impress.
Was this page helpful?
Read Next: How To Proof Bread In LG Oven
Related Articles
How To Proof Bread Without A Proofer

How To Proof Donuts At Home
How To Proof Bread In LG Oven
How To Proof Bread Without A Proofer

How To Infuse More Flavor Into Fish
How To Proof Bread Dough In Steam Oven
How To Proof Sour Dough Bread
How To Proof Donuts At Home
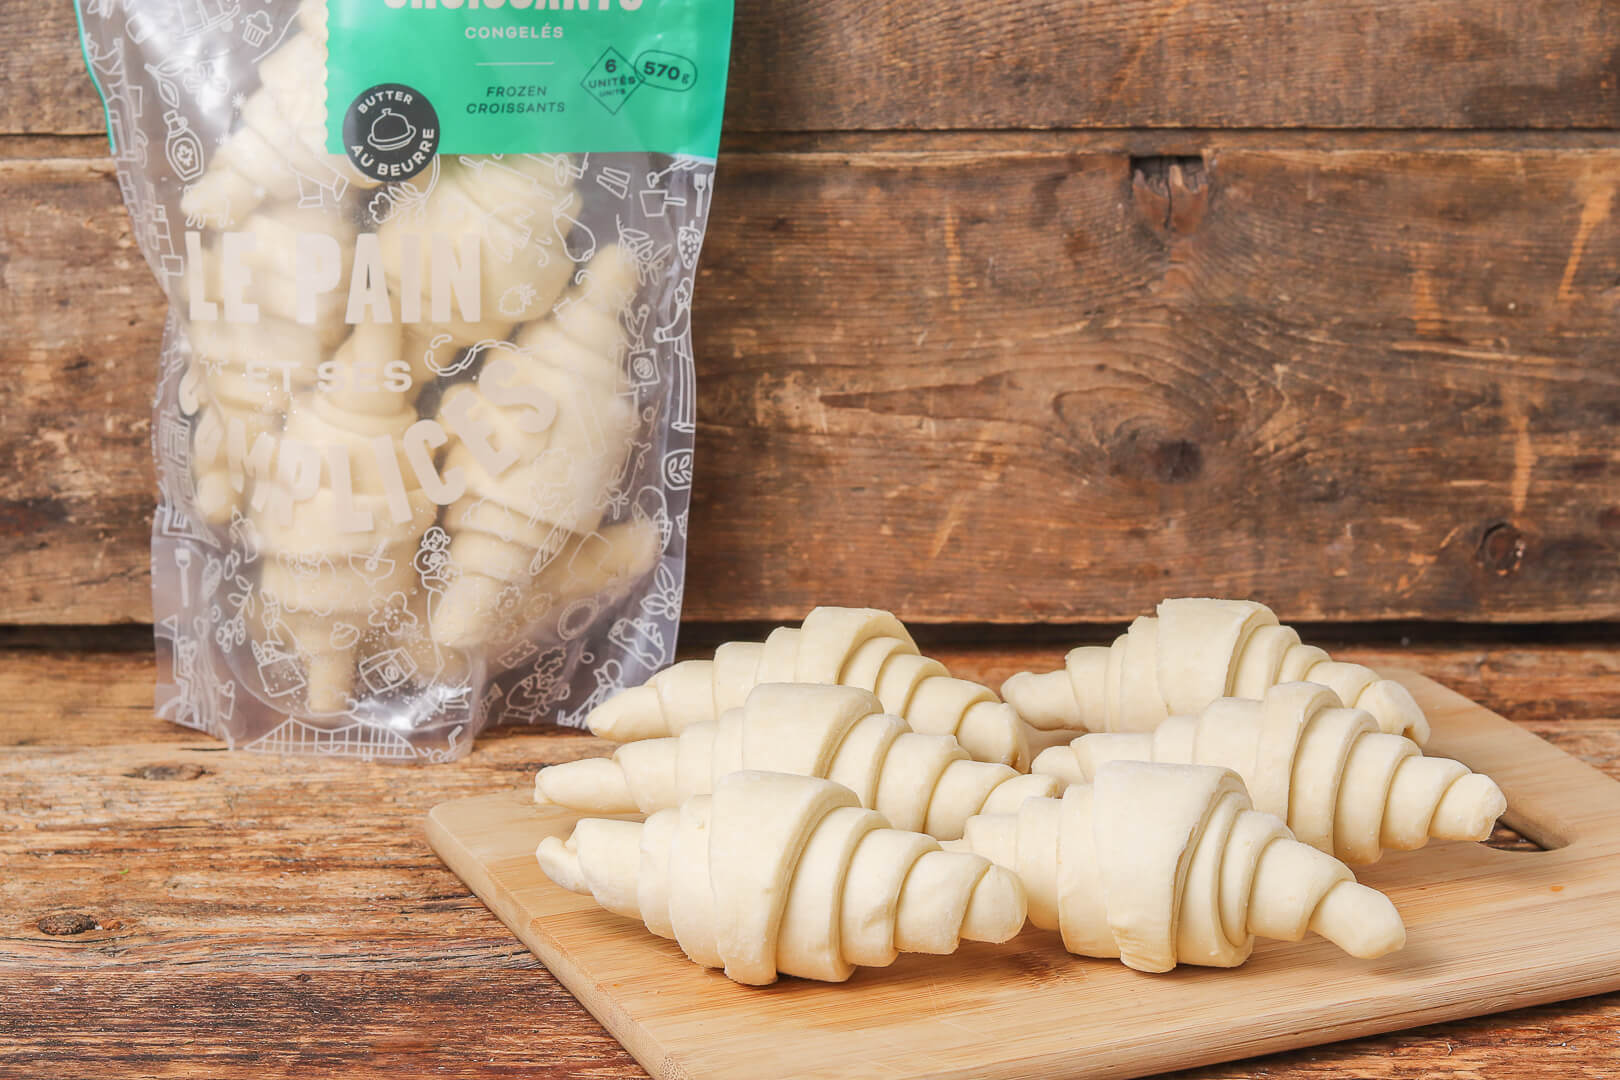
How To Proof Frozen Croissants Quickly
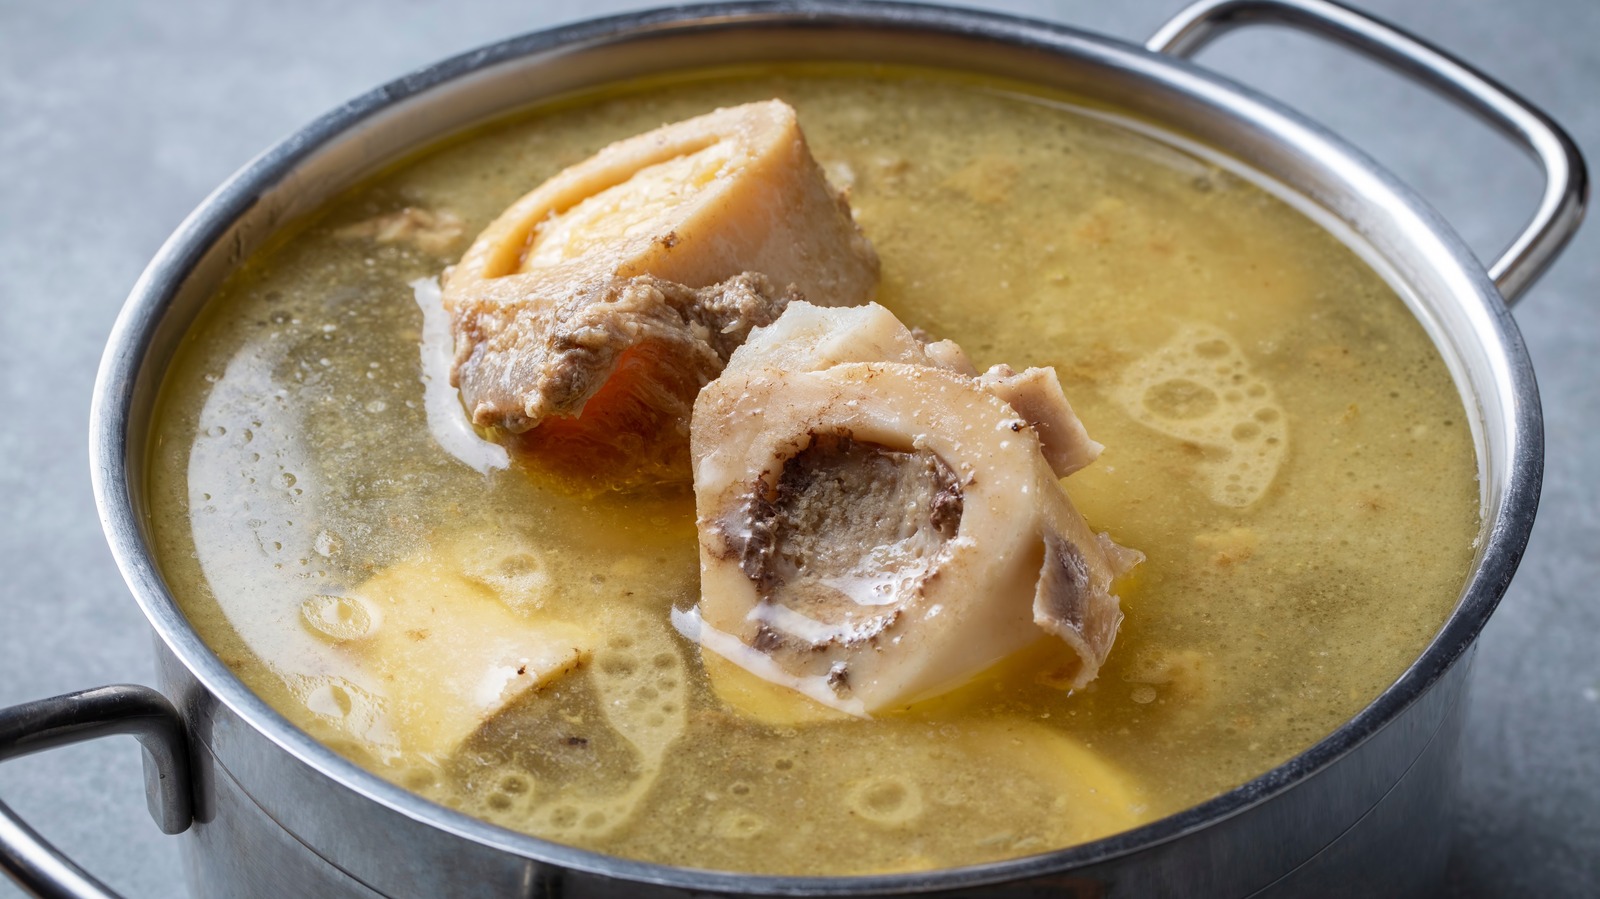
How To Clarify Soup

How To Clarify A Consommé