Mastering the Art of Proofing Sourdough Bread
Welcome to the wonderful world of sourdough bread baking! Proofing is a crucial step in the process that can make or break the final product. With the right techniques and a little patience, you can elevate your sourdough bread to new heights. Here’s a guide to help you master the art of proofing sourdough bread.
Understanding the Proofing Process
Proofing is the final rise that the shaped dough undergoes before it’s baked. During this stage, the gluten in the dough relaxes, allowing the bread to expand and rise. The yeast in the sourdough starter ferments the sugars in the dough, creating carbon dioxide gas that forms air bubbles, contributing to the bread’s light and airy texture.
Key Steps for Successful Proofing
Follow these essential steps to ensure your sourdough bread proofs perfectly every time:
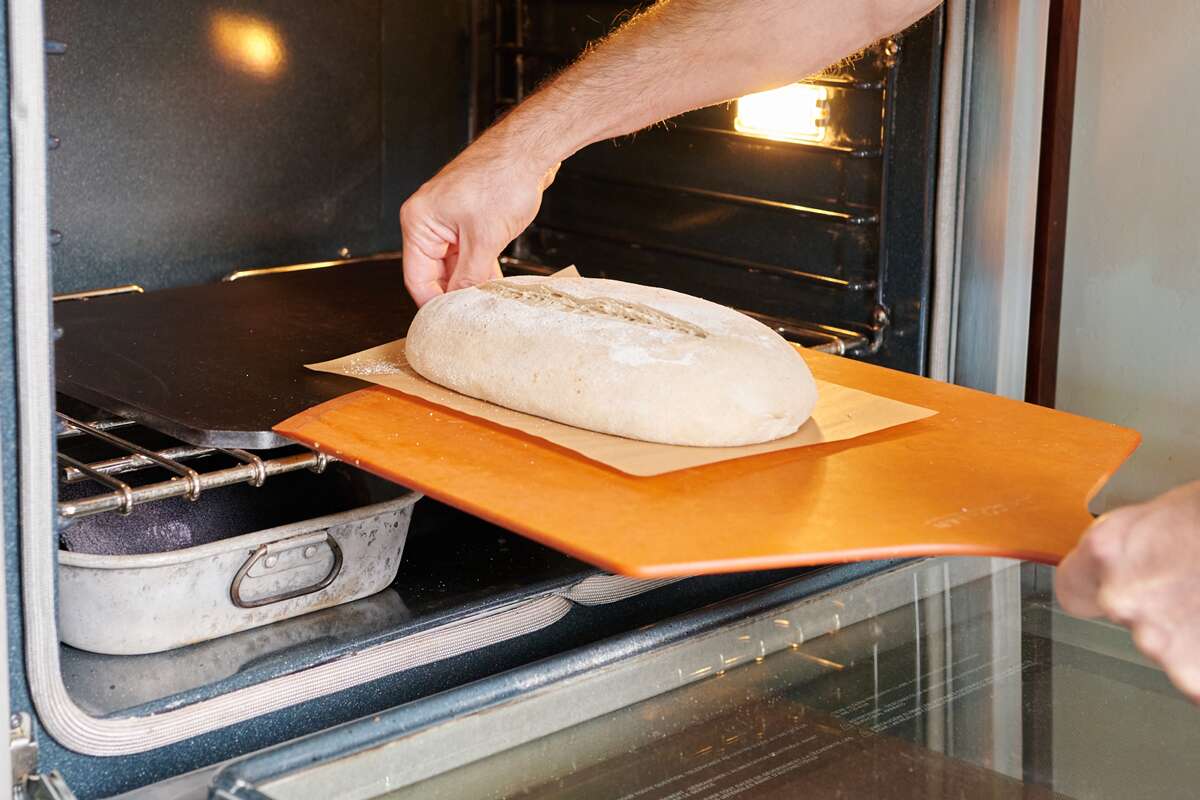
- Shaping: After the initial bulk fermentation, gently shape the dough into a round or oval loaf. This helps create surface tension, which is essential for a good rise during proofing.
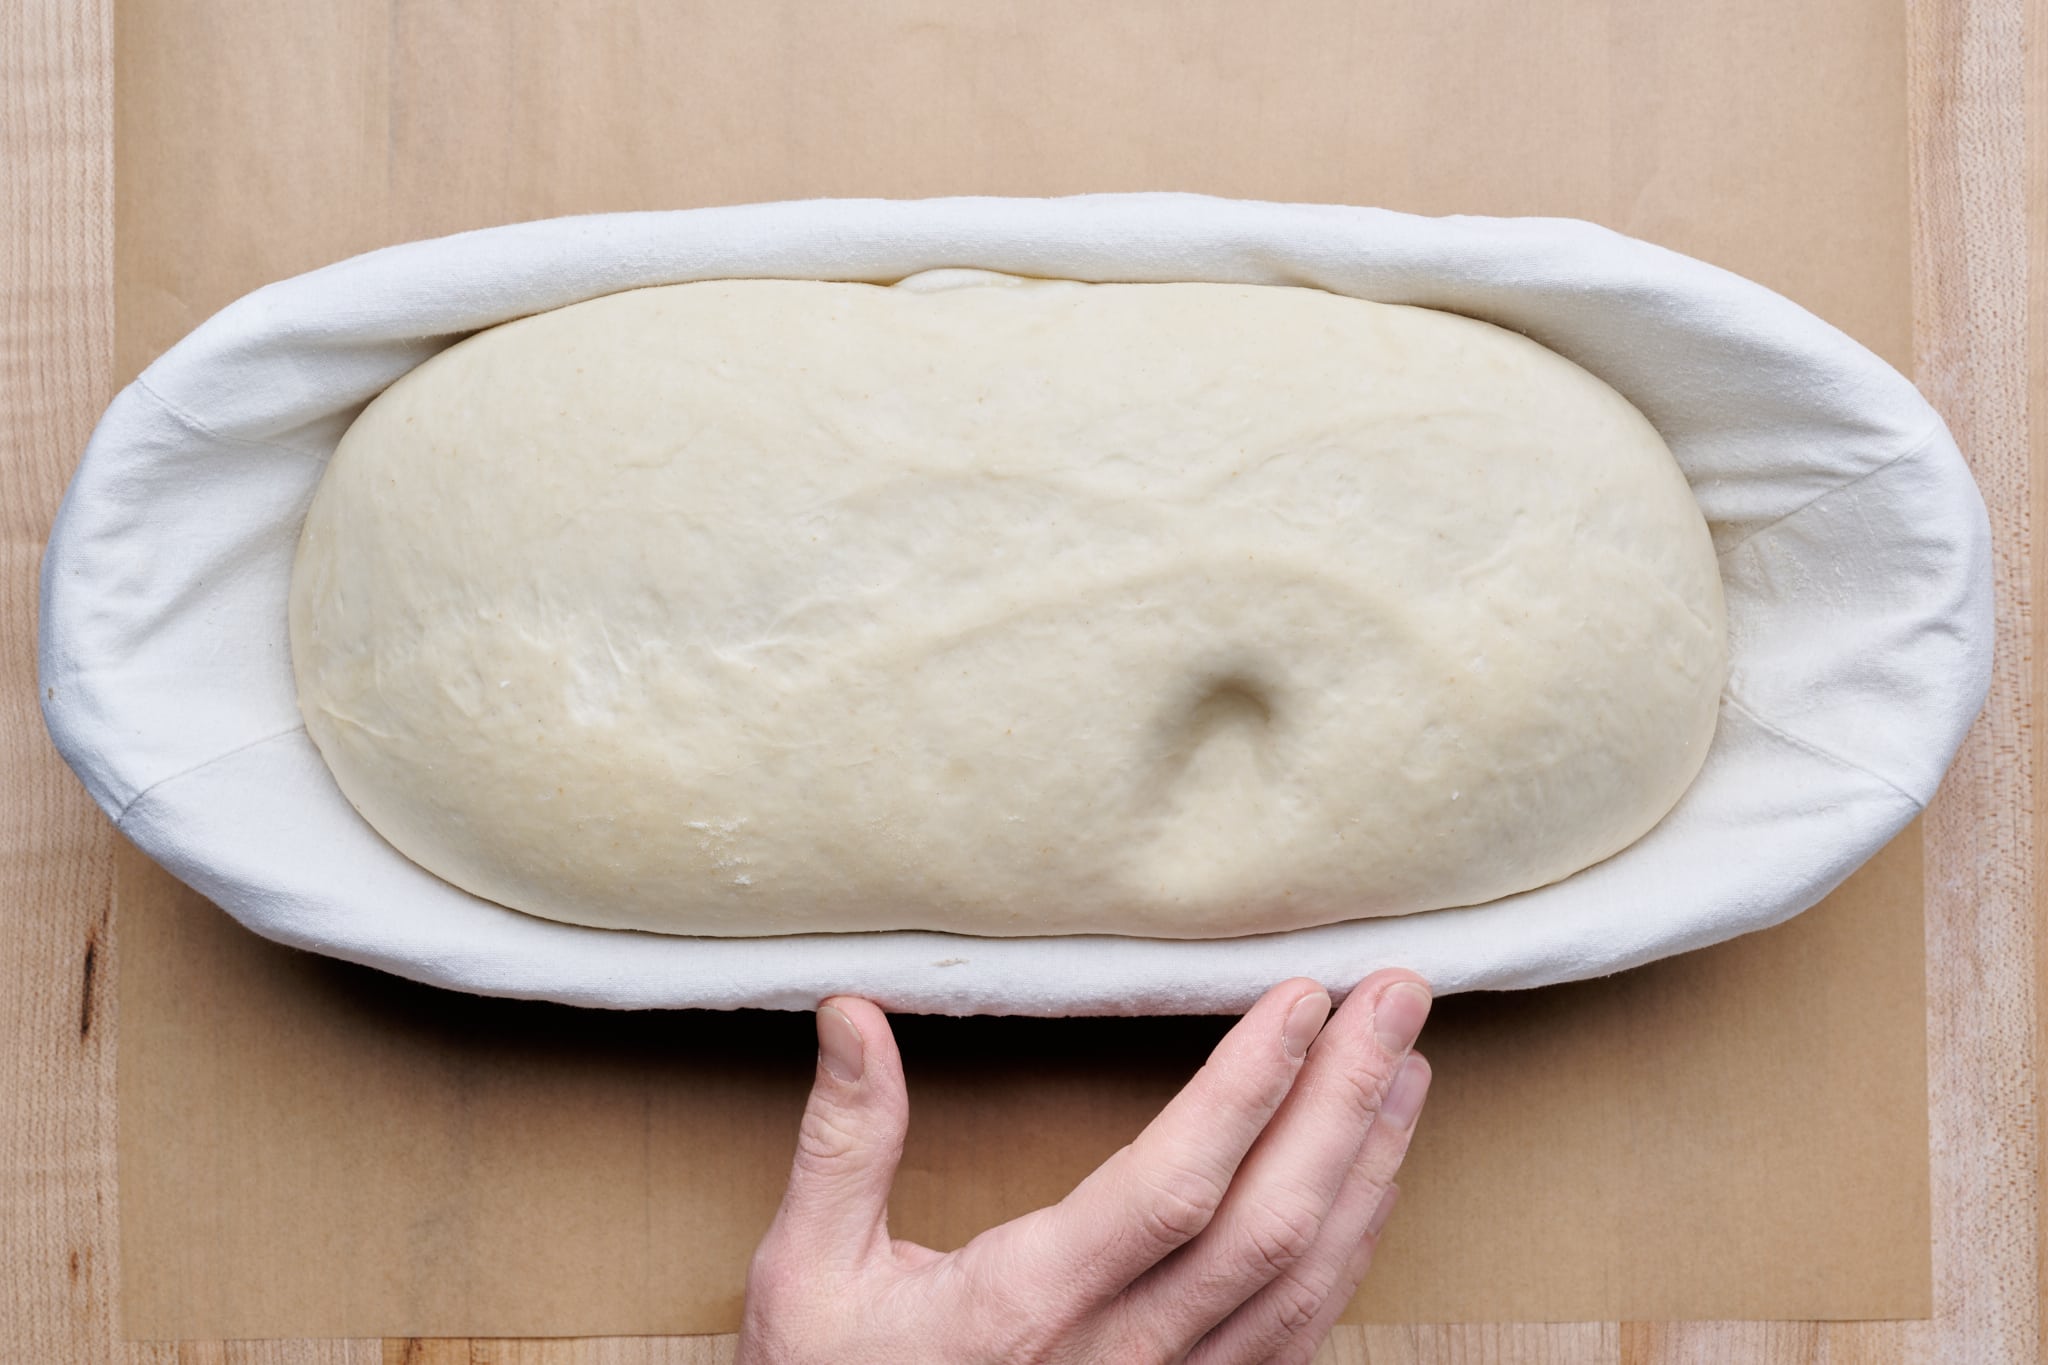
- Proofing Basket: Place the shaped dough into a floured proofing basket or banneton. The basket supports the dough as it proofs and helps it maintain its shape.
- Temperature: Find a warm, draft-free spot for the dough to proof. Ideal proofing temperatures range from 75°F to 80°F (24°C to 27°C).
- Timing: The duration of proofing can vary depending on factors such as the temperature and the activity of the sourdough starter. On average, proofing takes 4 to 12 hours.
- Visual Cues: Look for visual cues that indicate the dough is adequately proofed. It should increase in size, and if gently pressed with a finger, the indentation should slowly fill back in but leave a slight impression.
Signs of Overproofing
Overproofing can lead to a flat, dense loaf with an overly sour flavor. Watch out for these signs of overproofing:
- Excessive Rise: If the dough has risen excessively and appears fragile or bubbly on the surface, it may have overproofed.
- Collapsed Shape: An overproofed loaf may lose its shape and spread outwards rather than holding a rounded form.
- Blunted Flavors: Overfermentation can lead to a loss of complex, balanced flavors in the bread, resulting in an overly tangy or sour taste.
Experiment and Adjust
As you gain experience with sourdough bread baking, don’t be afraid to experiment and adjust your proofing techniques. Factors such as the hydration level of the dough, the strength of the sourdough starter, and the ambient temperature all play a role in the proofing process. Take note of your observations and make small adjustments to achieve the desired results.
Final Thoughts
Proofing sourdough bread is both an art and a science. It requires careful attention to detail and an understanding of the factors that influence the process. With practice and a willingness to learn from each bake, you’ll soon become adept at achieving beautifully proofed sourdough loaves that boast a delightful texture and flavor.
Happy baking!
Was this page helpful?
Read Next: How To Proof Bread Dough In Steam Oven
Related Articles
How To Proof Bread Without A Proofer
How To Proof Bread Dough In Steam Oven
How To Proof Frozen Dough Fast
How To Proof Donuts At Home
How To Proof Frozen Croissants Quickly
How To Clarify Soup

How To Clarify A Consommé

How To Clarify Infused Coconut Oil

How To Clarify Juice With Agar
How To Clarify Coconut Milk For Cocktails

How To Clarify Liquor