Mastering the Art of Proofing Bread in Your Air Fryer
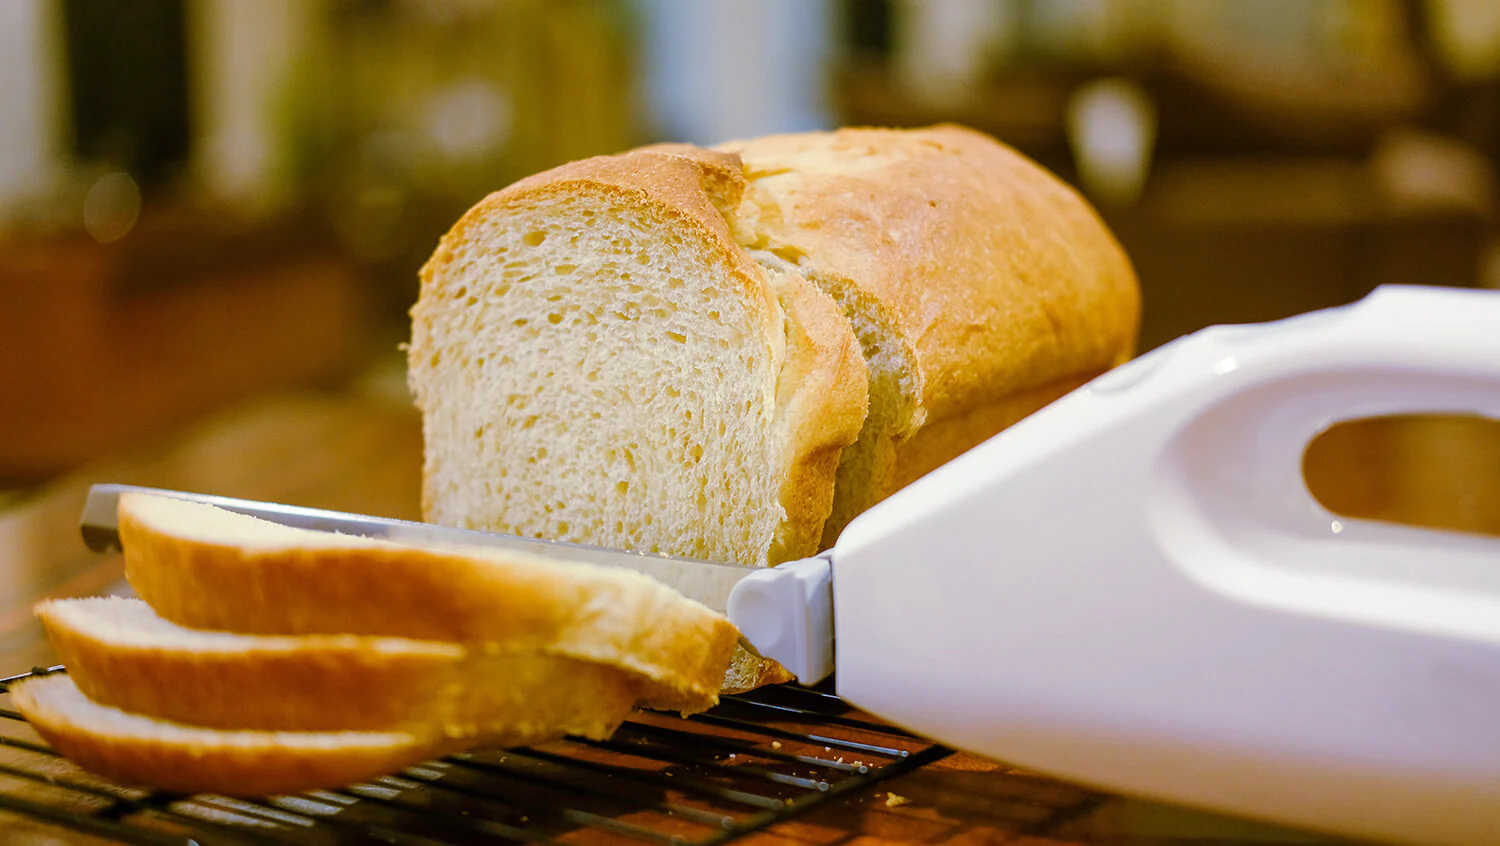
There’s nothing quite like the smell of freshly baked bread wafting through your home. The process of proofing bread is essential to achieving that perfect, fluffy texture, and using an air fryer can be a game-changer in this process. Whether you’re a seasoned baker or a novice in the kitchen, mastering the art of proofing bread in your air fryer is a skill worth acquiring.
The Basics of Proofing Bread
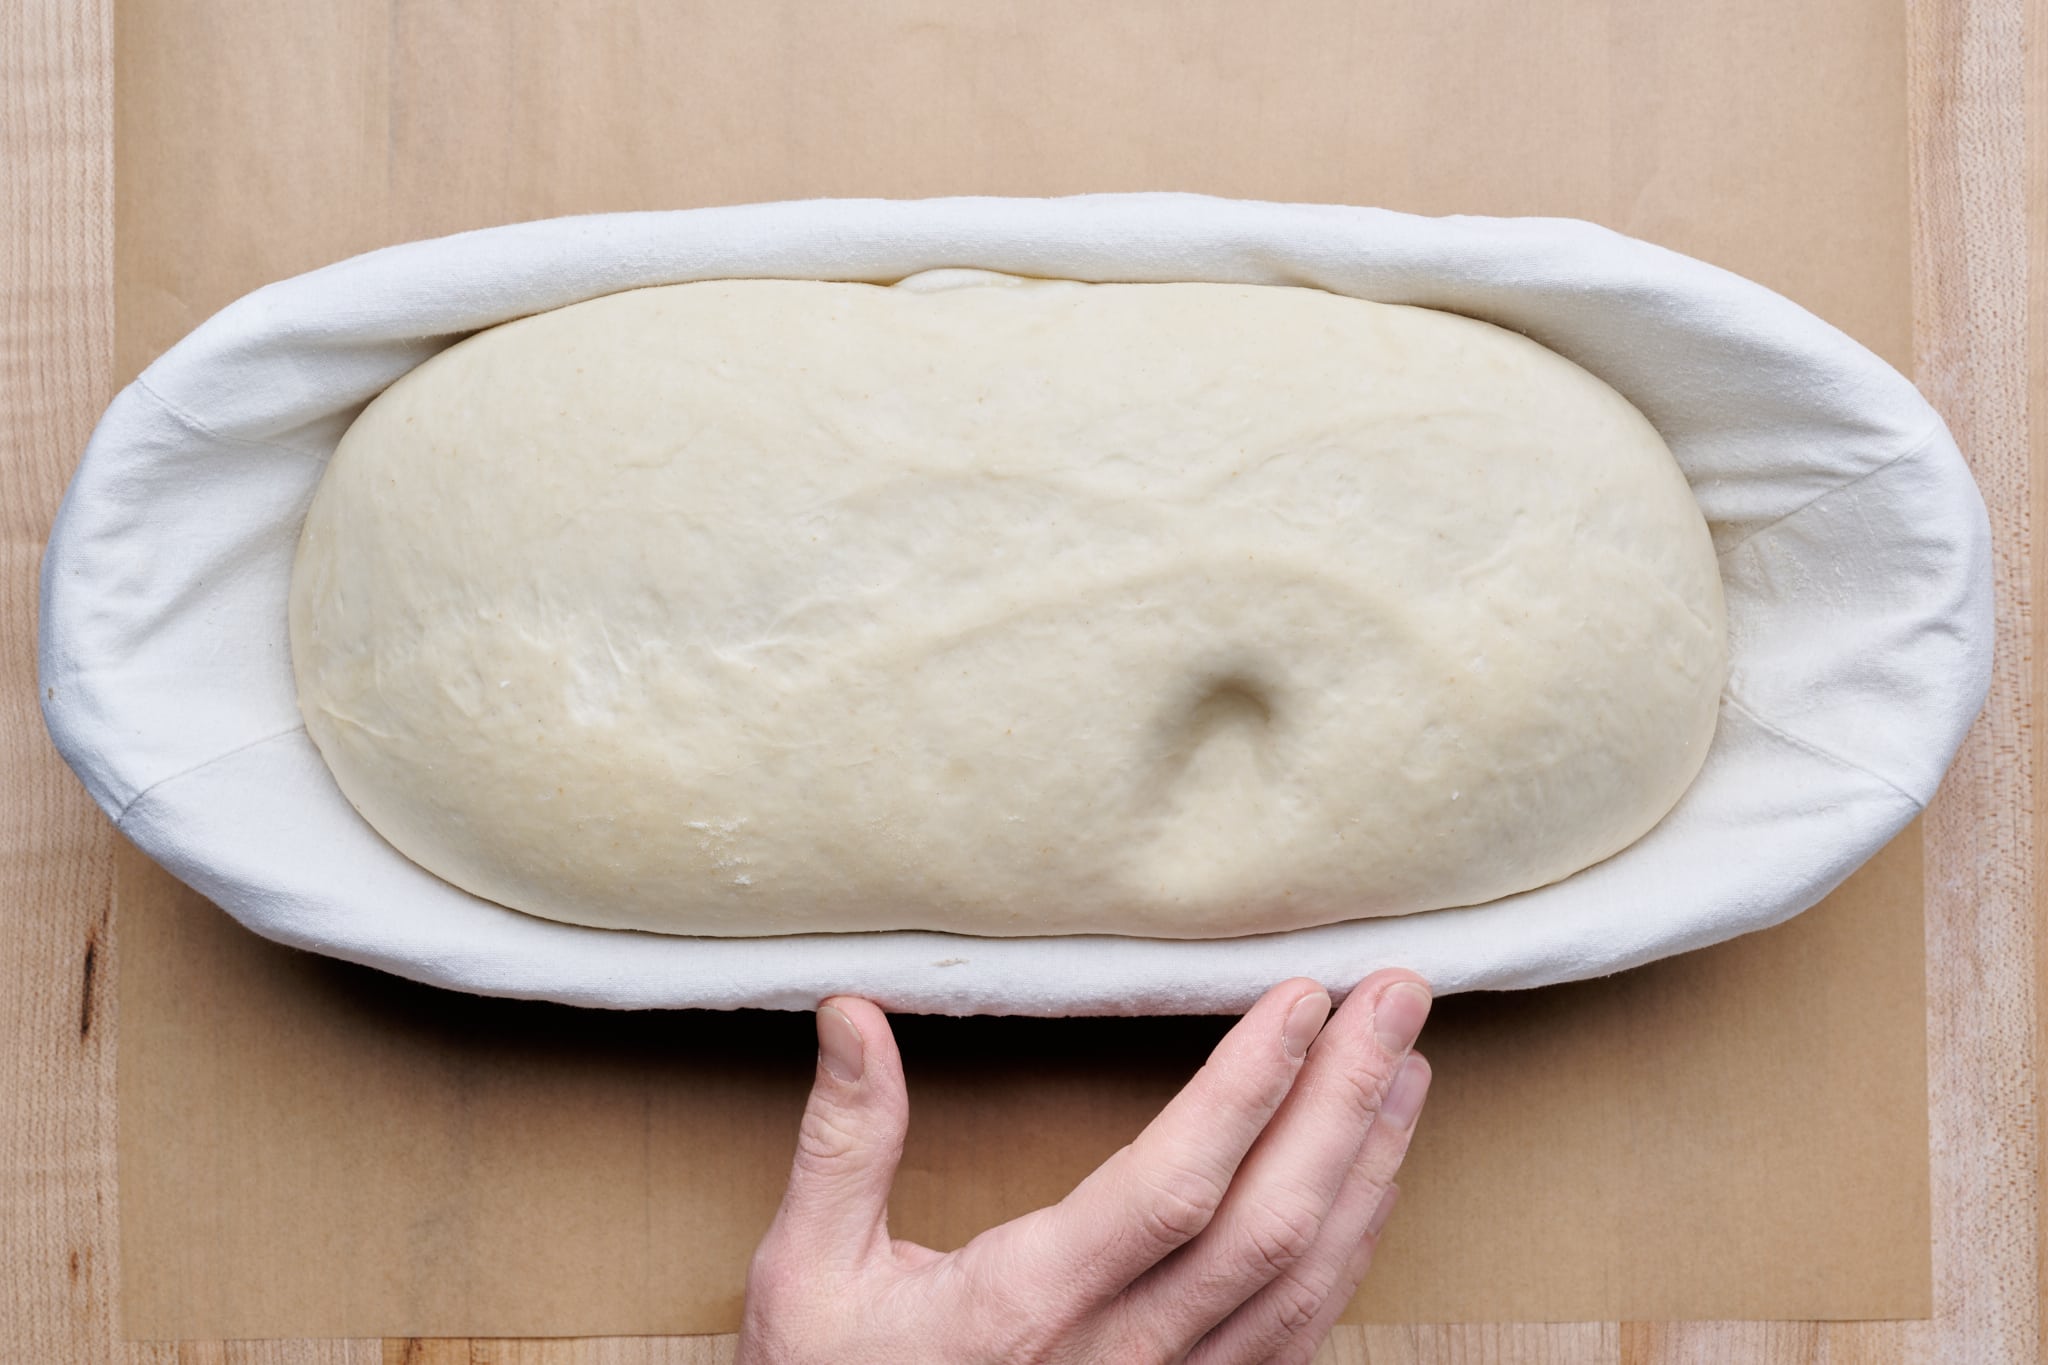
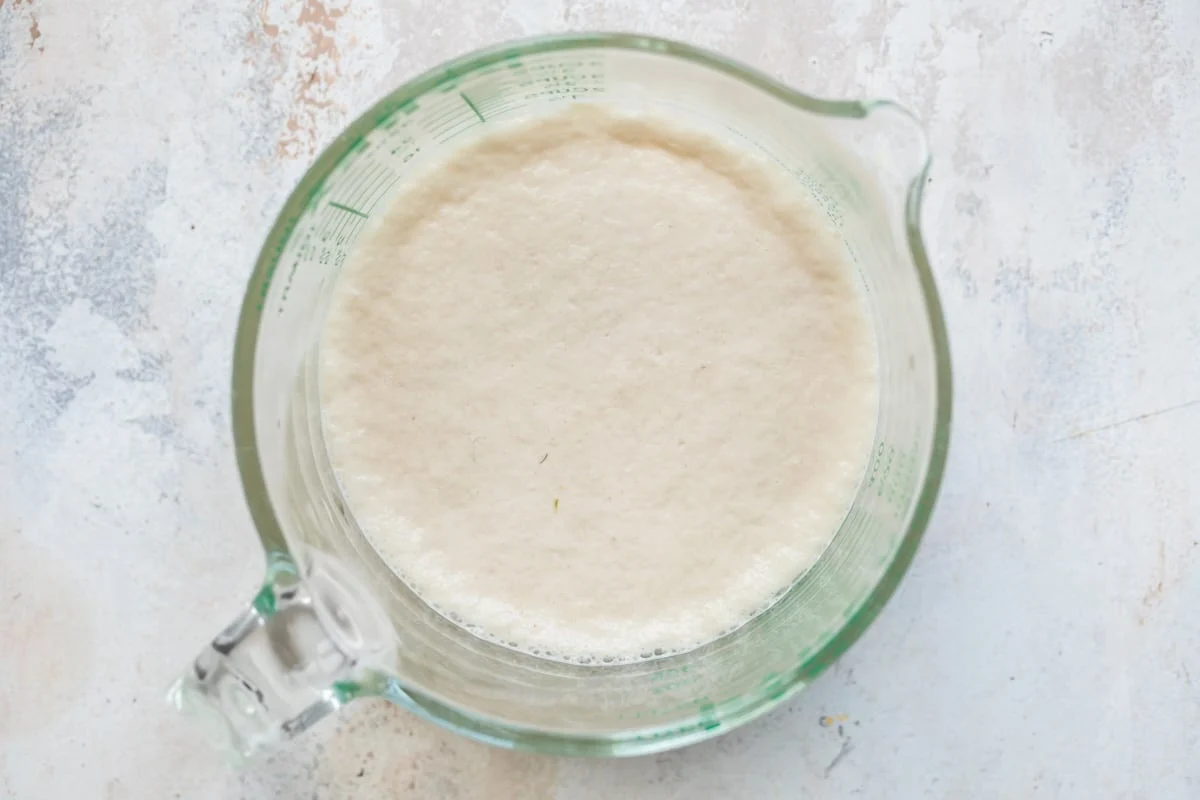
Before we delve into the specifics of using an air fryer for proofing, let’s first understand what proofing actually means. Proofing is the final rise that shaped dough undergoes before it is baked. During this stage, the yeast ferments the dough, causing it to rise and develop its characteristic texture and flavor. Proper proofing is crucial for achieving light, airy bread with a tender crumb.
Why Use an Air Fryer for Proofing?
Using an air fryer for proofing offers several advantages:
- Consistent Temperature: Air fryers provide a controlled, warm environment, ideal for proofing dough. This consistent temperature promotes even rising and fermentation.
- Space-Saving: If you have a small kitchen or limited counter space, using your air fryer for proofing eliminates the need for additional bulky proofing equipment.
- Time-Saving: Air fryers typically heat up quickly, which can expedite the proofing process compared to traditional methods.
Steps for Proofing Bread in Your Air Fryer
Now that we understand the benefits, let’s walk through the steps of proofing bread in your air fryer:
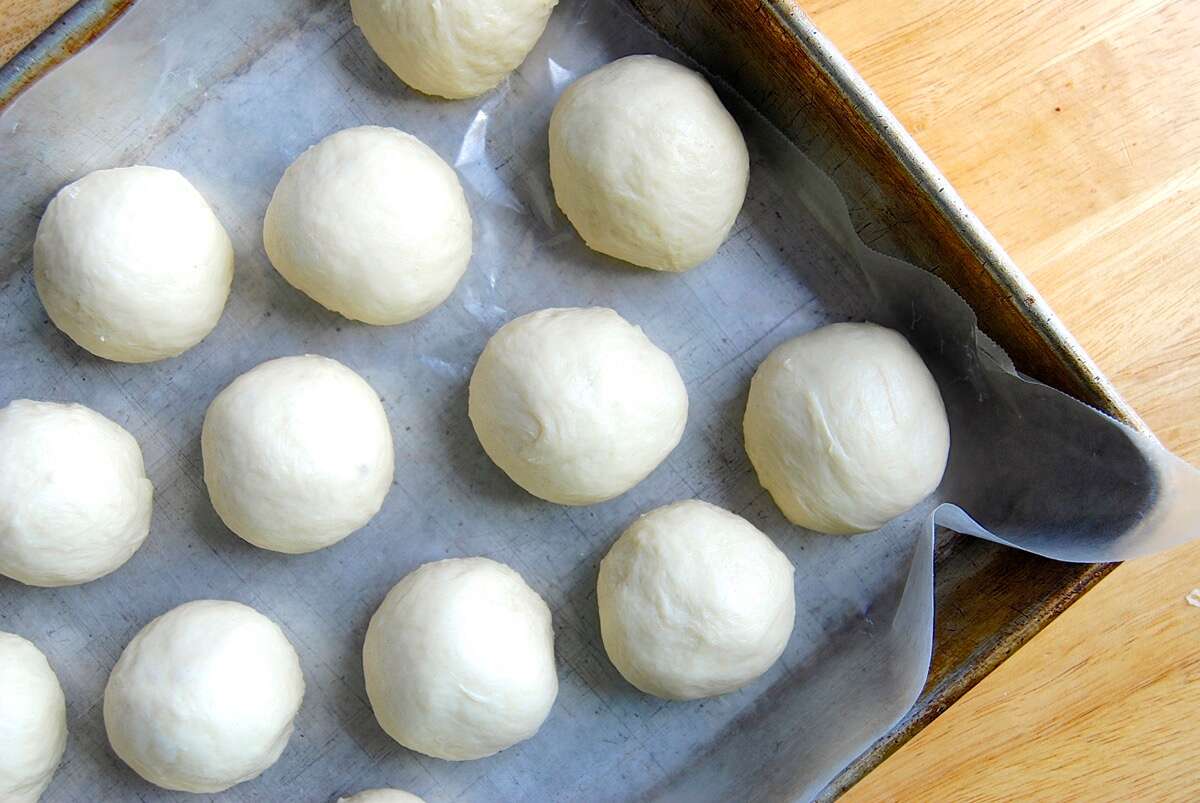
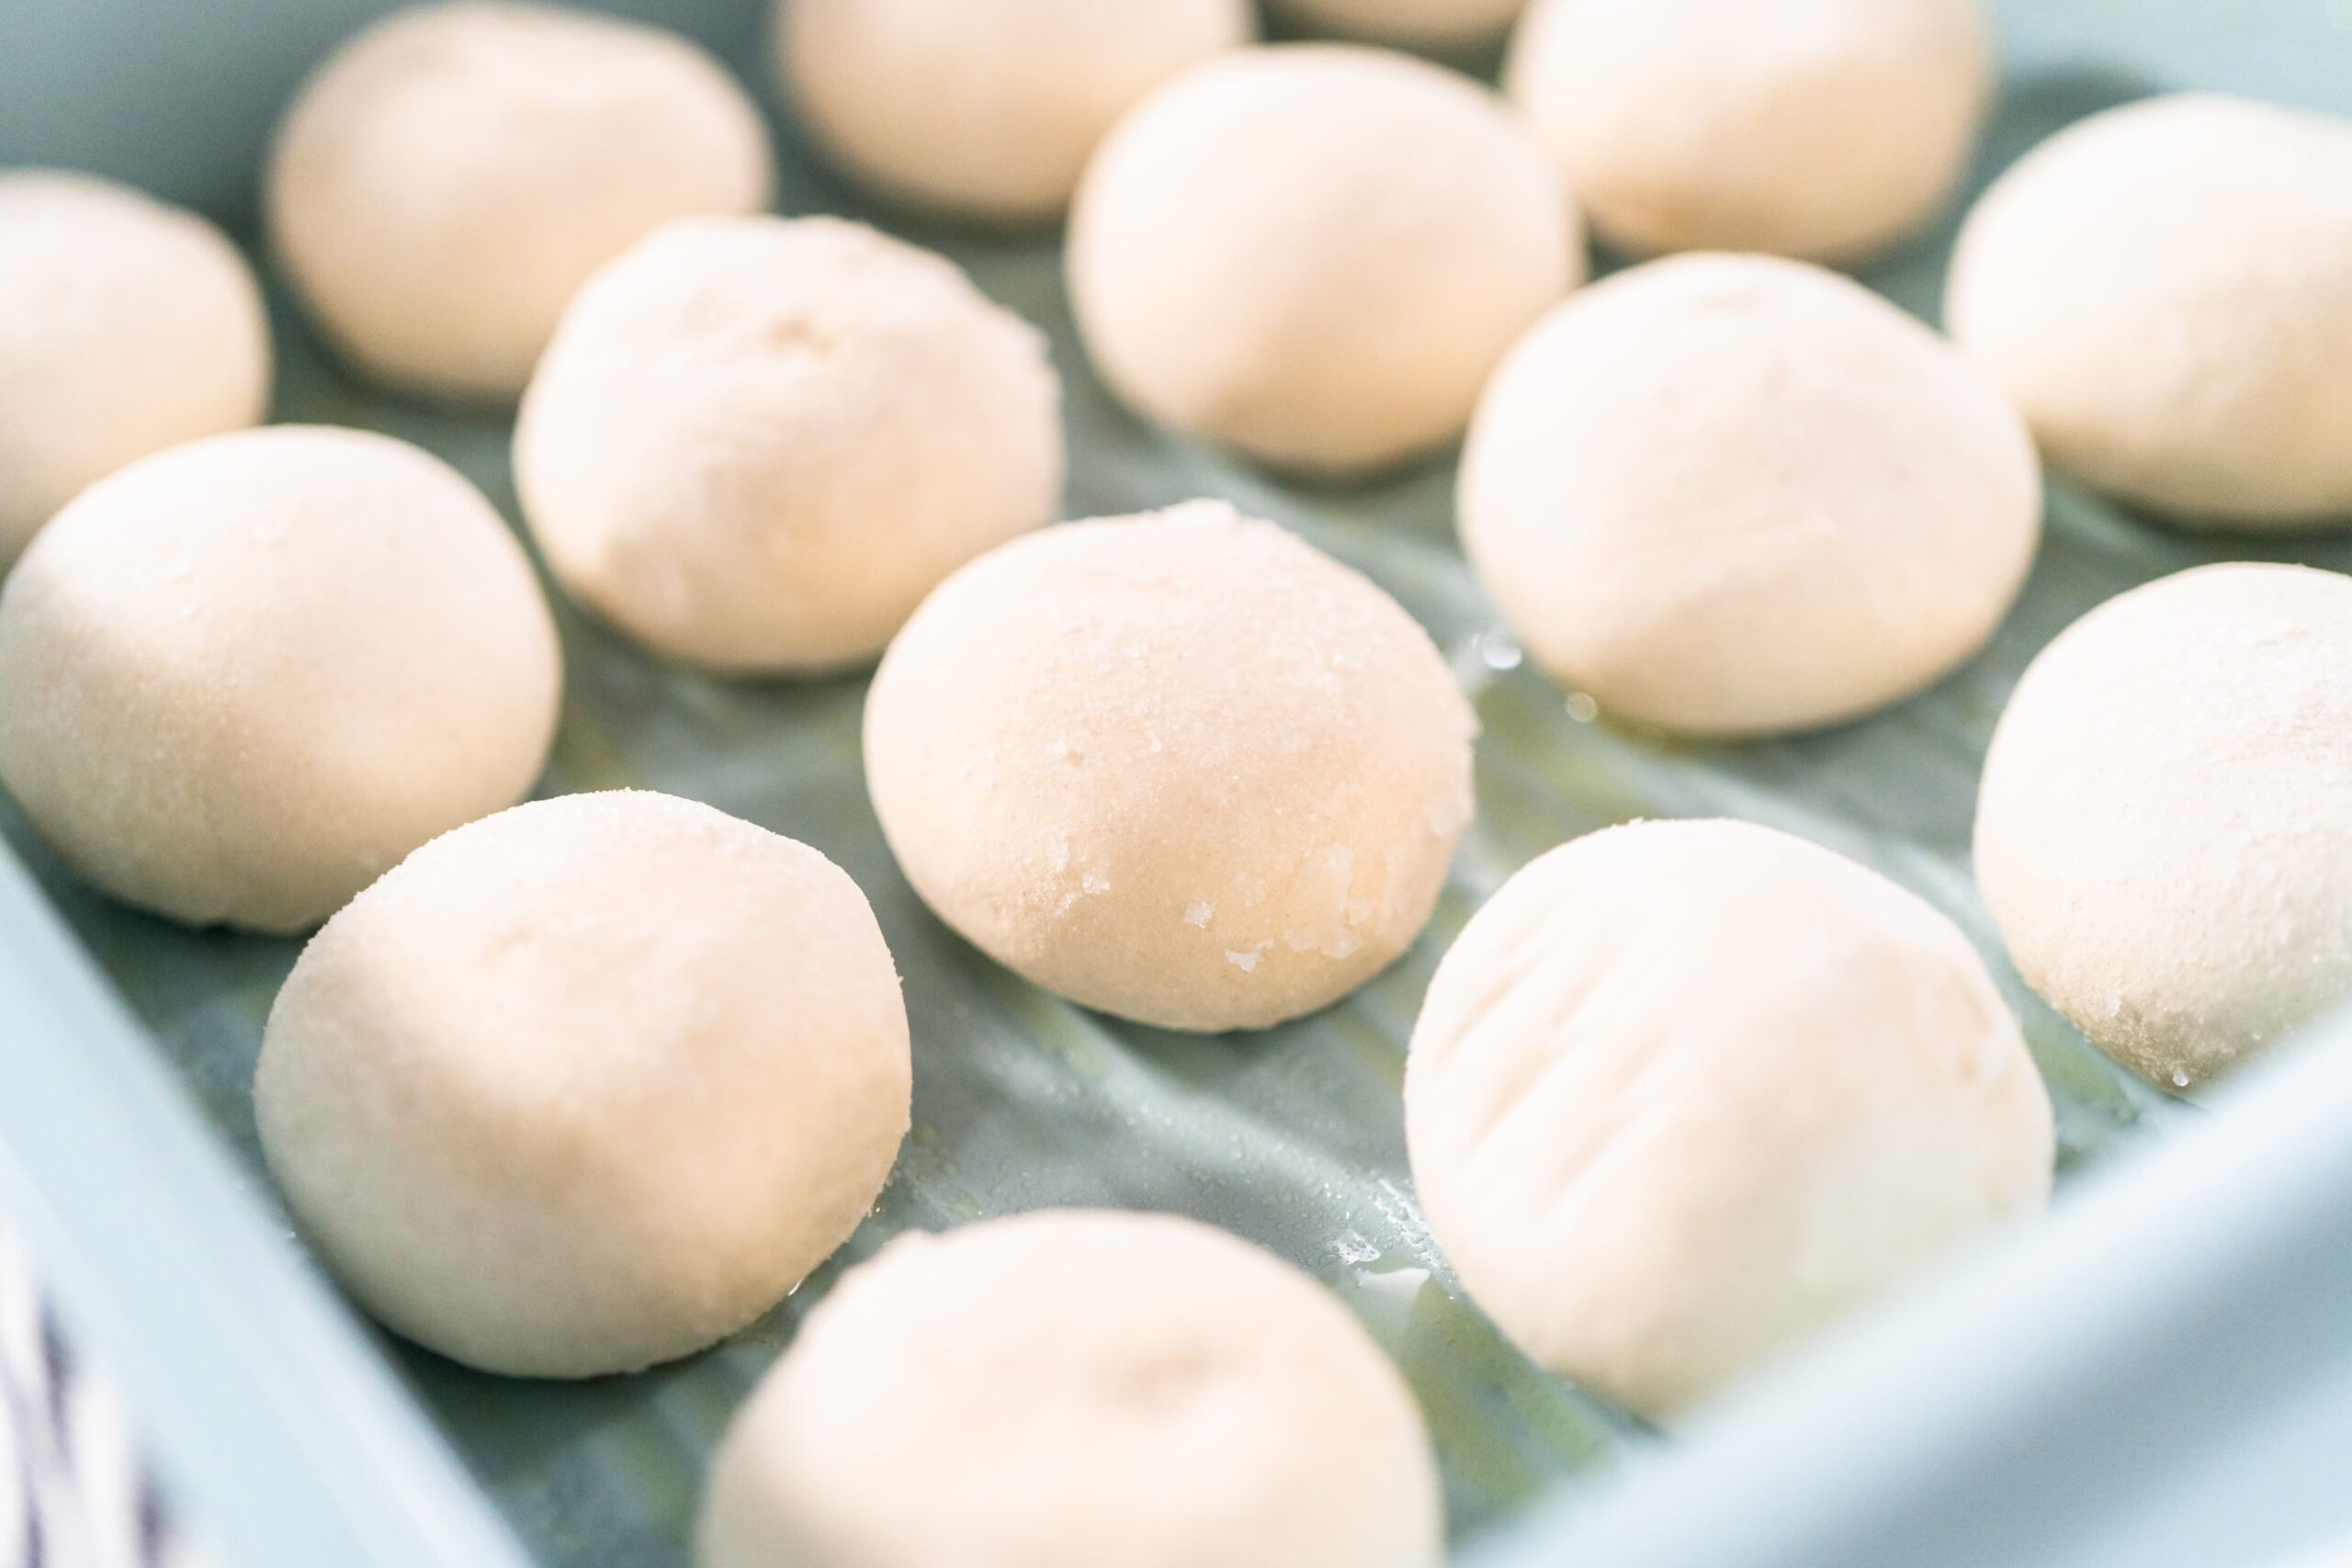
- Prepare the Dough: Once you’ve prepared your bread dough, shape it according to your recipe’s instructions.
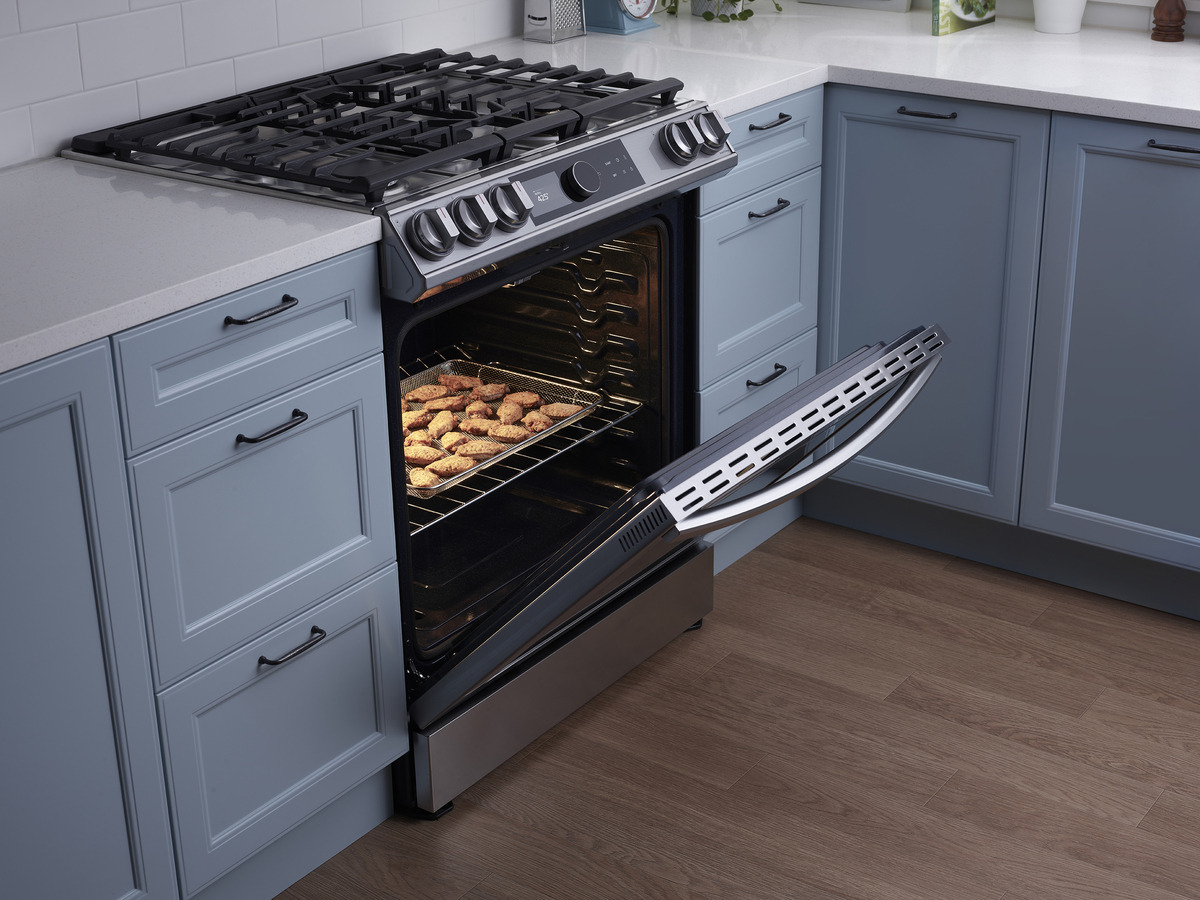
- Preheat the Air Fryer: Set your air fryer to the lowest temperature setting for a few minutes to create a warm environment for proofing.
- Place the Dough in the Air Fryer: Place the shaped dough in a greased bowl or on a parchment-lined tray, then put it into the preheated air fryer.
- Set the Time: Depending on your recipe, let the dough proof in the air fryer for the specified time. Keep an eye on it to ensure it rises appropriately.
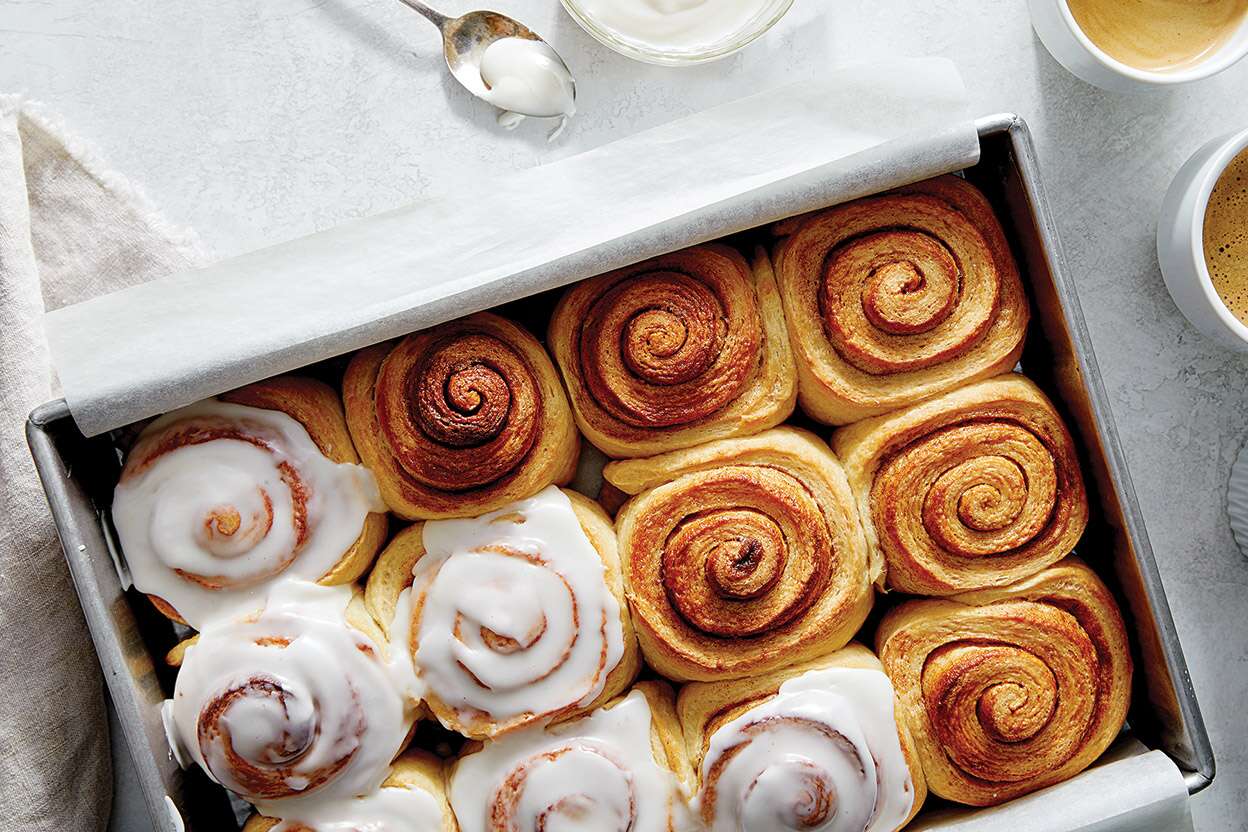
- Check for Readiness: Once the dough has doubled in size and is ready for baking, carefully remove it from the air fryer and proceed with the baking instructions.
Tips for Successful Proofing
To ensure successful proofing in your air fryer, consider the following tips:
- Use the Right Setting: If your air fryer has a specific “proof” setting, utilize it for optimal results.
- Cover the Dough: To prevent the dough from drying out during proofing, cover it with a clean kitchen towel or plastic wrap.
- Monitor the Temperature: Keep an eye on the temperature inside the air fryer to ensure it remains consistent throughout the proofing process.
- Experiment with Timing: Depending on the type of bread and your air fryer model, you may need to adjust the proofing time to achieve the best results.
Conclusion
Proofing bread in your air fryer can be a convenient and efficient way to achieve bakery-quality results at home. By understanding the basics of proofing, leveraging the benefits of an air fryer, and following the proper steps, you can elevate your bread-baking game to new heights. So, roll up your sleeves, preheat that air fryer, and get ready to enjoy the delightful aroma of freshly proofed bread in your own kitchen!
Was this page helpful?
Related Articles
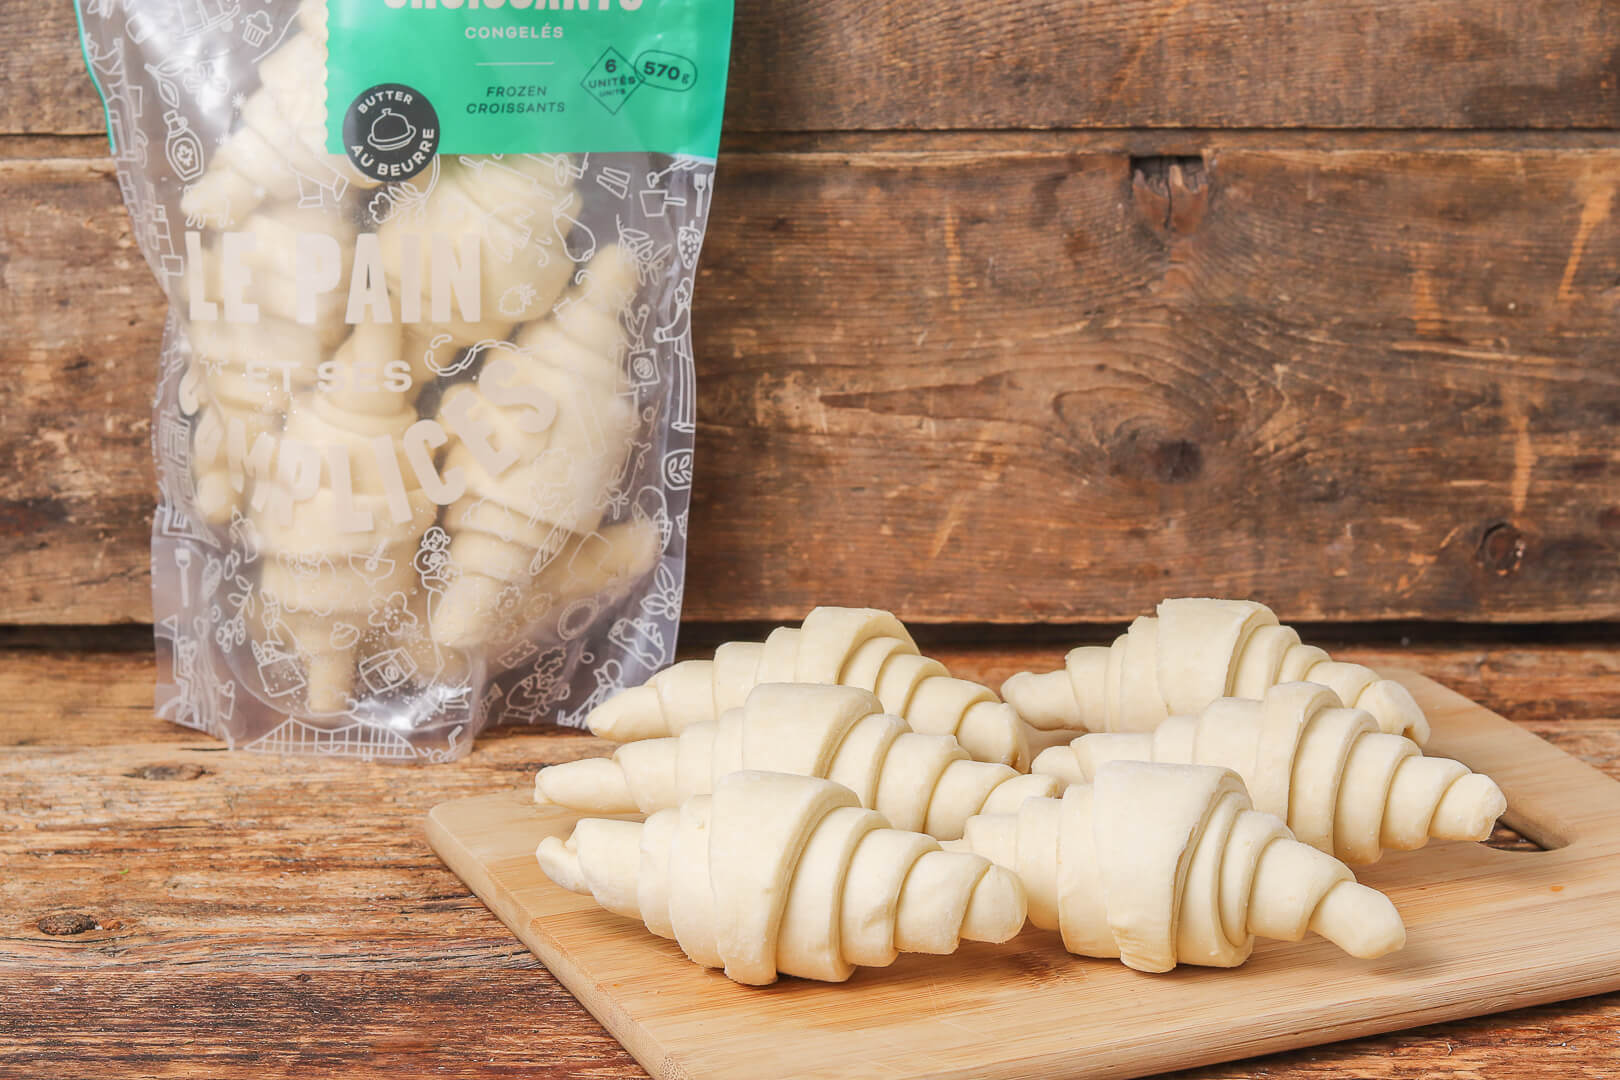
How To Proof Frozen Croissants Quickly
How To Proof Frozen Bread
How To Proof Bread In Samsung Oven
How To Proof Apple Pie Moonshine
How To Proof Yeast In Milk
How To Proof Frozen Rolls
How To Proof Cinnamon Roll
How To Proof Frozen Bread
How To Proof Frozen Dough Fast
How To Proof Bread In LG Oven
How To Proof Bread In Samsung Oven