Welcome to the World of Geode Cakes!
If you’re a fan of unique and stunning desserts, then you won’t want to miss out on the latest trend – geode cakes. These mesmerizing creations mimic the beauty of natural geodes, with their intricate crystal formations and vibrant colors. In this article, we’ll guide you through the process of making your own geode cake, and who knows, maybe you’ll become the next baking sensation!
Gathering Your Supplies
Before you start creating your geode cake masterpiece, it’s essential to gather all the necessary supplies. Here’s a list of items you’ll need:
- A freshly baked cake – you can choose any flavor you prefer, but a white or vanilla cake works best as a canvas for the geode design.
- Fondant – this pliable icing will be used to create the outer shell of the geode.
- Edible crystals or rock candy – these will form the sparkling crystals inside the geode.
- Gel food coloring – select colors that complement your desired geode design.
- A small paintbrush – for applying the food coloring and creating intricate details.
- Fondant or gum paste tools – these will help mold and shape the fondant into the desired geode shape.
Creating the Geode Design
Now that you have everything ready, it’s time to start creating the geode design on your cake:
- Roll out a portion of the fondant into a thin sheet, making sure it’s large enough to cover the desired area on the cake.
- Apply gel food coloring to the fondant, creating a marbled effect by blending different colors together.
- Using your fondant or gum paste tools, begin shaping the fondant into the form of a geode, keeping in mind the natural curves and jagged edges.
- Once you’re satisfied with the shape, gently press the edible crystals or rock candy into the fondant, creating the illusion of crystalline formations.
- Take the small paintbrush and use it to add finer details, such as veins or highlights, to enhance the geode’s realism.
Assembling Your Geode Cake
Now that your geode design is complete, it’s time to assemble the final cake:
- Carefully place the geode fondant piece onto the top or side of the cake, depending on your desired placement.
- Secure the geode fondant to the cake using a small amount of buttercream or edible glue.
- Take a step back and admire your stunning geode cake masterpiece!
Remember, while making a geode cake takes practice, don’t be afraid to get creative and experiment with different color combinations and designs. Let your imagination run wild as you embark on this sweet and artistic baking journey!
Now that you know how to make a geode cake, it’s time to gather your supplies, put on your baking apron, and start creating your own edible crystal masterpiece. Enjoy the process, and don’t forget to share your geode cake photos with family and friends. Who knows, your geode cake might just be the talk of the town!
For those looking to get creative with their baking skills, the article provides an excellent guide on making stunning geode cakes. Readers can dive into the Red Velvet Geode Cake Recipe for a rich and decadent treat or try the Lemon Geode Cake Recipe for a zesty twist. For a burst of color and fun, the Funfetti Geode Cake Recipe is a must-try. If you're a fan of fruit flavors, the Strawberry Geode Cake Recipe and Blueberry Geode Cake Recipe offer delicious fruity notes. The Salted Caramel Geode Cake Recipe is perfect for those who love a sweet and salty combination. For something unique, the Matcha Green Tea Geode Cake Recipe provides an earthy flavor. Each of these recipes allows bakers to use the skills and techniques from the guide to create eye-catching and delicious desserts.
– Cake mix or ingredients for a homemade cake batter
– Frosting (usually buttercream or cream cheese frosting)
– Rock-like candy or sugar crystals (such as rock candy or edible geode crystals)
– Food coloring (optional, for coloring the frosting)
– Start with a round or layered cake to provide a base shape for the geode cavity.
– Use a mixture of rock-like candy or sugar crystals in different shapes, sizes, and colors to create depth and texture. Layering them will give a more realistic effect.
– Experiment with different frosting colors to match the geode crystals. You can use food coloring to achieve the desired shades.
– Take your time and work patiently to ensure that the design looks accurate and visually appealing. Practice piping techniques beforehand if you’re decorating the cavity with frosting.
Was this page helpful?
Read Next: How To Make A Baked Potato Cake
Related Articles

How To Bake Syrian Bread
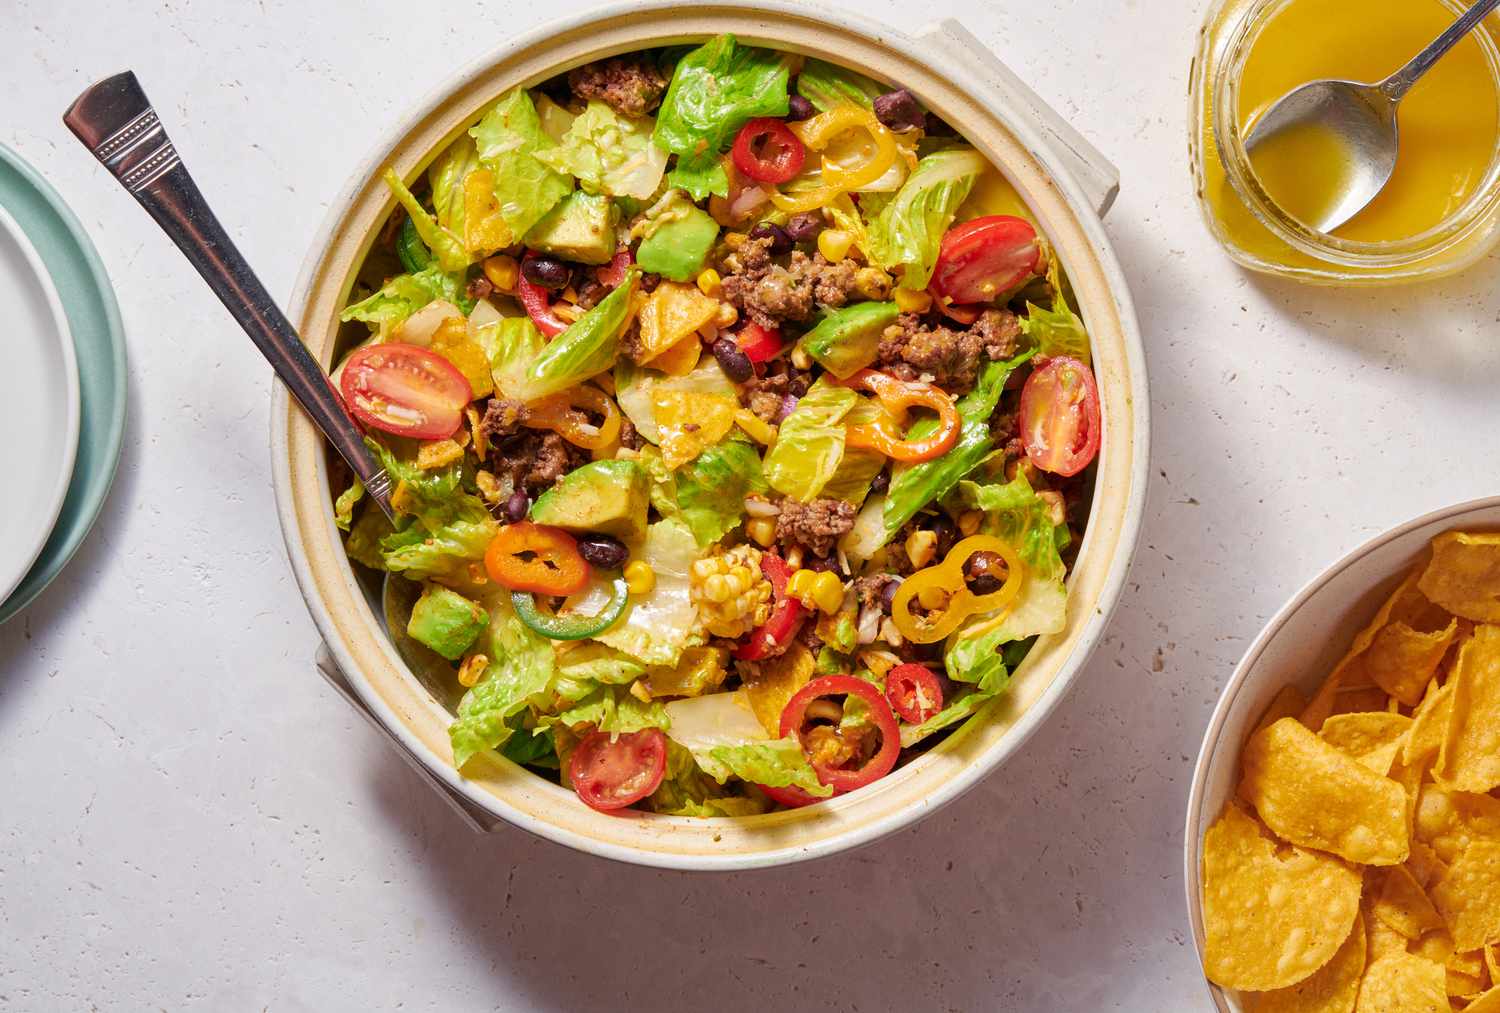
How To Bake Taco Salad Shells
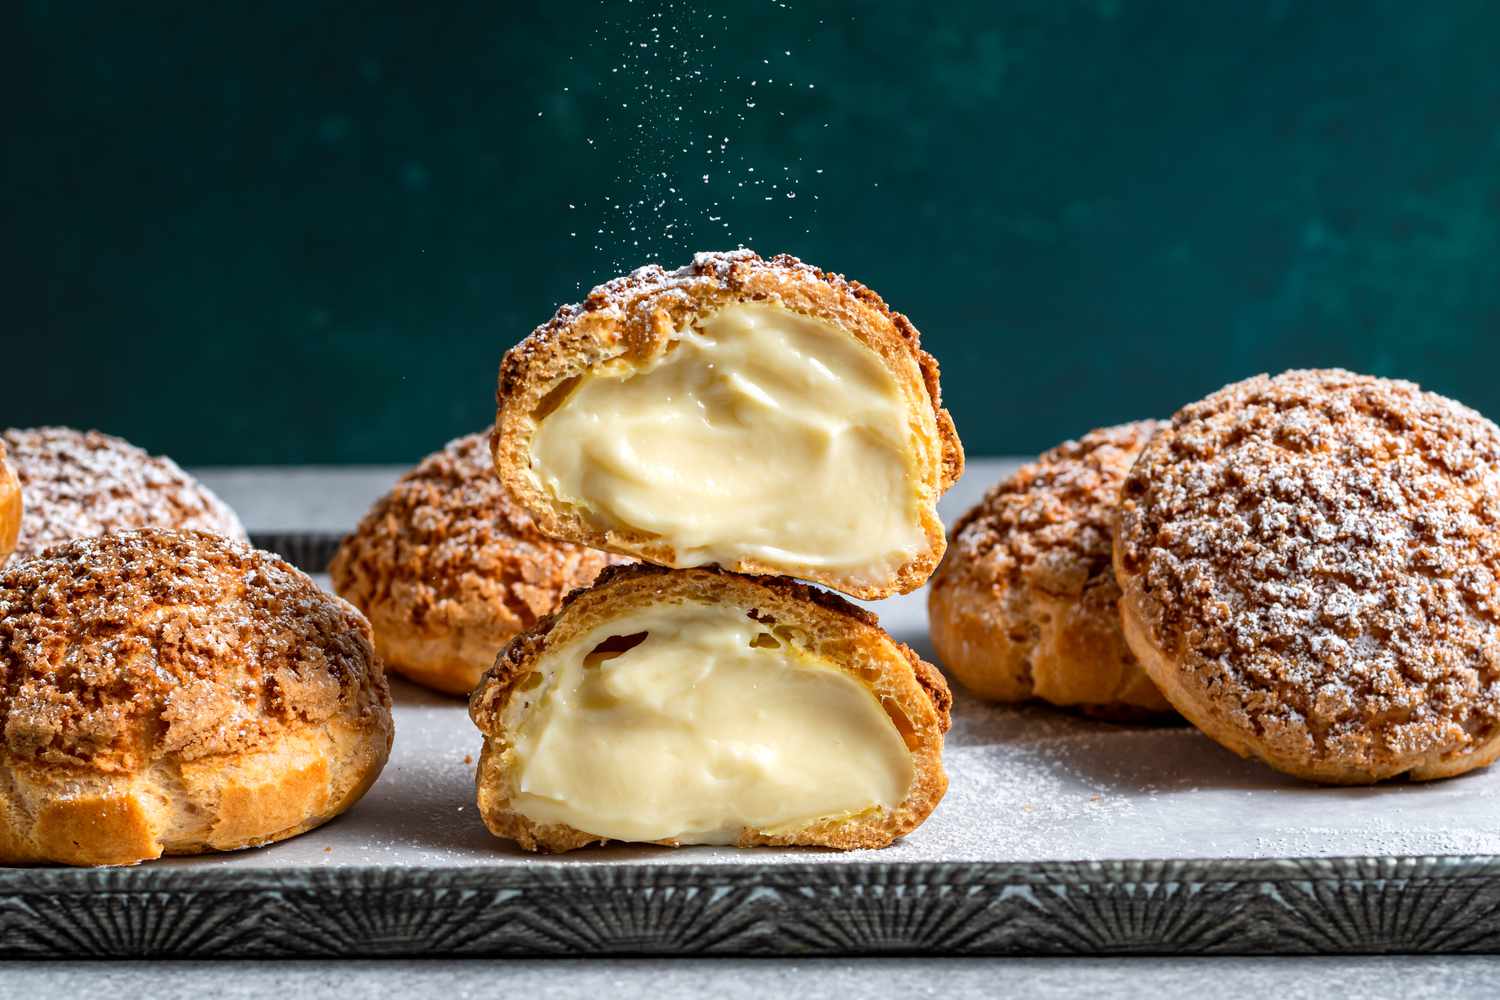
How To Bake Cream Puffs
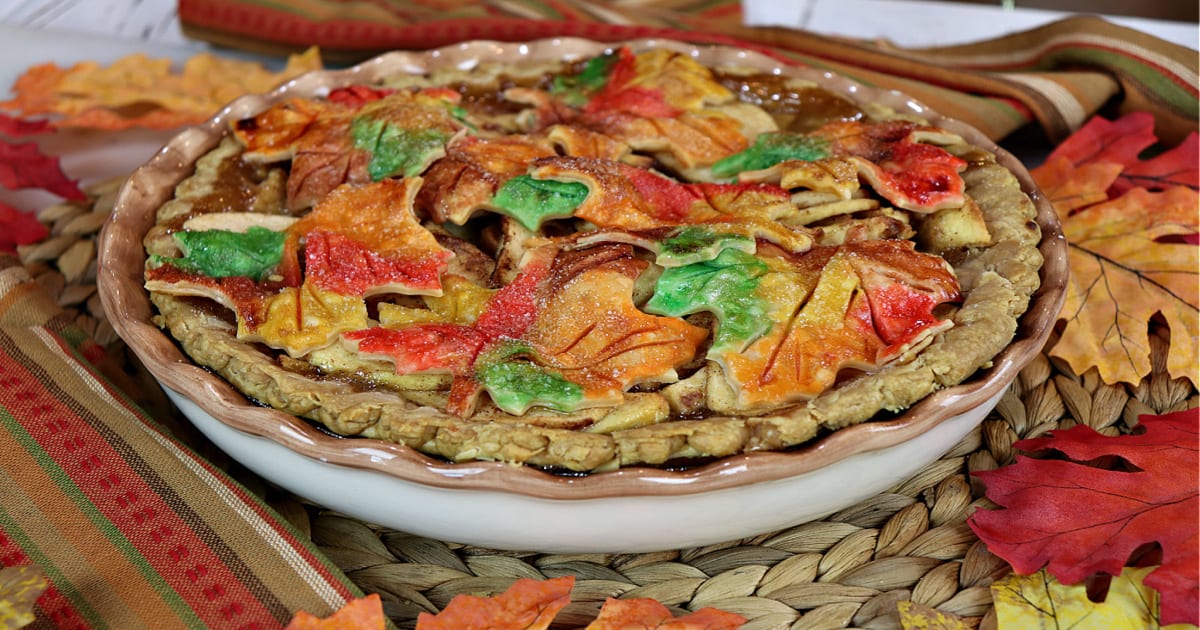
How To Make A Leaf Pie
How To Skin Hazelnuts
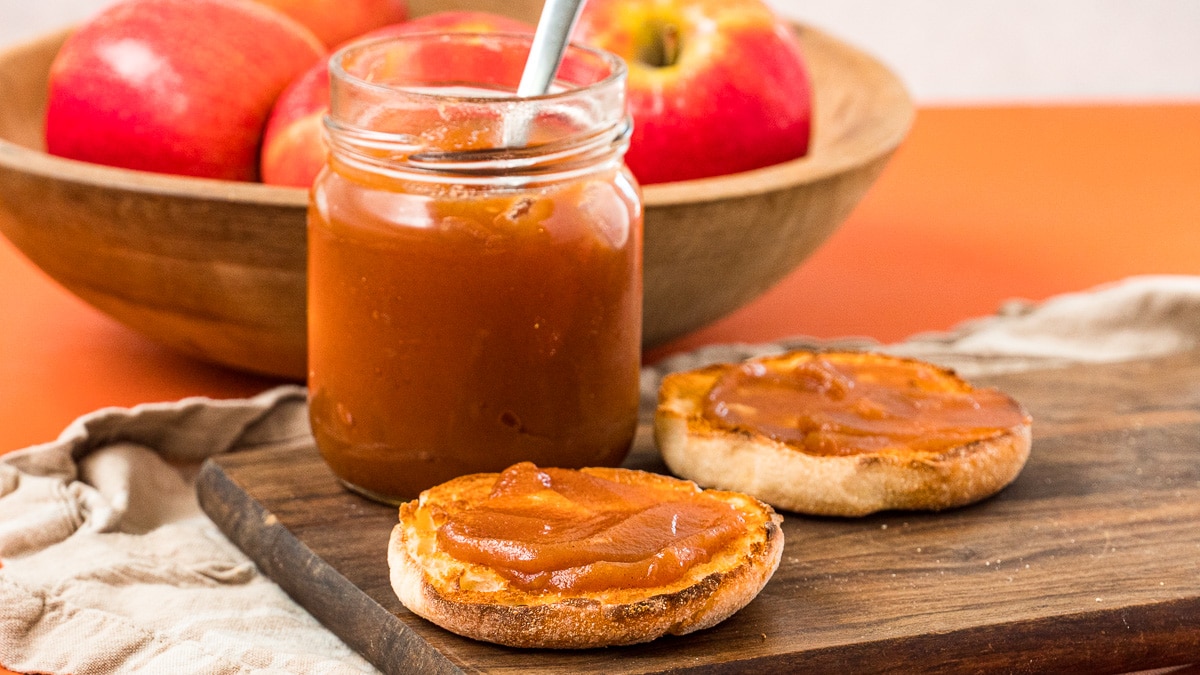
How To Make A Campfire Cake
How To Make Perfect Macarons At Home, According To A Pastry Chef
How To Make A Muffuletta Sandwich
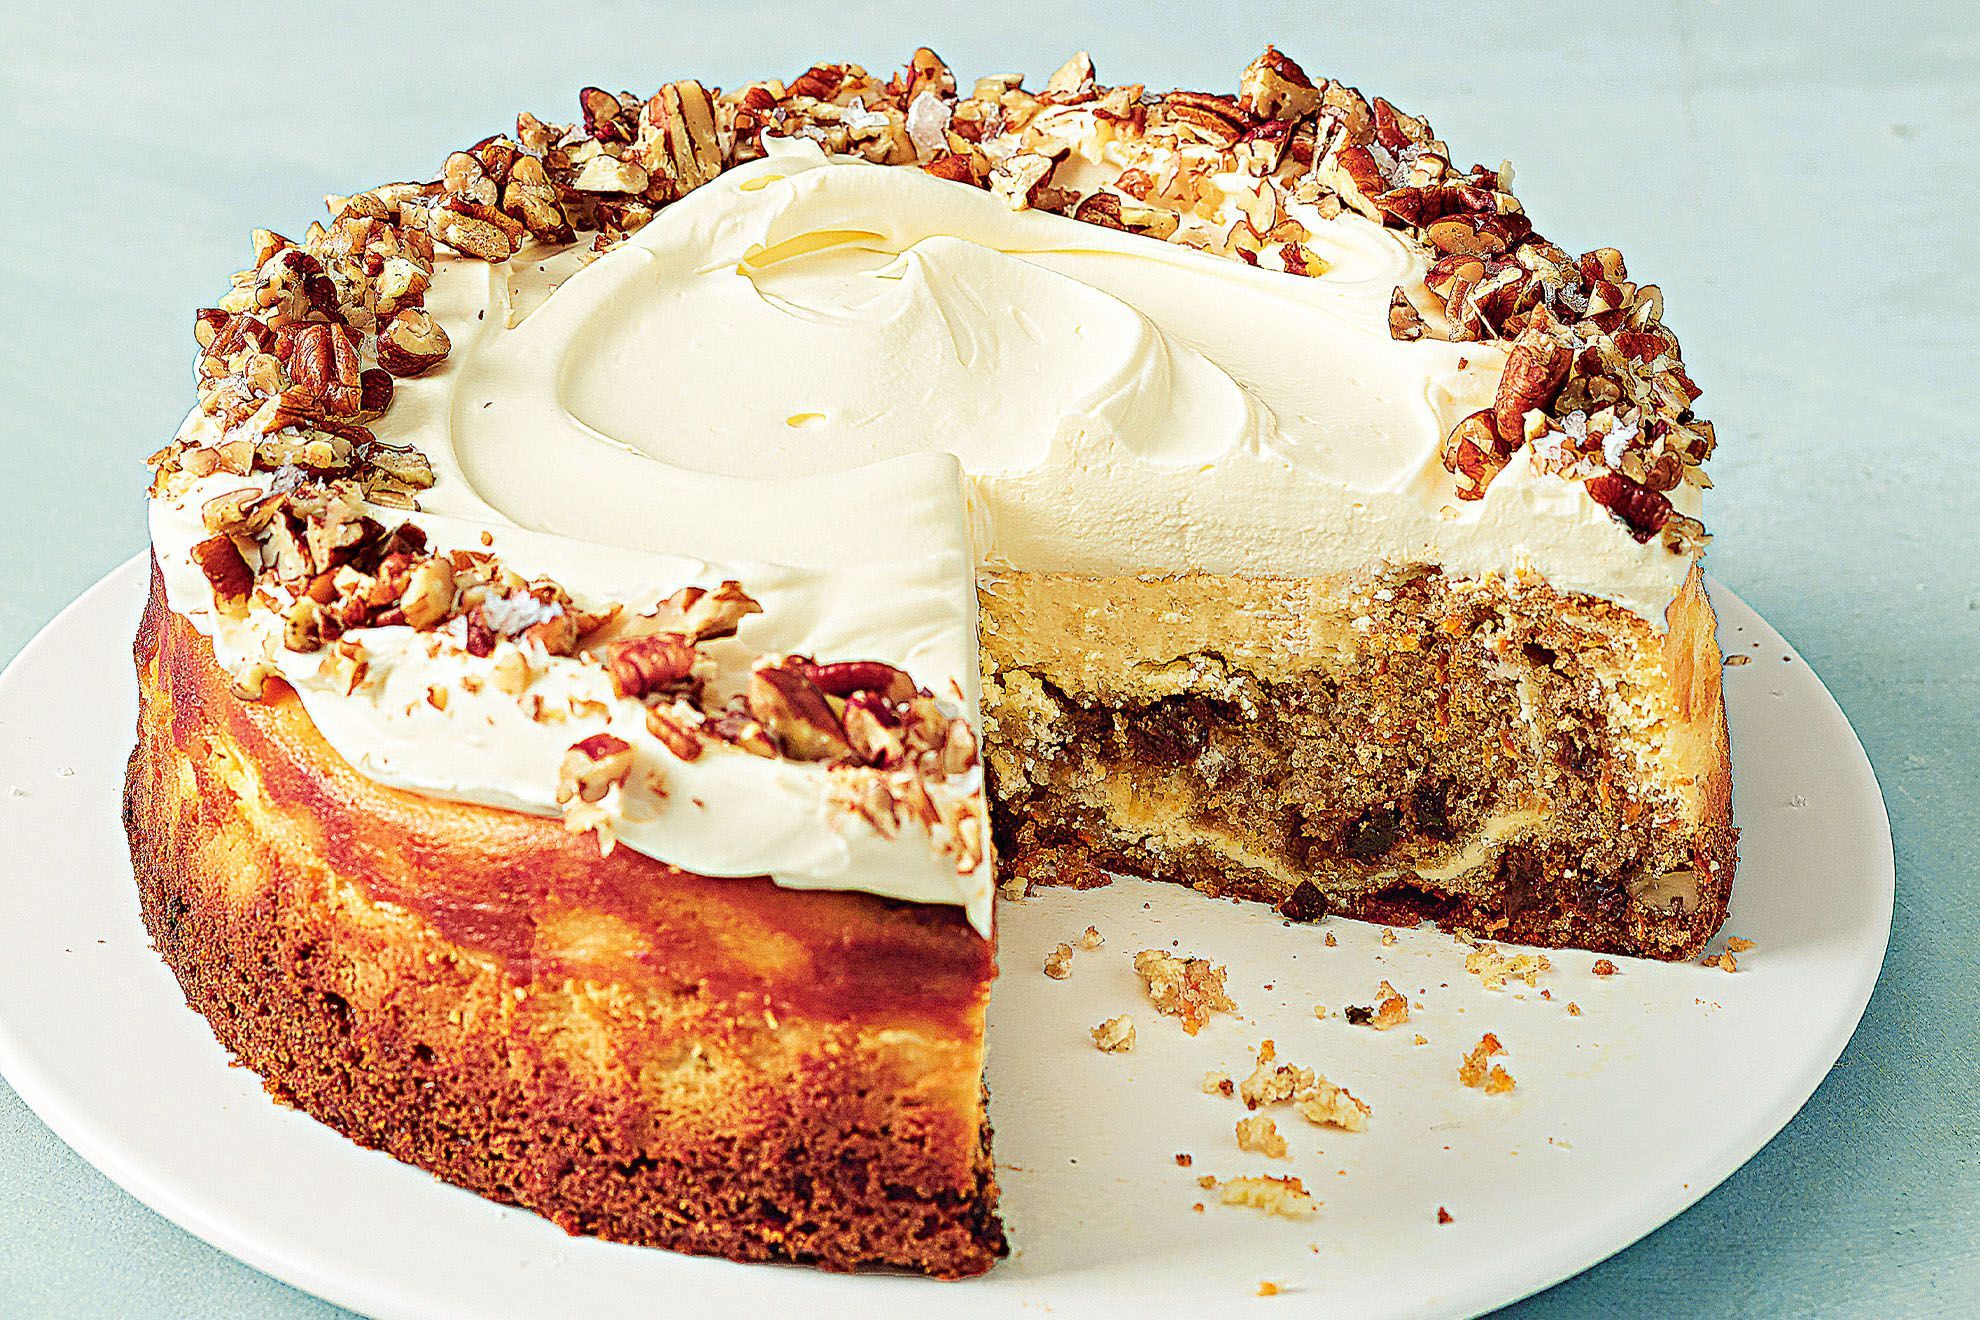
How To Make Carrot Cheesecake
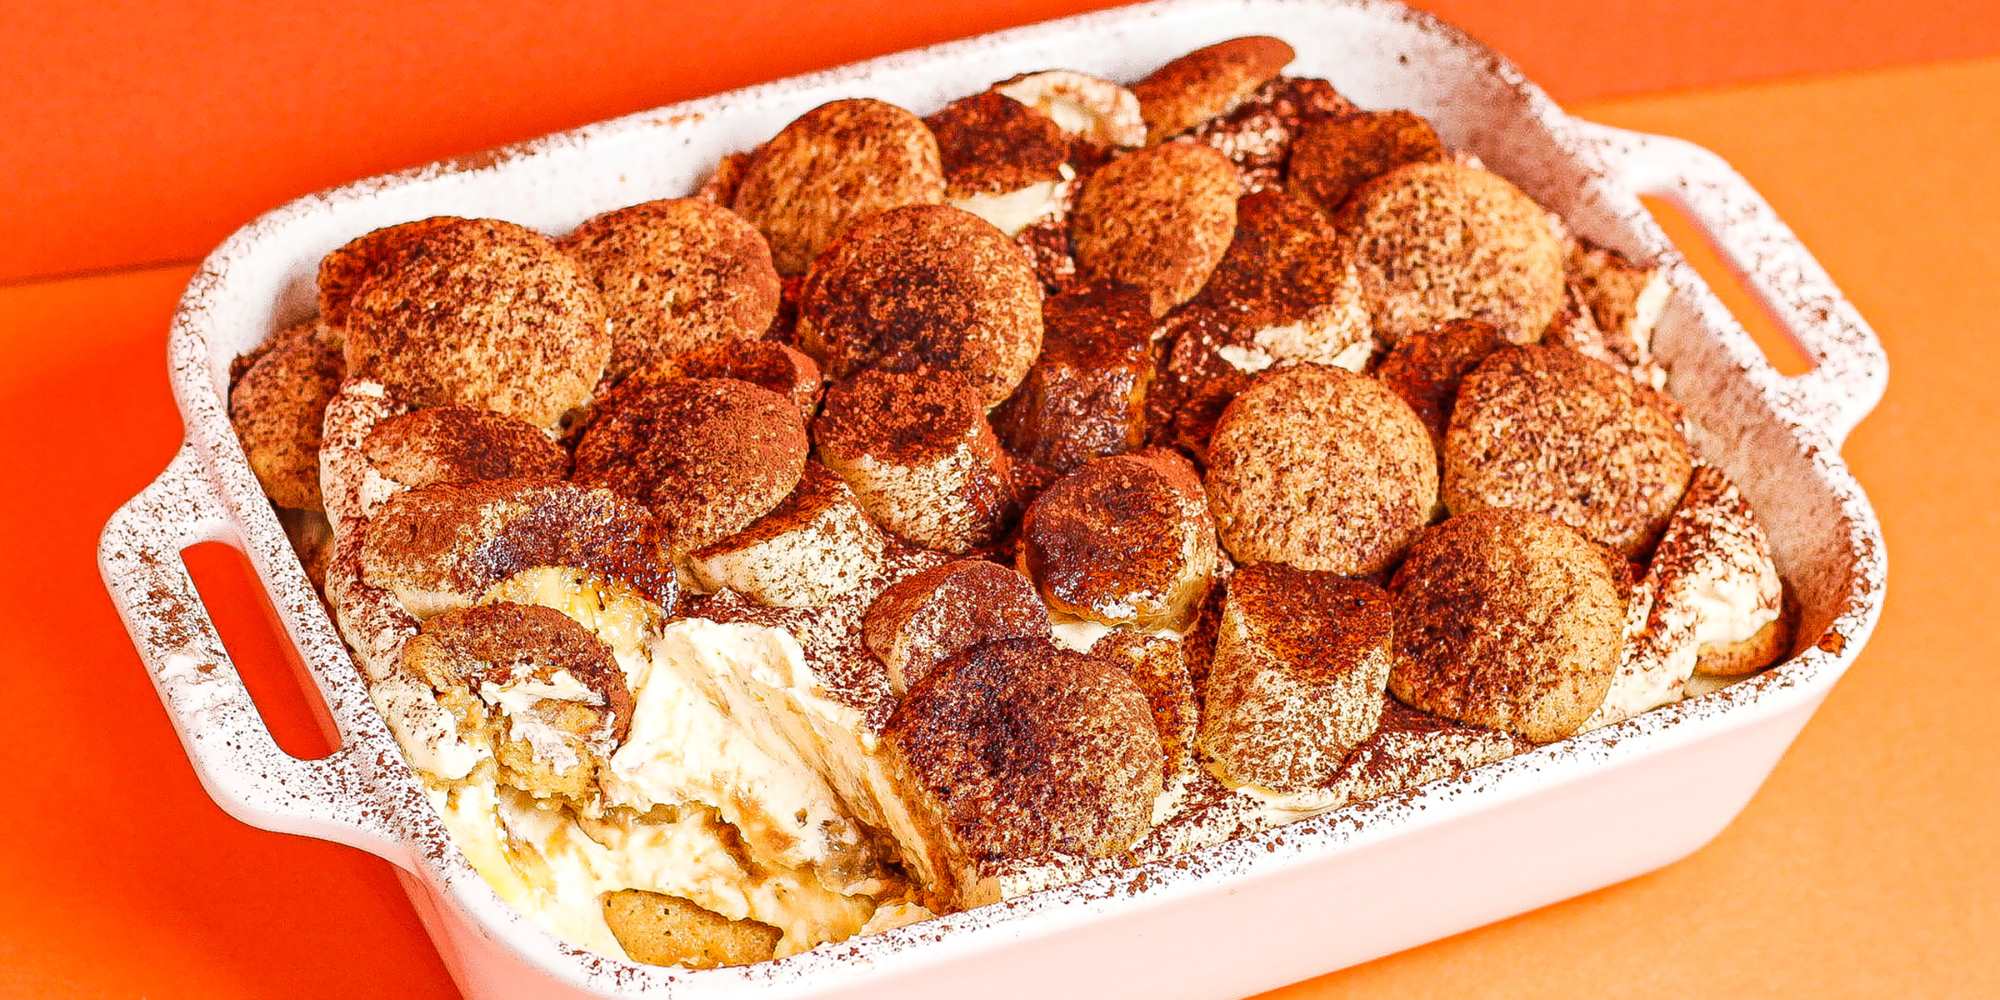
How To Make Banana Pudding Tiramisu
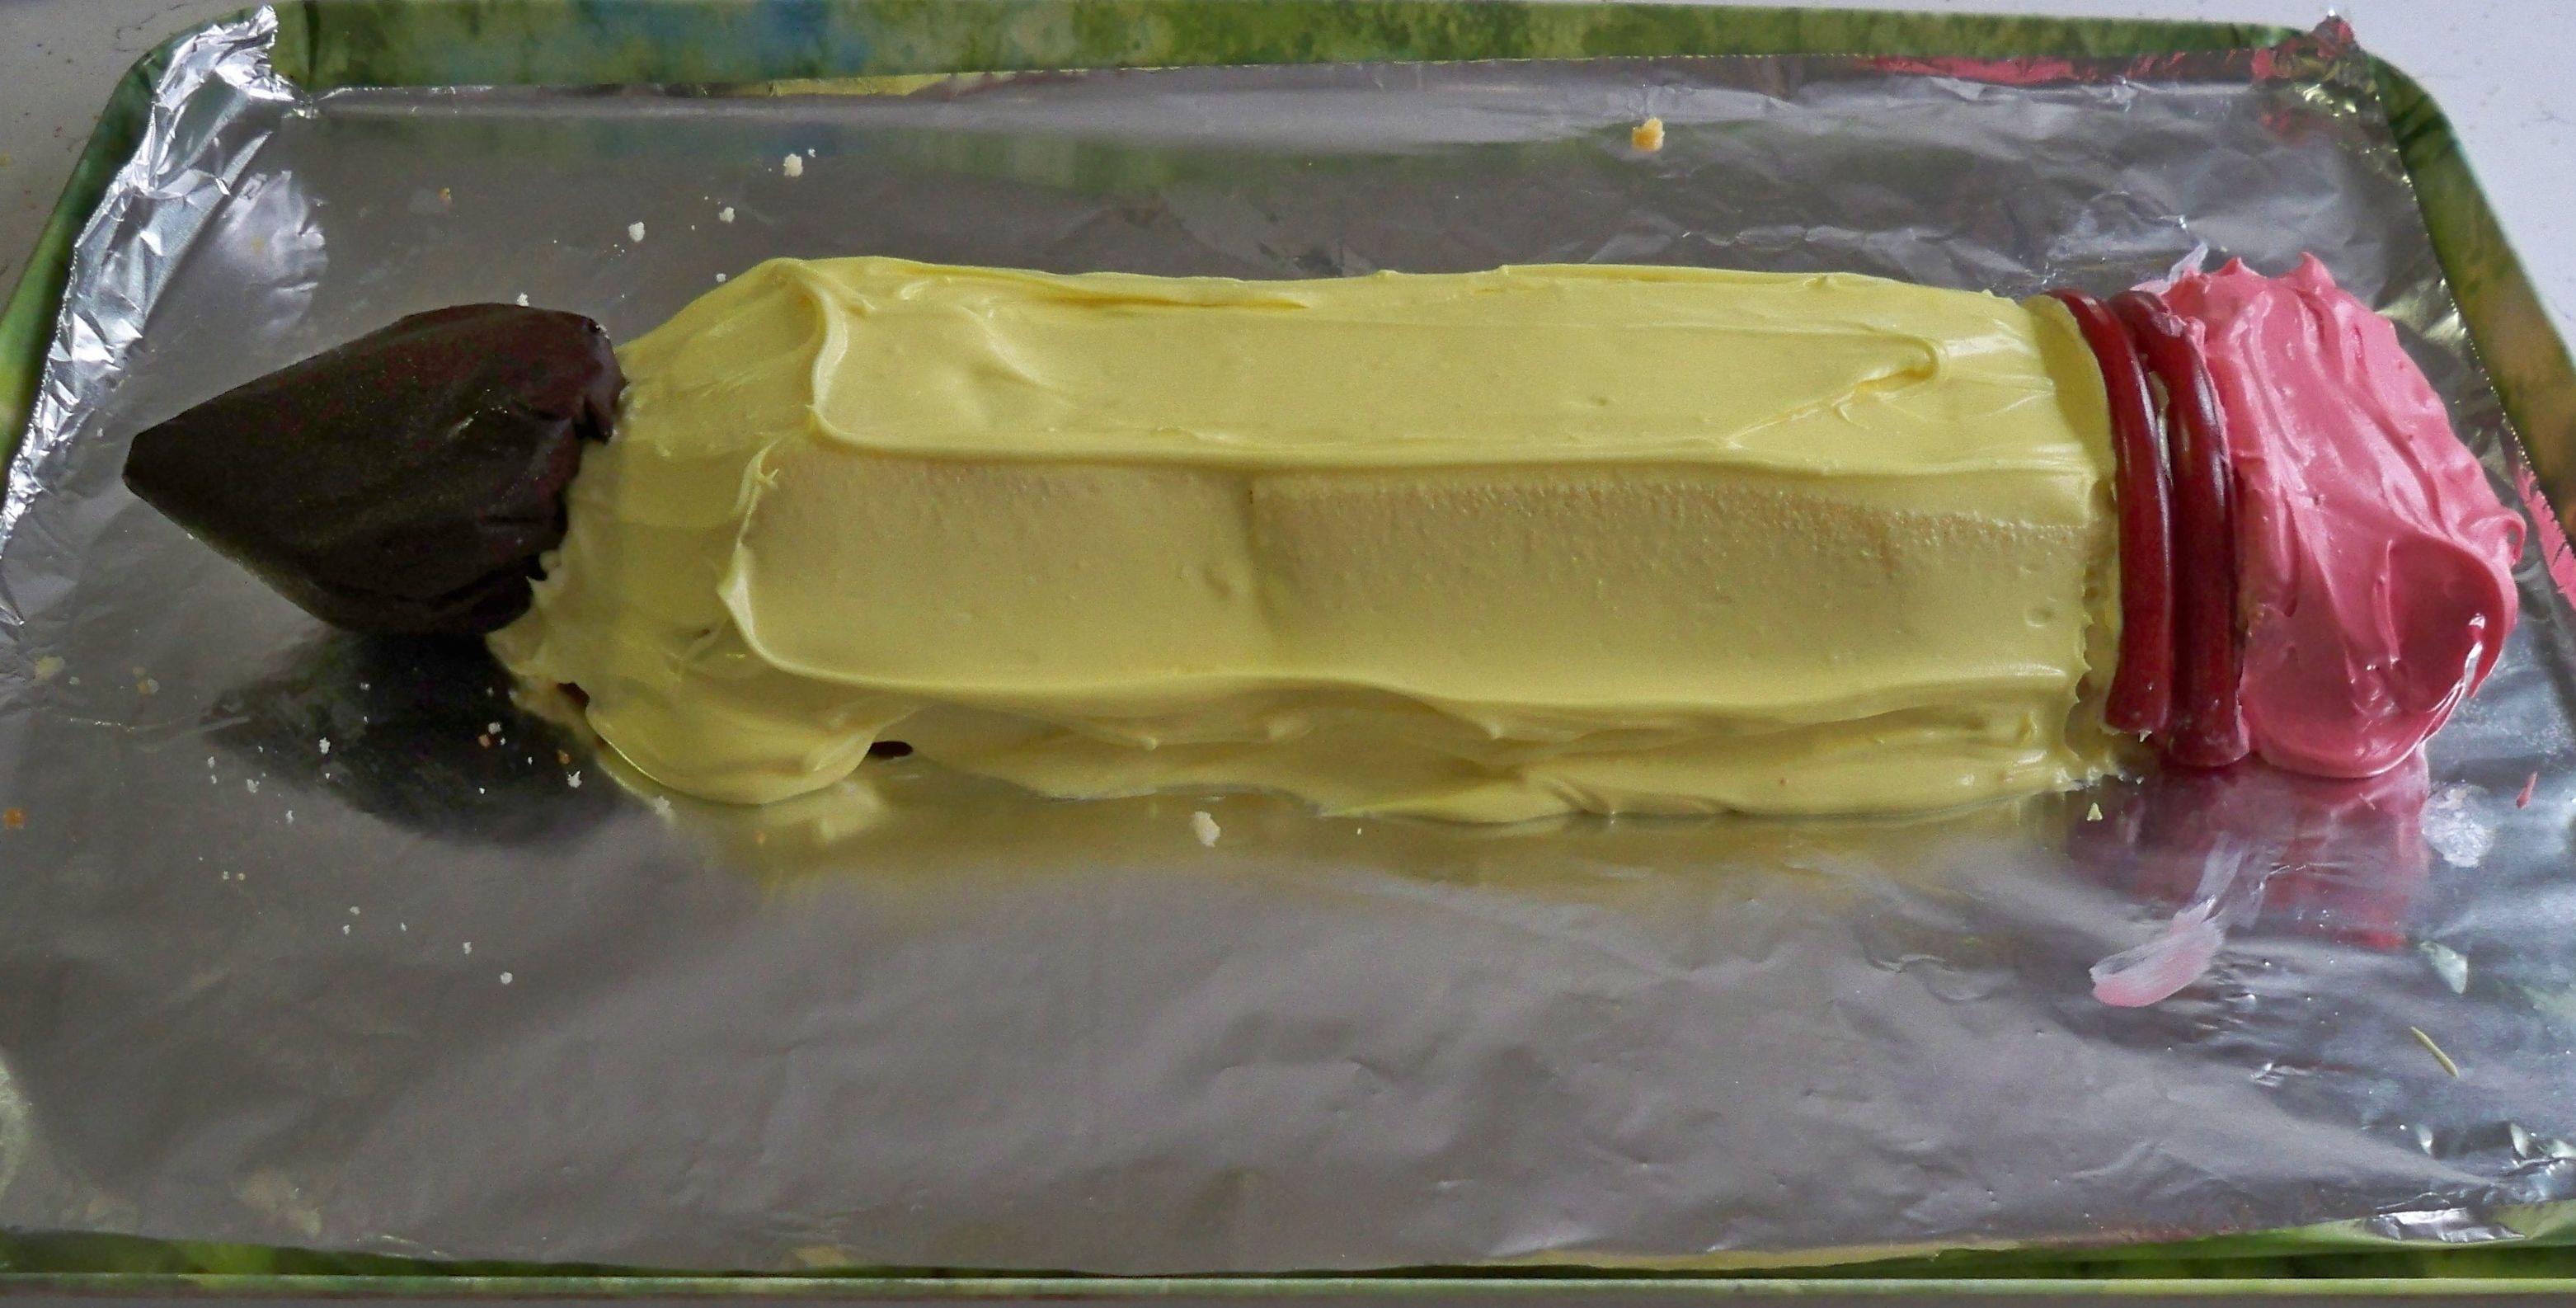
How to Make a Pencil Cake