How to Debone Chicken: A Step-By-Step Guide
Deboning chicken may seem like a daunting task at first, but with the right technique and a little practice, you can become a pro in no time! Whether you want to impress your dinner guests with a boneless chicken recipe or simply want to save money by buying whole chickens, learning how to debone chicken is a valuable skill for any home cook. Follow this step-by-step guide to make the process quick and easy:
Step 1: Gather Your Tools
Before you get started, make sure you have the right tools on hand. You’ll need a sharp boning knife, kitchen shears, and a cutting board. Having a pair of kitchen gloves can also help you maintain a good grip on the chicken.
Step 2: Remove the Wings
Start by removing the wings. Hold the chicken firmly on the cutting board and cut through the joints where the wings meet the body. Use a twisting motion to separate the joints and remove the wings completely.
Step 3: Remove the Legs
Next, remove the legs. Place the chicken on its back and locate the joint where the thigh meets the body. Insert the tip of the boning knife and cut through the joint to separate the leg from the body. Repeat this process for the other leg.
Step 4: Separate the Breast from the Carcass
Now it’s time to separate the breast from the carcass. Start by making a vertical cut along the breastbone, using the tip of the boning knife. Carefully follow the contour of the bone, separating the breast from the ribs. Trim away any excess fat or connective tissue as you go.
Step 5: Remove the Bones from the Breast
Once the breast is separated, you can remove the bones. Use the boning knife to carefully cut along the side of the breastbone, separating the meat from the bone. Slide the knife underneath the bone, gently lifting and cutting until the bone is completely removed. Repeat this process for the other breast.
Step 6: Clean and Trim the Chicken
After deboning the chicken, take a moment to clean and trim the meat. Remove any remaining bits of bone, excess fat, or tough tendons. Trim the meat to your desired size or shape, depending on the recipe you plan to use it in.
Step 7: Practice Makes Perfect
Deboning chicken requires practice, so don’t get discouraged if it takes a few tries to perfect your technique. As you become more comfortable, you’ll develop a rhythm and efficiency that will make the process much faster and easier.
Now that you know how to debone chicken, the possibilities in the kitchen are endless! You can use the boneless chicken to make delicious dishes like stuffed chicken breasts, grilled chicken skewers, or even homemade chicken nuggets. So grab your boning knife and start mastering this essential culinary skill today!
More Delicious Recipes Featuring Deboned Chicken
Mastering the art of deboning chicken opens up a myriad of culinary possibilities. Whether you're a seasoned chef or a home cook eager to impress, the recipes listed provide perfect opportunities to apply your newfound skills. For a light and healthy option, try the Asian-style Chicken Lettuce Wraps, which are ideal for a quick dinner or a festive party appetizer. If you're in the mood for something more classic, the Chicken Parmesan is a timeless dish that combines crispy chicken with rich tomato sauce and melty cheese, sure to be a hit at any family meal. For those who enjoy a bit of culinary creativity, the Chicken Roulade with Herbs and Garlic offers a delightful way to showcase your deboning and rolling techniques, resulting in a dish that's as beautiful as it is delicious. Each recipe not only allows you to practice essential kitchen skills but also to explore diverse flavors and techniques that will enhance your cooking repertoire.
Was this page helpful?
Related Articles
How To Season Crackers
How To Season A Clay Pot
How To Season Pork Belly
How To Water Bath Can Jams And Pickles
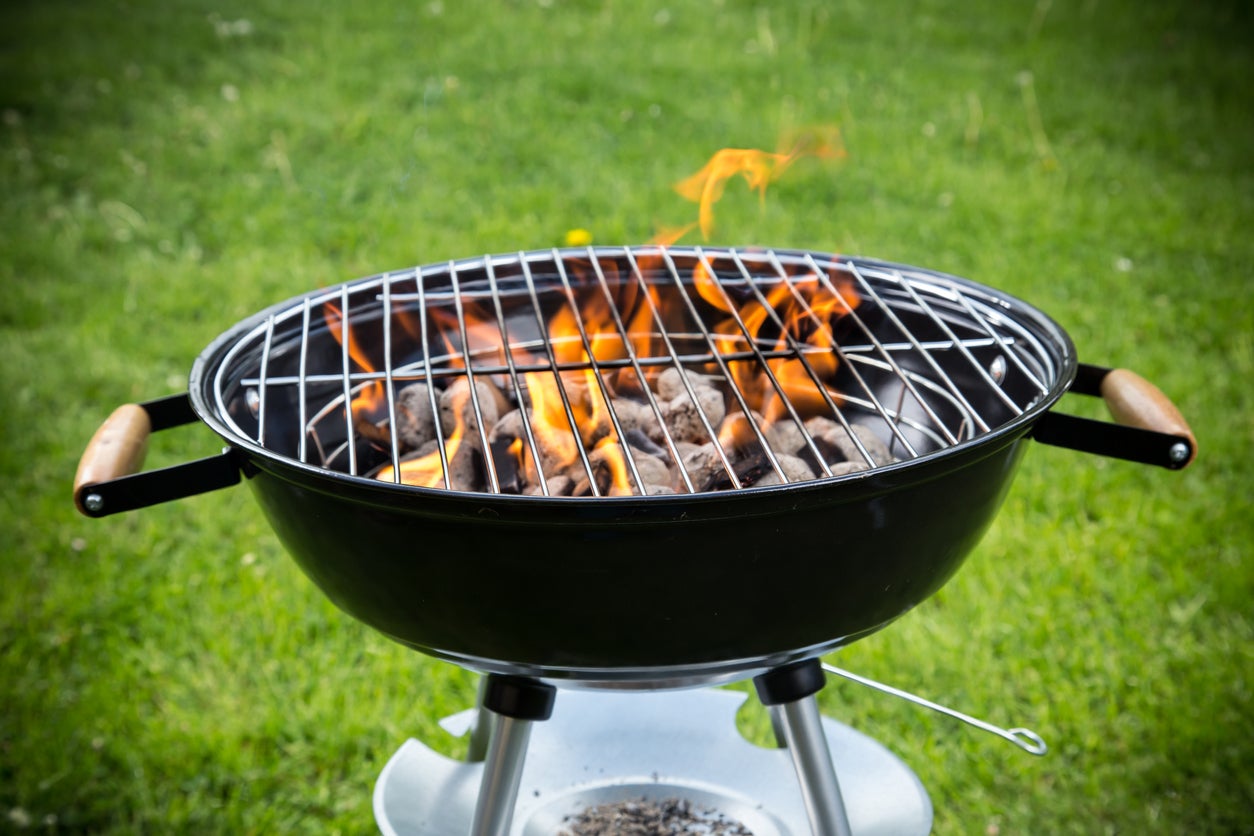
How To Set Up And Light A Charcoal Grill
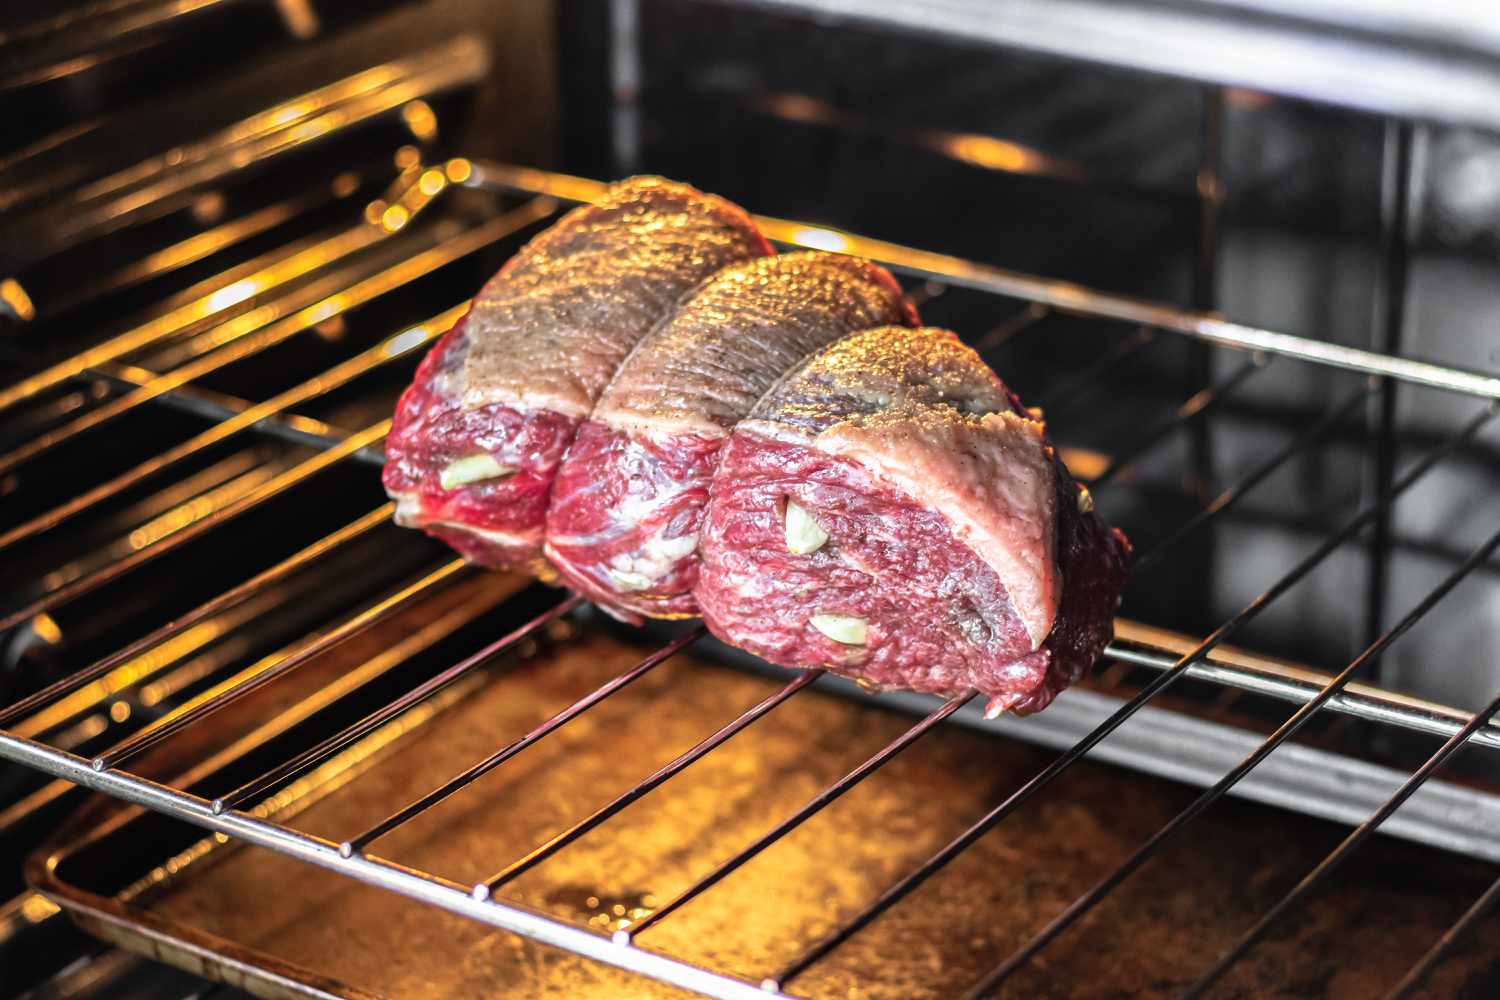
How To Roast Meats: A Step-By-Step Guide

How To Keep Tortillas Warm For A Taco Bar
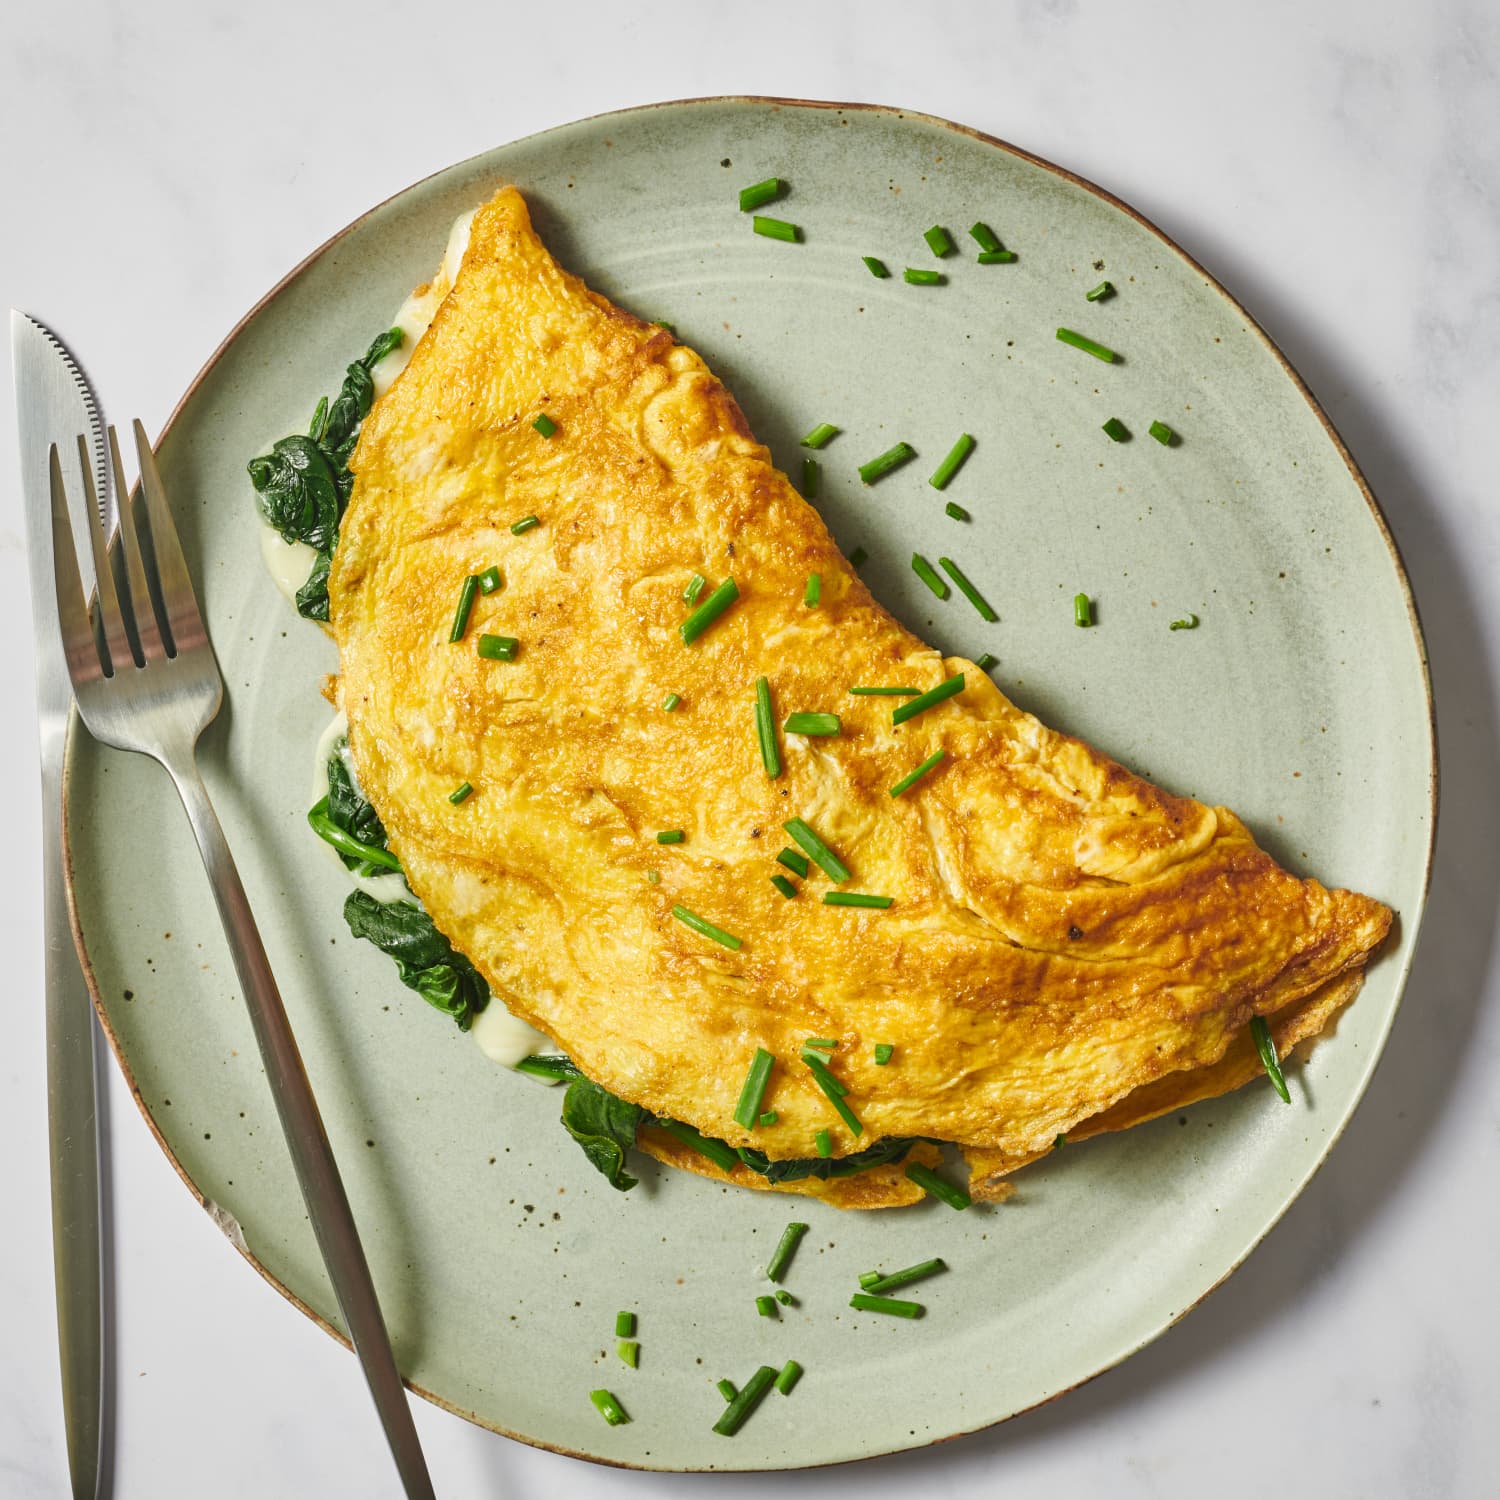
How To Make A Perfect Omelet
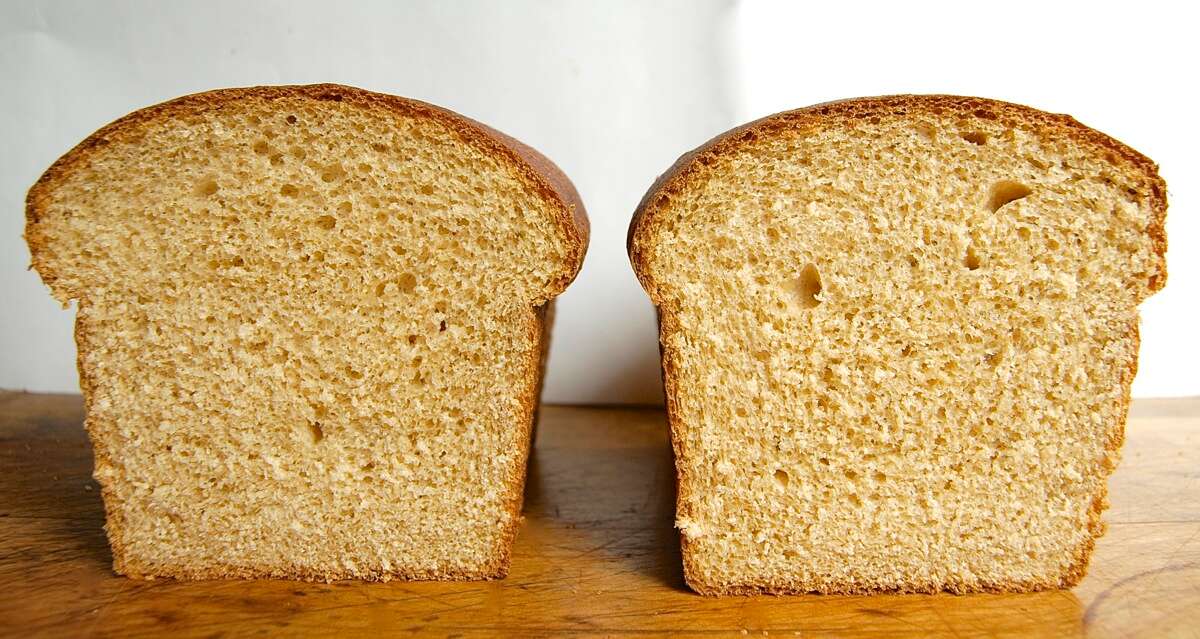
What Is Bread Flour? Bread Flour Vs All Purpose
Autumn Baking Projects For Kids
10 Things To Eat In Lyon And Beaujolais