How to Water Bath Can Jams and Pickles
Preserving fruits and vegetables through canning is a wonderful way to savor the flavors of your favorite jams and pickles all year round. Water bath canning is a popular method that is safe, simple, and doesn’t require any specialized equipment. In this guide, we will take you through the step-by-step process of how to water bath can jams and pickles, ensuring you can enjoy the taste of summer even during the colder months.
Why Water Bath Canning?
Water bath canning is a method that uses boiling water to create a seal, preserving foods in jars. It is a suitable technique for high-acid foods like jams and pickles, as the acidity acts as a natural preservative. Water bath canning is an accessible method for beginners and doesn’t require a pressure canner, making it an excellent choice for small-scale home canning.
What You’ll Need
Before you get started, gather the following items:
- Mason jars with lids and bands
- A large stockpot or canner with a lid
- A canning rack or a heatproof cloth
- A jar lifter or tongs
- A funnel
- A ladle or a large spoon
- A clean dishcloth or towel
- Ingredients for your chosen jams or pickles
The Water Bath Canning Process
Follow these steps to successfully water bath can your jams and pickles:
1. Prepare the Jars and Ingredients
Wash the Mason jars, lids, and bands in hot, soapy water, then rinse them thoroughly. Inspect each jar for any cracks or chips and discard any that are damaged. Next, prepare your desired jams or pickles, following a trusted recipe. Remember to use quality, fresh produce for the best results.
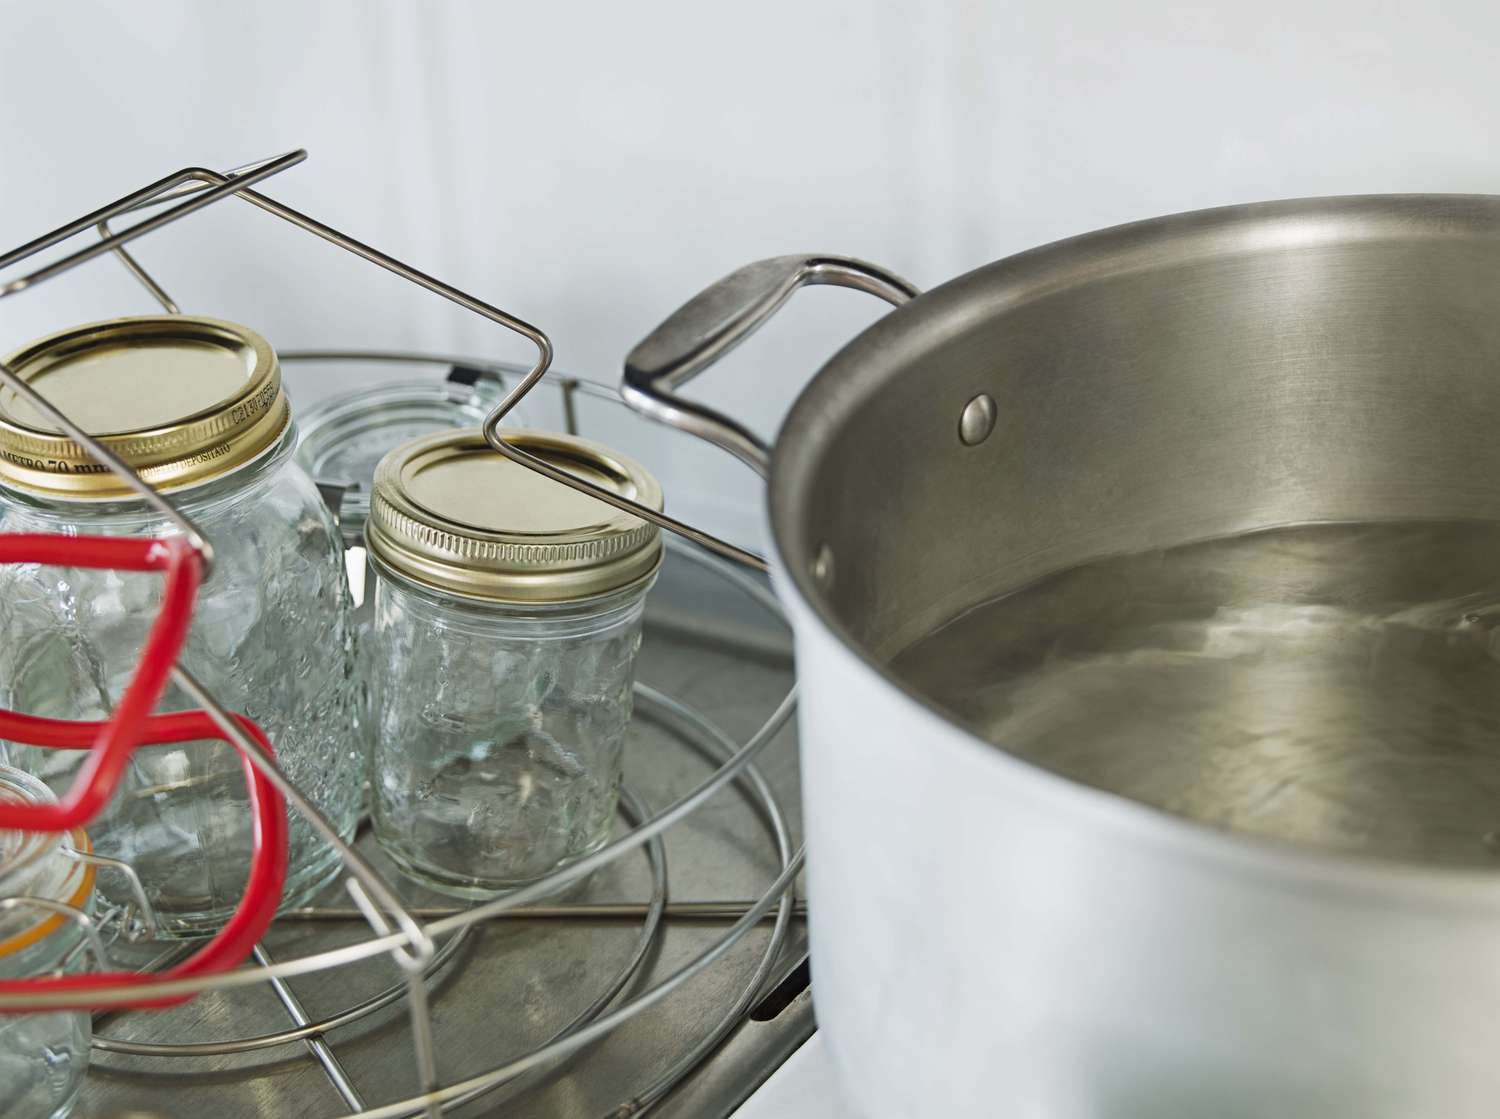
2. Fill the Stockpot
Place the canning rack or a heatproof cloth in the bottom of the stockpot or canner. Fill it with enough water to cover the jars by 1-2 inches. Heat the water over medium-high heat and bring it to a gentle boil while you prepare the jars.
3. Fill and Seal the Jars
Using a funnel, carefully fill each jar with your prepared jam or pickle mixture, leaving the recommended headspace indicated in your recipe. Wipe the rims clean with a damp cloth to ensure a proper seal. Place the lids on top of the jars and screw the bands on firmly, but not overly tight.
4. Process the Jars in the Water Bath
Using a jar lifter or tongs, gently lower the filled jars into the boiling water in the stockpot, making sure they are fully submerged. If necessary, add more boiling water, ensuring the jars have at least 1-2 inches of water above them. Cover the pot with the lid and start timing the processing period indicated in your recipe.
5. Remove and Cool the Jars
After the processing time is complete, carefully remove the jars from the water bath using the jar lifter or tongs. Place them on a clean dishcloth or towel, allowing them to cool undisturbed for 12-24 hours. During this time, you may hear the lids making a popping sound, indicating a successful seal.
6. Test and Store
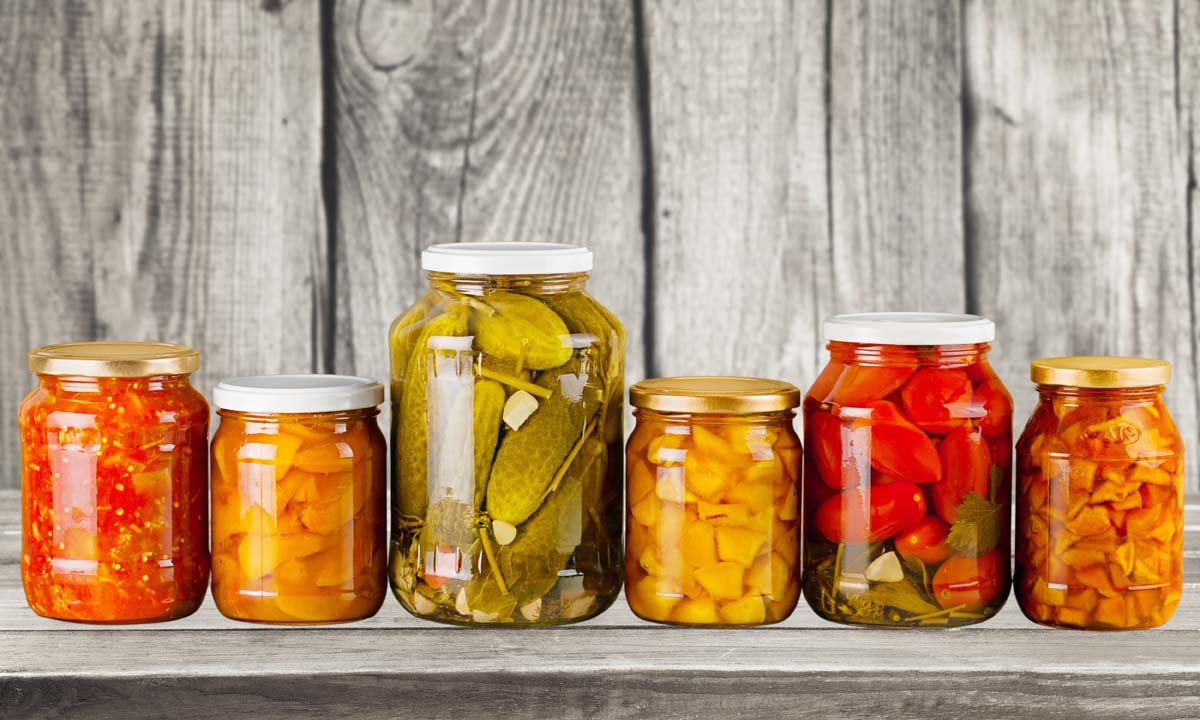
After the jars have cooled, check the seals by pressing down on the center of the lids. If they do not flex or pop back, the jars are properly sealed. Label the jars with the contents and the date, then store them in a cool, dark place like a pantry or cellar. Properly sealed and stored jars can last for up to a year.
Now that you know how to water bath can jams and pickles, you can confidently preserve the delicious flavors of summer to enjoy all year long. Experiment with different combinations of fruits and vegetables to create your own unique recipes. Get started and taste the satisfaction of creating homemade goodies that will bring joy to your taste buds.
For anyone eager to put their water bath canning skills to the test, there's a delightful array of recipes to explore. Dive into the refreshing tang of Pickled Green Beans for a crunchy, briny snack or savor the sweet simplicity of Classic Strawberry Jam, perfect for spreading on your morning toast. For those who enjoy a bit of heat, Spicy Pickled Carrots offer a fiery kick that pairs well with a variety of dishes. Peach Preserves capture the essence of summer in a jar, making it a wonderful addition to desserts or a cheese platter. Finally, Sweet and Spicy Jalapeño Relish brings a unique blend of flavors that can elevate any savory meal. Each of these recipes provides a unique opportunity to practice and perfect the art of canning, ensuring delicious results and a well-stocked pantry.
Was this page helpful?
Related Articles
How To Vacuum Seal Mason Jar With Hot Water
What Is Canning?
How To Blanch Apricots Super Ripe
How To Set Up And Light A Charcoal Grill
How To Roast Meats: A Step-By-Step Guide

How To Keep Tortillas Warm For A Taco Bar
How To Make A Perfect Omelet
What Is Bread Flour? Bread Flour Vs All Purpose
Autumn Baking Projects For Kids
10 Things To Eat In Lyon And Beaujolais

8 Things To Know About Chinese New Year