Mastering the Art of Cooking Pork Tenderloin in the Ninja Foodi
Looking for a delicious and tender pork tenderloin recipe? Look no further! In this guide, we will walk you through the steps to cook the perfect pork tenderloin using the versatile Ninja Foodi. With its combination of pressure cooking and air frying functions, the Ninja Foodi is the ultimate kitchen companion for achieving optimal flavor and texture.
Gather Your Ingredients
Before diving into the cooking process, let’s start by gathering all the necessary ingredients. Here’s what you’ll need:
- 1 pork tenderloin (approximately 1-1.5 pounds)
- 2 tablespoons of olive oil
- Seasonings of your choice (salt, pepper, garlic powder, paprika, etc.)
Prepare and Season the Pork Tenderloin
Begin by patting the pork tenderloin dry with a paper towel. This step is crucial as it helps the seasonings adhere to the meat and ensures a nice sear. Next, season the tenderloin generously with your preferred seasonings. You can opt for a simple salt and pepper blend or get creative with a spice rub of your choice.
Setting Up the Ninja Foodi
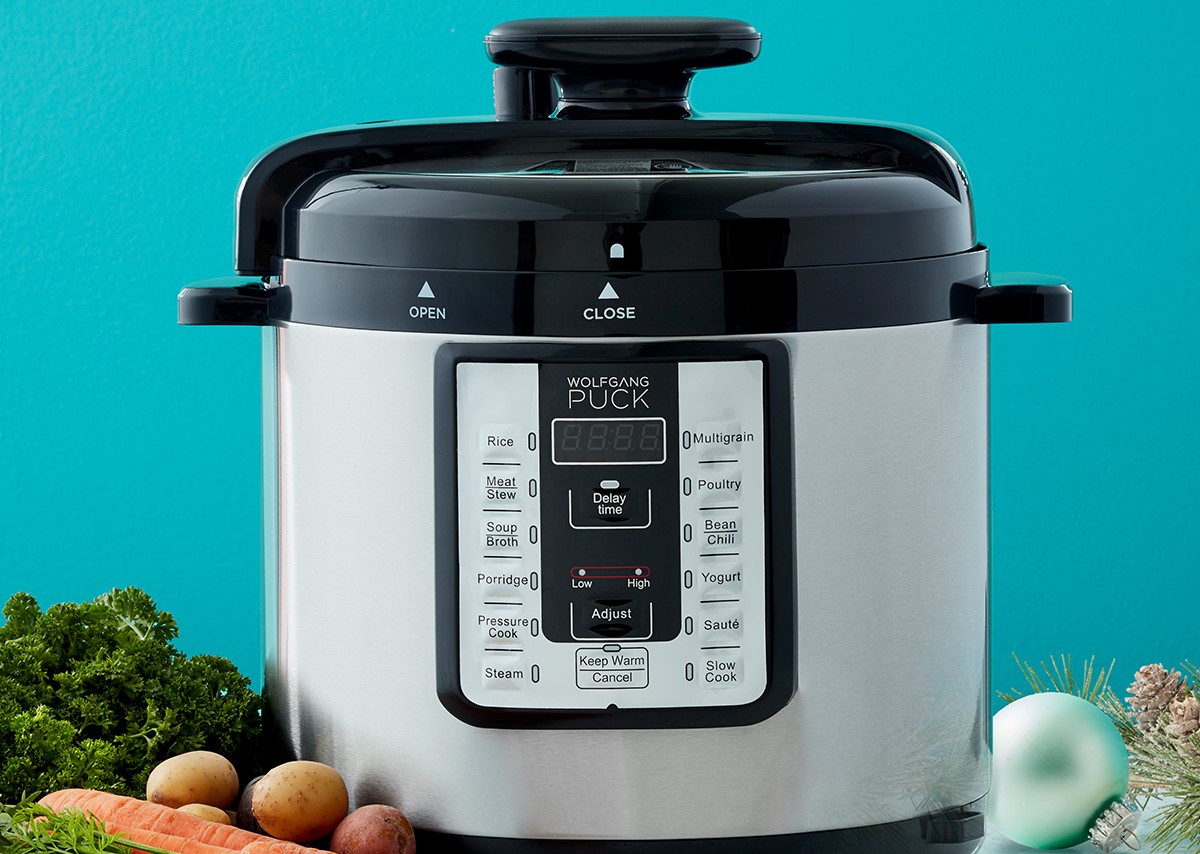
Now it’s time to get the Ninja Foodi ready. Begin by preheating the Foodi in air fryer mode at 400°F for a few minutes. This will ensure that the pork tenderloin gets that crispy outside while staying moist and tender inside.
Cooking Method
There are a couple of ways you can cook pork tenderloin in the Ninja Foodi, but we’ll focus on the pressure cooking and air frying combination for the best results. Here’s how:
- Select the “Pressure Cook” function on the Ninja Foodi and set the cooking time to 3 minutes per pound of pork tenderloin.
- Add the olive oil to the Foodi’s cooking pot and heat it on the “Sear/Sauté” function. Once the oil is hot, sear the seasoned pork tenderloin on all sides until browned. This step adds a wonderful crust and seals in the juices.
- After searing, place the pork tenderloin on the Foodi’s reversible rack.
- Close the Foodi lid and set the pressure release valve to the “Seal” position.
- Set the Ninja Foodi to pressure cook at high pressure for the predetermined cooking time.
- Once the cooking time is up, allow for natural pressure release for 5-10 minutes to ensure the pork tenderloin reaches optimal tenderness.
- After the natural pressure release, carefully open the lid and remove the tenderloin.
- If desired, return the tenderloin to the Foodi and select the “Air Crisp” function at 375°F for an additional 5-7 minutes to achieve a crispy exterior.
Rest and Serve
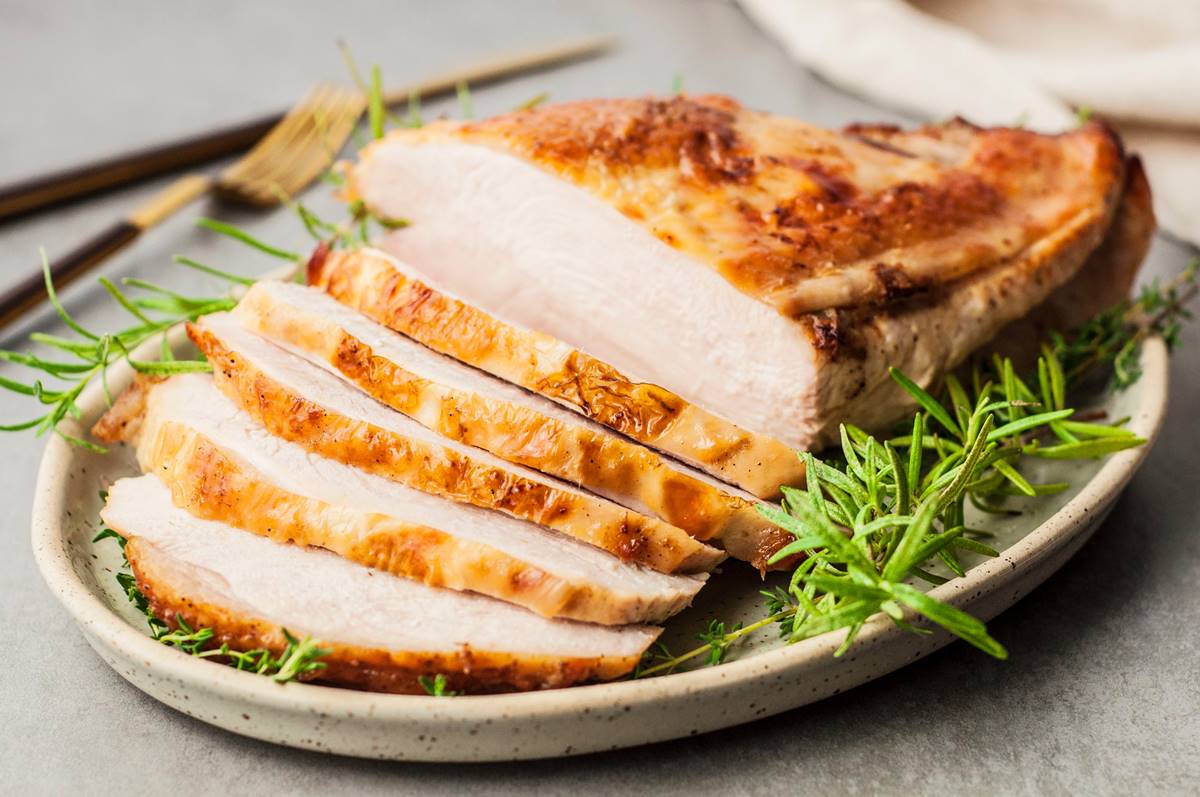
After air crisping or pressure cooking, it’s important to let the pork tenderloin rest for a few minutes before slicing. This allows the juices to redistribute and results in a more flavorful and succulent dish. Once rested, slice the tenderloin into medallions and serve hot alongside your favorite sides and sauces.
Conclusion
With the Ninja Foodi as your cooking companion, preparing a mouthwatering pork tenderloin has never been easier. Whether you’re a pressure cooking enthusiast, an air frying aficionado, or both, the Ninja Foodi offers the versatility you need to achieve restaurant-quality results in the comfort of your own kitchen. So, gather your ingredients, follow our step-by-step guide, and get ready to savor the flavors of a perfectly cooked pork tenderloin!
For those keen on mastering pork tenderloin in the Ninja Foodi, they can dive into a variety of recipes. The Honey Mustard Glazed Pork Tenderloin offers a sweet and tangy flavor, perfect for those who appreciate a balanced taste. The Balsamic Glazed Pork Tenderloin provides a rich, deep flavor profile, ideal for anyone looking to impress at dinner. For a burst of herbs, the Classic Garlic and Herb Pork Tenderloin is a timeless choice that never fails to satisfy. If you're in the mood for something with a bit of heat, the Cajun Spiced Pork Tenderloin delivers a spicy kick without being overwhelming. For those who enjoy a smoky flavor, the Smoky Paprika Pork Tenderloin is an excellent pick. Each of these recipes highlights different techniques and flavors, ensuring there's something for every palate.
Was this page helpful?
Read Next: How To Cook Fish With Scales On One Side
