How To Cook A Whole Chicken In A Ninja Foodi
Are you ready to become a culinary ninja with your Ninja Foodi? Cooking a whole chicken may seem intimidating at first, but with the right equipment and techniques, you can achieve tender and juicy chicken right in your own kitchen. In this guide, we will take you step by step through the process of cooking a whole chicken in a Ninja Foodi.
What is a Ninja Foodi?
The Ninja Foodi is a versatile kitchen appliance that combines the functions of a pressure cooker and an air fryer, all in one handy device. This means that when you cook a whole chicken in a Ninja Foodi, you can achieve the flavors and textures of both a slow-cooked and a crispy oven-roasted chicken.
Step 1: Prepare the Whole Chicken
Start by selecting a whole chicken of your choice. Make sure it is cleaned and thawed if necessary. Pat the chicken dry with paper towels to remove any excess moisture. Sprinkle your favorite seasonings all over the chicken, ensuring that it is evenly coated. Feel free to get creative and use a combination of herbs and spices that suit your taste.
Step 2: Preheat your Ninja Foodi
Plug in your Ninja Foodi and select the “Broil” function. Preheat it for a few minutes until it reaches the desired temperature. This will help ensure a crispy skin on your chicken.
Step 3: Cook the Chicken
Place your seasoned whole chicken in the cooking pot of the Ninja Foodi, breast side down. Close the lid and select the “Pressure Cook” function. Set the time according to the weight of your chicken. As a general rule, you can cook a whole chicken for about 6 minutes per pound.
Pro tip: If you prefer your chicken to be well done, you can add a couple of extra minutes to the cooking time. However, be sure not to overcook it as it might result in dry meat.
Step 4: Crisp up the Skin
Once the pressure cooking cycle is complete, carefully remove the chicken from the Ninja Foodi. Place it on a baking tray or on the reversible rack that comes with your device. Flip the chicken so that the breast side is facing up. This will allow the skin to get crispy and golden brown when air fried.
Set your Ninja Foodi to the “Air Fry” function and adjust the temperature and time settings. Air fry the chicken for about 10-15 minutes or until the skin is nicely browned and crispy. Keep an eye on it to prevent it from burning.
Step 5: Rest and Serve
Once the chicken is cooked and the skin is crispy, remove it from the Ninja Foodi and let it rest for a few minutes. This will allow the juices to redistribute, resulting in a moist and flavorful chicken. Carve the chicken into pieces and serve it with your favorite sides.
Final Thoughts
Cooking a whole chicken in a Ninja Foodi can be a game-changer for any home cook. The combination of pressure cooking and air frying technology allows you to achieve moist and tender meat with a crispy and flavorful skin. With these simple steps, you can impress your family and friends with a delicious homemade roasted chicken made in your Ninja Foodi. So, what are you waiting for? Grab your Ninja Foodi and get cooking!
For those looking to master the skill of cooking a whole chicken using a Ninja Foodi, there's a variety of recipes to try. Start with the Classic Roasted Whole Chicken to get a feel for the basics. Then, experiment with the Lemon Herb Whole Chicken for a bright, zesty flavor that's perfect for any occasion. If you're in the mood for something rich and savory, the Garlic Butter Whole Chicken is a must-try. For a sweet and smoky twist, the BBQ Whole Chicken will not disappoint. Those who enjoy a touch of sweetness can opt for the Honey Glazed Whole Chicken. Each of these recipes will help you perfect your technique and bring out different flavor profiles in your meals.
Was this page helpful?
Read Next: How To Cook Sweet Potatoes In Ninja Foodi
Related Articles

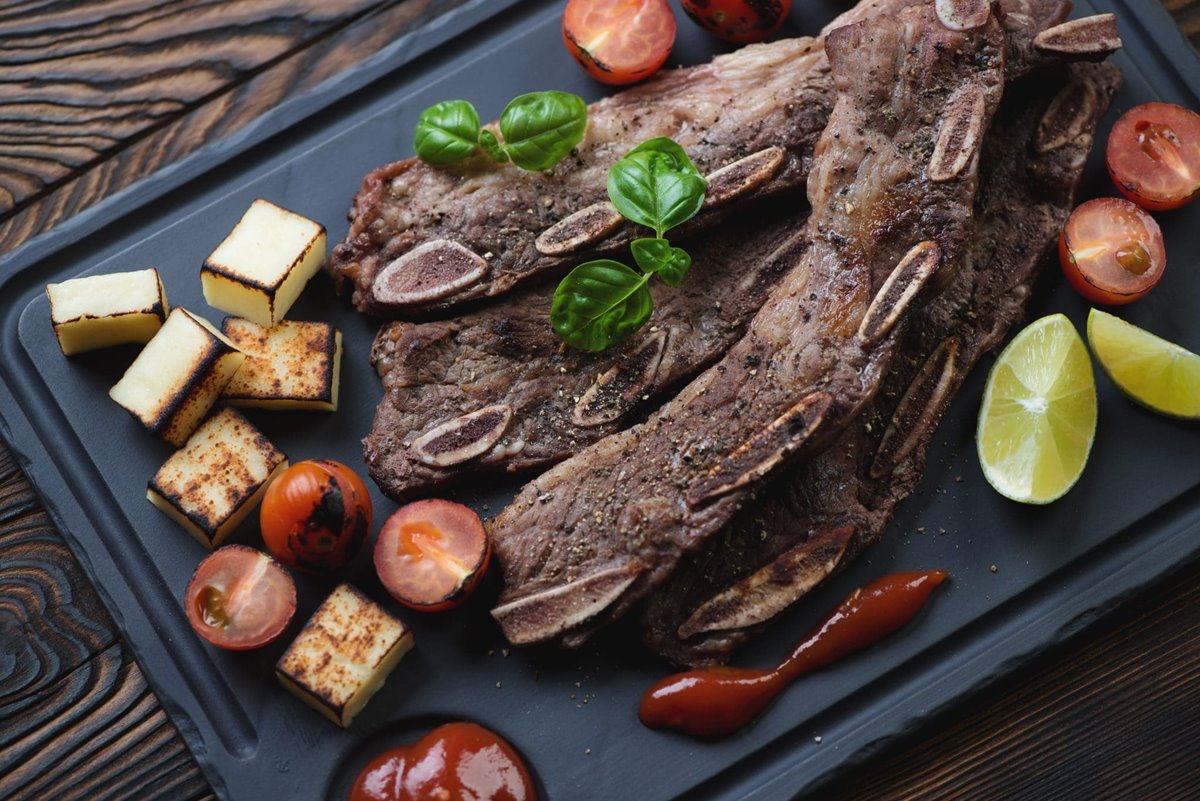
How To Cook Raw Beef
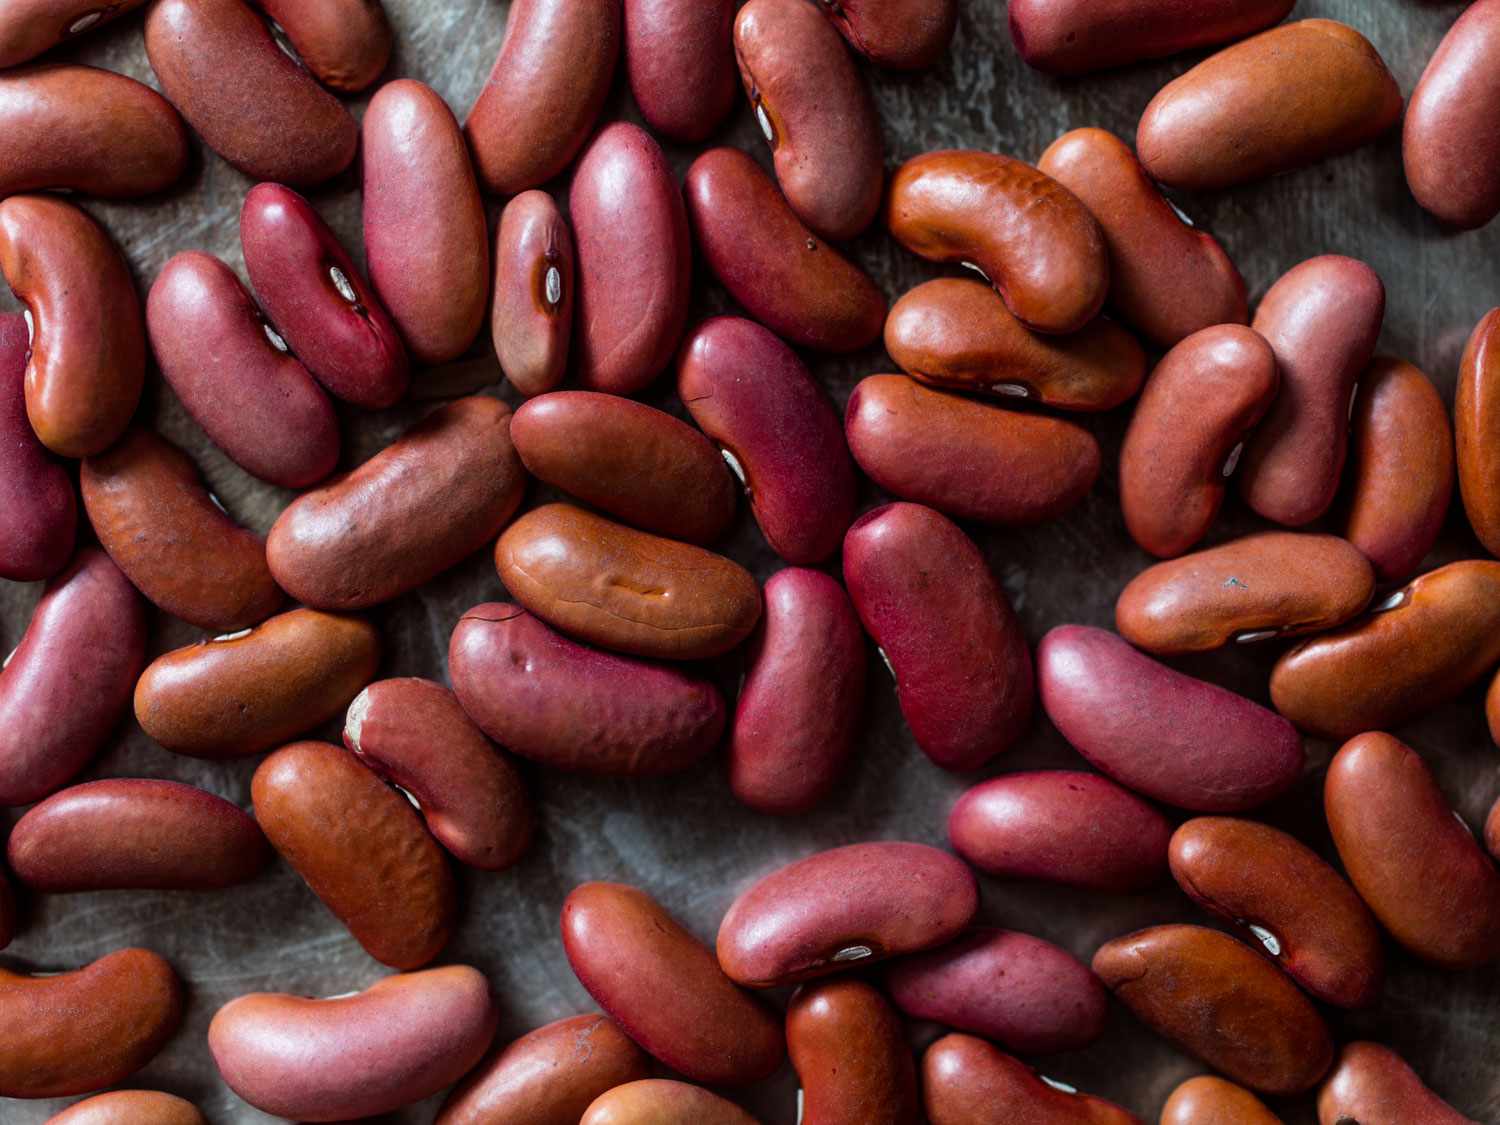
How To Cook Fresh Kidney Beans
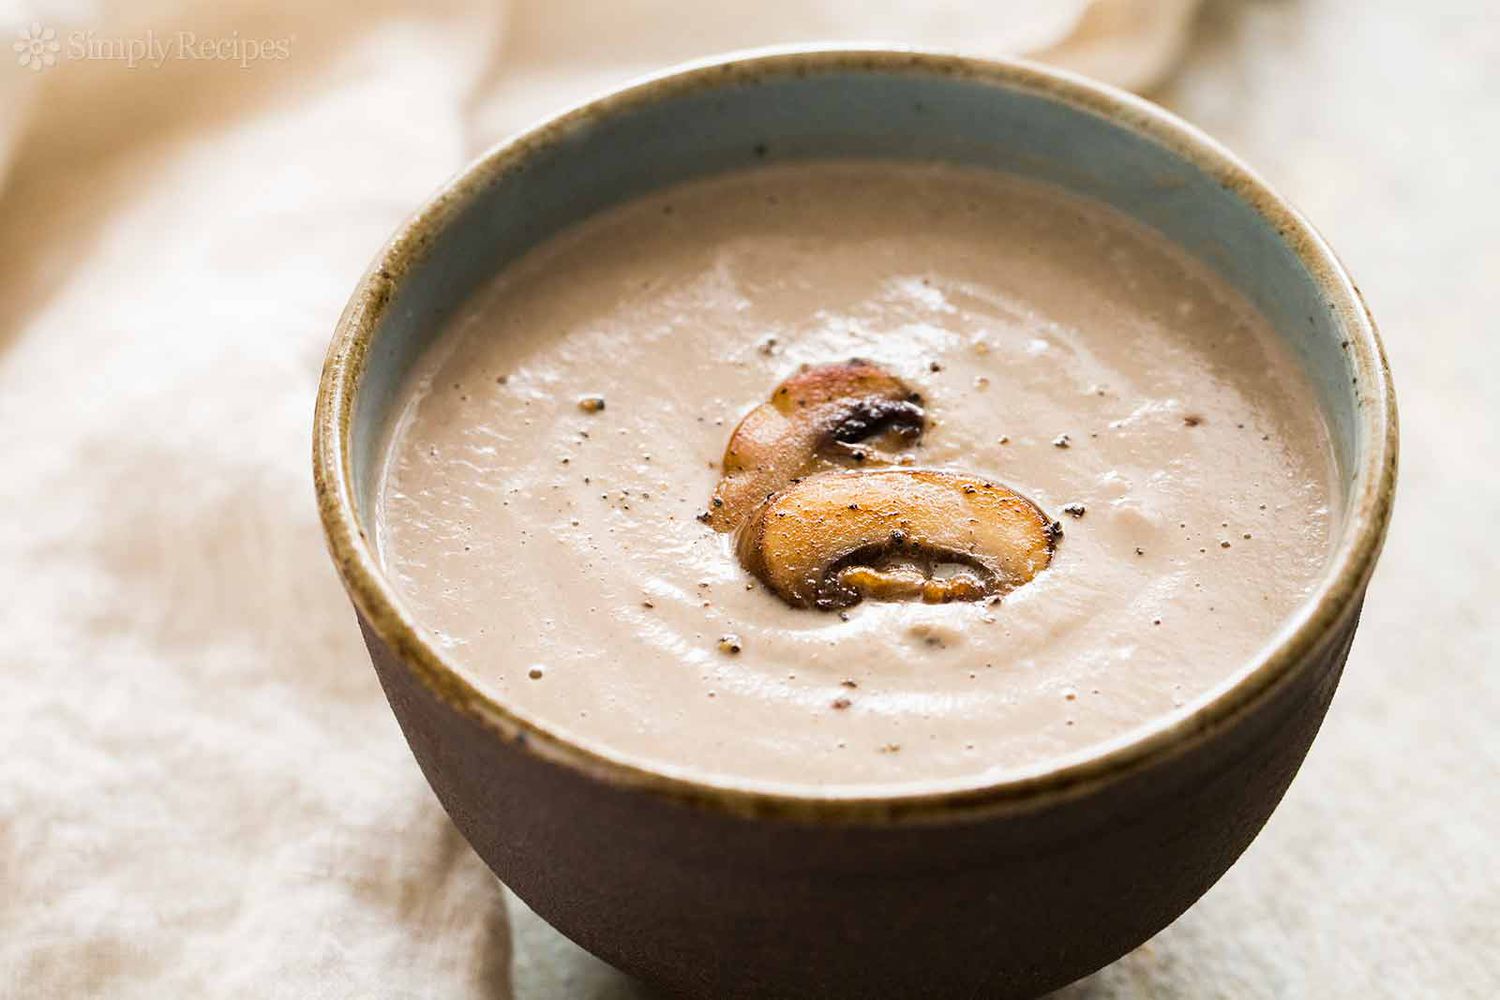
How To Cook Cream Of Mushroom Soup
How To Cook Beef Ribs In Ninja Foodi Grill

How To Cook A Whole Chicken In Ninja Foodi Grill
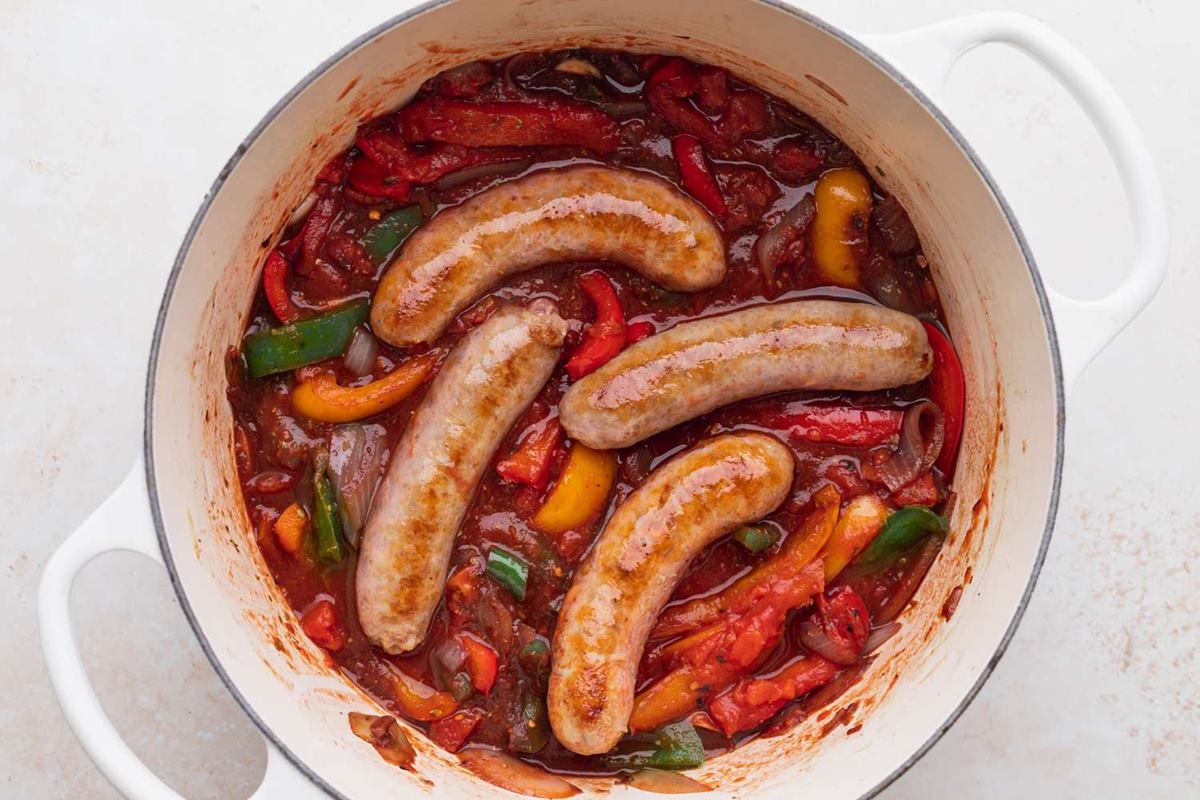
How To Cook Field Roast Sausage
How To Cook Smoked Deer Sausage
How To Cook Ground Sausage In Pan
How To Cook Roger Wood Sausage
How To Cook Ground Italian Sausage On Stove
How To Cook Chinese Sausage On Stove Top