Cooking beef ribs in a Ninja Foodi Grill transforms this hearty meal into an easy, flavorful experience. Perfect for those who love the taste of outdoor grilling but prefer or need to cook indoors. This method ensures your ribs come out juicy, tender, and full of smoky flavor, mimicking the traditional barbecue experience. Whether you're a seasoned chef or just starting out in the kitchen, mastering beef ribs in the Ninja Foodi Grill is straightforward. Let's dive into the steps and tips to achieve mouthwatering results that will impress your family and friends at your next gathering.
Essential Ingredients for Succulent Beef Ribs
- Beef ribs (about 2-3 pounds)
- Salt (to taste)
- Black pepper (to taste)
- Garlic powder (1 tablespoon)
- Onion powder (1 tablespoon)
- Paprika (2 teaspoons)
- Brown sugar (2 tablespoons)
- Olive oil (for brushing)
- Barbecue sauce (1 cup, optional for glazing)
Necessary Tools for Perfect Beef Ribs in Your Ninja Foodi Grill
- Ninja Foodi Grill
- Meat thermometer
- Tongs
- Aluminum foil
- Cutting board
- Sharp knife
- Mixing bowl
- Measuring spoons
- Basting brush
For tender beef ribs in your Ninja Foodi Grill, preheat to 375°F. Season ribs generously, then grill for 30 minutes, flipping halfway. Moist, flavorful ribs will be ready to enjoy.
The Secret to Mouthwatering Beef Ribs
Cooking beef ribs in a Ninja Foodi Grill offers a fusion of convenience and flavor. This method transforms tough meat into tender, juicy delights. With its high-heat capabilities, the grill mimics outdoor cooking, ensuring a smoky crust while locking in moisture, making every bite succulent.
Using this appliance, enthusiasts enjoy year-round grilling indoors, without worrying about weather constraints. The Ninja Foodi Grill not only cooks efficiently but also significantly reduces cooking time. This approach to preparing beef ribs elevates home cooking, merging simplicity with gourmet results, appealing to both novices and seasoned cooks alike.
Your Ultimate Guide to Cooking Beef Ribs in the Ninja Foodi Grill
-
Preheat your Ninja Foodi Grill to 350°F. This ensures a perfect environment for cooking beef ribs.
-
Season your beef ribs generously with salt, pepper, and any other spices you prefer. Rubbing spices into the meat enhances flavor.
-
Place the seasoned beef ribs on the grill grate. Make sure they're not overlapping for even cooking.
-
Close the lid of the Ninja Foodi Grill. This step is crucial for maintaining the right temperature and smoke level.
-
Cook for about 45 minutes. Check halfway through to ensure they're cooking evenly. Flip if necessary.
-
Increase the temperature to 400°F after the initial cooking period. This will give the ribs a nice, crispy exterior.
-
Cook for an additional 15 minutes at the higher temperature. Keep an eye on them to prevent burning.
-
Check the internal temperature of the ribs. You're aiming for 145°F to 160°F, depending on your desired doneness.
-
Remove the ribs from the grill and let them rest for about 10 minutes. Resting allows the juices to redistribute.
-
Serve hot. Enjoy your perfectly cooked beef ribs straight from the Ninja Foodi Grill.
Mastering Beef Ribs with Your Ninja Foodi Grill
Cooking beef ribs in your Ninja Foodi Grill is a game-changer. With this method, you get tender, flavorful ribs without the hassle of firing up an outdoor grill. Remember, the key steps involve seasoning your ribs well, using the right cooking settings, and allowing them to rest before serving. This approach not only simplifies the cooking process but also ensures a delicious outcome every time. So, next time you're craving some barbecue but can't or don't want to grill outdoors, give this method a try. Your Ninja Foodi Grill is more versatile than you might think, and it's perfect for making mouth-watering beef ribs that'll impress your family and friends. Happy grilling!
More Delicious Recipes for Your Ninja Foodi Grill
Once you've mastered cooking beef ribs in your Ninja Foodi Grill, why not venture into more diverse recipes to truly showcase your skills? For those who enjoy a touch of sweetness with a kick, the Bourbon Brown Sugar Beef Ribs are a must-try. Alternatively, the Smoky BBQ Beef Ribs Homemade Sauce offer a classic taste that's beloved by many. If you're inclined towards international flavors, the Spicy Korean Beef Short Ribs provide a delightful zest. Each recipe is designed to utilize the Ninja Foodi Grill's capabilities, ensuring that you can apply the techniques learned from the guide seamlessly.
All Your Questions About Beef Ribs in the Ninja Foodi Grill Answered
How long does it take to cook beef ribs in a Ninja Foodi Grill?
Cooking beef ribs in your Ninja Foodi Grill typically takes about 45 minutes to an hour, depending on their thickness and how tender you like them. Preheating your grill for a good 5 minutes ensures even cooking right from the start.
What's the best temperature to set for beef ribs in the Ninja Foodi Grill?
For beef ribs, setting your Ninja Foodi Grill to 375°F strikes the perfect balance between cooking them thoroughly and keeping them juicy. This temperature allows the ribs to cook slowly, locking in flavors and tenderness.
Can I marinate my beef ribs before cooking them in the Ninja Foodi Grill?
Absolutely! Marinating your beef ribs can add depth and richness to the flavor. For best results, let them marinate overnight. However, even a few hours can make a significant difference in taste and tenderness.
Is it necessary to flip the beef ribs while they're cooking in the Ninja Foodi Grill?
Yes, flipping your beef ribs halfway through the cooking process ensures they cook evenly on all sides. This little step can make a big difference in achieving that perfect char and juicy interior.
How can I tell when my beef ribs are done in the Ninja Foodi Grill?
The best way to check if your beef ribs are cooked to perfection is by using a meat thermometer. You're aiming for an internal temperature of 145°F for medium-rare. If you prefer your ribs more on the well-done side, look for a temperature around 160°F.
What's the ideal way to rest beef ribs after cooking them in the Ninja Foodi Grill?
Once your beef ribs are done, let them rest for about 10 minutes before cutting into them. This resting period allows the juices to redistribute throughout the meat, ensuring every bite is as flavorful and tender as can be.
Can I add sauce to my beef ribs while they're cooking in the Ninja Foodi Grill?
Adding sauce to your beef ribs during the last few minutes of cooking can enhance their flavor significantly. Just brush your favorite barbecue or glaze sauce over them and let them cook for an additional 5-10 minutes. This step caramelizes the sauce, adding a deliciously sticky and sweet layer to your ribs.
Was this page helpful?
Read Next: How To Cook Sweet Potatoes In Ninja Foodi
Related Articles
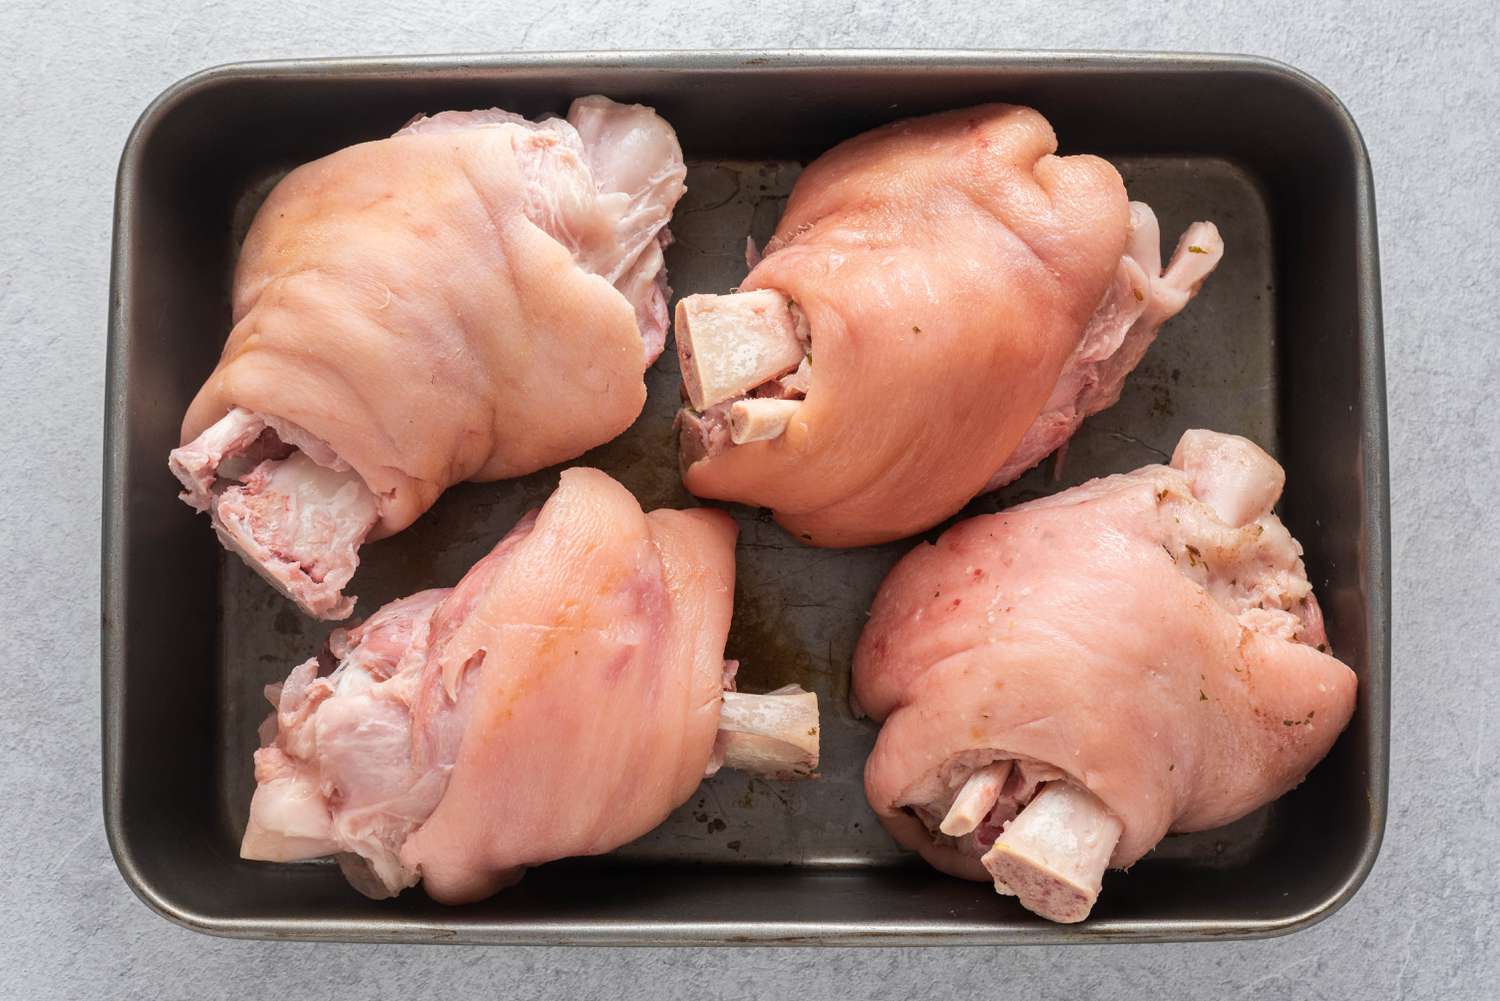
How To Cook Fresh Ham Hocks
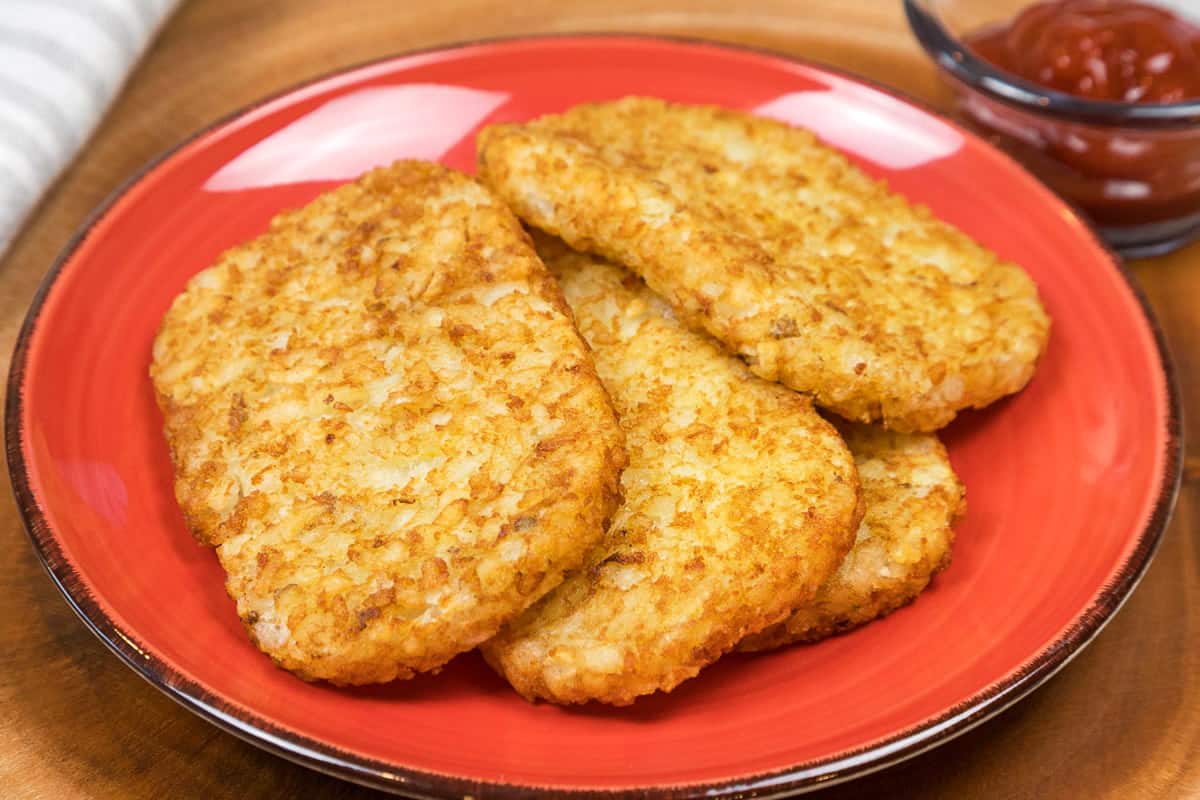
How To Cook Frozen Hash Browns In Oven
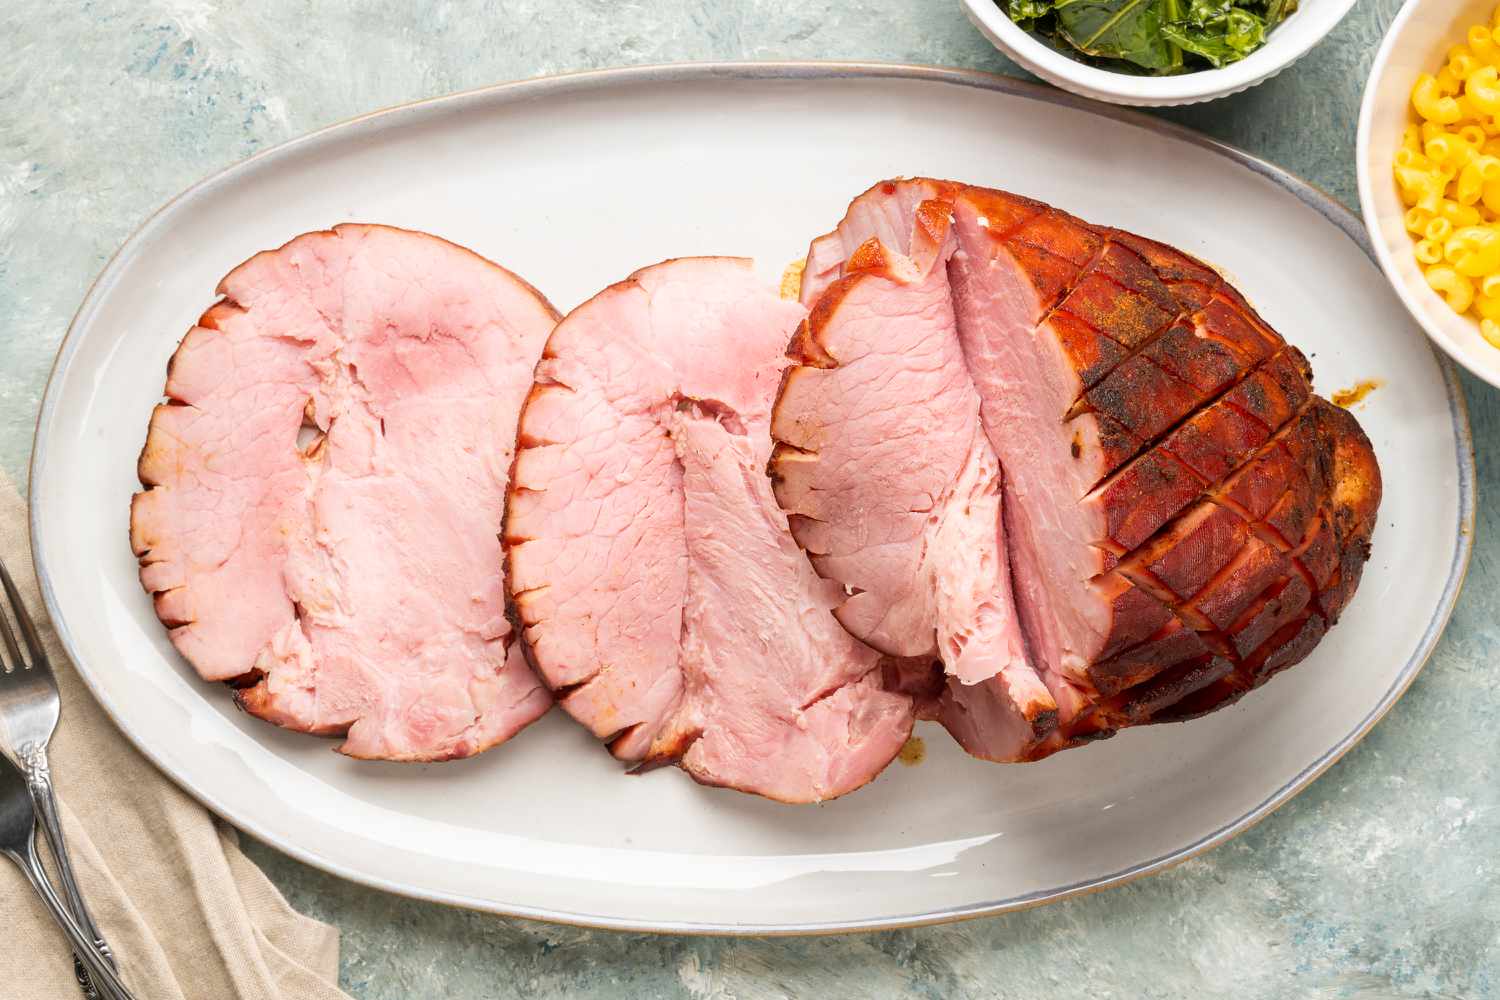
How To Cook A Fully Cooked Smoked Ham

How To Cook A Whole Chicken In Ninja Foodi Grill
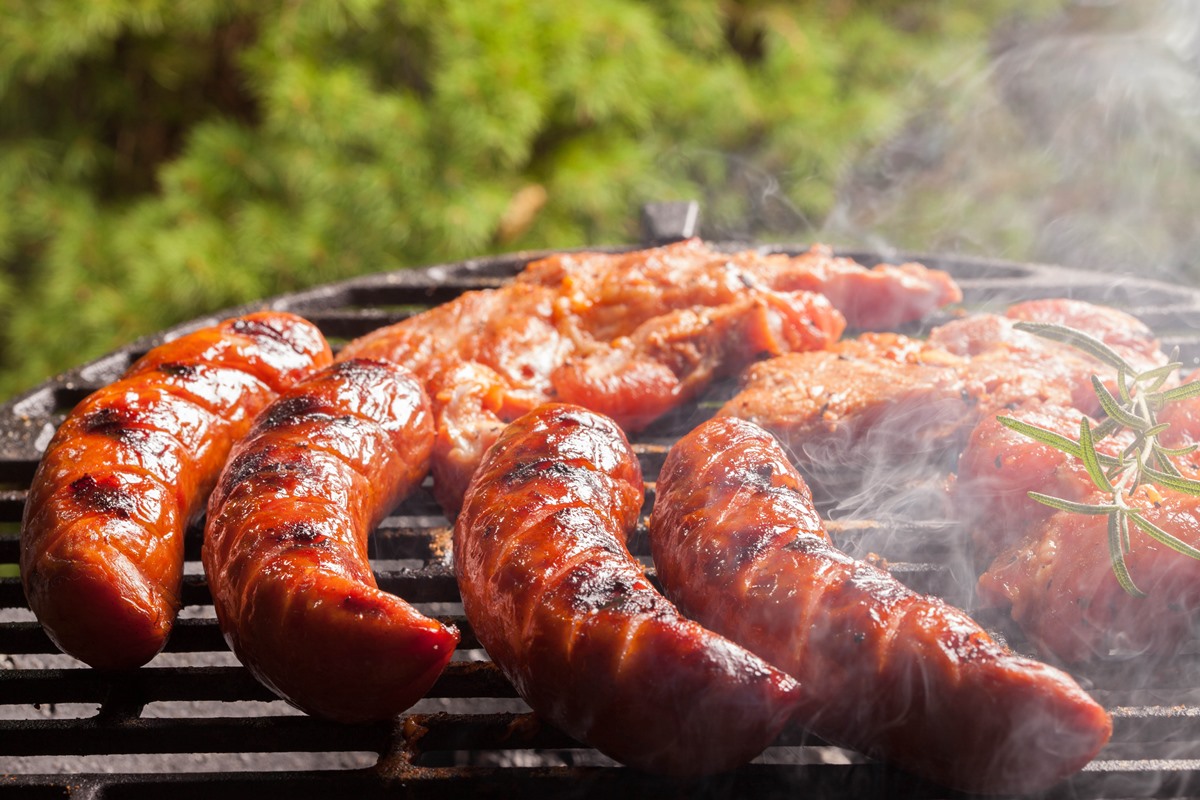
How To Cook Field Roast Sausage
How To Cook Ground Sausage In Pan
How To Cook Roger Wood Sausage
How To Cook Ground Italian Sausage On Stove
How To Cook Chinese Sausage On Stove Top
How To Cook Sausage In Sauce
How To Cook Fish Sticks In Microwave