Crack the Hazelnut Code: A Step-by-Step Guide on How to Chop Hazelnuts
If you’re a culinary enthusiast, then you probably know that hazelnuts are an absolute delight in both sweet and savory dishes. These little powerhouses of flavor can elevate your recipes to a whole new level. Whether you want to add a crunchy topping to your favorite dessert or incorporate a nutty twist into a delectable pesto sauce, knowing how to chop hazelnuts is a skill worth mastering.
Why Chop Hazelnuts?
Before we dive into the process, let’s take a moment to appreciate the reasons why chopping hazelnuts can take your dishes from ordinary to extraordinary:
- Enhanced Texture: Chopped hazelnuts add a delightful crunch to your recipes, adding a layer of texture that is irresistible.
- Flavor Infusion: Chopping hazelnuts exposes more surface area, allowing the essential oils within the nuts to release their full flavor potential.
- Visual Appeal: Chopped hazelnuts bring a touch of elegance to your dishes, making them look even more appetizing and inviting.
Let’s Get Crackin’!
Now that you’re convinced of the merits of chopping hazelnuts, let’s unveil the secrets behind this delightful technique.
Step 1: Gather Your Supplies
For this hazelnut-chopping adventure, you’ll need the following tools and ingredients:
- A sturdy cutting board
- A sharp chef’s knife
- Fresh hazelnuts
- A clean kitchen towel
Step 2: Preparing the Hazelnuts
To ensure the best results, it’s important to start with properly prepared hazelnuts:
- Roasting: Spread the hazelnuts in a single layer on a baking sheet. Roast them in a preheated oven at 350°F (175°C) for about 10-12 minutes or until they become fragrant and golden brown. Keep a close eye on them to prevent burning.
- Cooling: Transfer the roasted hazelnuts onto a clean kitchen towel and let them cool for a few minutes. This will make it easier to remove the skins.
- Skinning: To remove the skins, wrap the cooled hazelnuts in the kitchen towel and gently rub them against each other. The skins should start to loosen and fall off.
Step 3: The Chopping Technique
With your hazelnuts prepped and ready, it’s time to put your knife skills to work:
- Hold and Stabilize: Place the hazelnut on the cutting board and use your non-dominant hand to hold it steady.
- Start the Cut: Hold the chef’s knife with your dominant hand and position it on top of the hazelnut, near the tip.
- Apply Pressure: Using a rocking motion, lower the knife and apply downward pressure to the hazelnut, cutting through it in a steady motion. Be cautious not to press too hard and risk injury.
- Repeat and Rotate: Continue the process, adjusting the angle of the knife slightly after each cut. This will ensure that the hazelnuts are chopped evenly.
Step 4: Enjoy the Fruits of Your Labor
Voila! You’ve successfully chopped your hazelnuts and are now ready to add them to your favorite recipes. Whether it’s a luscious chocolate hazelnut tart or a savory hazelnut-crusted salmon, the options are endless.
Remember, practice makes perfect. As you chop more hazelnuts, you’ll become more comfortable and efficient. Soon enough, you’ll be adding the perfect touch of hazelnut magic to all your culinary creations.
So, go ahead and unlock the full potential of hazelnuts by mastering the art of chopping. Your taste buds will thank you!
For those looking to put their newfound hazelnut chopping skills to good use, several recipes stand out. The Hazelnut Torte offers a rich and decadent dessert option, perfect for showcasing the nut's flavor. If sweet treats are more your style, try the Hazelnut Gelato or Hazelnut Truffles for a creamy, indulgent experience. For something savory, the Hazelnut-Crusted Salmon provides a delightful crunch and pairs beautifully with a fresh salad. Lastly, the Hazelnut Granola is an excellent choice for a healthy and satisfying breakfast or snack. These recipes highlight different aspects of hazelnuts and are sure to impress.
Was this page helpful?
Read Next: How To Chop Jalapeno
Related Articles
How To Chop Mutton Into Smaller Piece
How To Chop Rosemary
How To Chop Mixed Spring Salad
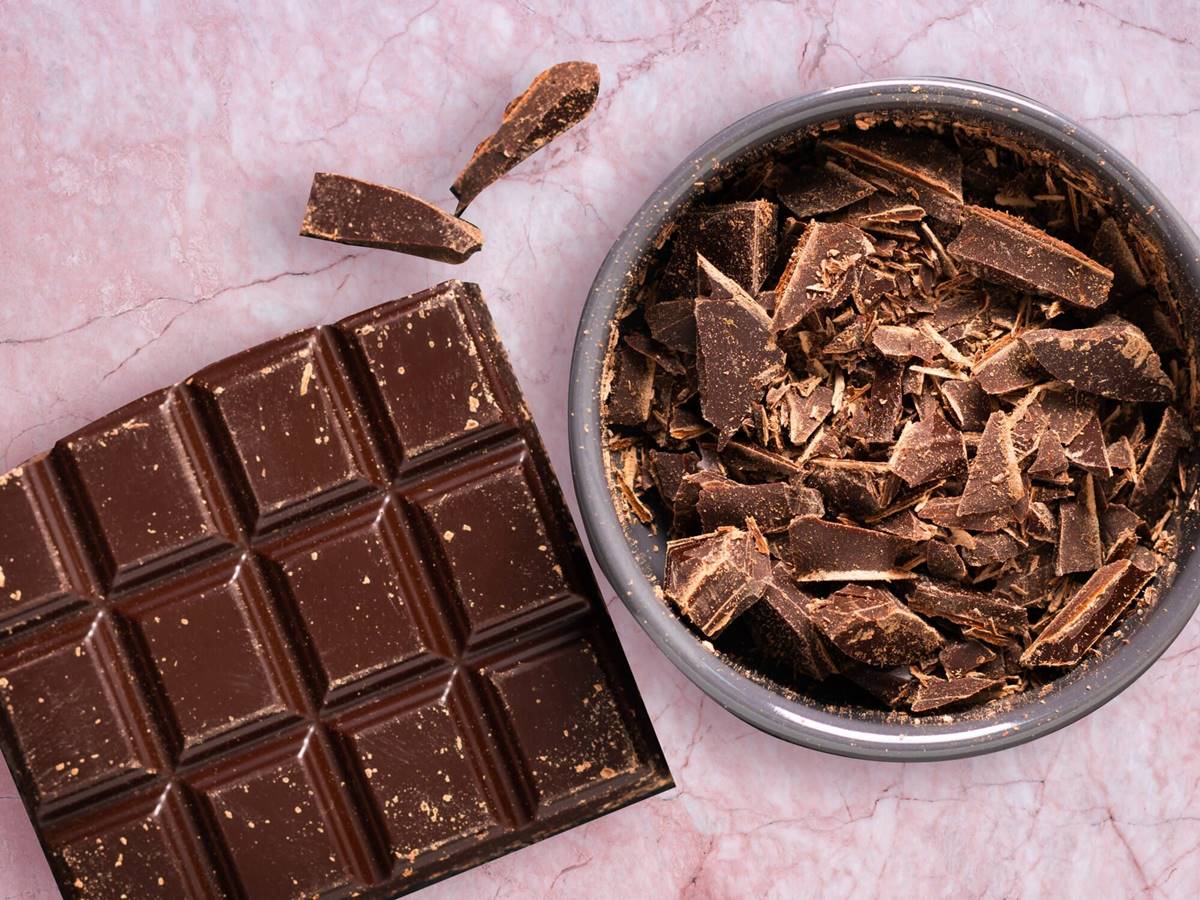
How To Chop Hard Chocolate With Food Processor
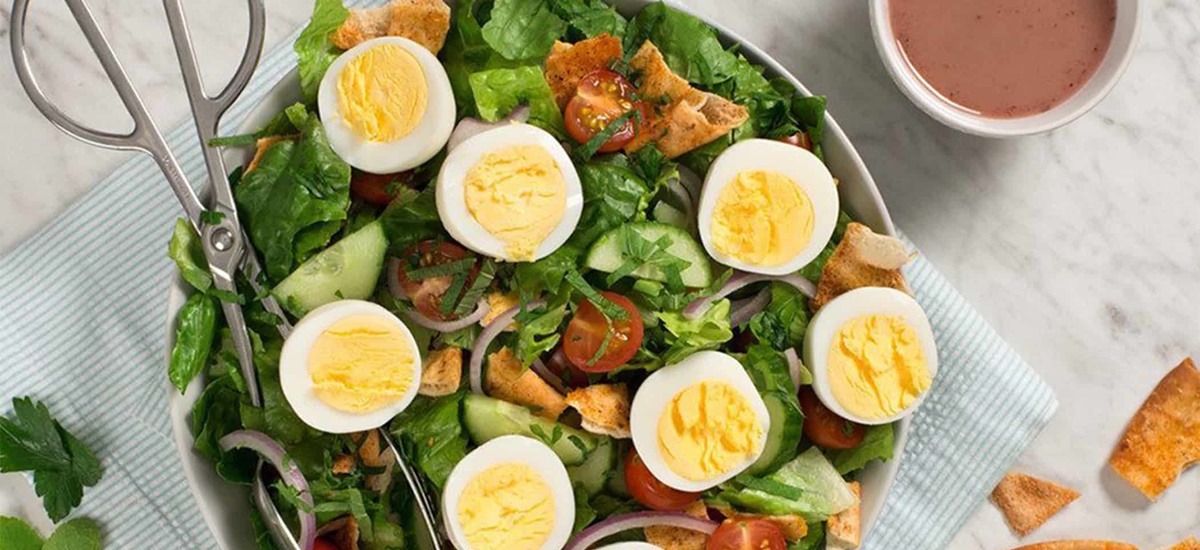
How To Chop Hard Boiled Egg For Salad
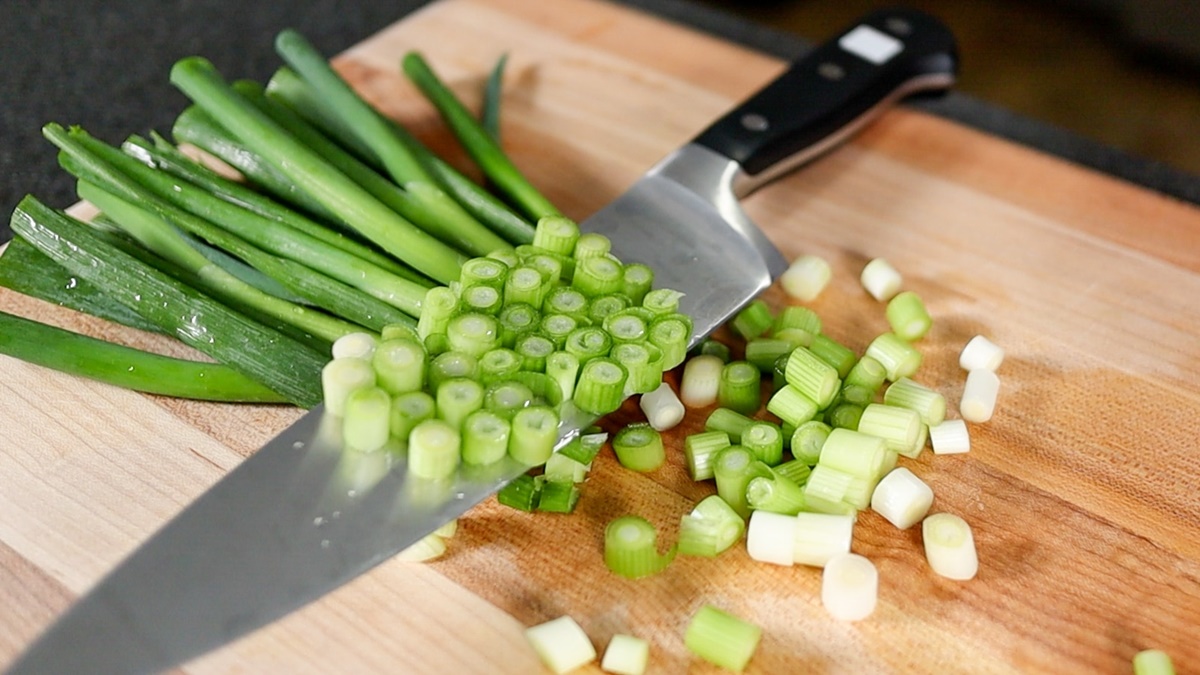
How To Chop Green Onions
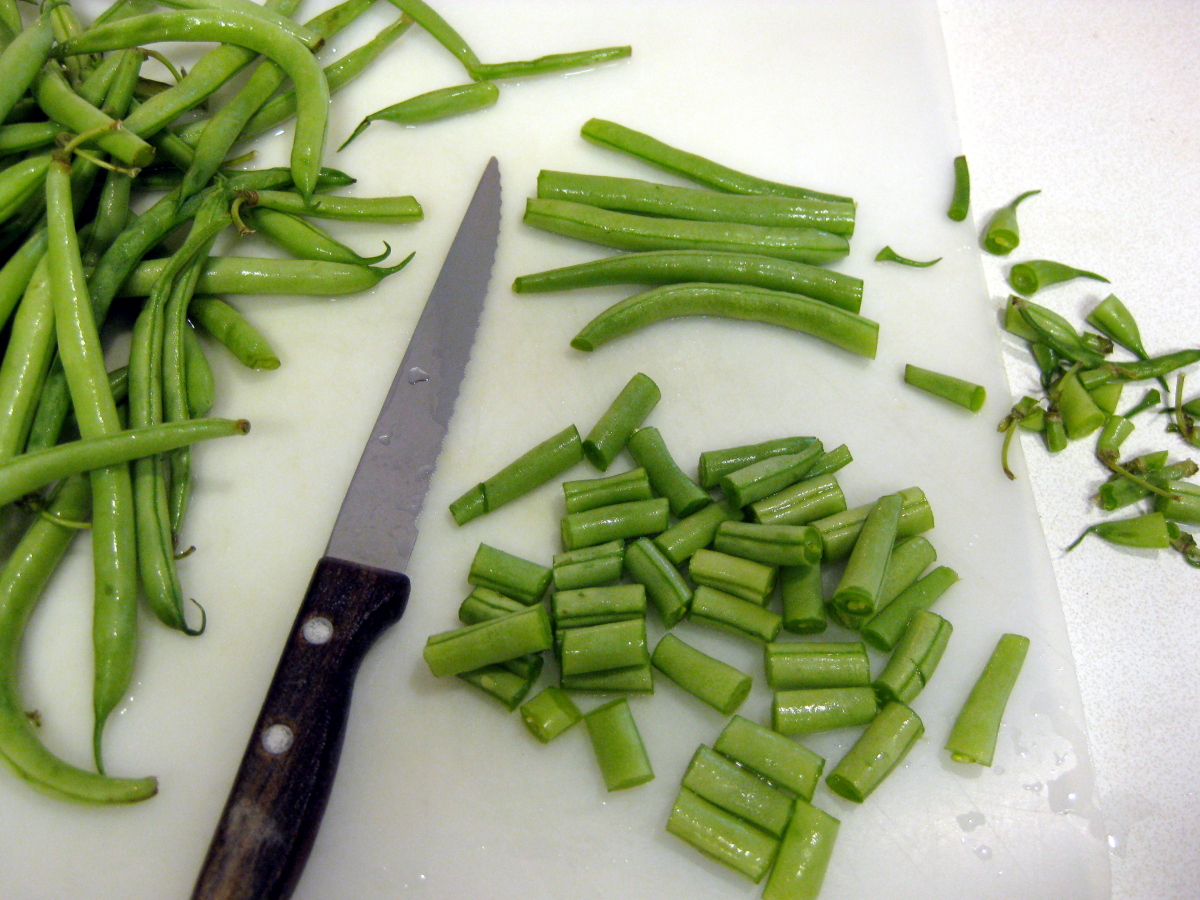
How To Chop Green Beans
How To Chop Gourd
How To Chop Ginger
How To Chop Garlic
How To Chop Frozen Ginger Root