Mastering the Art of Whisking Butter Like a Pro
Butter is a versatile ingredient that is used in a wide range of recipes, from baking to cooking. Whisking butter is a crucial step in many recipes, as it helps to incorporate air and create a light, fluffy texture. Whether you’re a seasoned chef or a novice in the kitchen, mastering the art of whisking butter is a skill that will elevate your culinary creations. Here’s a step-by-step guide to help you whisk butter like a pro.
Choosing the Right Butter
Before you start whisking, it’s important to choose the right butter. Look for unsalted butter, as it allows you to control the salt content in your recipe. Additionally, make sure the butter is at room temperature, as it will be easier to whisk and incorporate into your recipe.
Preparing Your Workspace
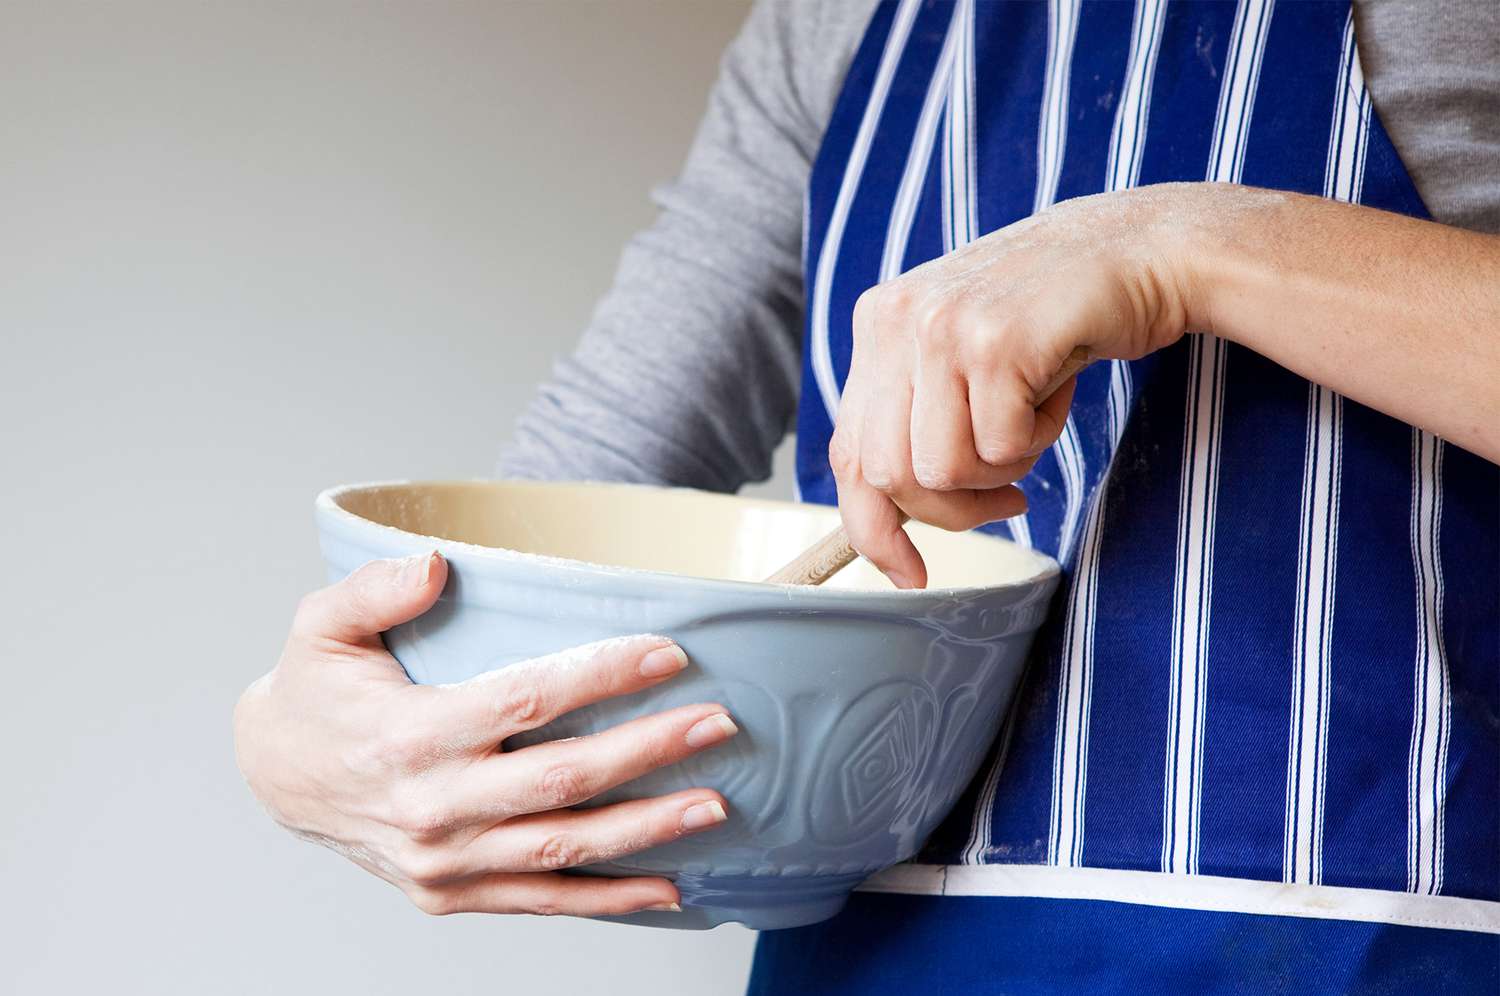
Before you begin whisking, it’s essential to prepare your workspace. Make sure your mixing bowl and whisk are clean and dry. This will ensure that the butter whisks evenly and without any lumps.
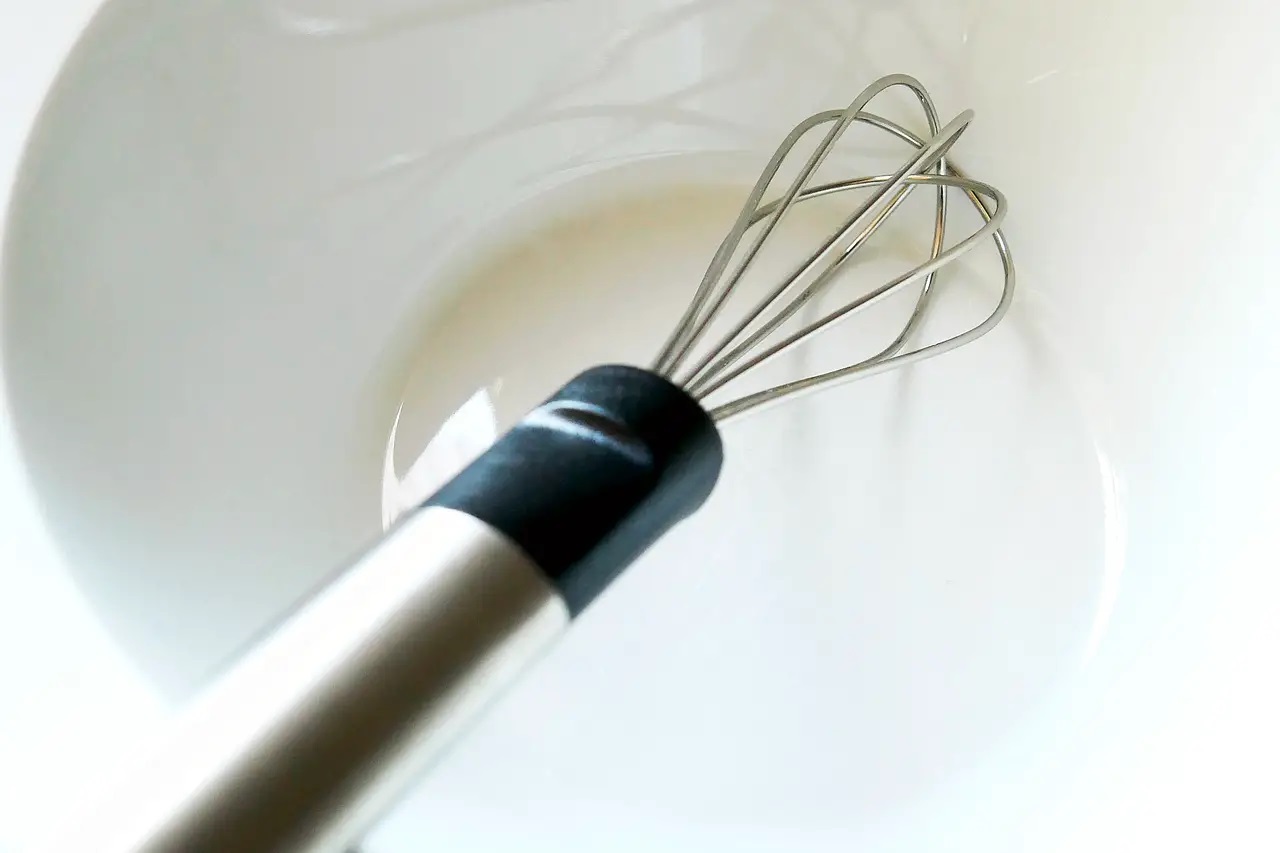
Whisking the Butter
Now that you’re ready to whisk, follow these steps to achieve the perfect consistency:
- Cut the Butter: If the butter is in a block, cut it into smaller chunks. This will make it easier to whisk and incorporate air.
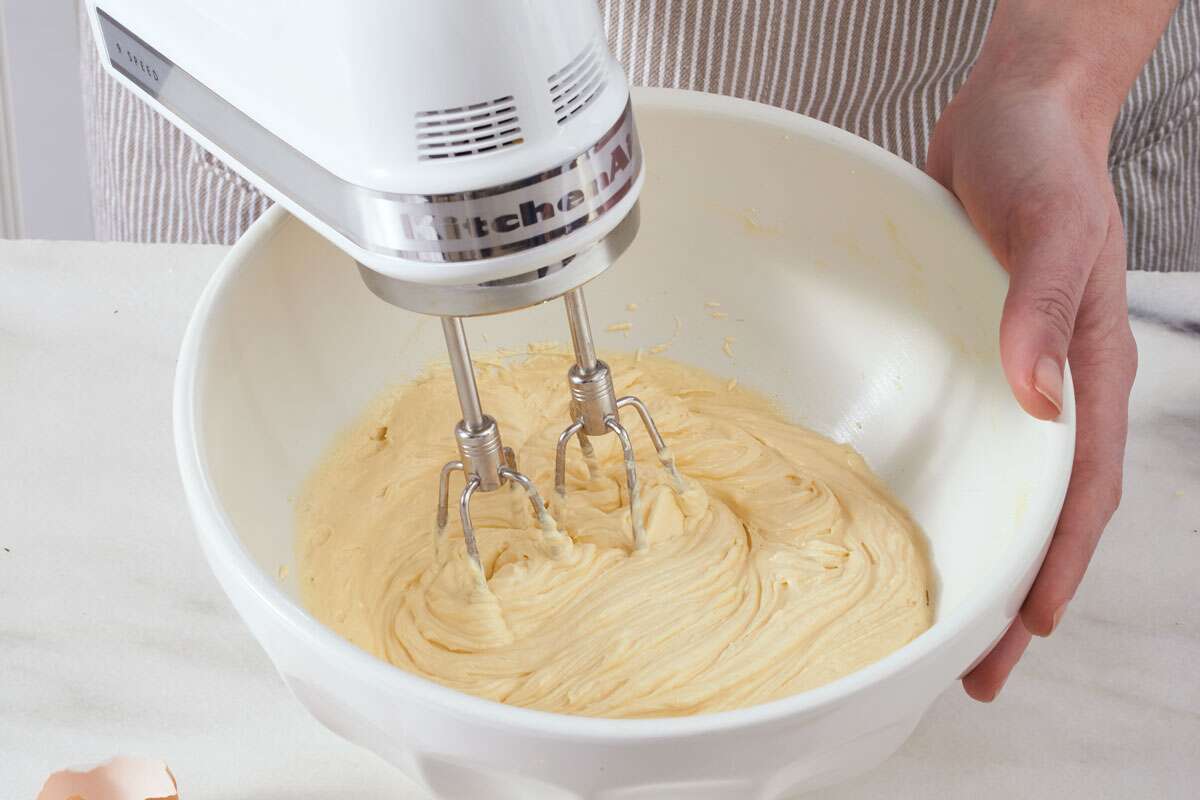
- Start Whisking: Place the butter in the mixing bowl and begin whisking at a moderate speed. Use a back-and-forth motion to incorporate air into the butter.
- Adjust Speed: As the butter begins to soften and become creamy, you can increase the speed of your whisk to achieve a lighter texture.
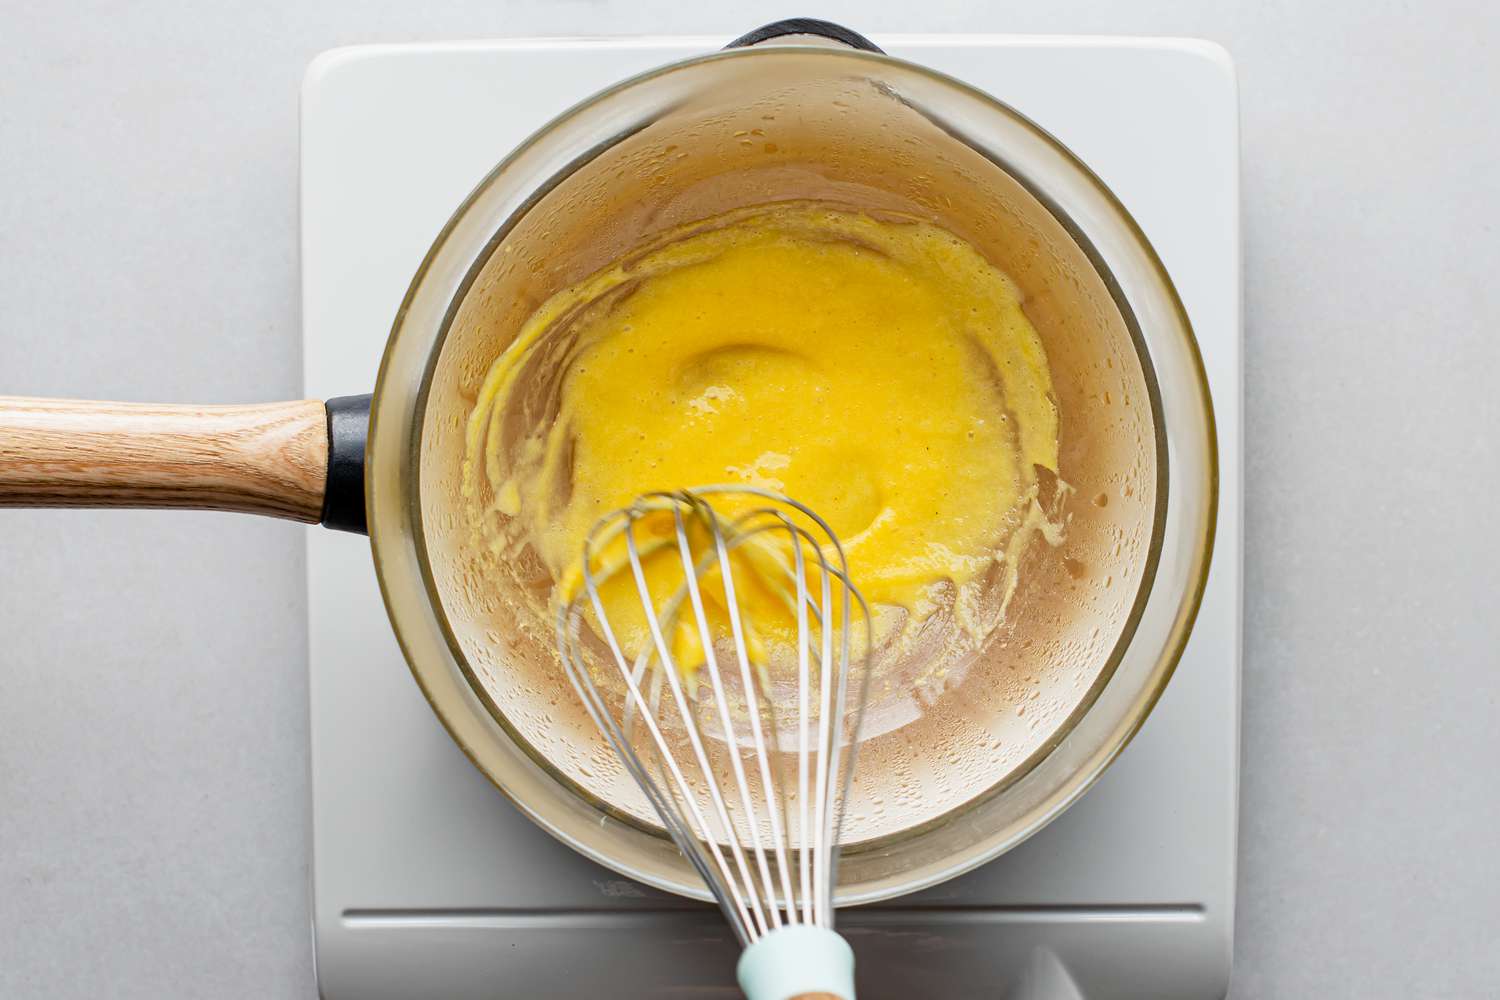
- Check Consistency: Stop whisking periodically to check the consistency of the butter. It should be light, fluffy, and free of lumps.
Using Whisked Butter in Recipes
Once you’ve mastered the art of whisking butter, you can use it in a variety of recipes. Whisked butter is perfect for creating light and airy cakes, creamy frostings, and fluffy pancakes. Its versatility makes it a valuable skill to have in your culinary repertoire.
Cleaning Up
After you’ve finished whisking the butter, it’s important to clean your tools and workspace. Wash the mixing bowl and whisk with warm, soapy water to remove any butter residue. This will ensure that your equipment is ready for the next culinary adventure.
Practice Makes Perfect
Whisking butter is a skill that improves with practice. Don’t be discouraged if your first attempt doesn’t yield the perfect results. With time and experience, you’ll become more adept at achieving the ideal consistency and texture.
With these tips in mind, you’re well on your way to mastering the art of whisking butter. Whether you’re baking a decadent cake or preparing a savory sauce, the ability to whisk butter like a pro will undoubtedly elevate your culinary creations.
For those eager to put their whisking skills to the test, the Fluffy Pancakes Recipe and Classic Vanilla Cupcakes Recipe are perfect starting points. Whisking butter correctly can make a significant difference in the texture and lightness of these treats. Similarly, try the Buttermilk Biscuits Recipe and Rich Carrot Cake Recipe, where the smooth, creamy consistency of well-whisked butter enhances the overall flavor and structure. For something a bit more savory, the Creamy Mashed Potatoes Recipe benefits from the airy, whipped butter, ensuring a rich, velvety finish. Lastly, the Cinnamon Rolls Recipe is a must-try; the perfectly whisked butter will make the dough and frosting irresistibly fluffy and delicious.
Was this page helpful?
Related Articles
How To Whisk Butter And Flour So Not Lumpy
How To Whip Butter Without Stand Mixer
What Is Egg Yolk Sauce
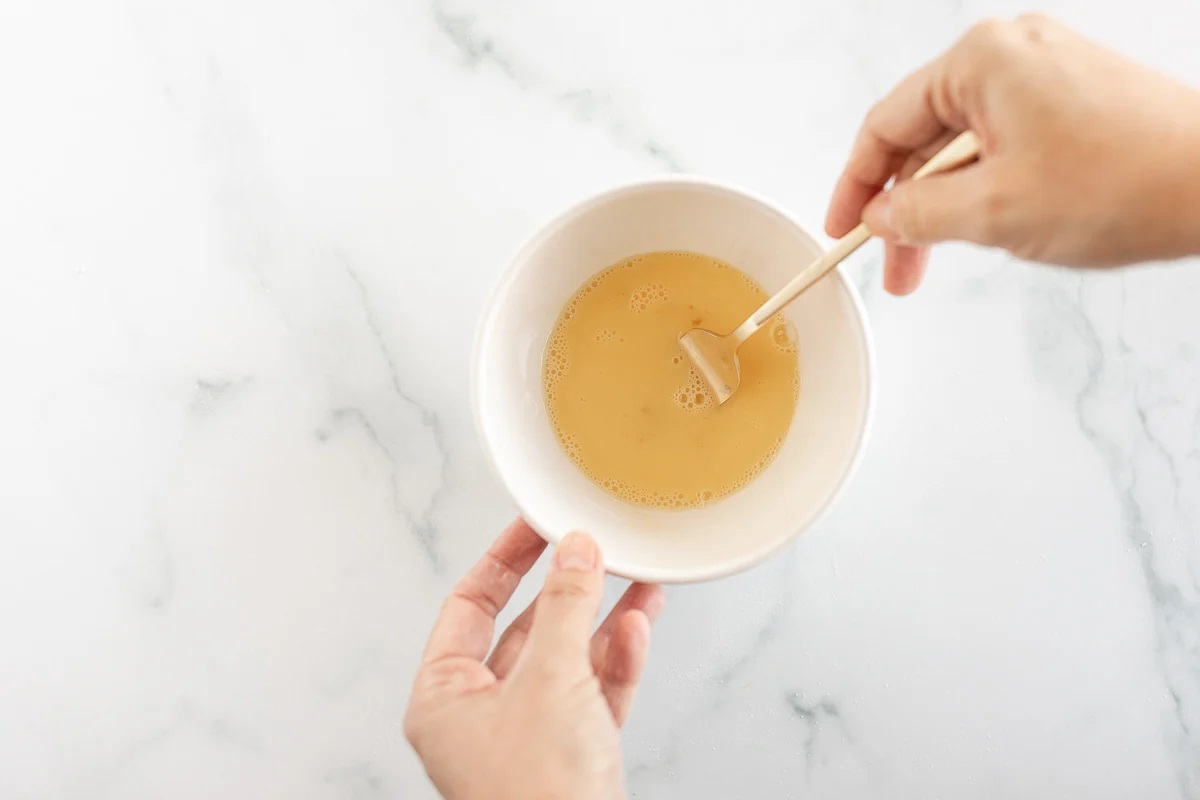
How To Whisk Egg With Fork
How To Whisk Without A Whisker
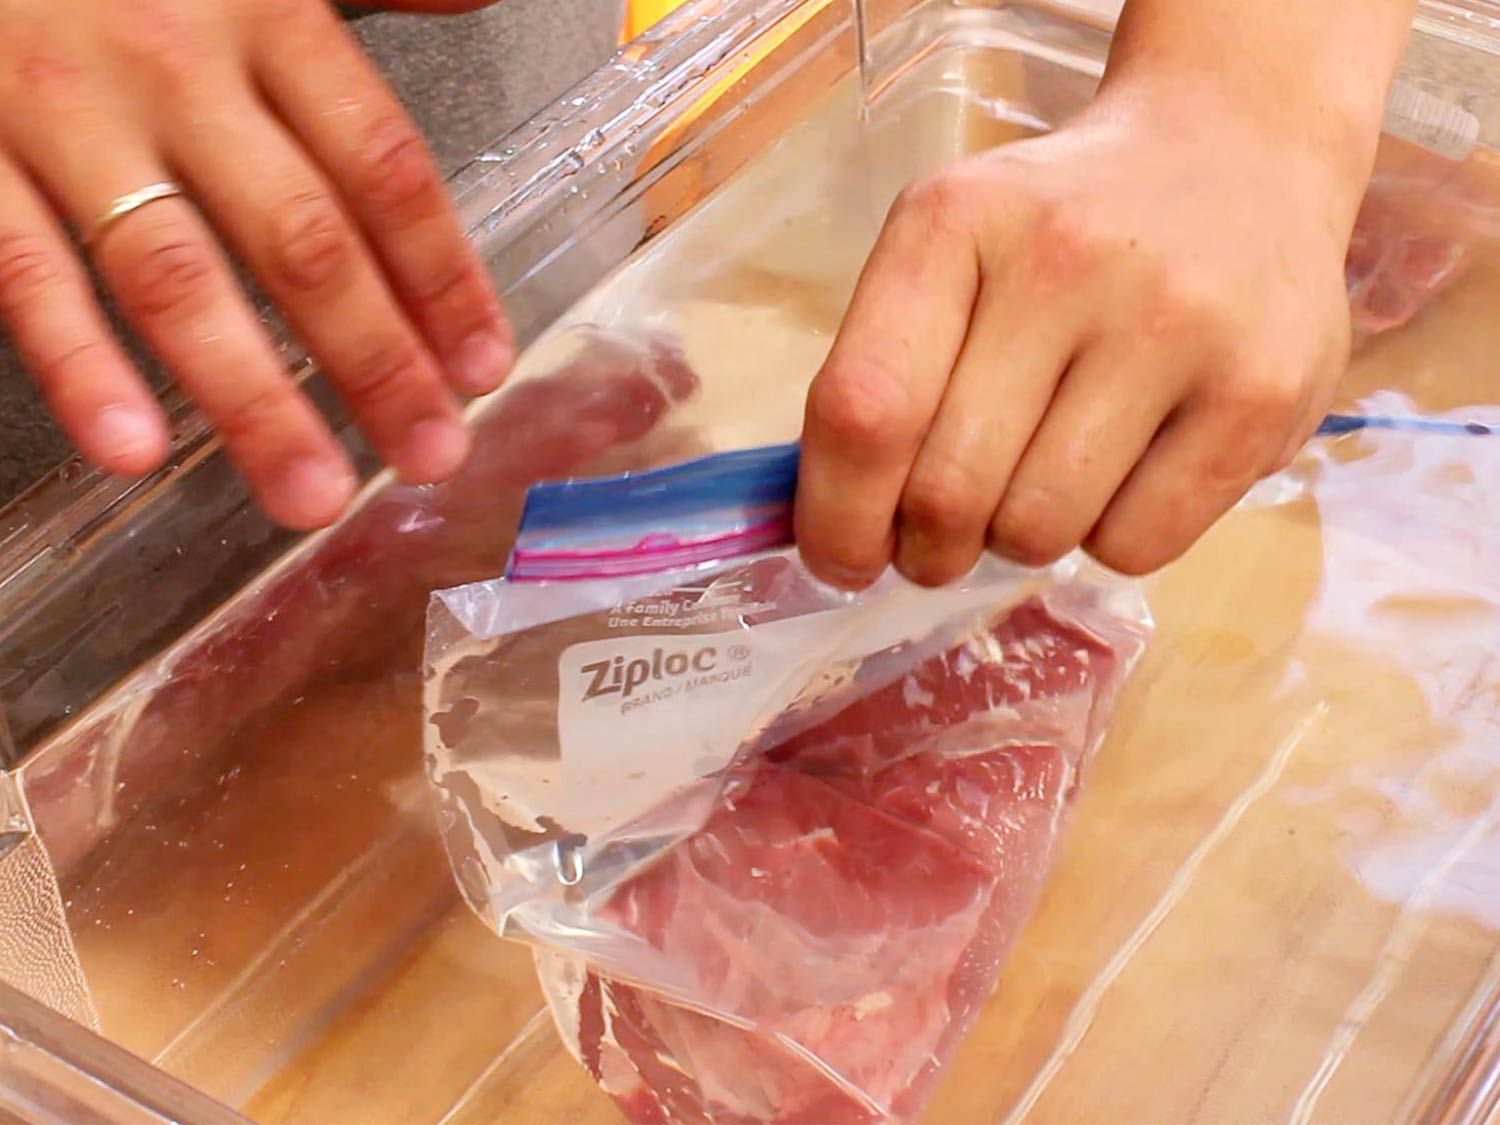
How To Sous Vide Without Vacuum Sealer
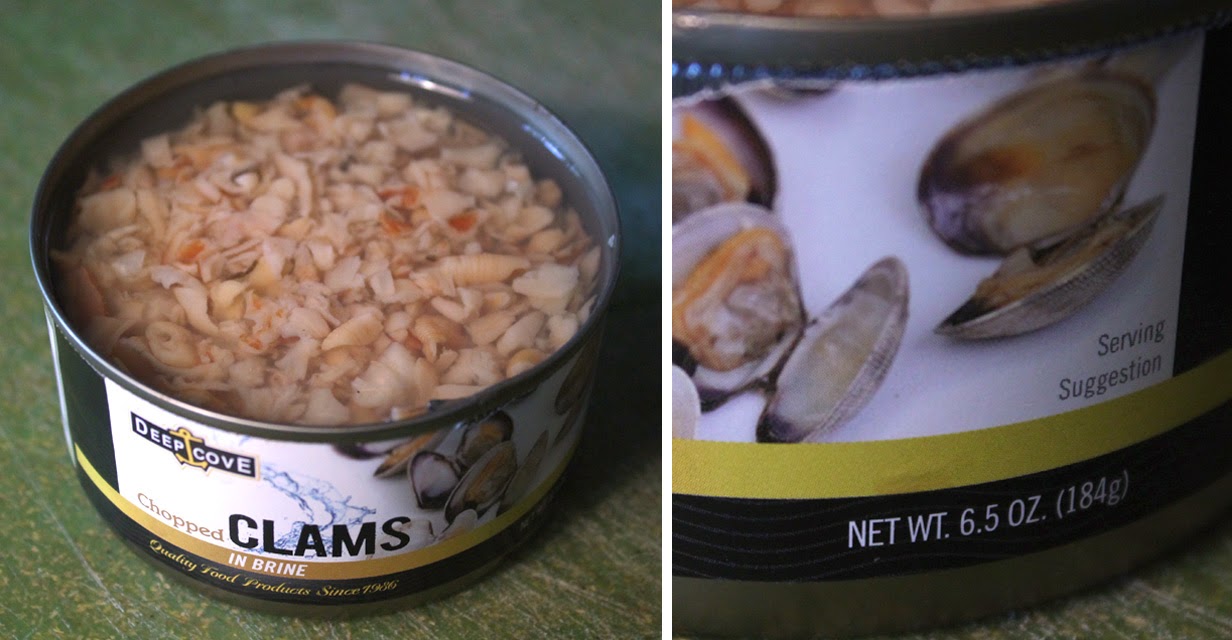
How To Mince Clams
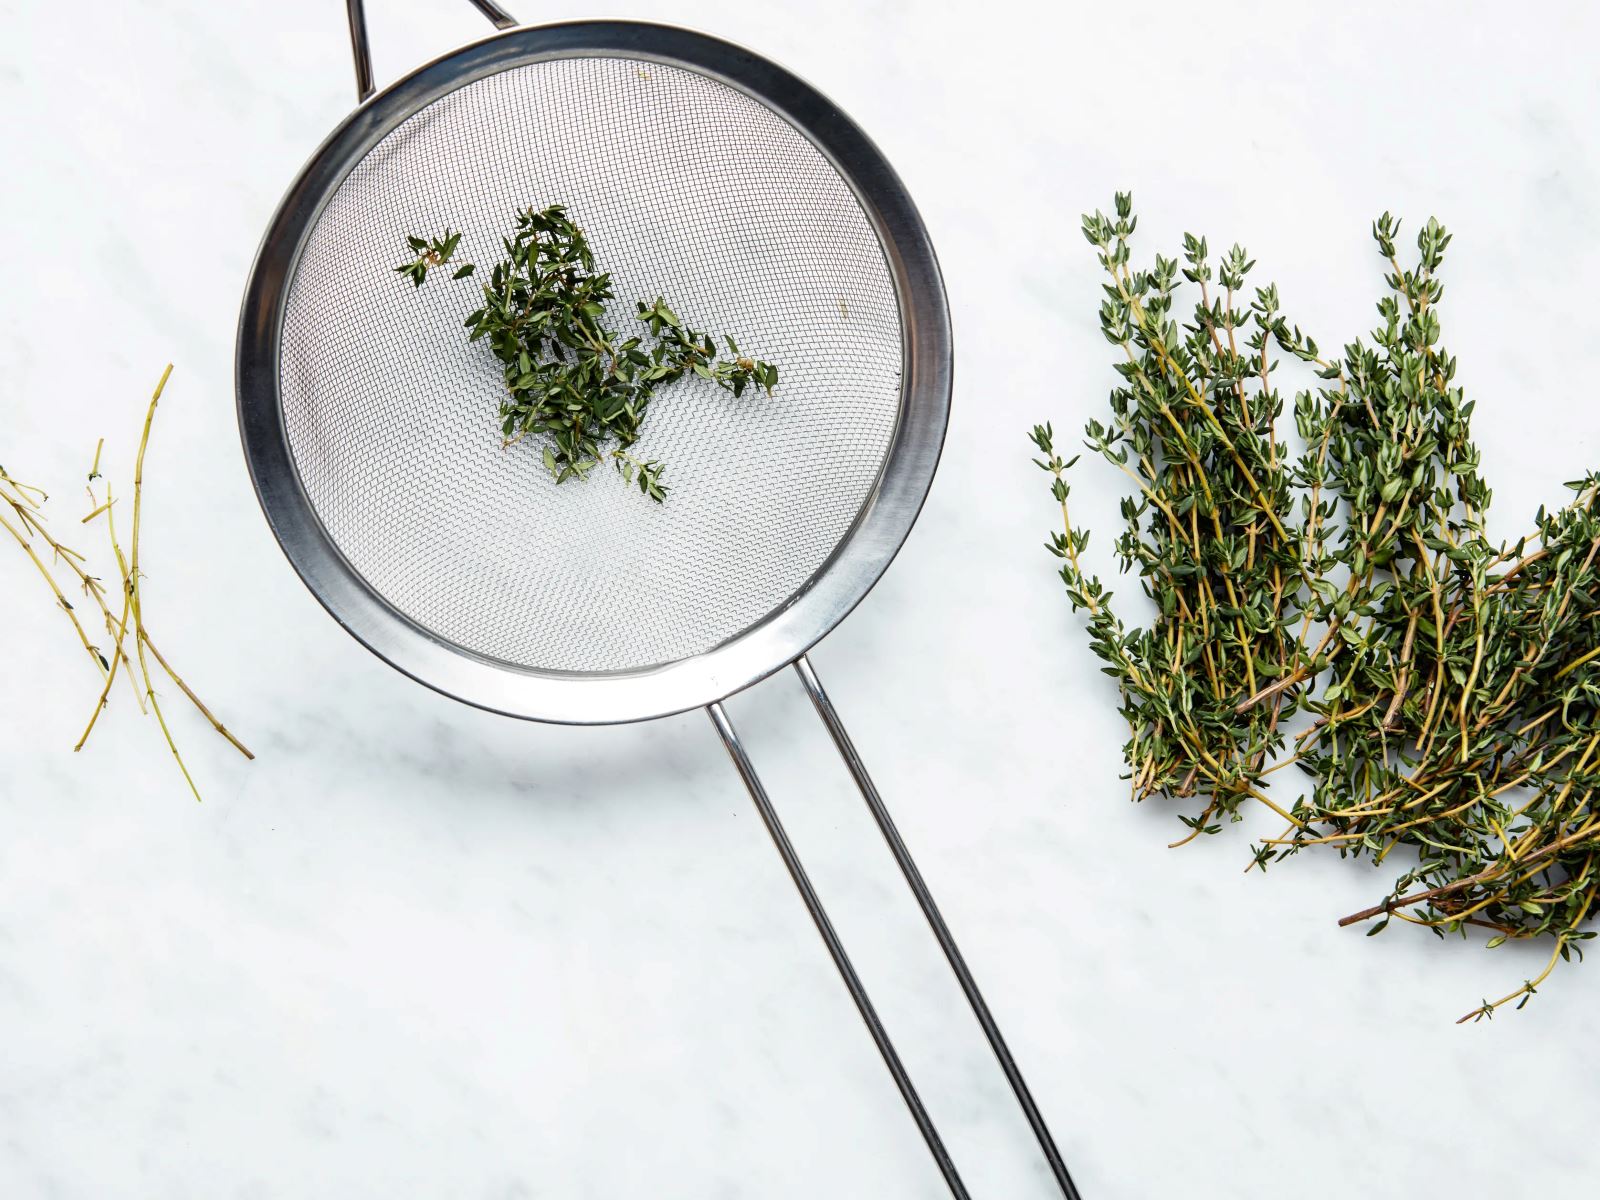
How To Mince Thyme Herbs
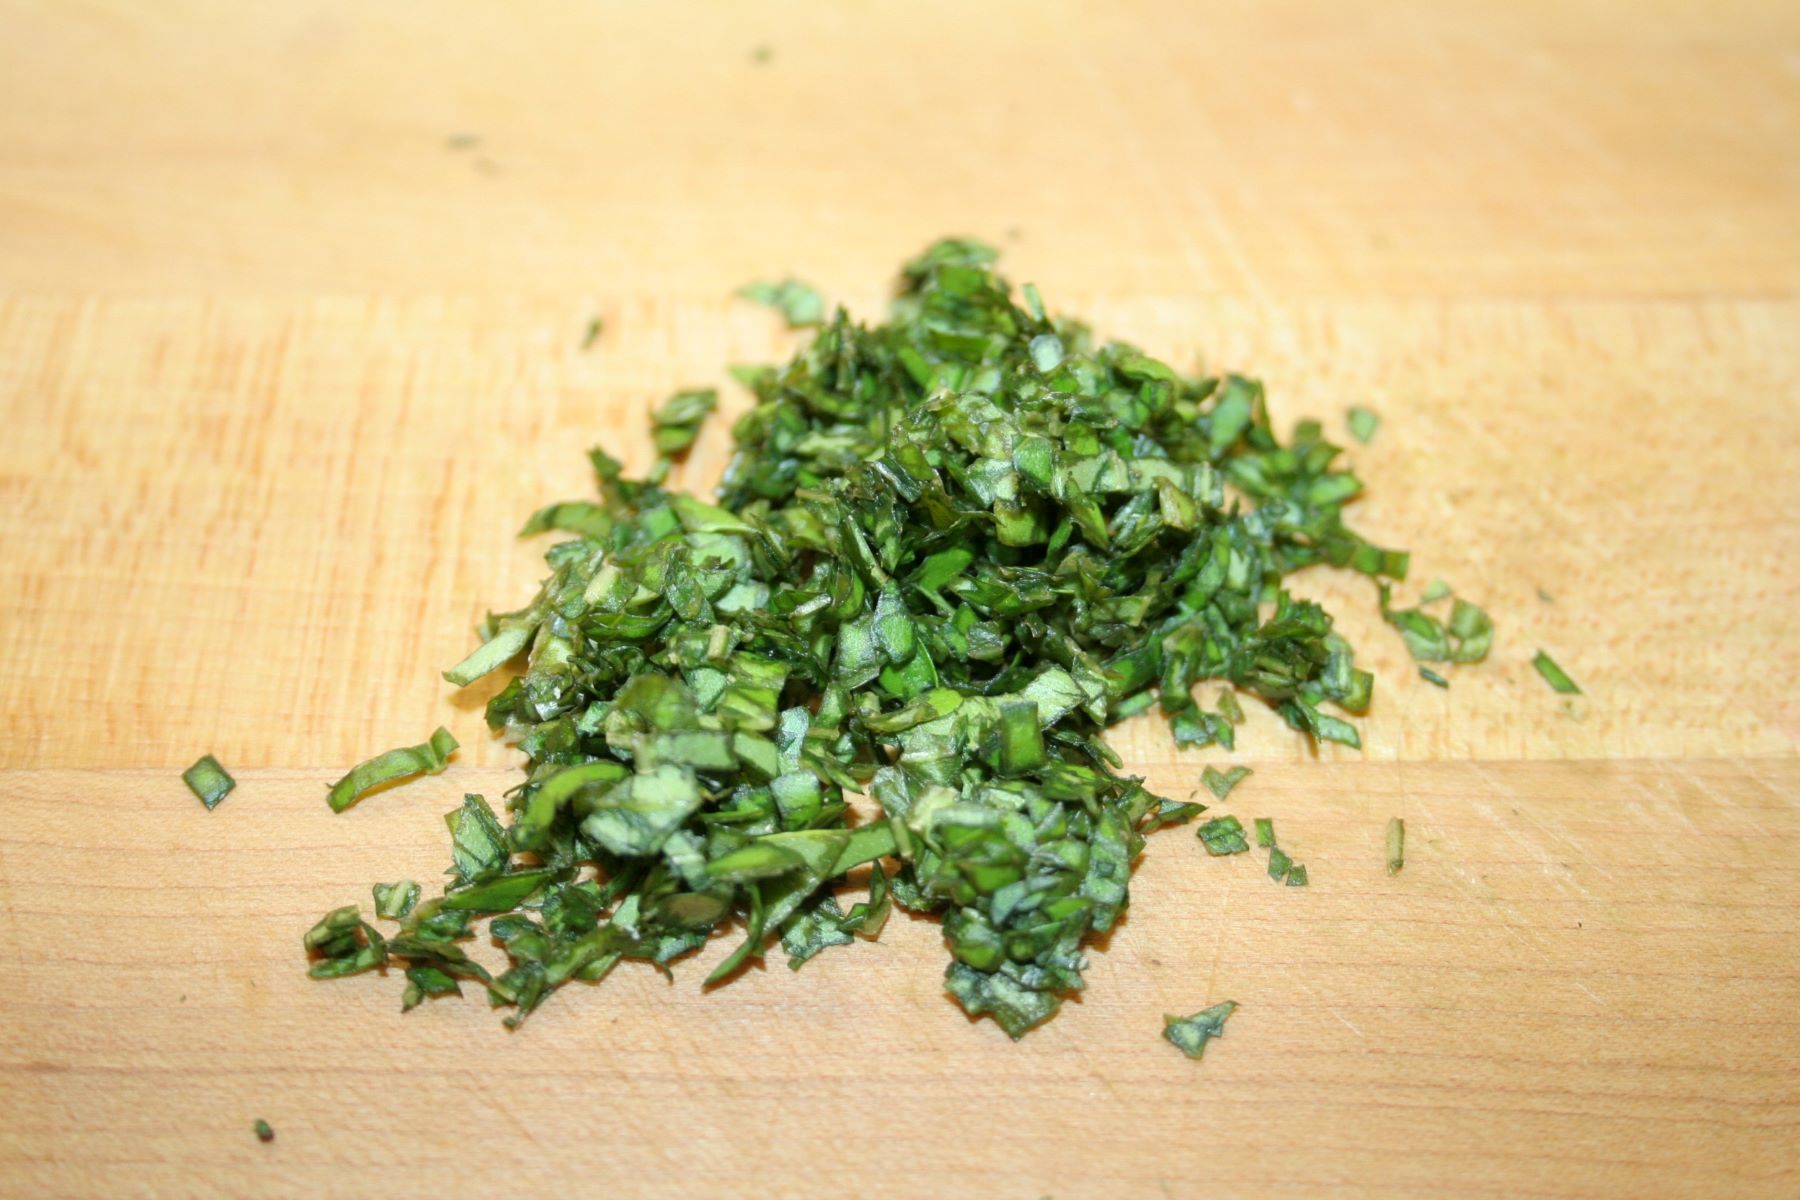
How To Mince Fresh Basil
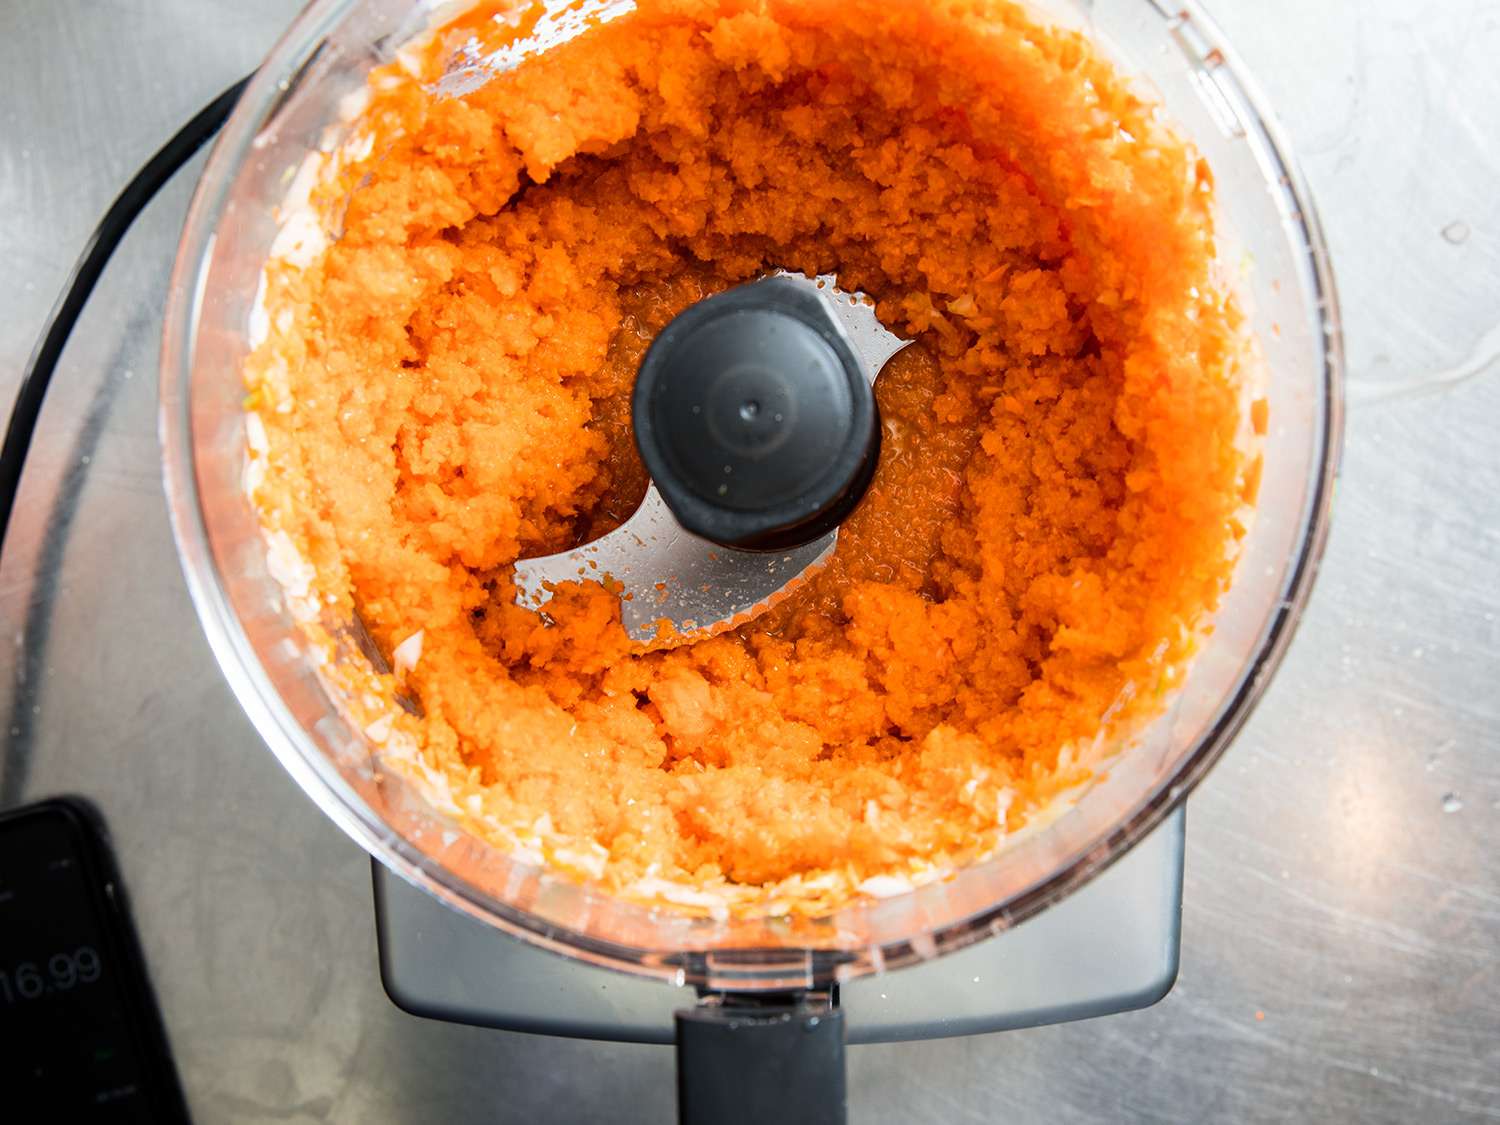
How To Mince Vegetables With Food Processor
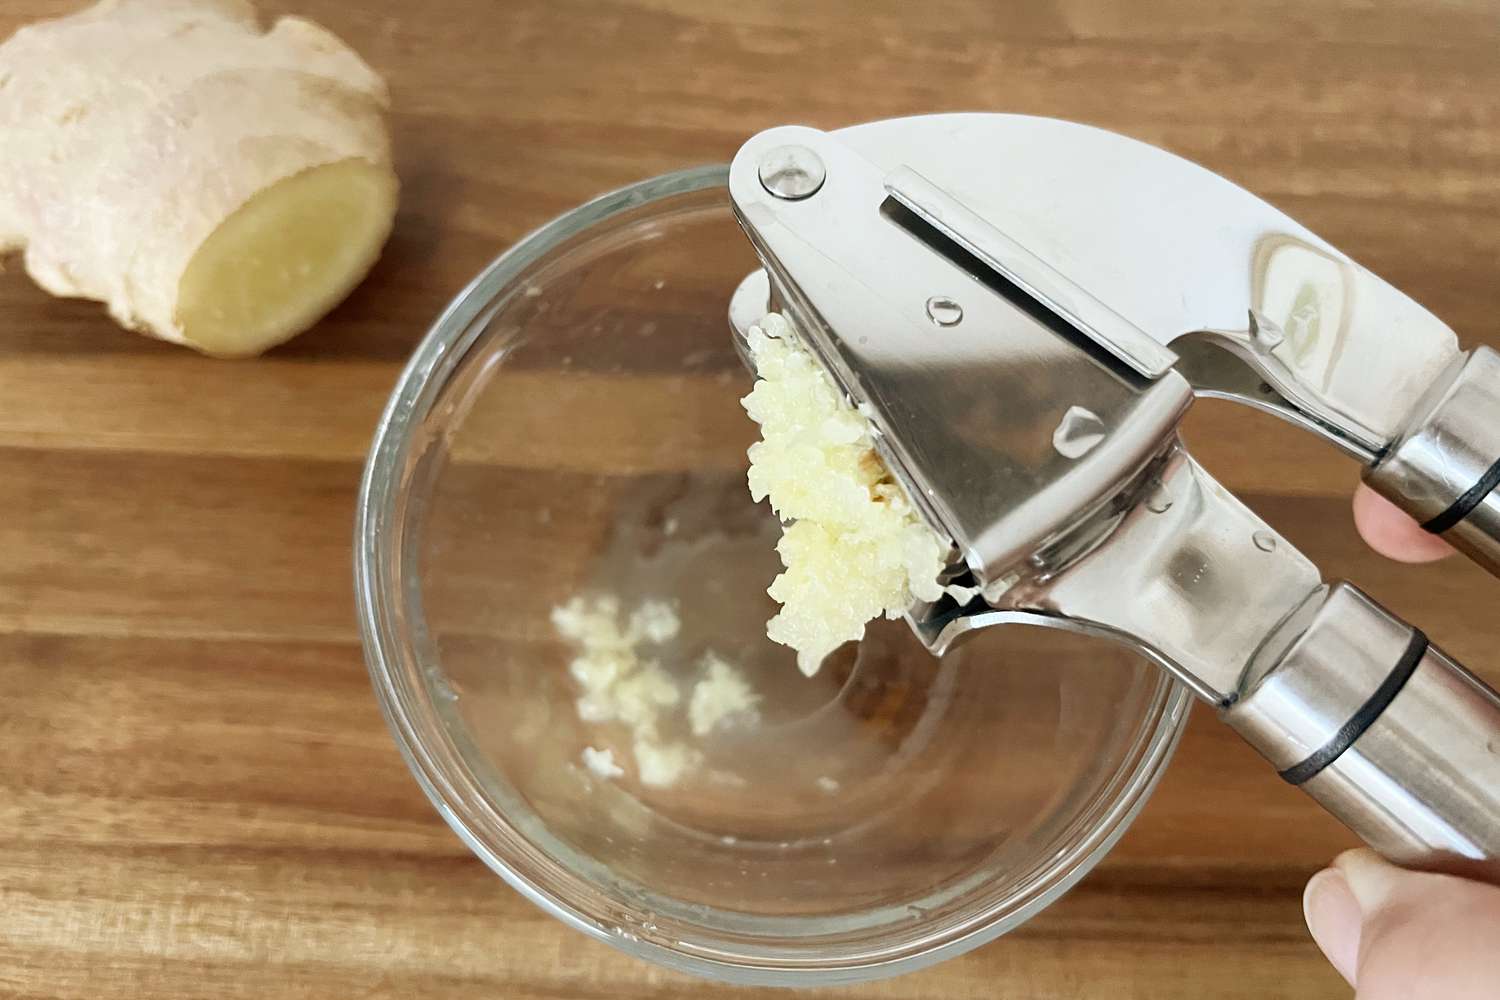
How To Mince Ginger With A Garlic Press