Mastering the Art of Proofing Bread in a Ninja
There’s nothing quite like the aroma of freshly baked bread wafting through the house. The process of making bread from scratch can be incredibly rewarding, and one of the most crucial steps in bread-making is the proofing stage. If you’re the proud owner of a Ninja, you may be wondering how to use this versatile kitchen tool to proof your bread effectively. Fear not, as we’re about to dive into the art of proofing bread in a Ninja!
Understanding the Proofing Process
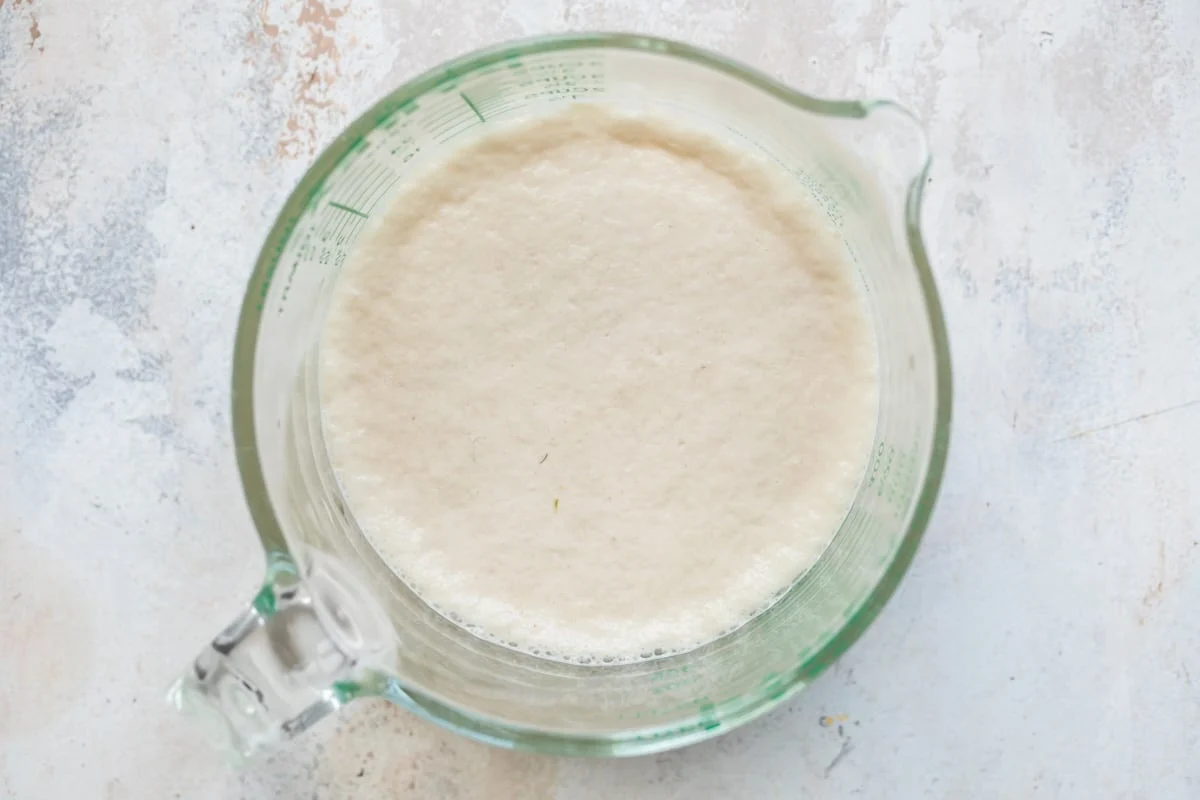
Before we delve into the specifics of using a Ninja for bread proofing, let’s take a moment to understand what proofing actually entails. Proofing is the final rise that dough undergoes before it’s baked. During this stage, the yeast ferments the sugars in the dough, creating carbon dioxide gas that causes the dough to rise. This process is crucial for developing the bread’s flavor, texture, and overall structure.
Using Your Ninja for Bread Proofing
Believe it or not, your Ninja can be a valuable tool for proofing bread. Here’s how you can make the most of this kitchen appliance:
- Set the Stage: Start by creating the ideal environment for proofing. Your Ninja likely has a warm setting that can mimic the warm, draft-free conditions that are perfect for proofing bread. If your Ninja doesn’t have a specific proofing setting, don’t worry – you can still use it for proofing by adjusting the temperature manually.
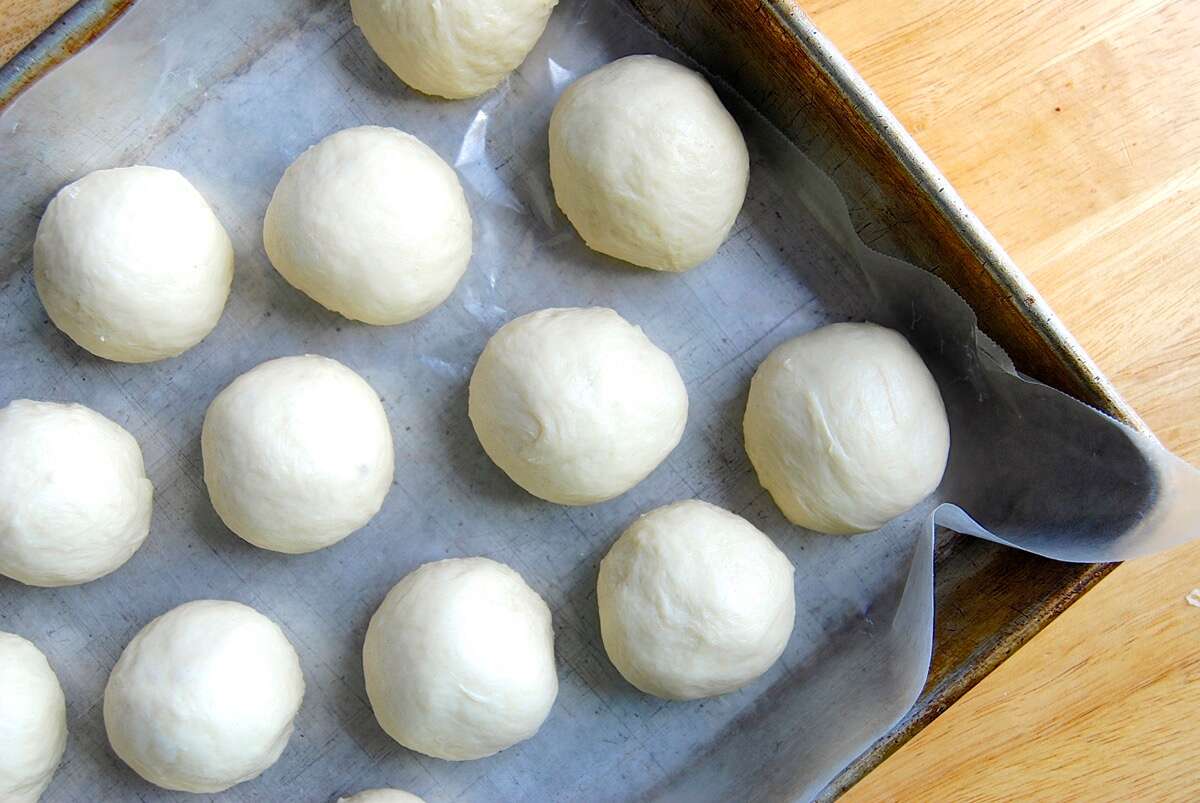
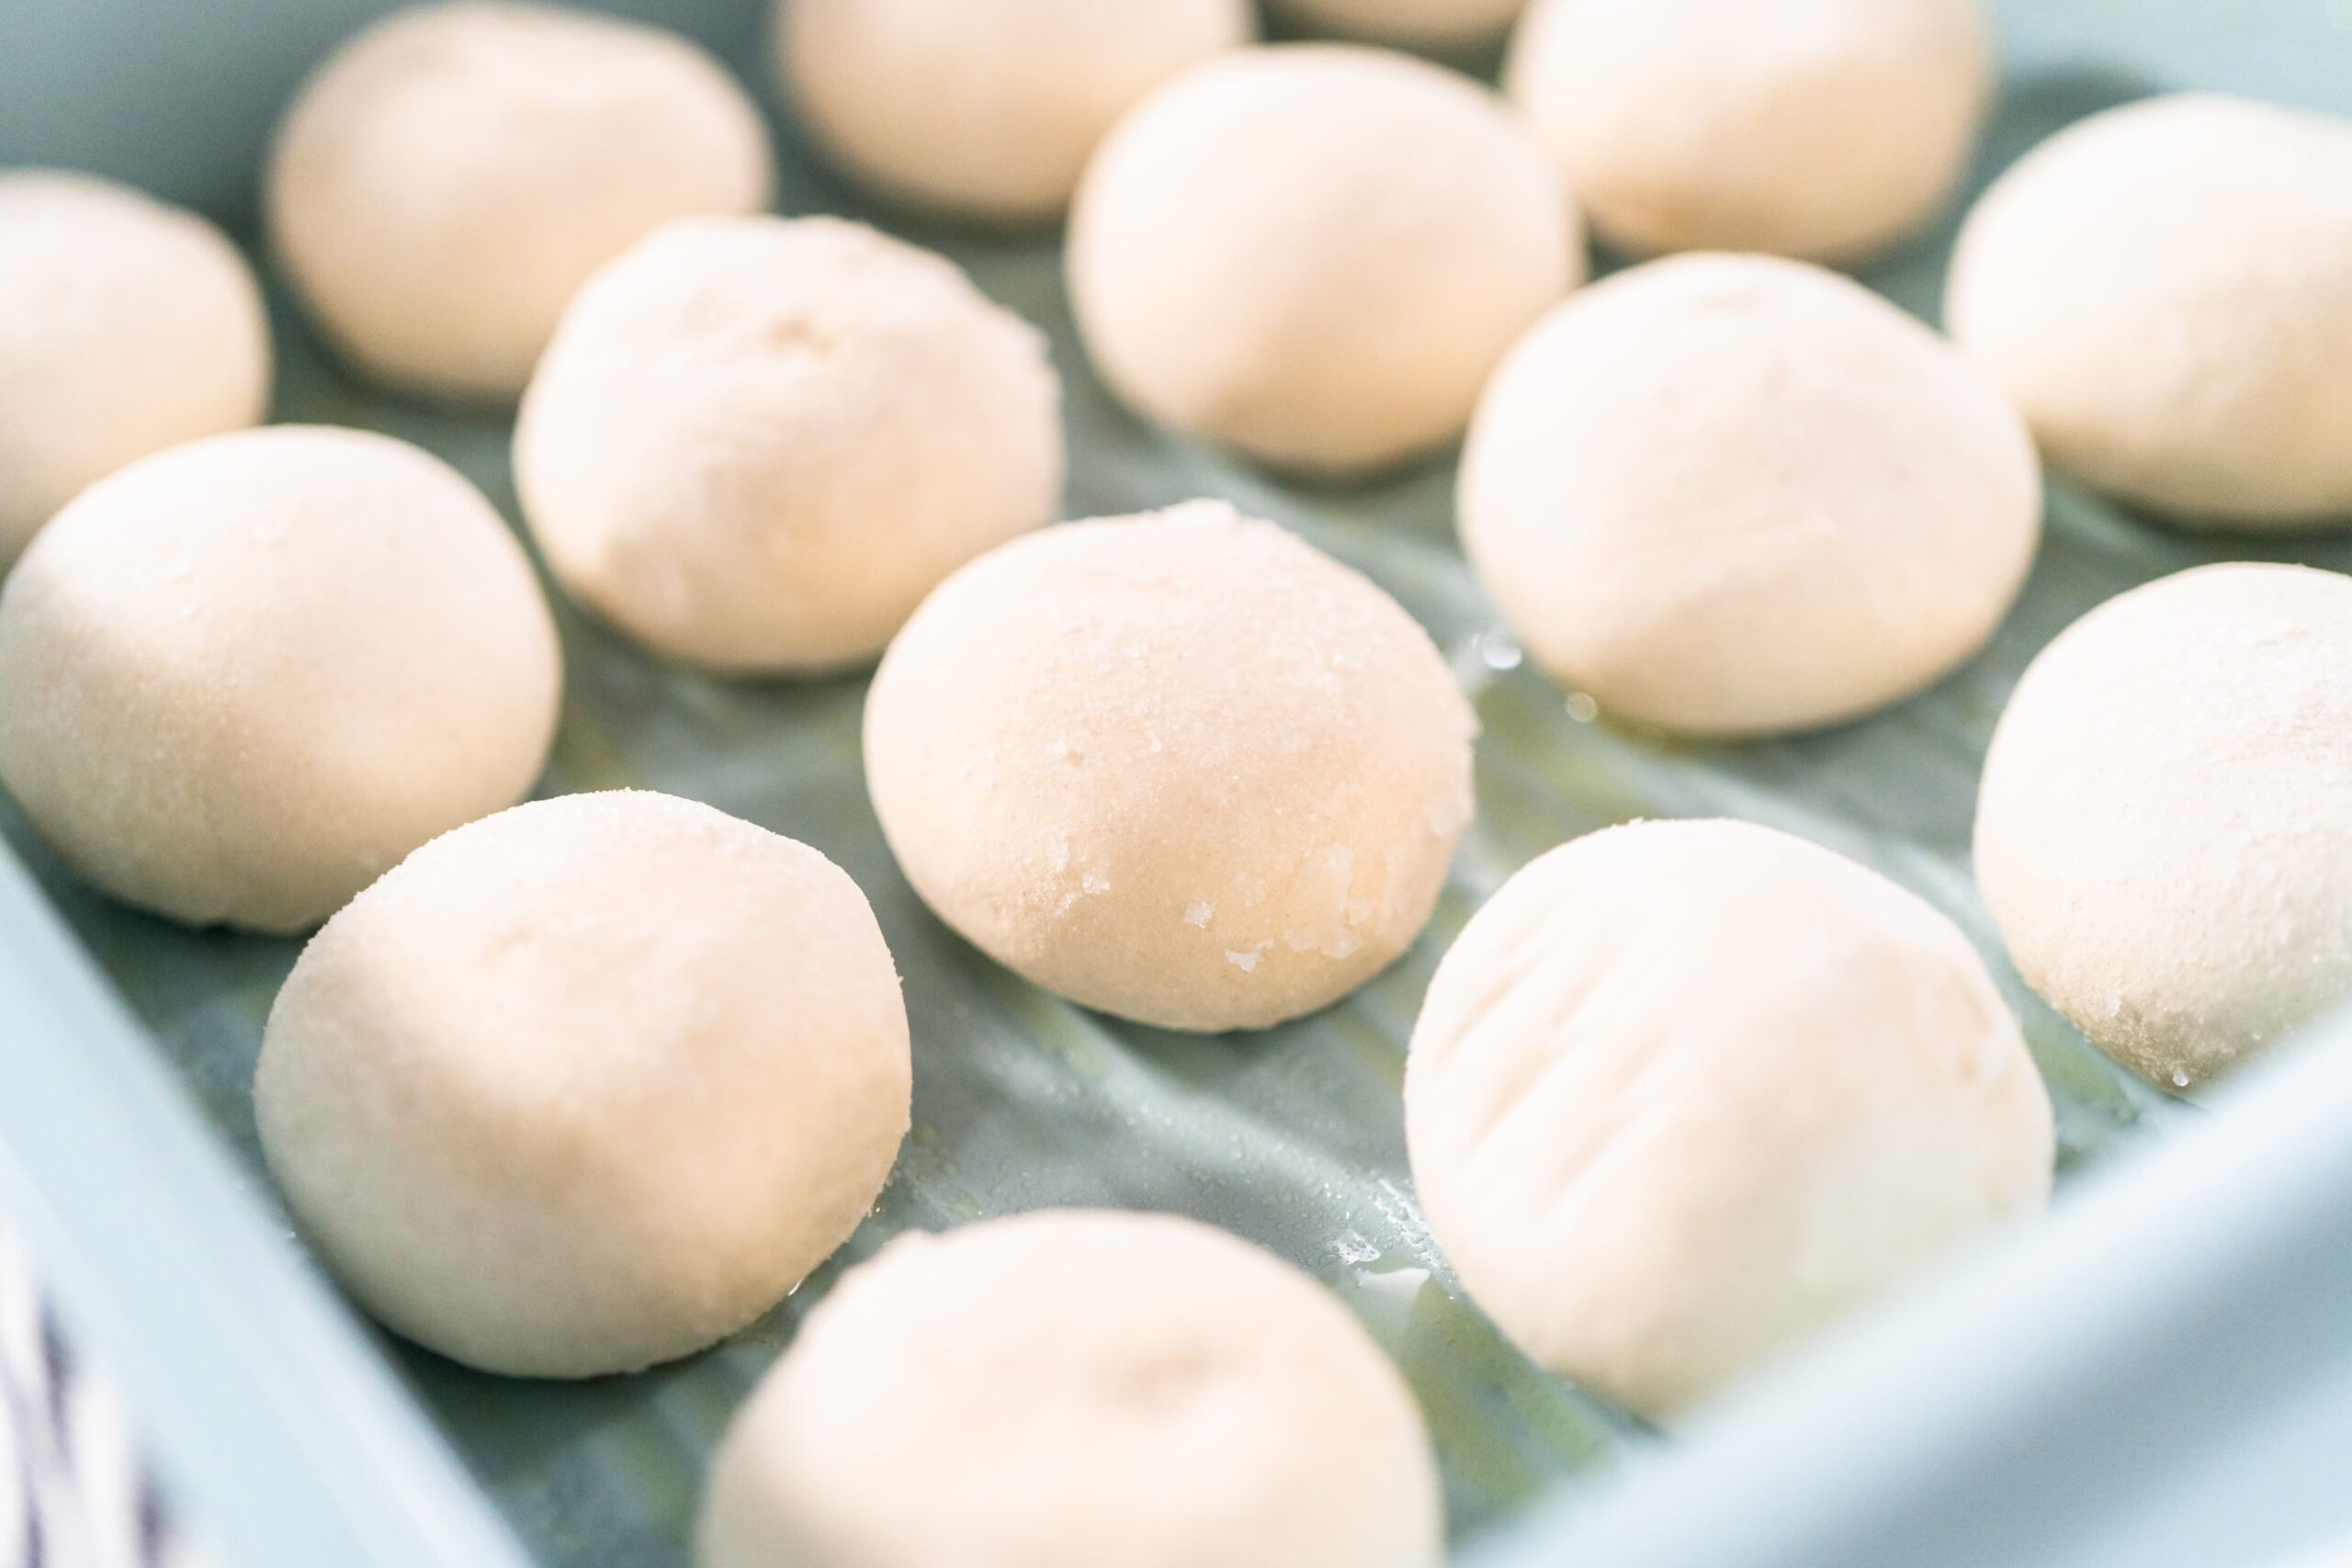
- Prepare the Dough: Once your bread dough is ready for proofing, shape it into a ball or loaf and place it in a lightly oiled bowl. Cover the bowl with plastic wrap or a damp towel to prevent the dough from drying out during the proofing process.
- Utilize the Ninja’s Warmth: If your Ninja has a warming function, set it to the lowest temperature to create a gentle, consistent warmth for the dough to proof. If your Ninja doesn’t have a warming function, you can still use it by placing the covered bowl of dough inside and adjusting the temperature manually to around 80°F (27°C).
- Monitor the Proofing Time: The proofing time can vary depending on factors such as the type of bread and the ambient temperature. Keep an eye on the dough and look for it to increase in size by about 50% – this indicates that the proofing is complete.
Tips for Successful Bread Proofing in a Ninja
Now that you know the basics of using your Ninja for bread proofing, here are some additional tips to ensure success:
- Be Patient: Good bread takes time, so don’t rush the proofing process. Allowing the dough to proof slowly and thoroughly will result in a better texture and flavor.
- Keep It Covered: It’s essential to cover the dough during proofing to prevent it from drying out and forming a crust before it goes into the oven.
- Experiment with Timing: Depending on your recipe and personal preferences, you can experiment with longer or shorter proofing times to achieve different results. The more you practice, the better you’ll understand the optimal proofing time for your favorite bread recipes.
Enjoy the Fruits of Your Labor
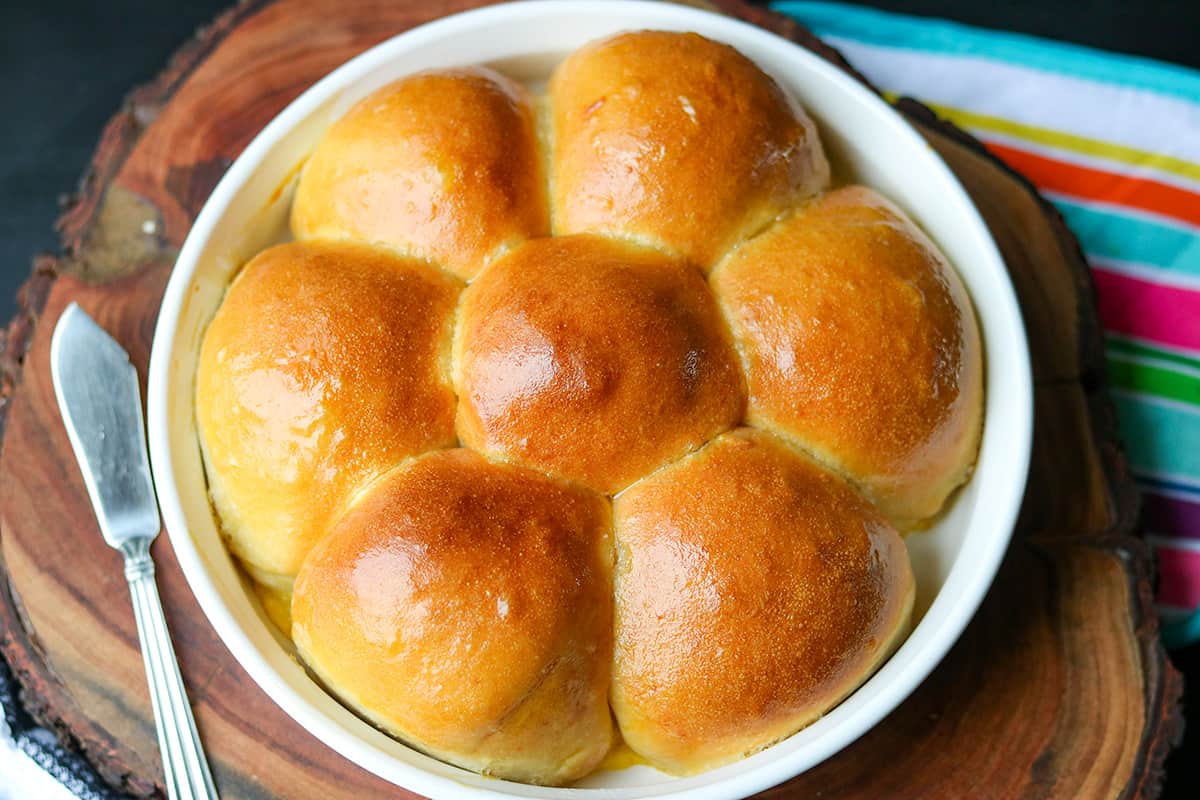
Once your bread has completed the proofing process in your trusty Ninja, it’s time to bake it to golden perfection. The proofing stage is a critical part of bread-making, and using your Ninja to create the ideal proofing environment can elevate your homemade bread to new heights. Embrace the art of bread-making, experiment with different techniques, and savor the delightful results of your efforts. Happy baking!
Explore More: Delicious Recipes and Creative Uses
Upon mastering the art of proofing bread with a Ninja, the culinary enthusiast can venture into a variety of recipes that not only refine this skill but also enhance the home baking experience. For starters, the Classic French Baguette is a must-try, as it encapsulates the essence of traditional bread making. Additionally, the Soft Pretzels offer a delightful twist with their unique texture and taste. Those with a sweet tooth would find the Cinnamon Raisin Bread irresistibly appealing. For more adventurous bakers, the Jalapeño Cheddar Cornbread integrates a spicy kick into the comforting sweetness of cornbread. Each recipe is designed to utilize the proofing technique effectively, ensuring delicious results that are sure to impress at any dining table.
Was this page helpful?
Related Articles
How To Proof Donuts At Home
How To Proof Frozen Bread
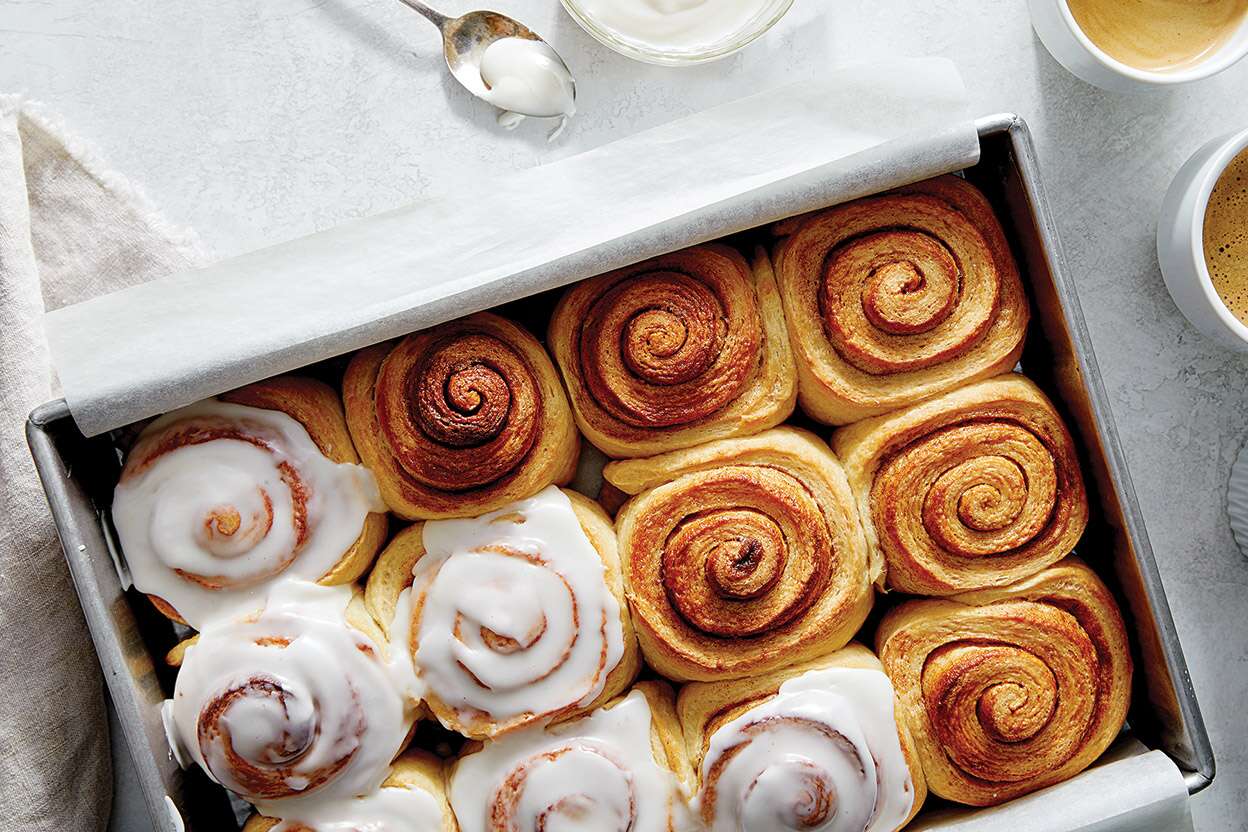
How To Proof Cinnamon Roll
How To Proof Bread In Air Fryer
How To Proof Apple Pie Moonshine
How To Proof Yeast In Milk
How To Proof Frozen Rolls
How To Proof Cinnamon Roll
How To Proof Frozen Bread
How To Proof Frozen Dough Fast
How To Proof Bread In LG Oven