Understanding the Process of Proofing Yeast in Milk
Proofing yeast in milk is a crucial step in many baking recipes. This process helps to activate the yeast, allowing it to ferment and create the necessary carbon dioxide to make dough rise. Here’s a step-by-step guide on how to proof yeast in milk for your baking needs.
Step 1: Gather Your Ingredients
Before you begin, make sure you have the following ingredients on hand:
- Active dry yeast
- Warm milk (about 110°F)
- A pinch of sugar (optional)
Step 2: Prepare the Yeast Mixture
In a small bowl, combine the warm milk and active dry yeast. If desired, you can add a pinch of sugar to help feed the yeast and speed up the proofing process. Stir the mixture gently to ensure the yeast is fully dissolved in the milk.
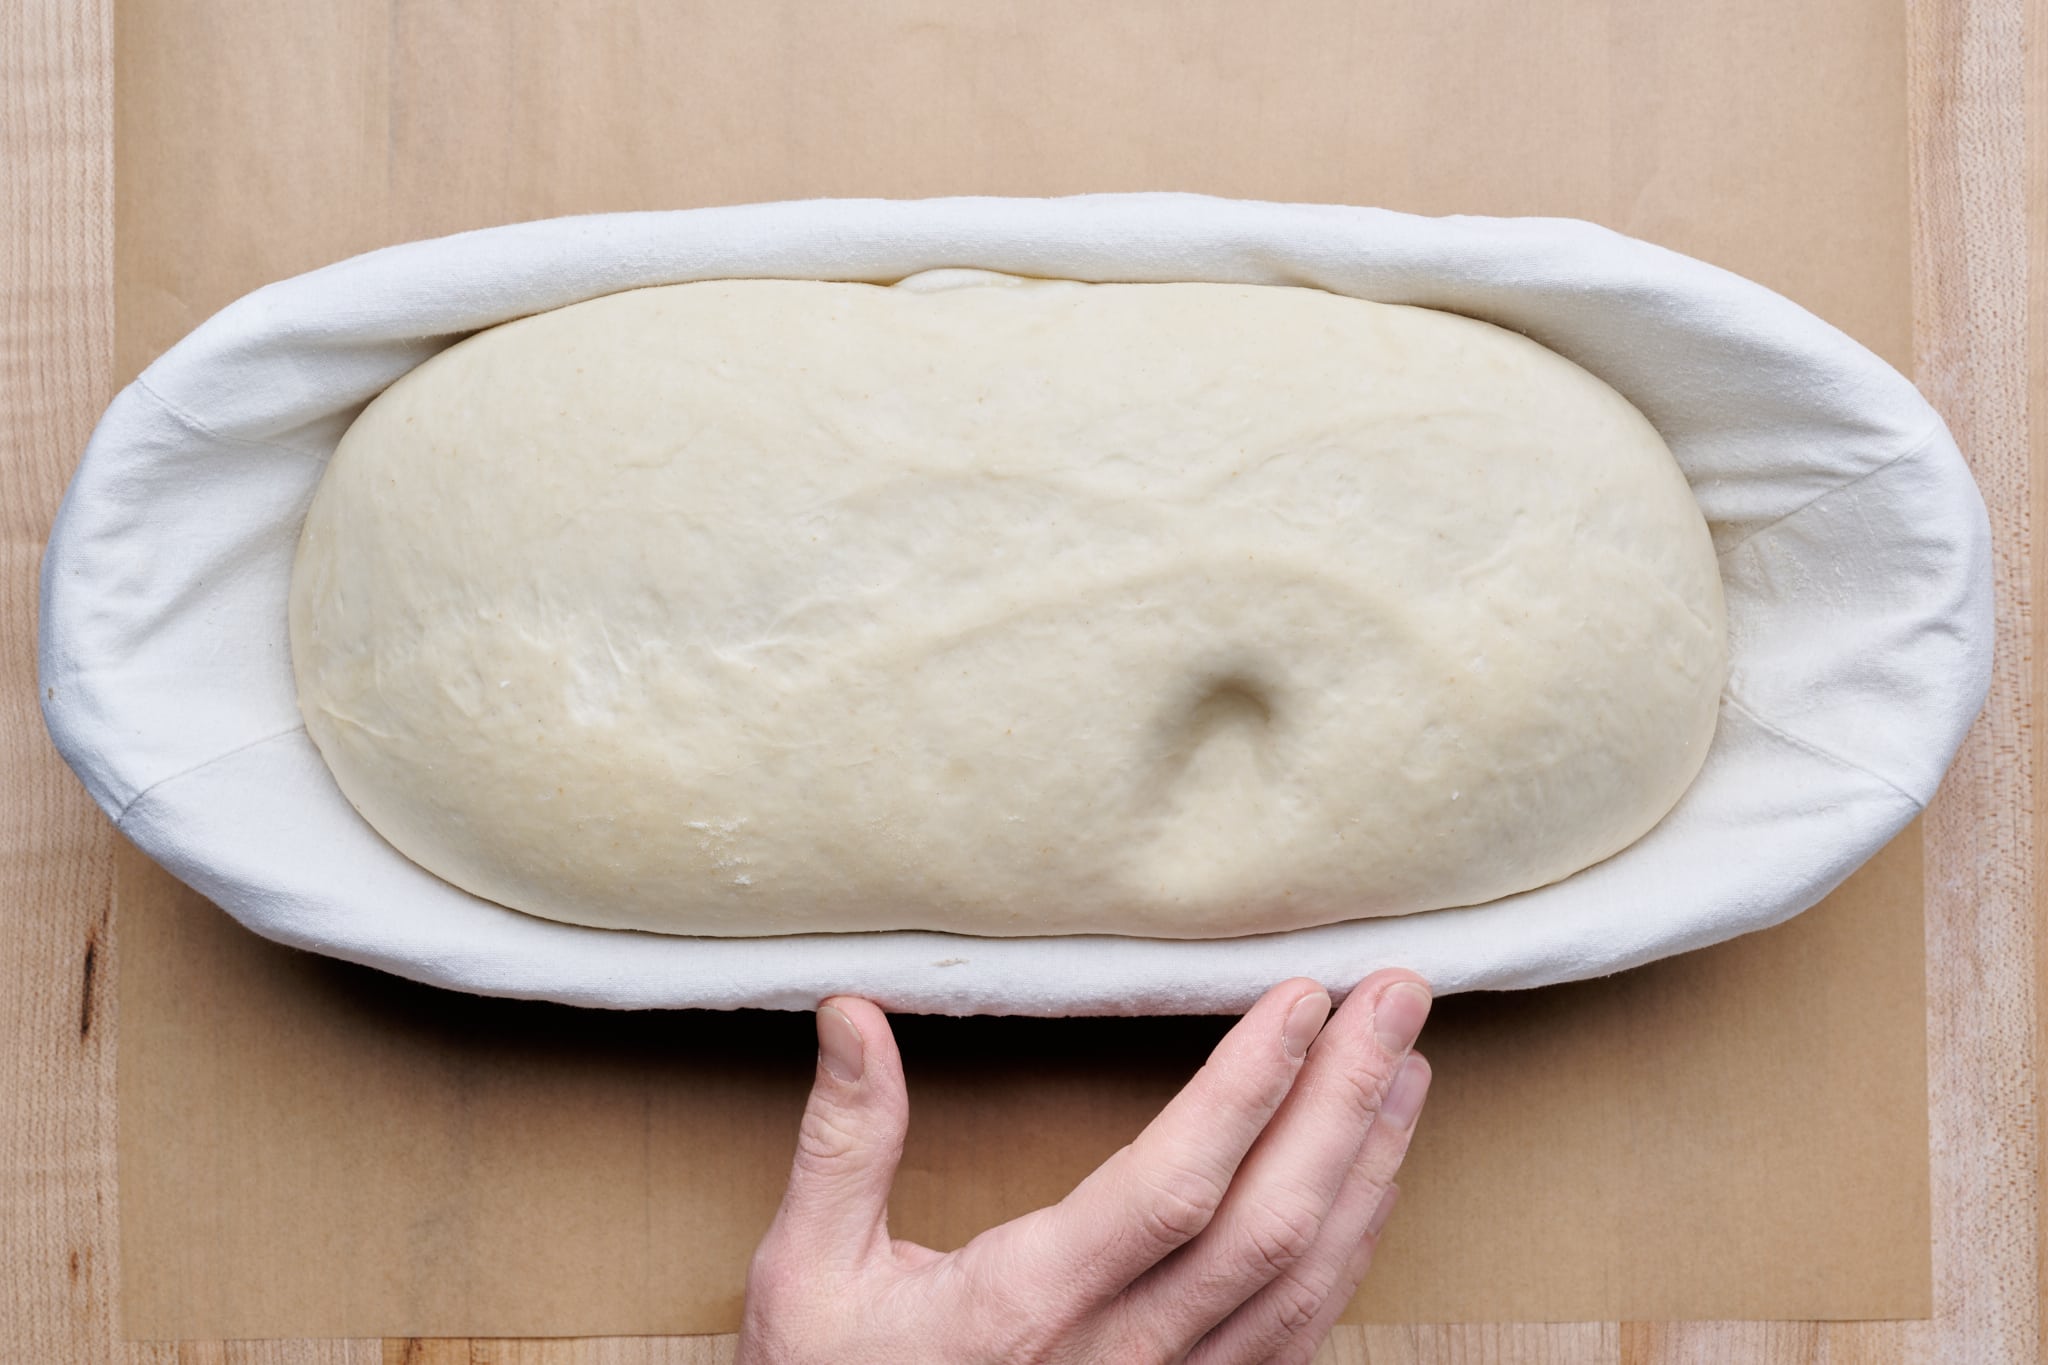
Step 3: Let the Mixture Sit
Once the yeast and milk are combined, let the mixture sit for about 5-10 minutes. During this time, the yeast will start to activate and form bubbles on the surface of the milk. This is a sign that the yeast is proofing properly.
Step 4: Check for Activation
After 5-10 minutes, check the yeast mixture. If it has become frothy and bubbly, it is ready to be used in your recipe. This frothy appearance indicates that the yeast is active and will help your dough rise effectively.
Why Proof Yeast in Milk?
Proofing yeast in milk is beneficial for several reasons:
- It ensures that the yeast is active and alive before adding it to your recipe, preventing any potential baking disasters.
- The milk provides a nourishing environment for the yeast, helping it to thrive and ferment the dough effectively.
- Proofing in milk can add a subtle richness and flavor to your baked goods, enhancing the overall taste of your final product.
Final Thoughts
Mastering the art of proofing yeast in milk is an essential skill for any aspiring baker. By following these simple steps and understanding the importance of this process, you can elevate your baking game and create delicious, well-risen treats every time.
So, next time you’re preparing to bake, don’t forget to give your yeast a cozy bath in warm milk, and watch as it transforms your dough into a light, airy masterpiece!
More Delicious Recipes with Proofed Yeast
Once you've mastered the art of proofing yeast in milk, a world of baking opportunities unfolds. For those eager to test their newfound skills, the Soft Dinner Rolls Recipe promises a delightful introduction, offering light, fluffy results perfect for any dinner table. Alternatively, the Buttery Croissants Recipe challenges you to fold and roll your dough to perfection, resulting in layers of decadent, buttery pastry. For a sweeter venture, the Rich Brioche Bread Recipe is highly recommended, where the rich, tender crumb makes an excellent base for various gourmet sandwiches or decadent French toast. Each recipe leverages the delicate nuances of properly proofed yeast, ensuring your baked goods rise beautifully and taste exquisite.
Was this page helpful?
Read Next: How To Proof Bread In Air Fryer
Related Articles
How To Proof Frozen Dough Fast
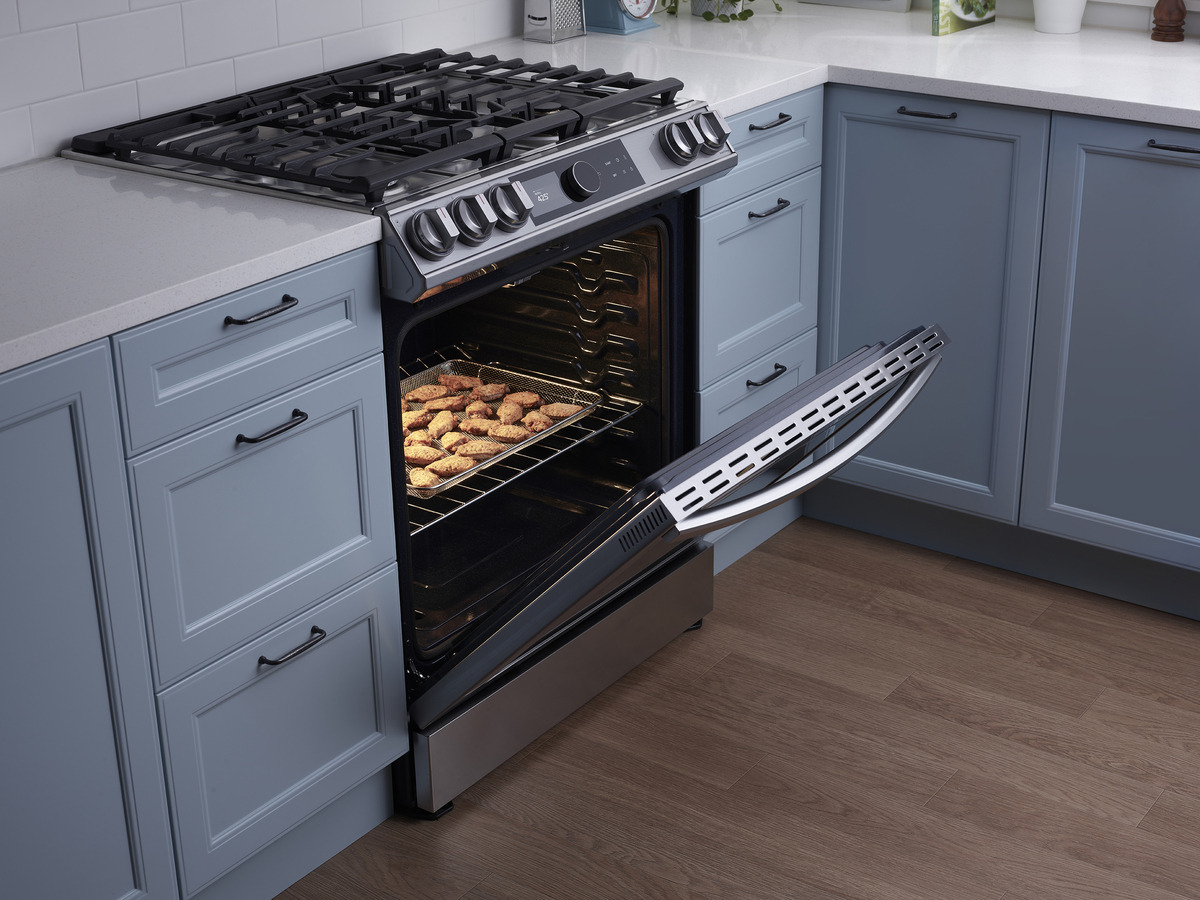
How To Proof Bread In Samsung Oven
How To Proof Frozen Rolls
How To Proof Frozen Rolls
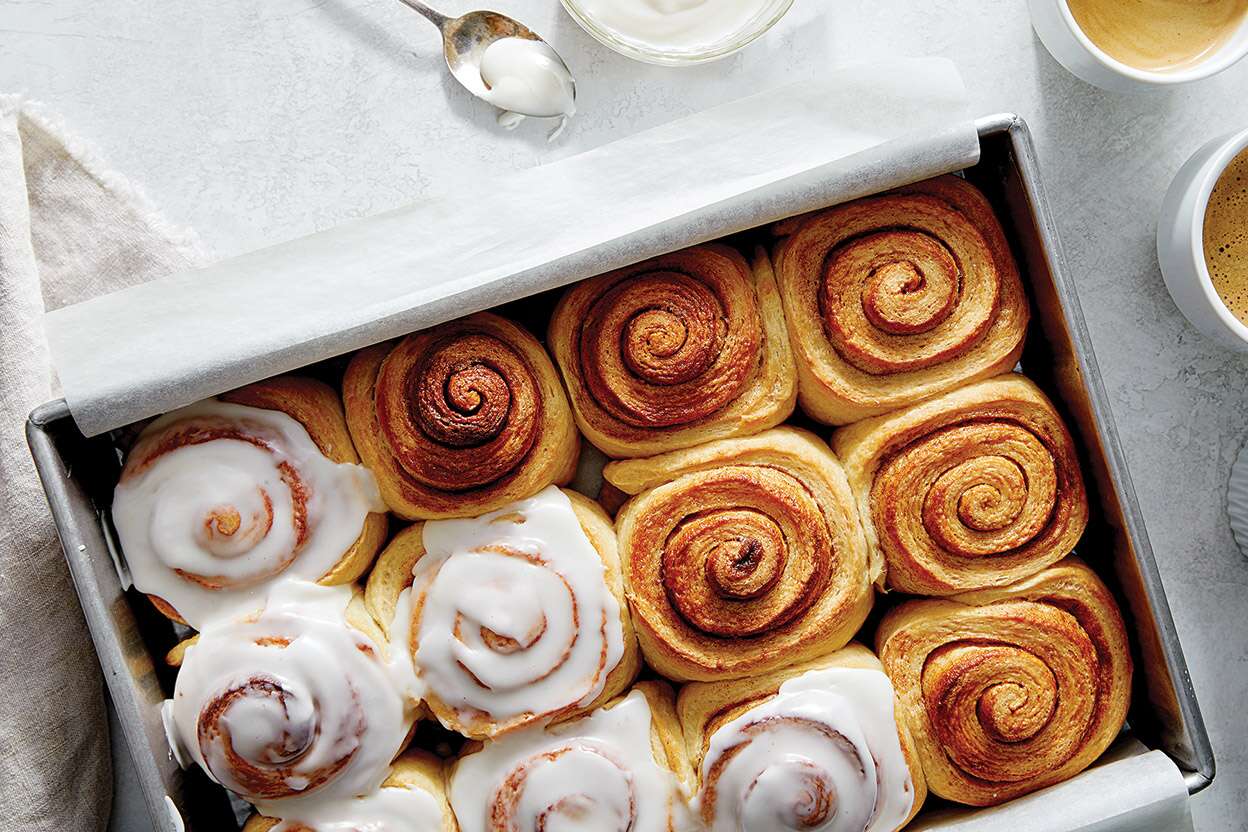
How To Proof Cinnamon Roll
How To Proof Frozen Bread
How To Proof Frozen Dough Fast
How To Proof Bread In LG Oven
How To Proof Bread In Samsung Oven
How To Proof Bread Without A Proofer

How To Infuse More Flavor Into Fish