Grinding down a cast iron frying pan might seem like a daunting task, but with the right tools and techniques, it's quite manageable. This process can breathe new life into old, worn-out pans, transforming them into smooth, non-stick surfaces perfect for cooking. Whether you're dealing with a pan that's been passed down through generations or you've picked up a vintage find that needs a little TLC, this guide will walk you through the steps to restore your cast iron to its former glory. Let's get started on reviving that trusty skillet, ensuring it continues to be a staple in your kitchen for years to come.
Essential Materials for Cast Iron Pan Refinement
- Cast iron frying pan
- Metal file or angle grinder
- Sandpaper (starting with 60 grit and moving up to 320 grit)
- Safety goggles
- Dust mask
- Gloves
- Ear protection (if using an angle grinder)
- Rags or towels
- Vegetable oil or seasoning oil of choice
Necessary Tools for Smoothing Your Cast Iron
- Angle grinder with a metal grinding disc
- Safety goggles
- Dust mask
- Ear protection
- Work gloves
- Clamp or vise to secure the pan
- Sandpaper (80, 120, and 220 grit)
- Clean cloth
- Rust inhibitor (optional)
- Seasoning oil (flaxseed, grapeseed, or your choice)
Grinding down a cast iron frying pan smooths out rough spots, enhancing its non-stick qualities. Use fine-grit sandpaper or a power sander, finishing with seasoning to protect the surface.
The Importance of Grinding Down Your Cast Iron Pan
Grinding down a cast iron frying pan smooths out rough textures, creating a non-stick surface that improves with use. This process enhances cooking performance, allowing for even heat distribution and better searing of foods. Over time, a well-maintained pan becomes a cherished kitchen tool, embodying both tradition and culinary excellence.
Seasoning after grinding is crucial, as it protects the pan from rust and builds up a patina that contributes to its non-stick qualities. Regular care ensures longevity, turning the pan into an heirloom piece that can be passed down through generations, symbolizing the enduring value of quality cookware.
A Step-by-Step Guide to Perfecting Your Cast Iron Surface
Step by Step Guide to Grind Down a Cast Iron Frying Pan
-
Gather Necessary Tools
- Safety goggles
- Dust mask
- Ear protection
- Angle grinder with a flap disc or an orbital sander with 80 to 100-grit sandpaper
- Fine-grit sandpaper (150 to 220 grit)
- Clean cloths
- Mild dish soap
- Vegetable oil or other seasoning oil
-
Prepare Work Area
- Choose a well-ventilated area, preferably outdoors.
- Lay down newspapers or a drop cloth to catch dust and debris.
-
Wear Safety Gear
- Put on safety goggles, a dust mask, and ear protection to safeguard against metal particles and noise.
-
Initial Grinding
- Secure the frying pan to prevent it from moving.
- Turn on the angle grinder or orbital sander and gently apply it to the pan's surface.
- Move in small circles or back-and-forth motions to evenly grind the surface.
- Focus on any rough spots, bumps, or imperfections.
-
Check Progress
- Periodically stop to check the smoothness of the pan.
- Wipe the surface with a clean cloth to remove dust and inspect the area.
-
Switch to Fine-Grit Sandpaper
- Once the major imperfections are removed, switch to fine-grit sandpaper.
- Continue sanding to achieve a smoother finish.
-
Clean the Pan
- Wash the pan with mild dish soap and warm water to remove all dust and debris.
- Dry thoroughly with a clean cloth.
-
Re-season the Pan
- Preheat your oven to 350°F.
- Apply a thin layer of vegetable oil to the entire surface of the pan, including the exterior.
- Place the pan upside down in the oven on the middle rack, with a sheet of aluminum foil below to catch drips.
- Bake for 1 hour, then turn off the oven and let the pan cool inside until it's safe to handle.
Note: Grinding down a cast iron frying pan can remove the seasoned coating. Re-seasoning is crucial to protect the pan from rust and to create a non-stick surface. Regular maintenance and proper care will keep your cast iron frying pan in good condition for years to come.
Mastering Your Cast Iron Skillet
In essence, grinding down your cast iron frying pan can rejuvenate this kitchen staple, ensuring it provides a smooth, non-stick surface for your cooking adventures. Whether you're tackling stubborn rust or just smoothing out the surface, the right tools and techniques are crucial. Start with a coarse grit sandpaper or a power sander for heavy-duty issues, then progressively work your way to a finer grit for that polished finish. Remember, patience and persistence are key. After grinding, seasoning your skillet is a must to protect it from rust and to create a naturally non-stick surface. This process not only extends the life of your pan but also enhances the flavors of your food. So, grab your tools, and let's give that old cast iron skillet a new lease on life, making it a prized possession in your culinary arsenal.
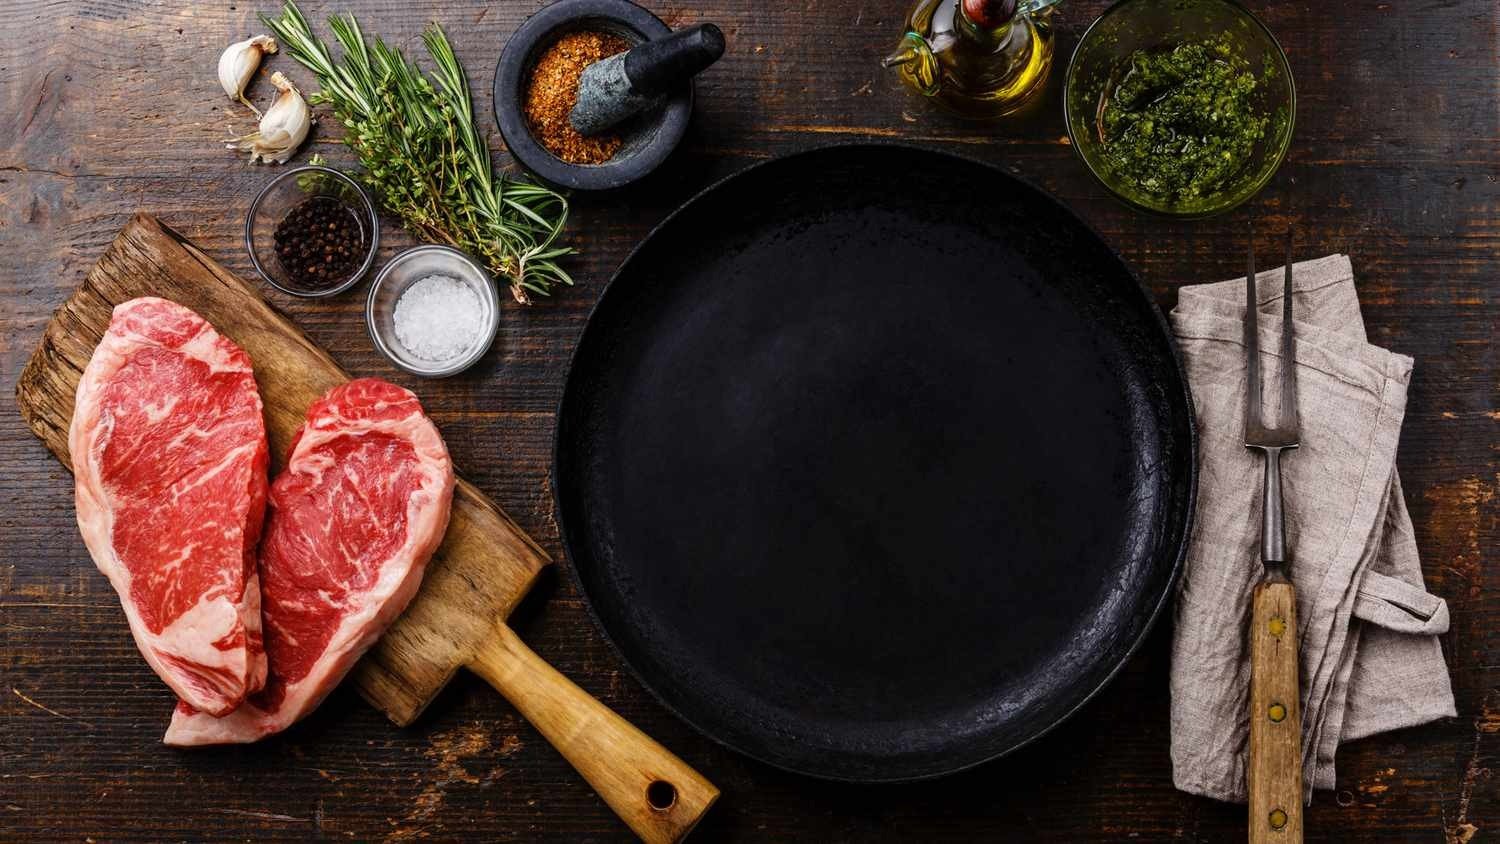
For those looking to put their newly honed cast iron skills to use, they can start with Classic Southern Fried Chicken and Perfectly Seared Ribeye Steak. These recipes benefit from a smooth, even cooking surface, ensuring a perfectly crisp crust and sear. Additionally, Skillet Cornbread and Skillet Mac and Cheese are great choices to experience how a well-prepared pan can enhance even baking and heat distribution. For a hearty meal, Pan-Roasted Chicken Thighs and Skillet Lasagna showcase the versatility and heat retention of a properly ground cast iron pan. Finally, Cast Iron Skillet Apple Pie and Deep Dish Skillet Chocolate Chip Cookie will demonstrate how the same technique can be applied to baking, yielding evenly cooked, delicious desserts.
All Your Questions About Cast Iron Pan Grinding Answered
Why would someone want to grind down a cast iron frying pan?
Well, folks might find their cast iron skillet's surface a bit too rough for their liking, especially when they're aiming for that perfect, smooth cooking surface that makes flipping pancakes a breeze and keeps eggs from sticking. Over time, manufacturers have changed how they produce these pans, leaving many of the newer ones with a pebbly finish. Grinding it down can give you a slicker surface that's more non-stick and easier to clean.
What tools are needed to grind down a cast iron pan?
You'll need a few key items: an electric angle grinder or a power drill with a grinding attachment, safety goggles, a dust mask, and some patience. For finer adjustments, having sandpaper in various grits, starting from 80 and going up to 400 or even higher, will help smooth things out.
How do I start the grinding process?
First off, safety gear on – don't skip the goggles and dust mask. Start with your pan upside down to tackle the bottom first. Using the angle grinder or drill, gently work in circular motions. Don't press too hard; let the tool do its job. You're aiming to remove the top layer, not dig a hole through to China.
Can I grind the cooking surface of my cast iron?
Absolutely, but this part requires a lighter touch. Switch to sandpaper, starting with a coarser grit to remove the rough texture. Gradually work your way up to finer grits until the surface feels smooth to the touch. Remember, patience is key here; rushing can lead to uneven spots.
How do I know when I've ground enough?
Your fingertips will be your best guides. Once the surface feels uniformly smooth across the entire pan, you're in good shape. Visually, you shouldn't see any significant pits or pebbles. It's more about the feel than the look, though.
What's the next step after grinding?
Clean that pan thoroughly. You'll want to get all the iron dust out before you even think about cooking with it again. Soap, water, and a good scrubbing should do the trick. After drying it completely, you'll need to season your pan. This involves coating it lightly with oil and baking it to create a new non-stick surface.
Is grinding my cast iron pan a one-time thing?
For most, yes. Once you've achieved that silky-smooth finish, maintaining it with regular seasoning should keep it in tip-top shape. However, if you're a heavy user and start to notice sticking issues down the line, a light sanding might be necessary to bring back the smoothness.
Was this page helpful?
Related Articles
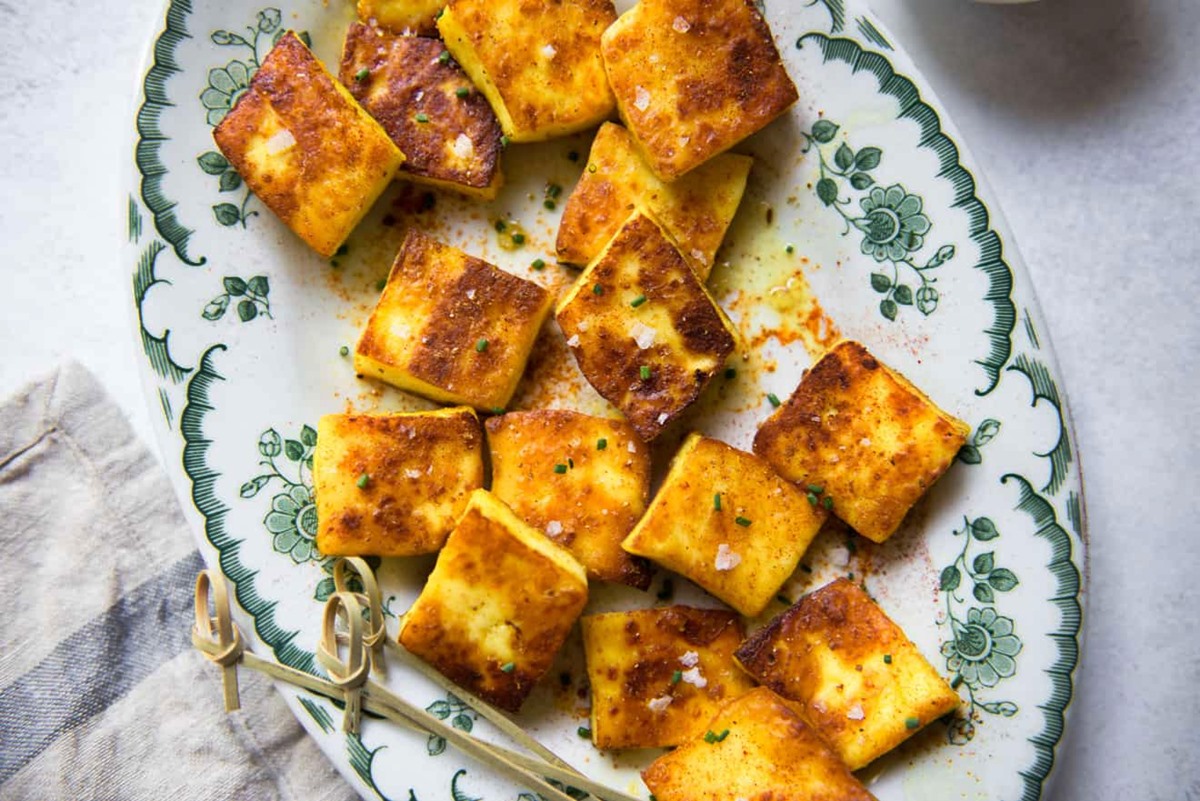
How To Fry Paneer Without Sticking
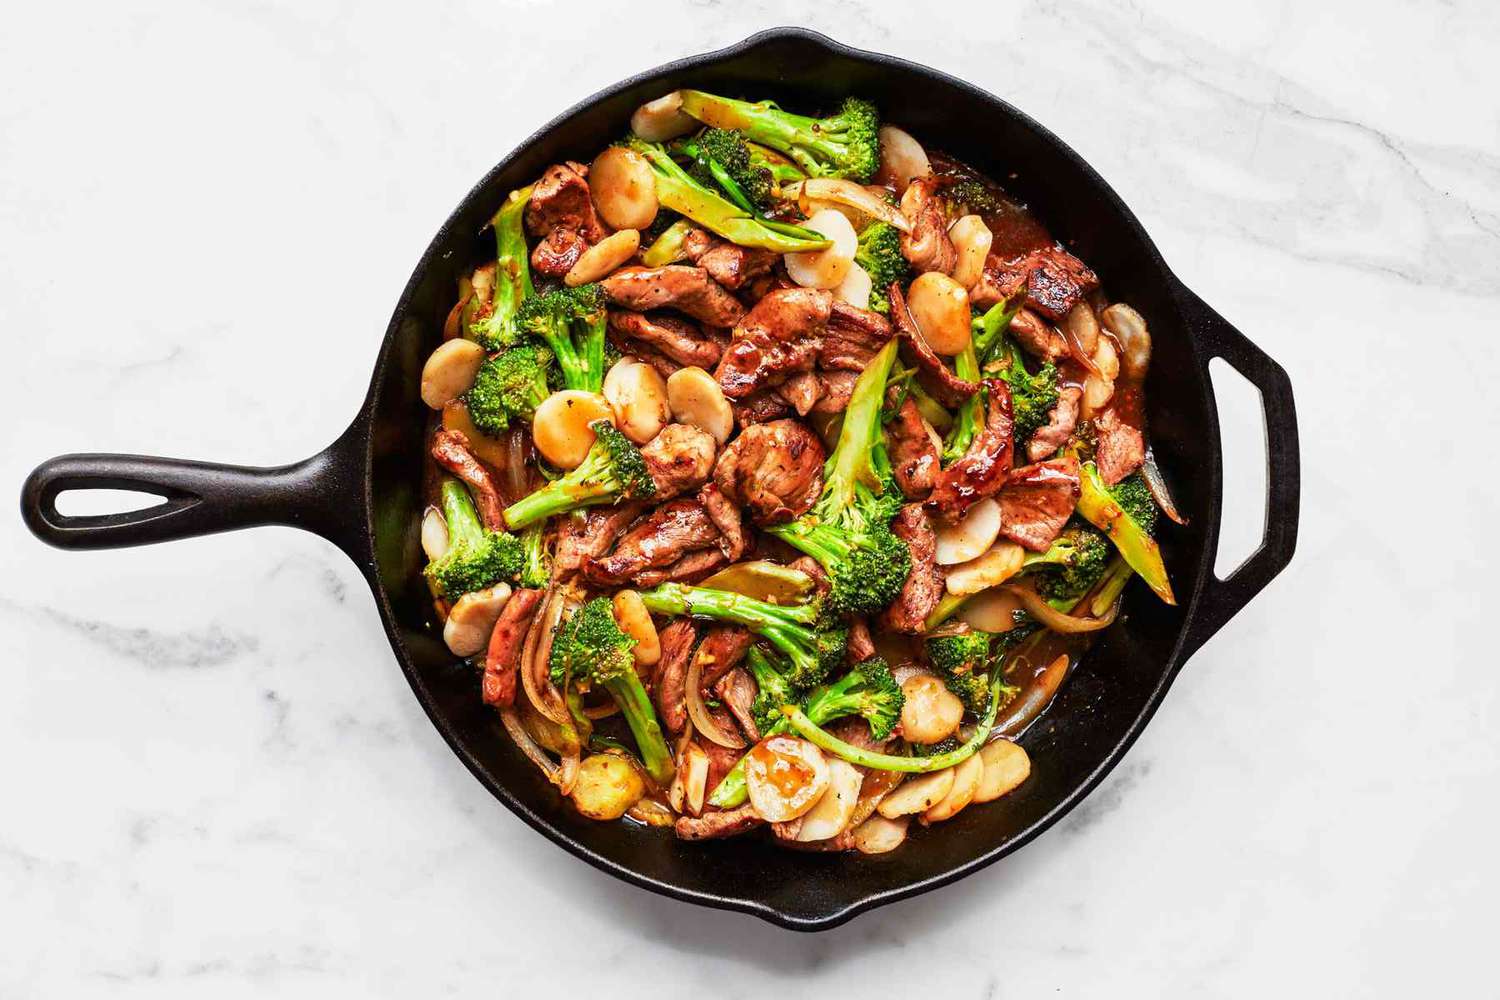
How To Stir Fry With Cast Iron Skillet
How To Cook A Steak Without A Grill Or Cast Iron Skillet
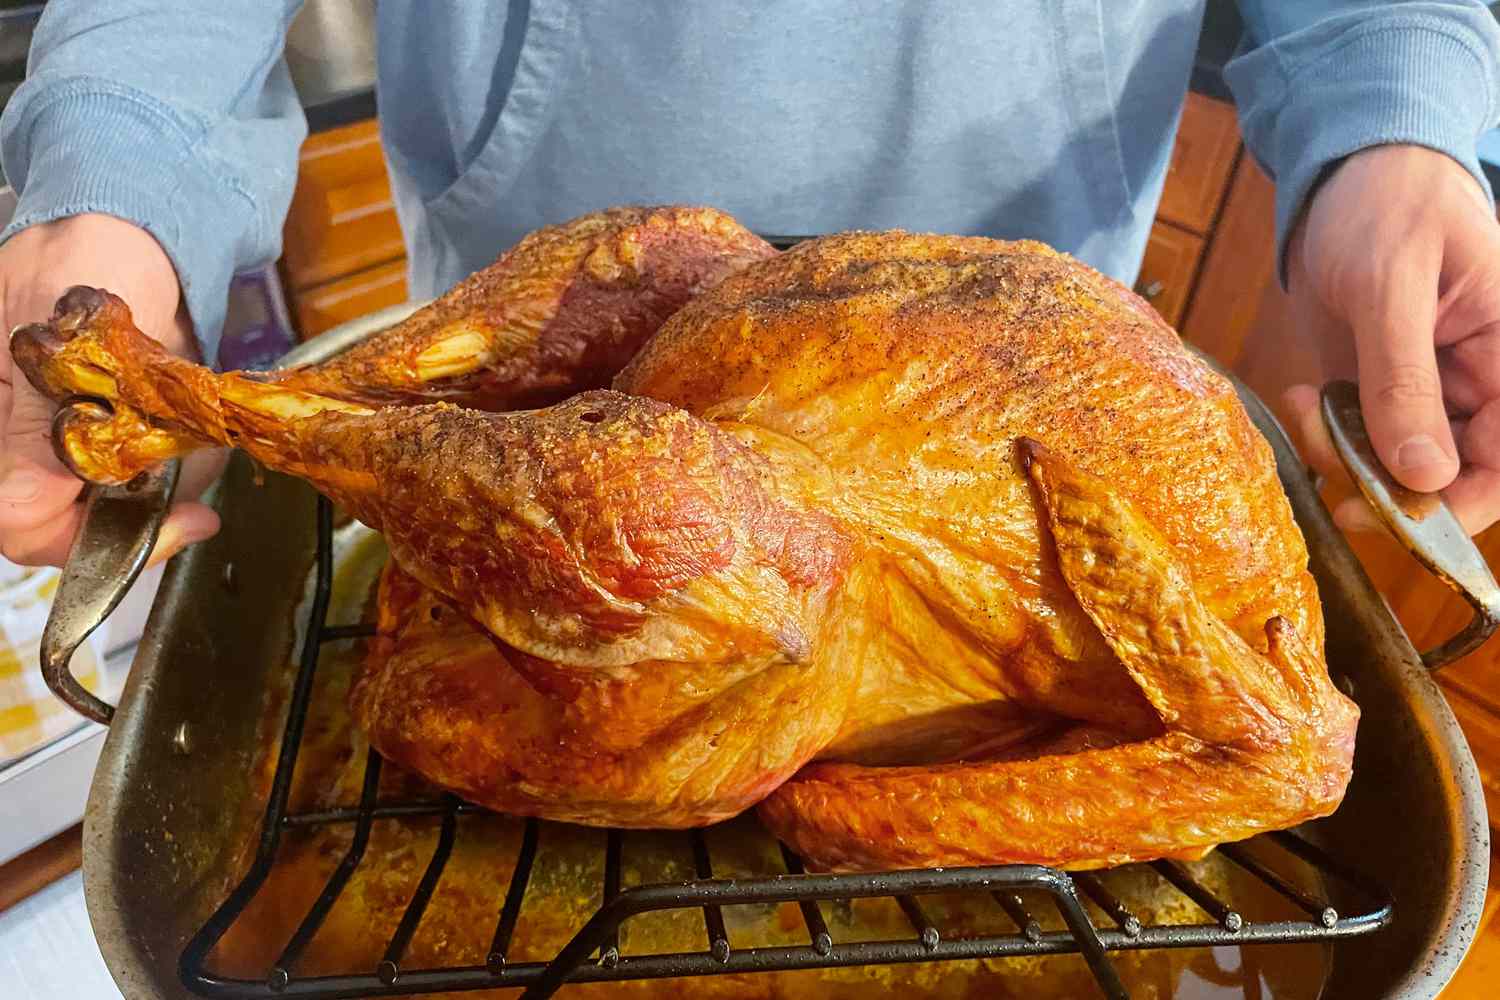
How To Grind Cooked Turkey In A Blender
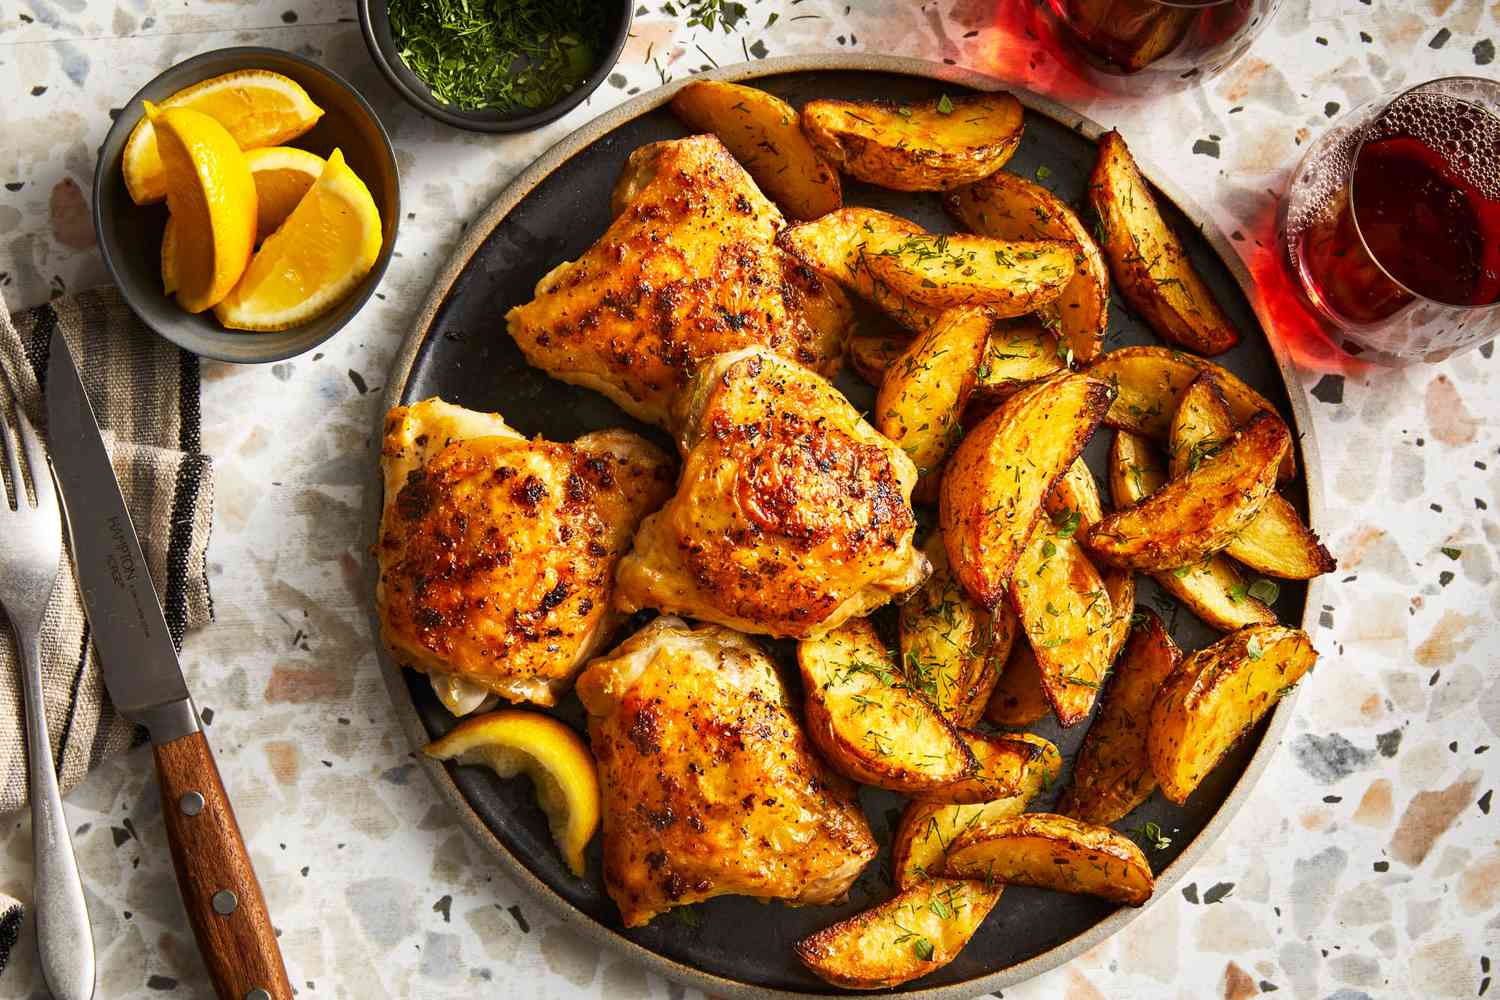
How To Grind Cooked Chicken Thighs
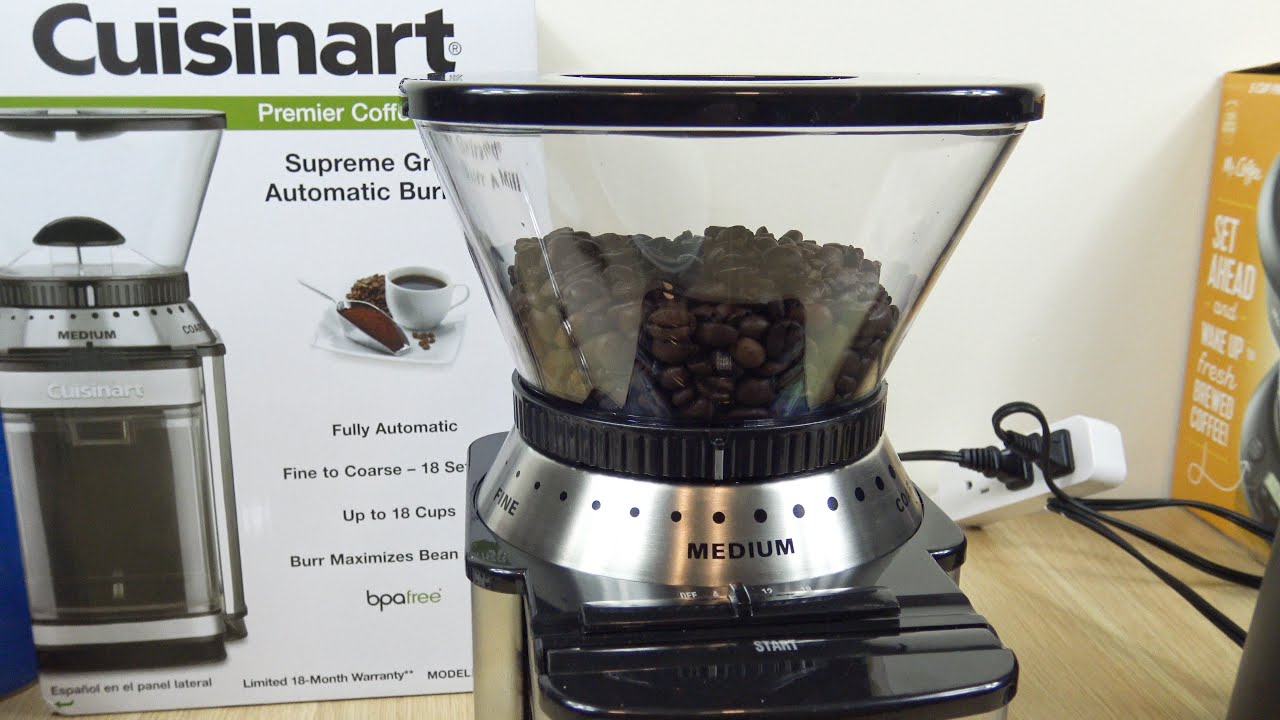
How To Grind Coffee In Cuisinart Food Processor
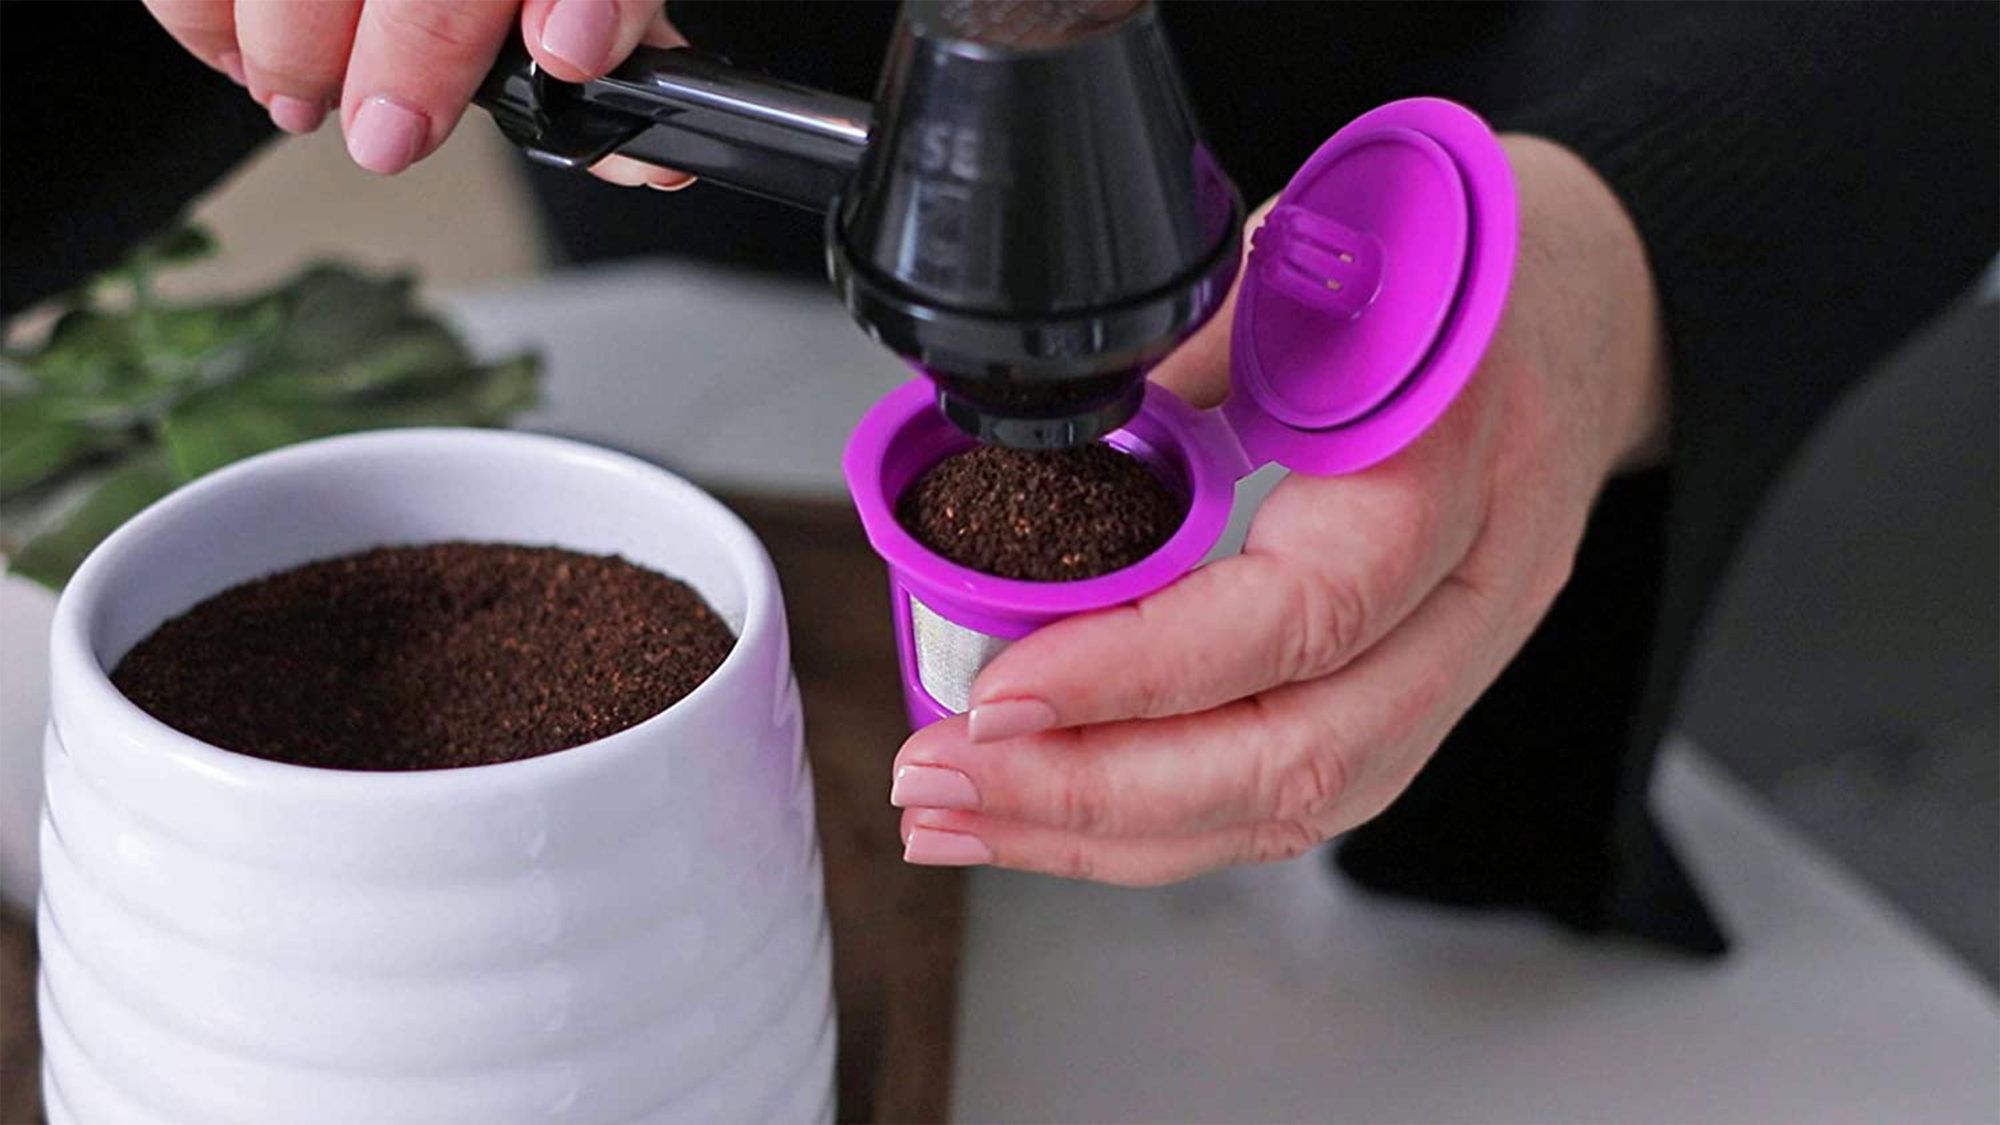
How To Grind Coffee For Keurig
How To Grind Coffee For French Press
How To Grind Coffee For A Percolator

How To Grind Coffee Beans With Ninja Professional 1500
How To Grind Coffee Beans Using Magic Bullet