How To Cut A Full Chicken: A Step-by-Step Guide
Knowing how to properly cut a full chicken can save you both time and money in the kitchen. While it may seem intimidating at first, with a little practice and guidance, you’ll be able to break down a whole chicken into its individual parts like a pro. In this comprehensive guide, we’ll take you through the step-by-step process to help you master the art of chicken butchery.
What You’ll Need:
Before you get started, gather the following tools:
- A sharp chef’s knife
- A sturdy cutting board
- Kitchen shears or poultry shears
- Plastic wrap or freezer bags for storing the chicken parts
Step 1: Clean and Prepare Your Workspace
Begin by ensuring that your cutting board and work surface are clean and sanitized. Proper hygiene is crucial when handling raw poultry to avoid cross-contamination.
Step 2: Remove the Neck and Giblets
Most whole chickens come with the neck and giblets stuffed inside the cavity. To remove them, carefully reach inside the chicken and pull them out. Set them aside to use later for stocks or gravy if desired.
Step 3: Separate the Wings
Start by positioning the chicken breast-side down on the cutting board. Locate the joint connecting the wing to the body and use the knife to cut through it. Repeat the process on the other side.
Step 4: Remove the Legs and Thighs
Flip the chicken back to breast-side up. Bend the leg away from the body to expose the joint and make a clean cut through it. Repeat for the other leg. To separate the thigh from the drumstick, locate the natural seam, and slice through it.
Step 5: Quarter the Chicken
Position the chicken breast-side down again. Locate the backbone and cut along both sides to remove it. This will divide the chicken into two halves. Then, cut each half in half again to get quarters. You now have four pieces: two breasts, two thighs, two drumsticks, and two wings.
Step 6: Optional: Further Break Down the Chicken
If desired, you can further break down each quarter into smaller pieces. For example, you can separate the drumstick from the thigh or separate the wings into drumettes and wingettes. This step is optional and depends on your recipe or personal preference.
Step 7: Store and Use the Chicken Parts
Properly store the chicken parts in plastic wrap or freezer bags before refrigerating or freezing them. Remember to label them with the date to ensure freshness. Use the different parts in various recipes, such as grilling the drumsticks, sautéing the thighs, or roasting the breasts.
Now that you’ve mastered the art of cutting a full chicken, you can explore a wide range of culinary possibilities. Not only will you save money by buying whole chickens and butchering them yourself, but you’ll also have the satisfaction of knowing exactly what goes into your meals. Happy cooking!
Mastering the skill of cutting a full chicken can open up a world of delicious meals. For a comforting and flavorful dinner, try the Classic Roast Chicken with Herbs, which showcases the natural flavors of the bird. If you're in the mood for something creamy, the Chicken Alfredo Pasta is a perfect choice. For a tangy and savory option, the Lemon Garlic Chicken Thighs are a must-try. Those who love a smoky, sweet taste will appreciate the BBQ Chicken Wings. If you prefer a quick and easy meal, the Chicken Stir-Fry is both healthy and satisfying. For a Mexican-inspired dish, the Chicken Tacos will bring vibrant flavors to your table. Finally, the Chicken and Vegetable Soup is a nourishing option that's perfect for any day. Each of these recipes utilizes different parts of the chicken, allowing you to fully appreciate the versatility and flavor of this staple protein.
1. Start by removing any packaging and patting the chicken dry.
2. Remove the backbone using kitchen shears or a sharp knife.
3. Separate the breast from the carcass by cutting along the breastbone.
4. Cut the breasts in half, creating two equal-sized portions.
5. Separate the thighs and drumsticks by cutting through the joint.
6. Remove the wings by cutting them away from the body at the joint.
7. Trim any excess fat or skin as desired.
Remember to keep practicing and adjust the process according to your recipe’s requirements.
1. Ensure your knife is sharp to avoid accidents and cut through the chicken with ease.
2. Use a sturdy cutting board that won’t slip or move during the process.
3. Be mindful of your fingers and always curl them inwards when cutting.
4. Clean and sanitize your cutting area before and after handling raw chicken to prevent cross-contamination.
5. Wash your hands thoroughly with warm water and soap after handling raw chicken.
By following these tips, you can ensure a safe and hygienic cutting process.
Was this page helpful?
Read Next: How To Cut A Pork Loin To Stuff
Related Articles

How To Cut Green Papaya
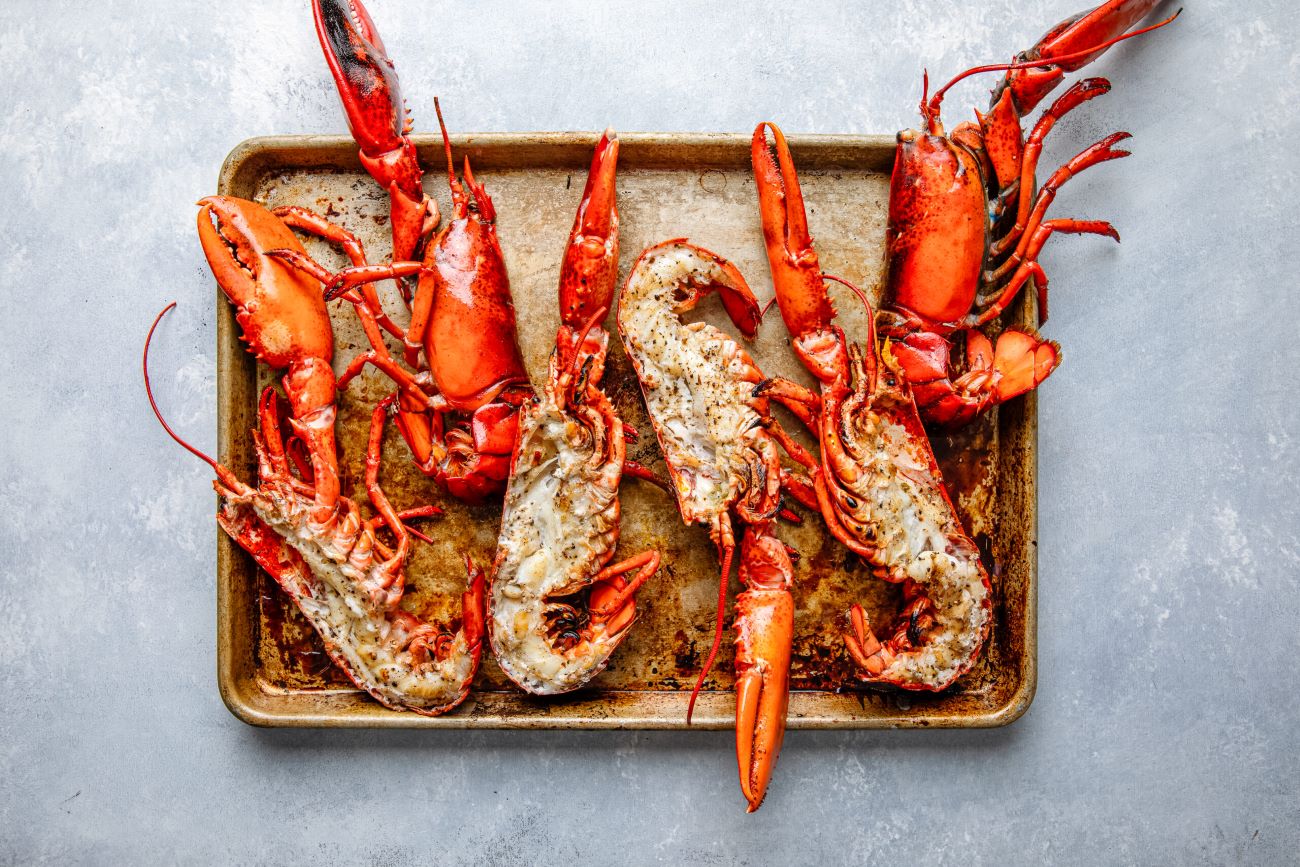
How To Cut A Whole Lobster
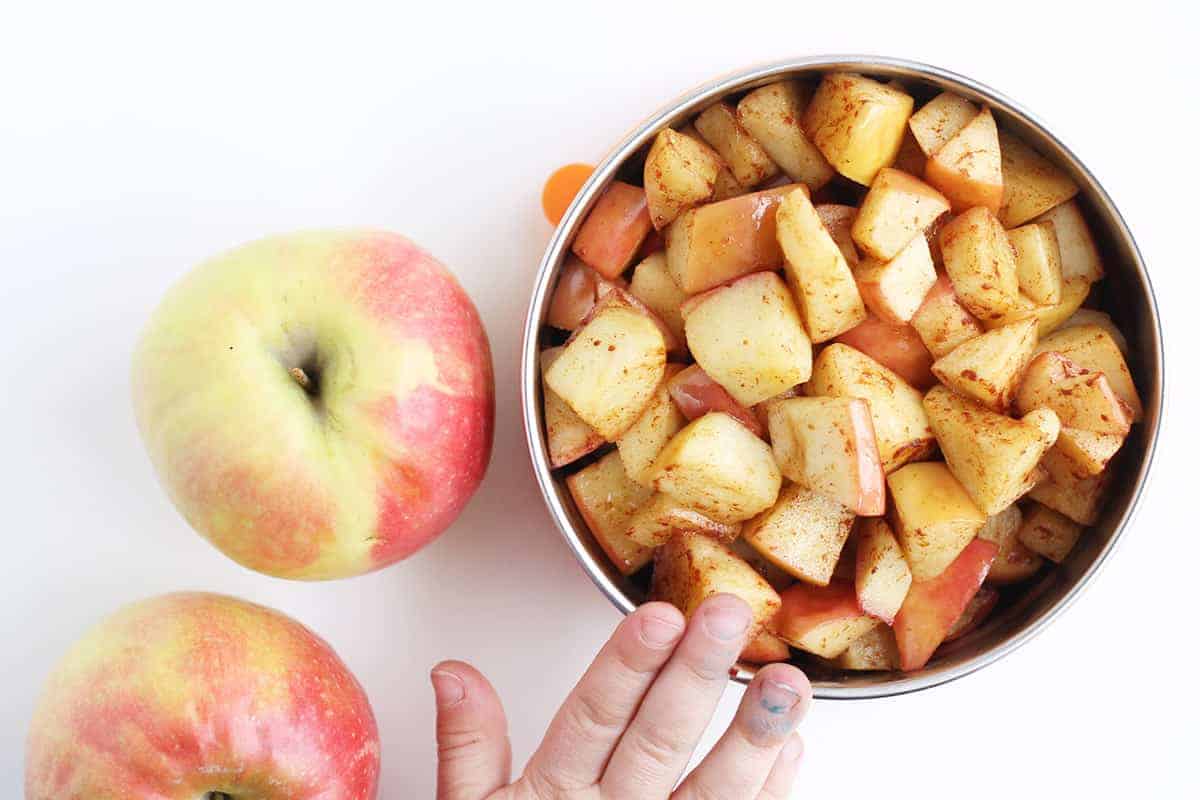
How To Cut Apple For 9 Month Old
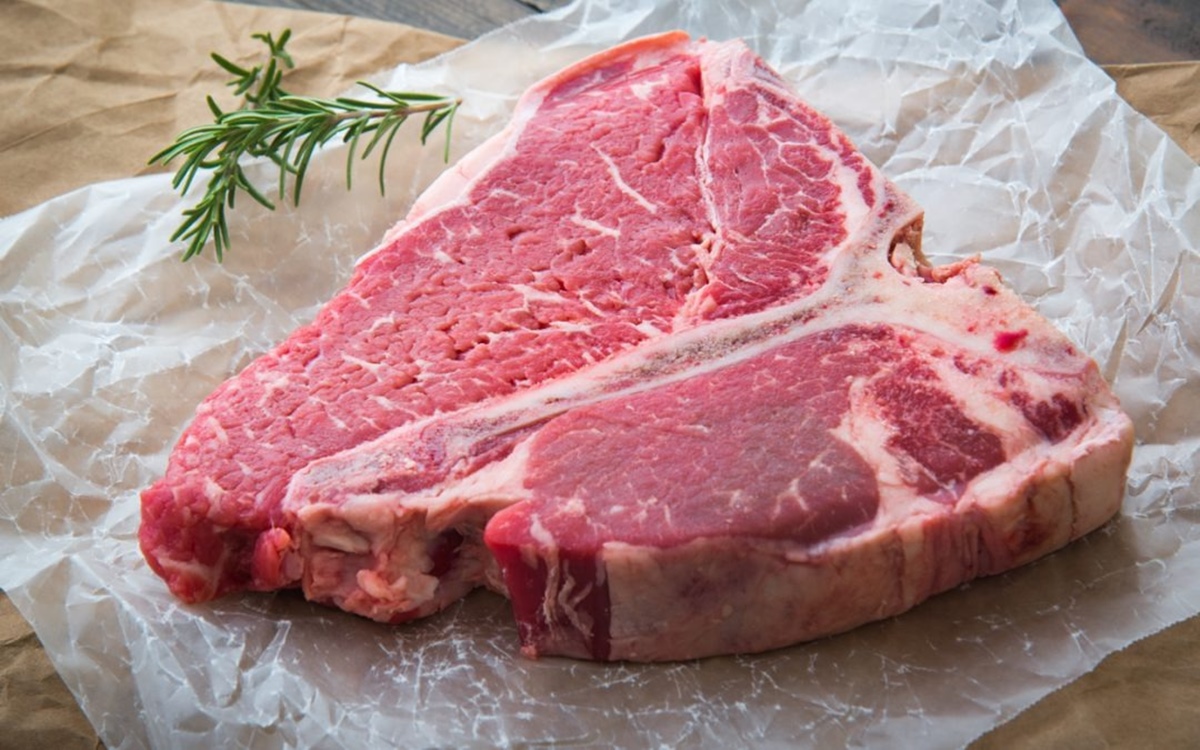
How To Cut Porterhouse Steak
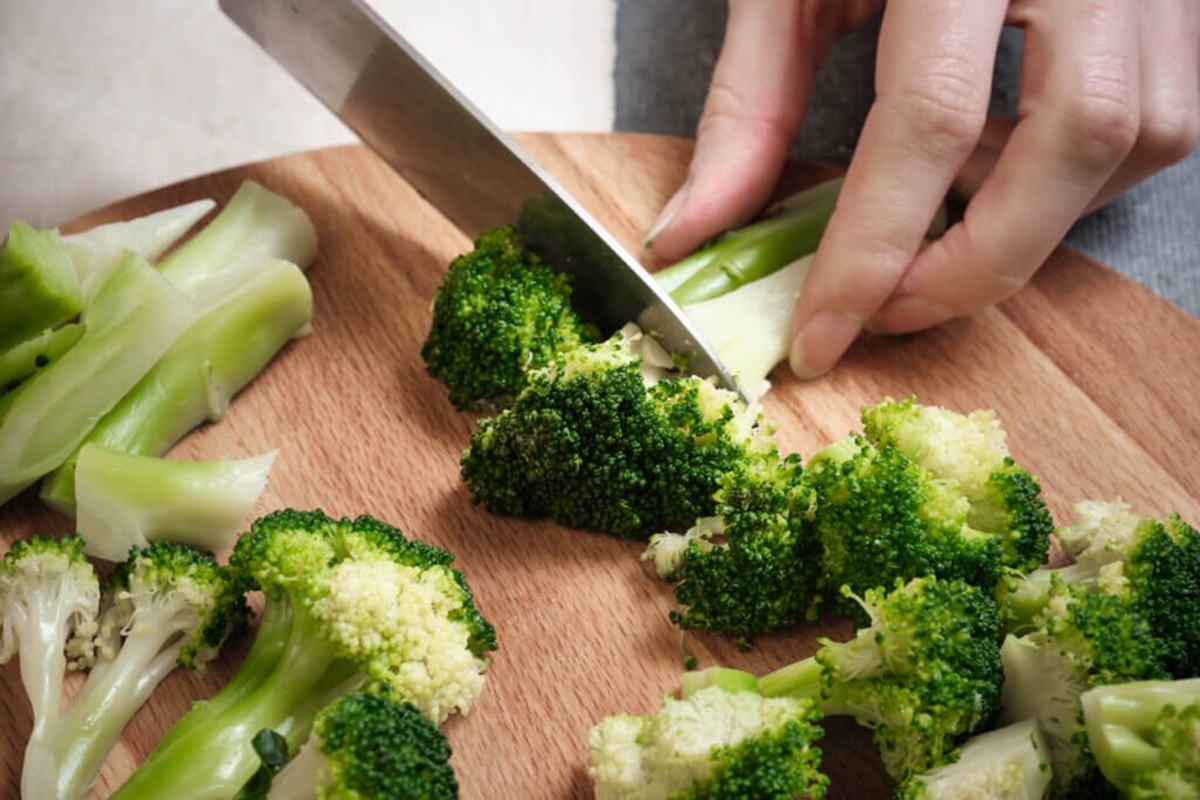
How To Cut Broccoli Into Florets
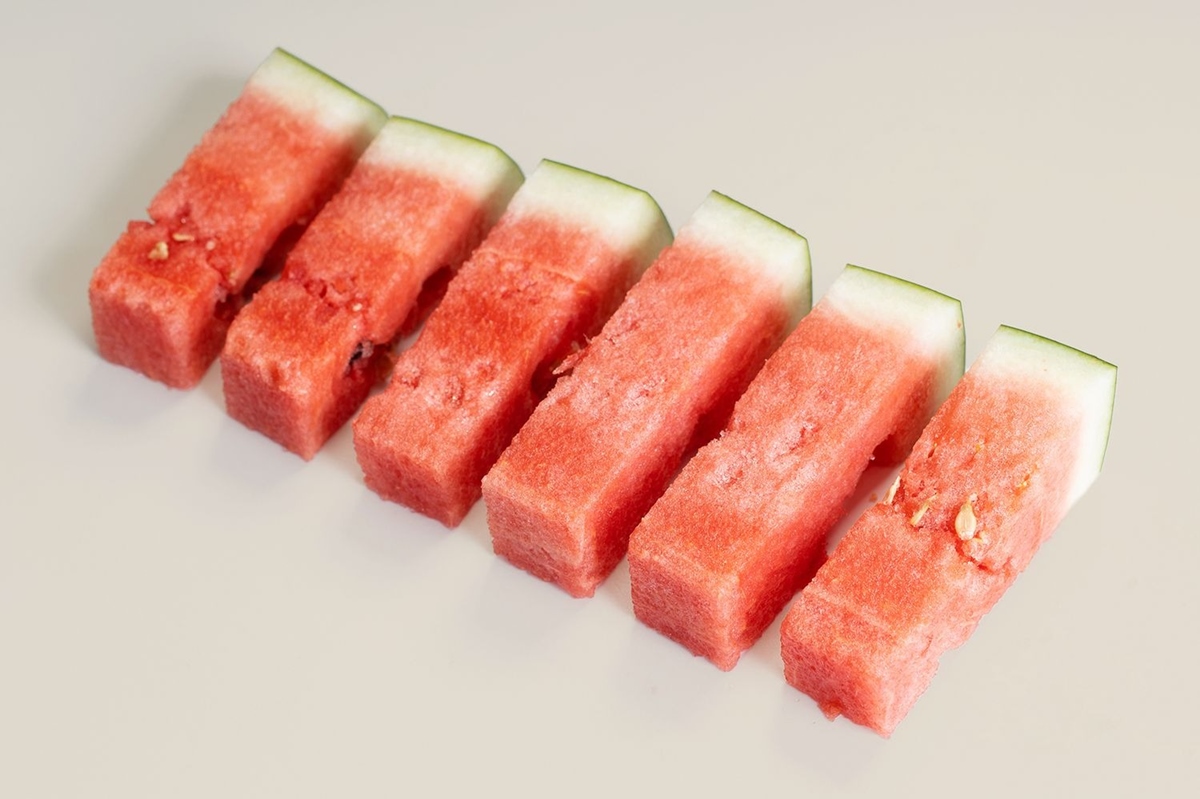
How To Cut Watermelon Spears
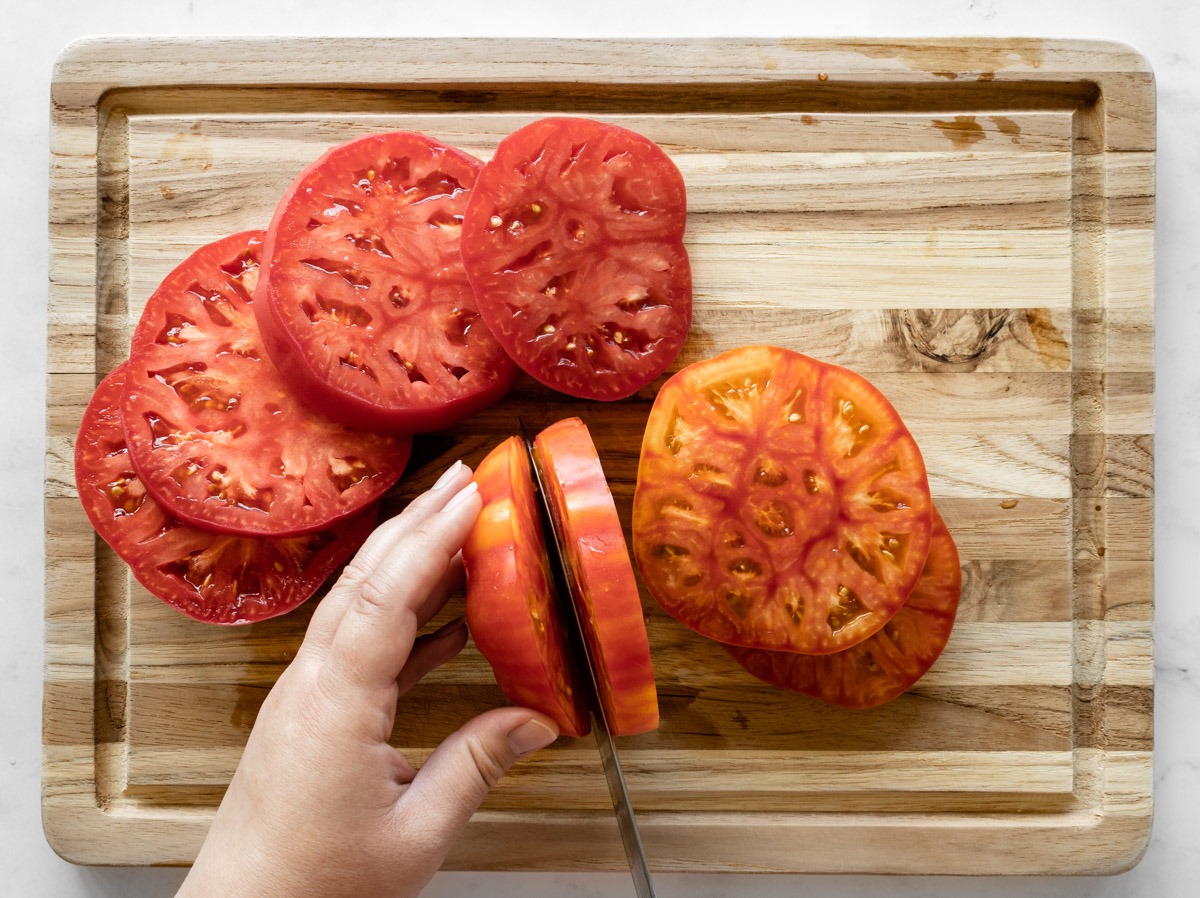
How To Cut Heirloom Tomatoes
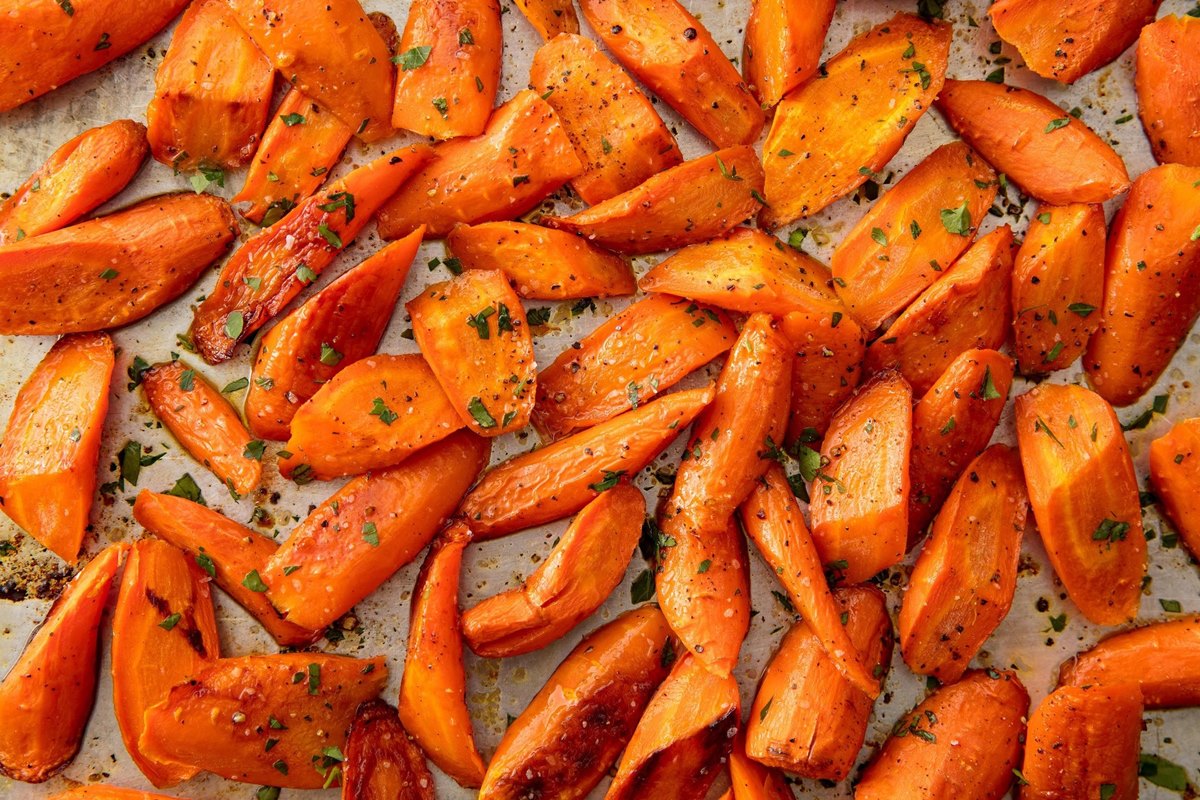
How To Cut Carrots For Roasting
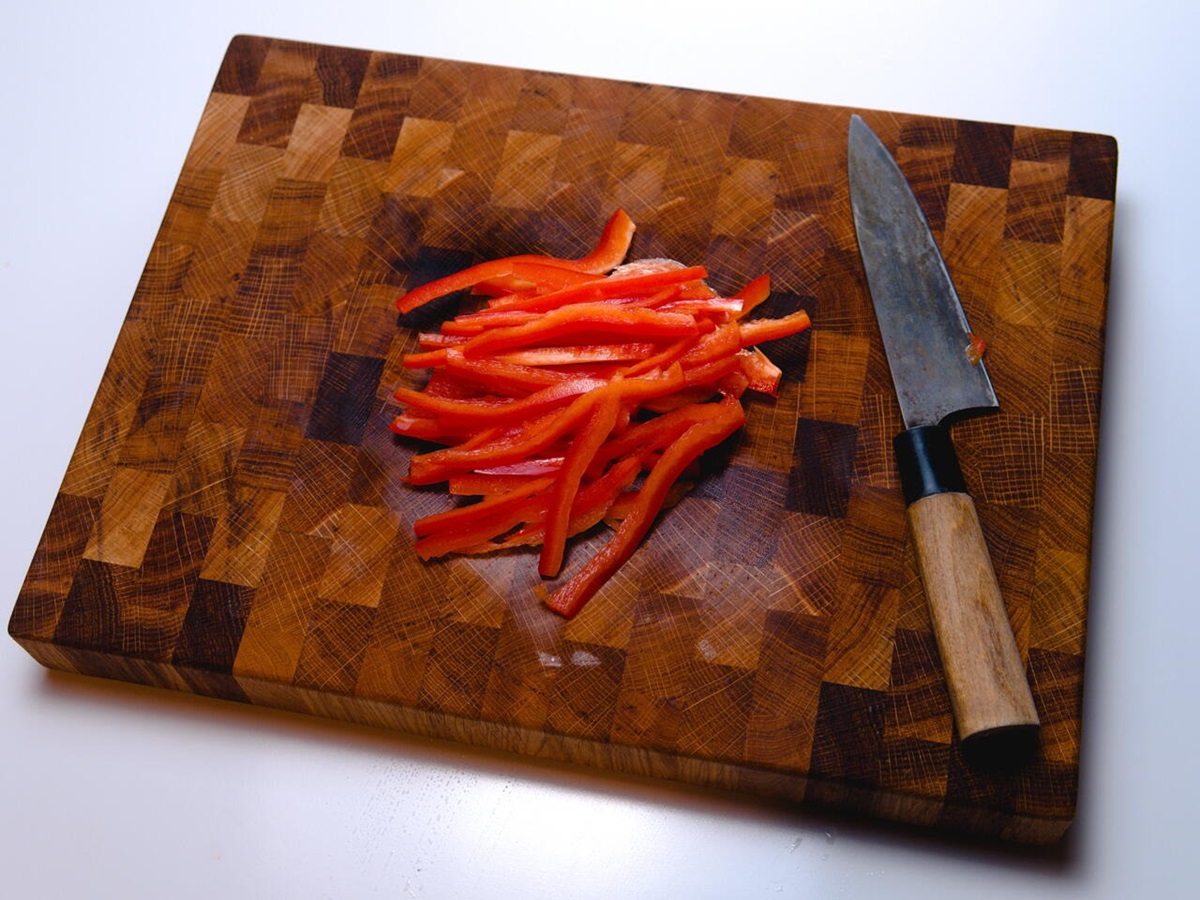
How To Cut Bell Peppers For Stir Fry
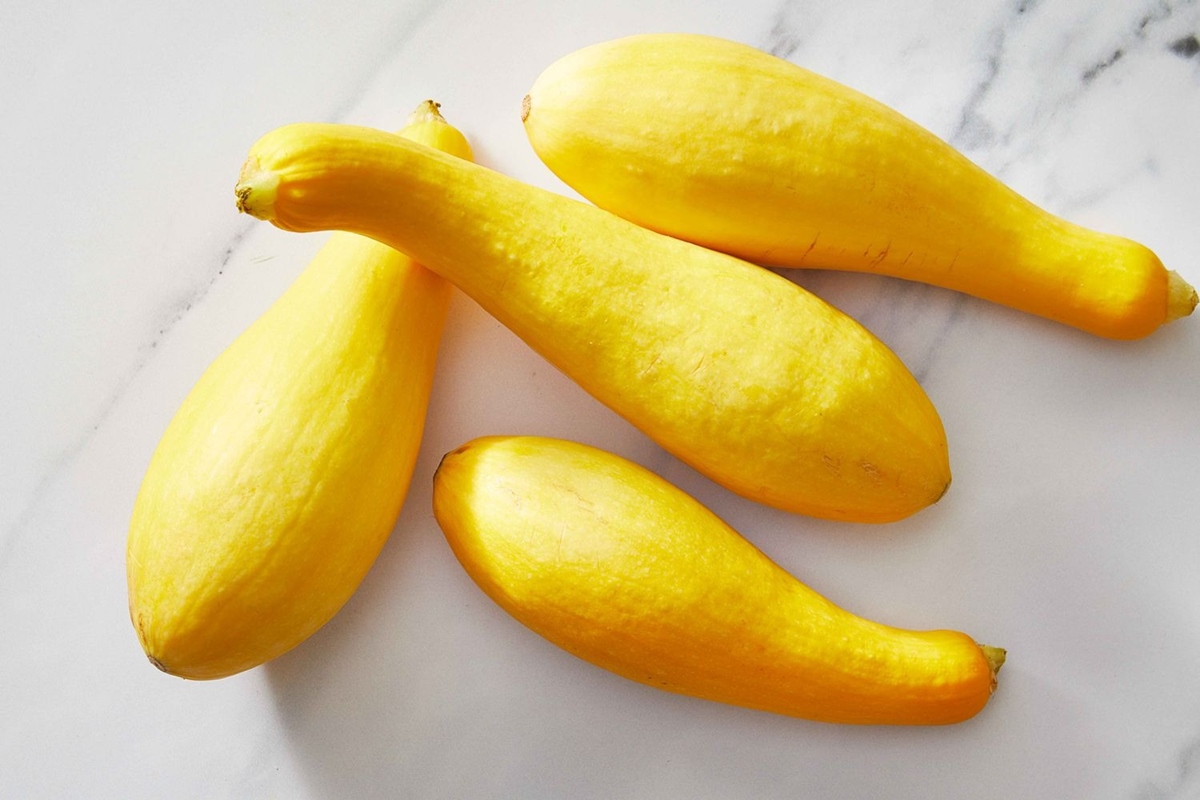
How To Cut Summer Squash
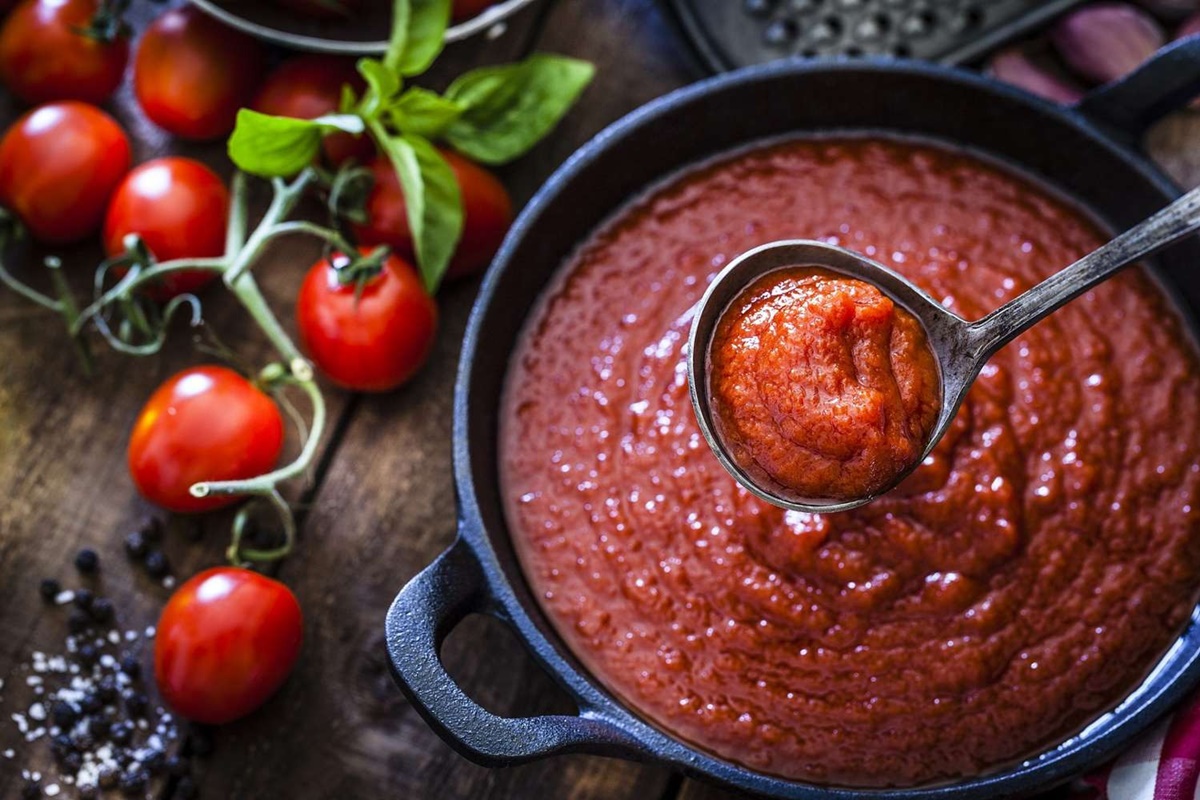
How To Cut The Acidity In Spaghetti Sauce