Mastering the Art of Cooking Sushi Rice in Your Pressure Cooker
Are you a sushi enthusiast who loves the delicate balance of flavors in a perfectly cooked rice? Look no further! In this guide, we’ll show you how to master the art of cooking sushi rice using a pressure cooker.
Using a pressure cooker for cooking sushi rice has become increasingly popular due to its efficiency and ability to create perfectly cooked rice with minimal effort. Let’s dive into the steps to make the perfect sushi rice in your pressure cooker.
Ingredients:
- 2 cups sushi rice
- 2 cups water
- 4 tablespoons rice vinegar
- 2 tablespoons sugar
- 1 teaspoon salt
Instructions:
- Rinse the sushi rice: Place the sushi rice in a fine-mesh sieve and rinse under cold water until the water runs clear. This step helps remove excess starch from the rice and prevents it from becoming too sticky.
- Add rice and water to the pressure cooker: Transfer the rinsed rice to your pressure cooker and add 2 cups of water. Close the lid and set the pressure cooker to high pressure.
- Cook the rice: Once the pressure cooker reaches high pressure, reduce the heat to low and set a timer for 3 minutes. This cooking time may vary depending on your pressure cooker, so consult the manufacturer’s instructions.
- Release pressure: After 3 minutes, carefully release the pressure from the cooker following the manufacturer’s instructions. Once the pressure has released completely, open the lid.
- Prepare the vinegar mixture: While the rice is cooking, combine the rice vinegar, sugar, and salt in a small saucepan. Heat the mixture over low heat until the sugar and salt dissolve. Remove from heat and let it cool.
- Season the rice: Transfer the cooked rice to a large bowl and gently fluff it with a fork or rice paddle. Gradually pour the vinegar mixture over the rice, folding it in gently to avoid breaking the grains. The vinegar mixture will give the rice its signature tangy flavor.
- Cool the rice: Allow the seasoned rice to cool to room temperature before using it to make sushi rolls or other sushi dishes. Cooling the rice helps it attain the perfect texture and stickiness for sushi preparation.
There you have it! With these simple steps, you can now enjoy homemade sushi rice that rivals the quality of your favorite sushi restaurants. Whether you’re a sushi beginner or a seasoned chef, using a pressure cooker for cooking sushi rice will save you time and effort while producing consistently delicious results.
So, the next time you’re craving homemade sushi, grab your pressure cooker and get ready to impress your taste buds with perfectly cooked sushi rice. Happy cooking!
For those eager to master sushi making, the recipes in this guide offer a variety of flavors and styles to experiment with using the pressure cooker method for sushi rice. Beginners might start with the Classic Sushi Rolls with Pressure Cooker Sushi Rice to get the fundamentals down. For a spicy kick, Spicy Tuna Rolls with Pressure Cooker Sushi Rice and Spicy Crab Rolls with Pressure Cooker Sushi Rice are excellent options. Seafood lovers can't go wrong with Salmon Nigiri with Pressure Cooker Sushi Rice and Seared Tuna Rolls with Pressure Cooker Sushi Rice. Vegetarians will appreciate the simplicity and taste of Avocado Rolls with Pressure Cooker Sushi Rice. For a more adventurous palate, Dragon Rolls with Pressure Cooker Sushi Rice and Spider Rolls with Pressure Cooker Sushi Rice offer unique flavors and textures. Each recipe provides a delicious way to enjoy sushi with perfectly cooked rice from a pressure cooker.
Was this page helpful?
Read Next: How To Cook Potatoes In A Pot
Related Articles
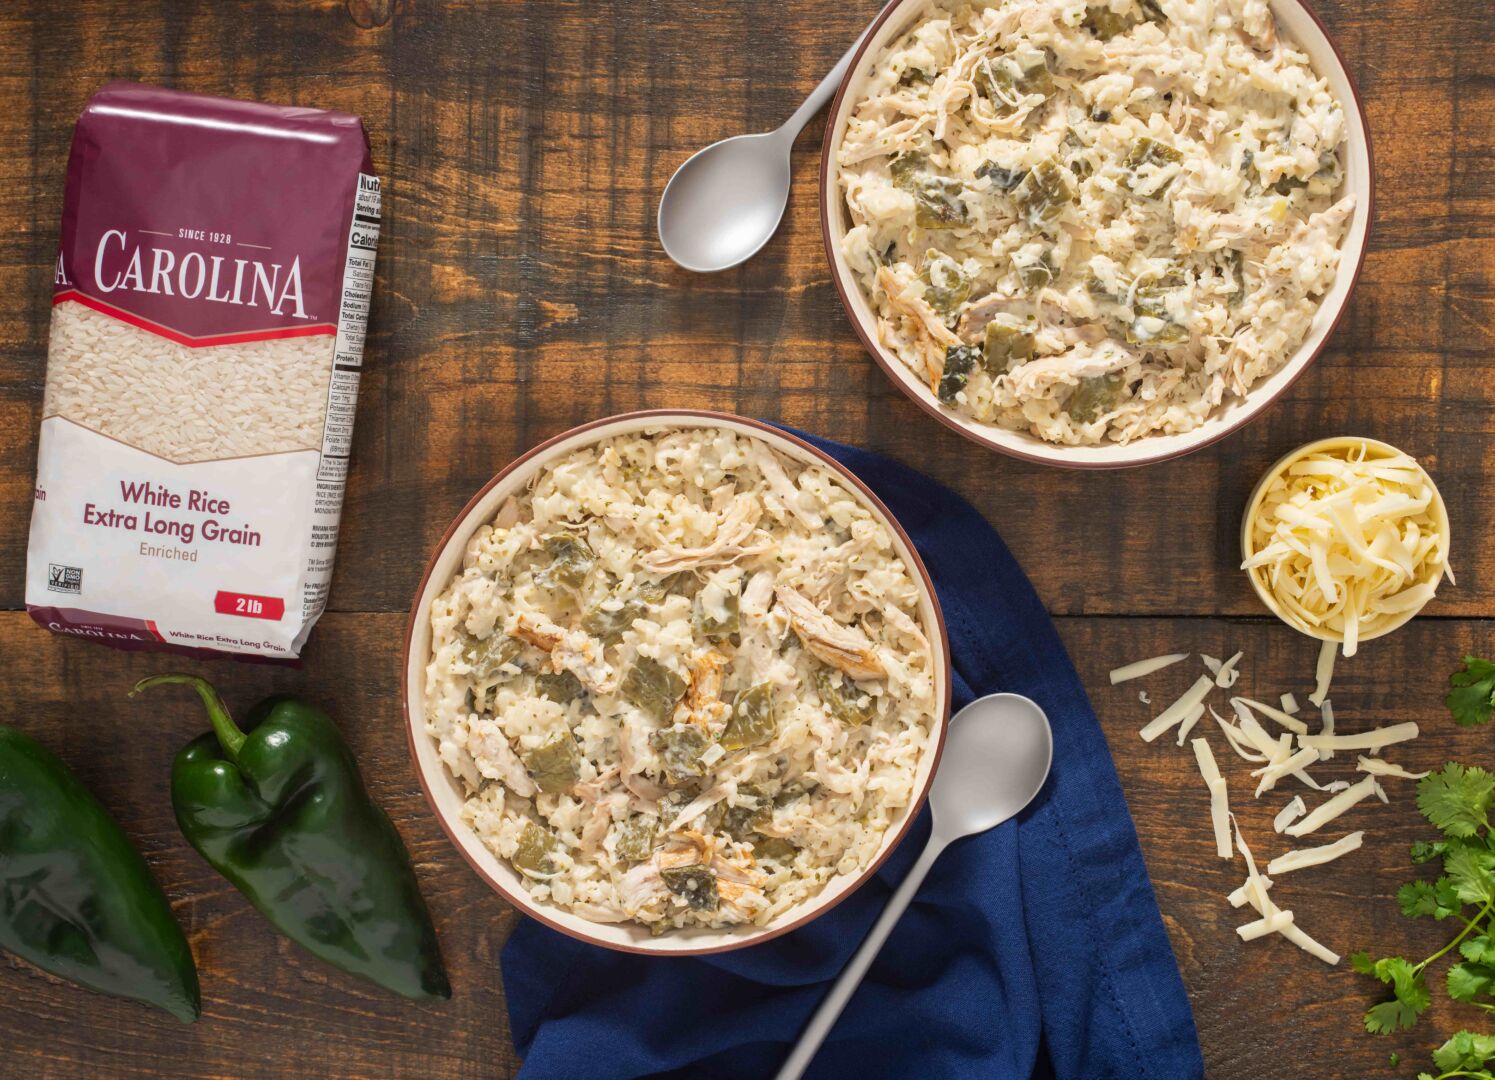
How To Cook Carolina White Rice
How to Cook Chuck Steak
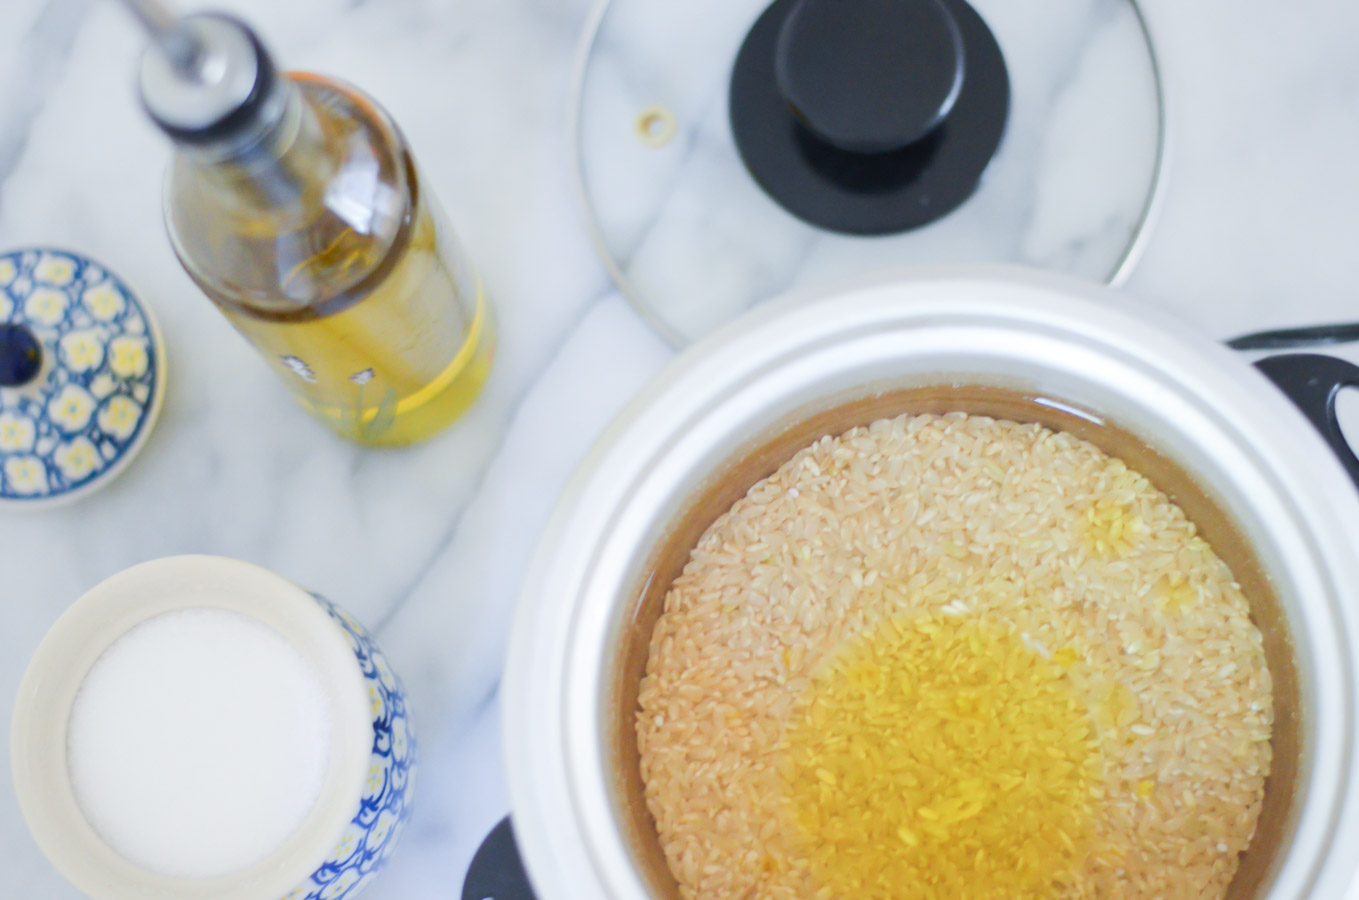
How To Cook Rice With Oil
How To Cook Pre Stuffed Chicken Breast
How To Cook Gemstone Potatoes On Stove

How To Cook Brats Without Beer
How To Cook Boneless Ribeye Pork Chops
How To Cook Cubed Chicken In Oven
How To Cook Onions For Spaghetti Sauce
How To Cook A Pig In The Ground Hawaiian Style
How To Cook Frozen Green Beans In Microwave