Boiling eggs for coloring is a delightful activity that brings creativity and joy to kitchens, especially around Easter or any crafty afternoon. Perfecting the boiling process ensures your eggs are firm and ready for dyeing without cracking. Start with eggs that have been in your refrigerator for a few days, as fresh ones can be harder to peel. Place them in a single layer in a pot, cover with water, and bring to a gentle boil. Then, turn off the heat, cover the pot, and let them sit in the hot water. This method helps in achieving eggs that are just right for your artistic endeavors.
Essential Ingredients for Perfectly Colored Eggs
- Fresh eggs
- Water
- Vinegar (optional, for more vibrant colors)
Must-Have Tools for Egg Coloring
- Saucepan: Medium to large size, for boiling water
- Slotted Spoon: For gently placing and removing eggs from hot water
- Timer: To track boiling time accurately
- Bowl: Filled with ice water, to cool eggs quickly after boiling
- Egg Carton or Tray: For holding eggs before and after coloring
- Measuring Cup: To add water to the saucepan, ensuring eggs are covered by at least an inch of water
- Tongs: Optional, can be used in place of or alongside the slotted spoon for handling hot eggs
For perfect eggs for coloring, start with cold water, bring to a boil, then simmer for 9 minutes. Cool quickly in ice water to prevent green rings around yolks.
The Importance of Boiling Eggs for Coloring
Boiling eggs for coloring is a beloved tradition, especially around Easter. This process transforms simple eggs into vibrant canvases, allowing for creativity and family bonding. Properly boiled eggs ensure a smooth surface for dyes, resulting in beautiful, festive decorations. Engaging in this activity fosters a sense of community and celebration, making it a cherished practice across generations.
Your Step-by-Step Guide to Boiling Eggs
-
Choose the right eggs: Opt for large eggs that have no cracks and are not too fresh, as slightly older eggs peel more easily after boiling.
-
Place eggs in a single layer: Use a large saucepan and arrange the eggs in a single layer at the bottom. This prevents them from cracking against each other during the boiling process.
-
Cover with cold water: Fill the saucepan with enough cold water to cover the eggs by about an inch. Starting with cold water helps cook the eggs more evenly.
-
Add a teaspoon of vinegar: A bit of vinegar in the water can make peeling the eggs easier. It helps the egg whites to firm up faster and prevents them from leaking out if any eggs crack during cooking.
-
Bring to a boil over medium-high heat: Watch the pot and as soon as the water reaches a rolling boil, turn off the heat. Cover the saucepan with a lid.
-
Let the eggs sit in hot water: Keep the eggs in the covered pot for about 9-12 minutes. The exact time can vary depending on your desired level of doneness. For coloring, firmer eggs are better, so leaning towards the longer time is advisable.
-
Prepare an ice bath: While the eggs are sitting, prepare an ice bath by filling a large bowl with ice and water. This will stop the cooking process immediately once the eggs are done.
-
Transfer eggs to the ice bath: After the time is up, use a slotted spoon to carefully move the eggs from the hot water to the ice bath. Let them cool for at least 5 minutes before peeling or dyeing.
-
Dry the eggs thoroughly: Before coloring, ensure the eggs are completely dry by gently patting them with a towel. Moisture can affect how well the dye adheres to the shell.
-
Check for doneness: To make sure your eggs are perfectly cooked for coloring, you can crack one open to check. The yolk should be firm and the whites should not be runny. If they're not done, boiling a new batch for a slightly longer time may be necessary.
-
Store properly if not coloring immediately: If you're not planning to color the eggs right after boiling, store them in the refrigerator. Keep them in their carton or a covered container.
Mastering the Art of Egg Boiling
Boiling eggs for coloring isn't just about tossing them into hot water. It's an art that combines patience, precision, and a bit of culinary know-how. Remember, starting with cold water and gradually heating up to a boil ensures even cooking and prevents cracking. Timing is crucial—9 to 12 minutes should do the trick for that perfect firmness. Don't forget the ice bath post-boil to make peeling easier and to stop the cooking process immediately, preserving the ideal texture. Whether you're prepping for Easter, a craft project, or just spicing up your breakfast routine, mastering this simple yet essential technique will ensure your eggs are not only beautiful to look at but also delicious to eat. So, grab your pot, your eggs, and let's make some colorful creations!
With Easter around the corner, learning how to boil eggs for coloring is a handy skill. Once mastered, the reader can try Classic Deviled Eggs for a delicious appetizer or Cobb Salad with Hard-Boiled Eggs for a hearty lunch. For a twist, Pickled Eggs offer a tangy flavor that's hard to resist. If they enjoy Japanese cuisine, Ramen with Soft-Boiled Eggs is a comforting choice. And for a unique brunch option, Quiche Lorraine with Hard-Boiled Egg Garnish is a must-try. Each recipe uses boiled eggs in creative ways, making them perfect for testing out their new skill.
All Your Questions About Boiling Eggs Answered
How long should eggs boil for perfect coloring?
Boil eggs for about 9-12 minutes. This range ensures yolks are fully cooked but not overdone, making them ideal for coloring. Start timing once water reaches a full boil.
What's the best way to prepare eggs for boiling?
Start with eggs at room temperature to prevent cracking. Gently place them in a single layer at the bottom of a pot. Cover with cold water, about an inch above the eggs. Slowly heat until water boils, then reduce to a simmer.
Can I color eggs while they're still warm?
Yes, you can color eggs while they're warm, but handling them might be tricky. Cooling them under cold running water after boiling makes them easier to handle and helps the color adhere better.
How do I avoid cracked eggs during boiling?
Prevent cracks by starting with room temperature eggs and heating them gradually. Adding a pinch of salt to the water can also help. If an egg does crack, a bit of vinegar in the water will keep whites from leaking out.
Is it necessary to use vinegar when coloring eggs?
Adding vinegar to the coloring solution enhances the dye's ability to bond with the egg shell, resulting in more vibrant colors. About a teaspoon per cup of dye solution works well.
How can I make the colors more vibrant on my eggs?
For more vibrant colors, let eggs sit in the dye longer, even overnight in the refrigerator. Using vinegar in your dye solution also boosts color vibrancy.
What's the best way to dry colored eggs?
After coloring, place eggs on a wire rack or a carton upside down to dry. This method prevents smudging and allows for even drying. Avoid rubbing or patting eggs dry, as this can smear the colors.
Was this page helpful?
Read Next: How To Boil Frozen Corn On The Cob
Related Articles
How To Boil Turkey Wings
How To Boil Fresh Pasta

How To Boil Argentine Red Shrimp
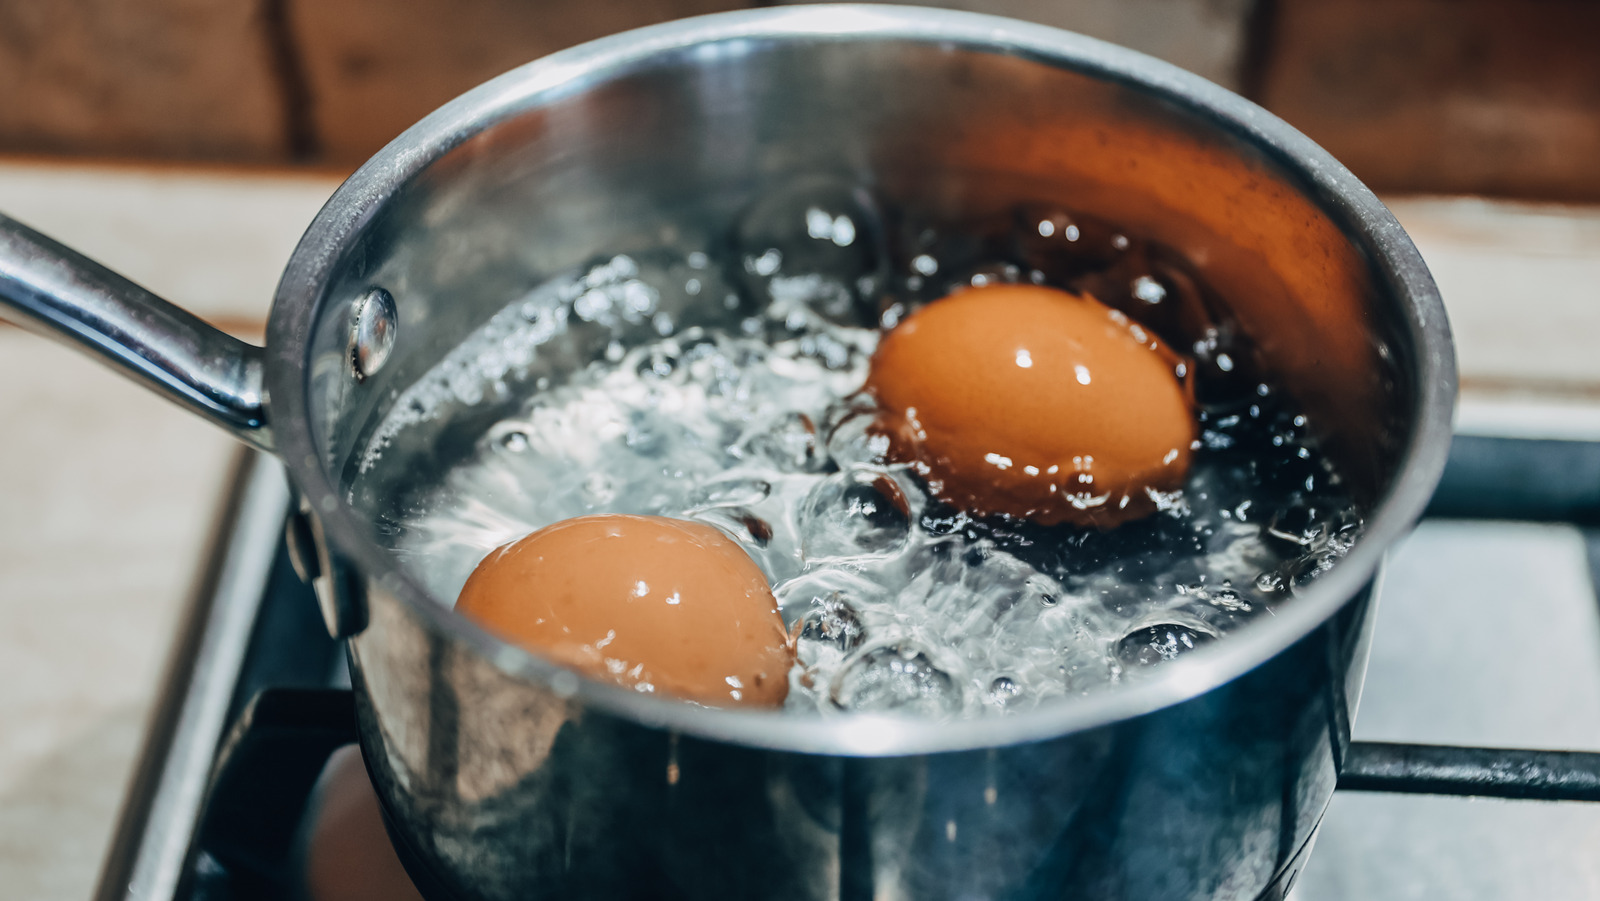
How To Boil Fresh Eggs

How To Boil Snow Crab Legs
How To Boil Crab
How To Boil Frozen Crab Legs
How To Boil A Whole Chicken
How To Boil Chicken For Dogs
How To Boil Chicken Legs
How To Boil Frozen Chicken