Seasoning Your Weber Grill Grates: A Step-By-Step Guide
When it comes to grilling, the flavor and texture of your food often depend on the condition of your grill grates. Seasoning your Weber grill grates is an important step in ensuring that your food cooks evenly and doesn’t stick to the grates. In this guide, we’ll walk you through the process of seasoning your Weber grill grates to perfection.
Step 1: Clean the Grates
The first step in seasoning your Weber grill grates is to ensure that they are clean and free from any debris or rust. Use a wire brush to scrub the grates and remove any leftover food particles or residue. Once the grates are clean, dry them thoroughly with a clean cloth or paper towels.
Step 2: Preheat the Grill
Before seasoning the grates, preheat your Weber grill to a high temperature. This will help to open up the pores of the metal grates, allowing the oil to penetrate and create a non-stick surface.
Step 3: Apply Cooking Oil
Once the grill is hot, it’s time to apply a thin layer of cooking oil to the grates. You can use any high-heat oil such as canola, vegetable, or grapeseed oil. Use a brush or a wad of paper towels to coat the grates evenly with the oil. Be sure to cover the entire surface, including the sides of the grates.
Step 4: Let the Oil Burn Off
After applying the oil, close the lid of the grill and let the grates heat up for about 15-20 minutes. During this time, the oil will burn off and create a thin layer of seasoning on the grates. This process helps to prevent food from sticking and promotes even cooking.
Step 5: Repeat if Necessary
Depending on the condition of your grates, you may need to repeat the seasoning process a few times to achieve the desired non-stick surface. After each use, it’s a good idea to apply a light coating of oil to the grates to maintain the seasoning.
Tips for Maintaining Seasoned Grill Grates
- Clean your grates after each use to remove any leftover food or grease.
- Regularly apply a thin layer of oil to the grates to maintain the seasoning.
- Avoid using metal brushes or abrasive cleaners, as they can damage the seasoning on the grates.
- Store your grill in a dry place to prevent rust and maintain the quality of the seasoning.
By following these simple steps, you can ensure that your Weber grill grates are properly seasoned and ready to deliver delicious, evenly cooked meals every time you fire up the grill. Whether you’re grilling steaks, vegetables, or seafood, well-seasoned grates are the key to achieving that perfect sear and flavor. Happy grilling!
Explore Delicious Recipes with Your Seasoned Grill Grates
Having mastered the art of seasoning your Weber grill grates, it's time to put that skill to use with a variety of mouth-watering recipes. Whether you're a fan of simple classics or eager to try something new, these recipes are designed to enhance your grilling experience. For a timeless favorite, consider the Classic BBQ Grilled Chicken which pairs beautifully with the smoky flavors achieved on well-seasoned grates. If you're in the mood for seafood, the Grilled Salmon with Lemon Herb Butter offers a zesty twist and cooks perfectly on a smooth, non-stick surface. For those hosting gatherings, the Grilled Sausages with Peppers and Onions is a crowd-pleaser that demonstrates how a well-maintained grill can handle even the juiciest of sausages without sticking. Each recipe leverages the enhanced taste and texture that only a properly seasoned grill can provide, making every meal a testament to your grilling prowess.
Was this page helpful?
Read Next: How To Season A Baking Sheet
Related Articles
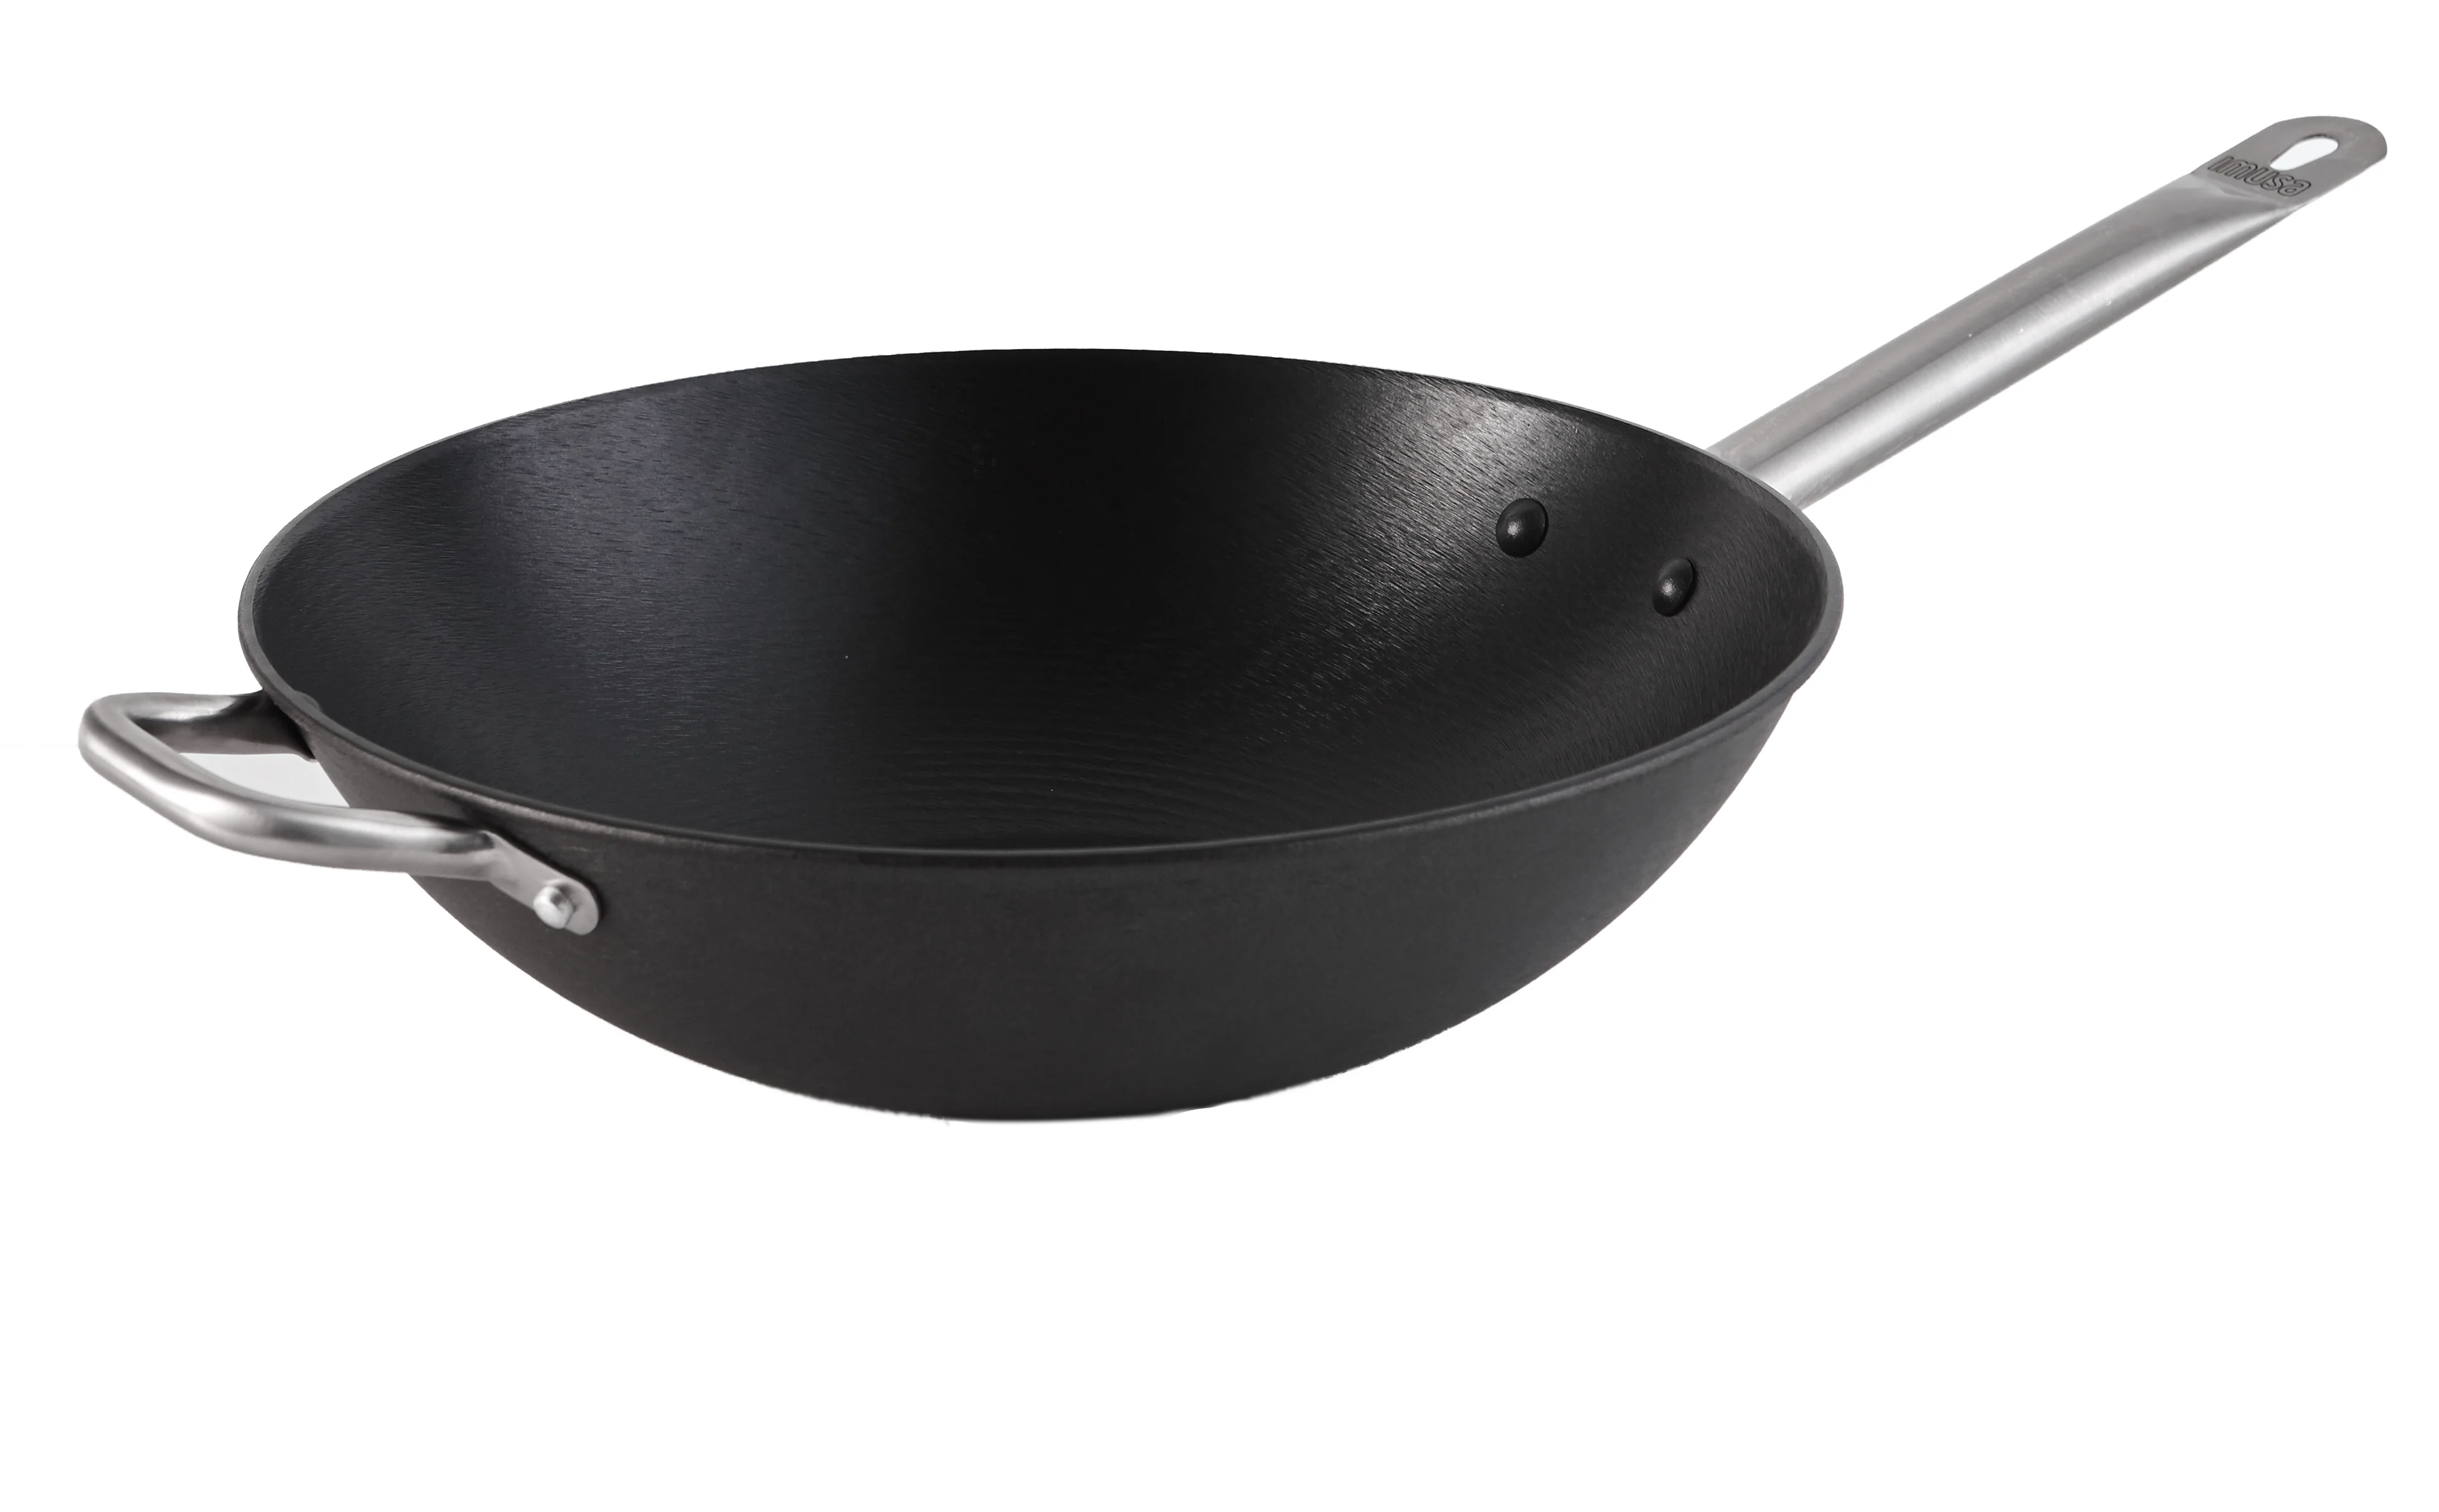
How To Season A Imusa Wok
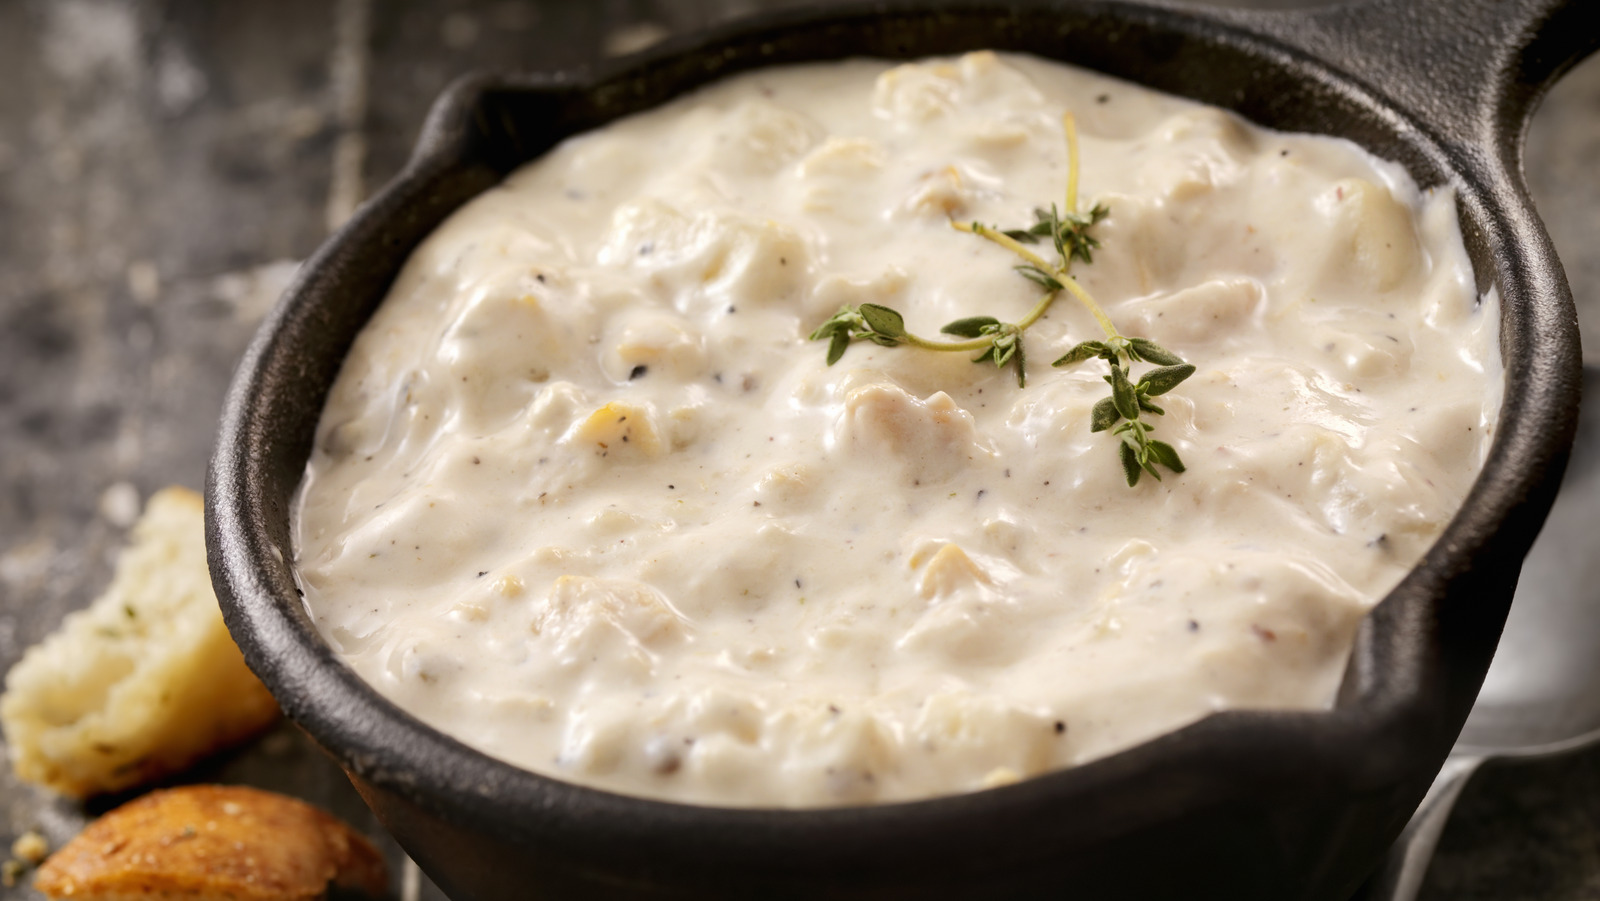
How To Season Canned Clam Chowder

How To Season Meat For Spaghetti Sauce
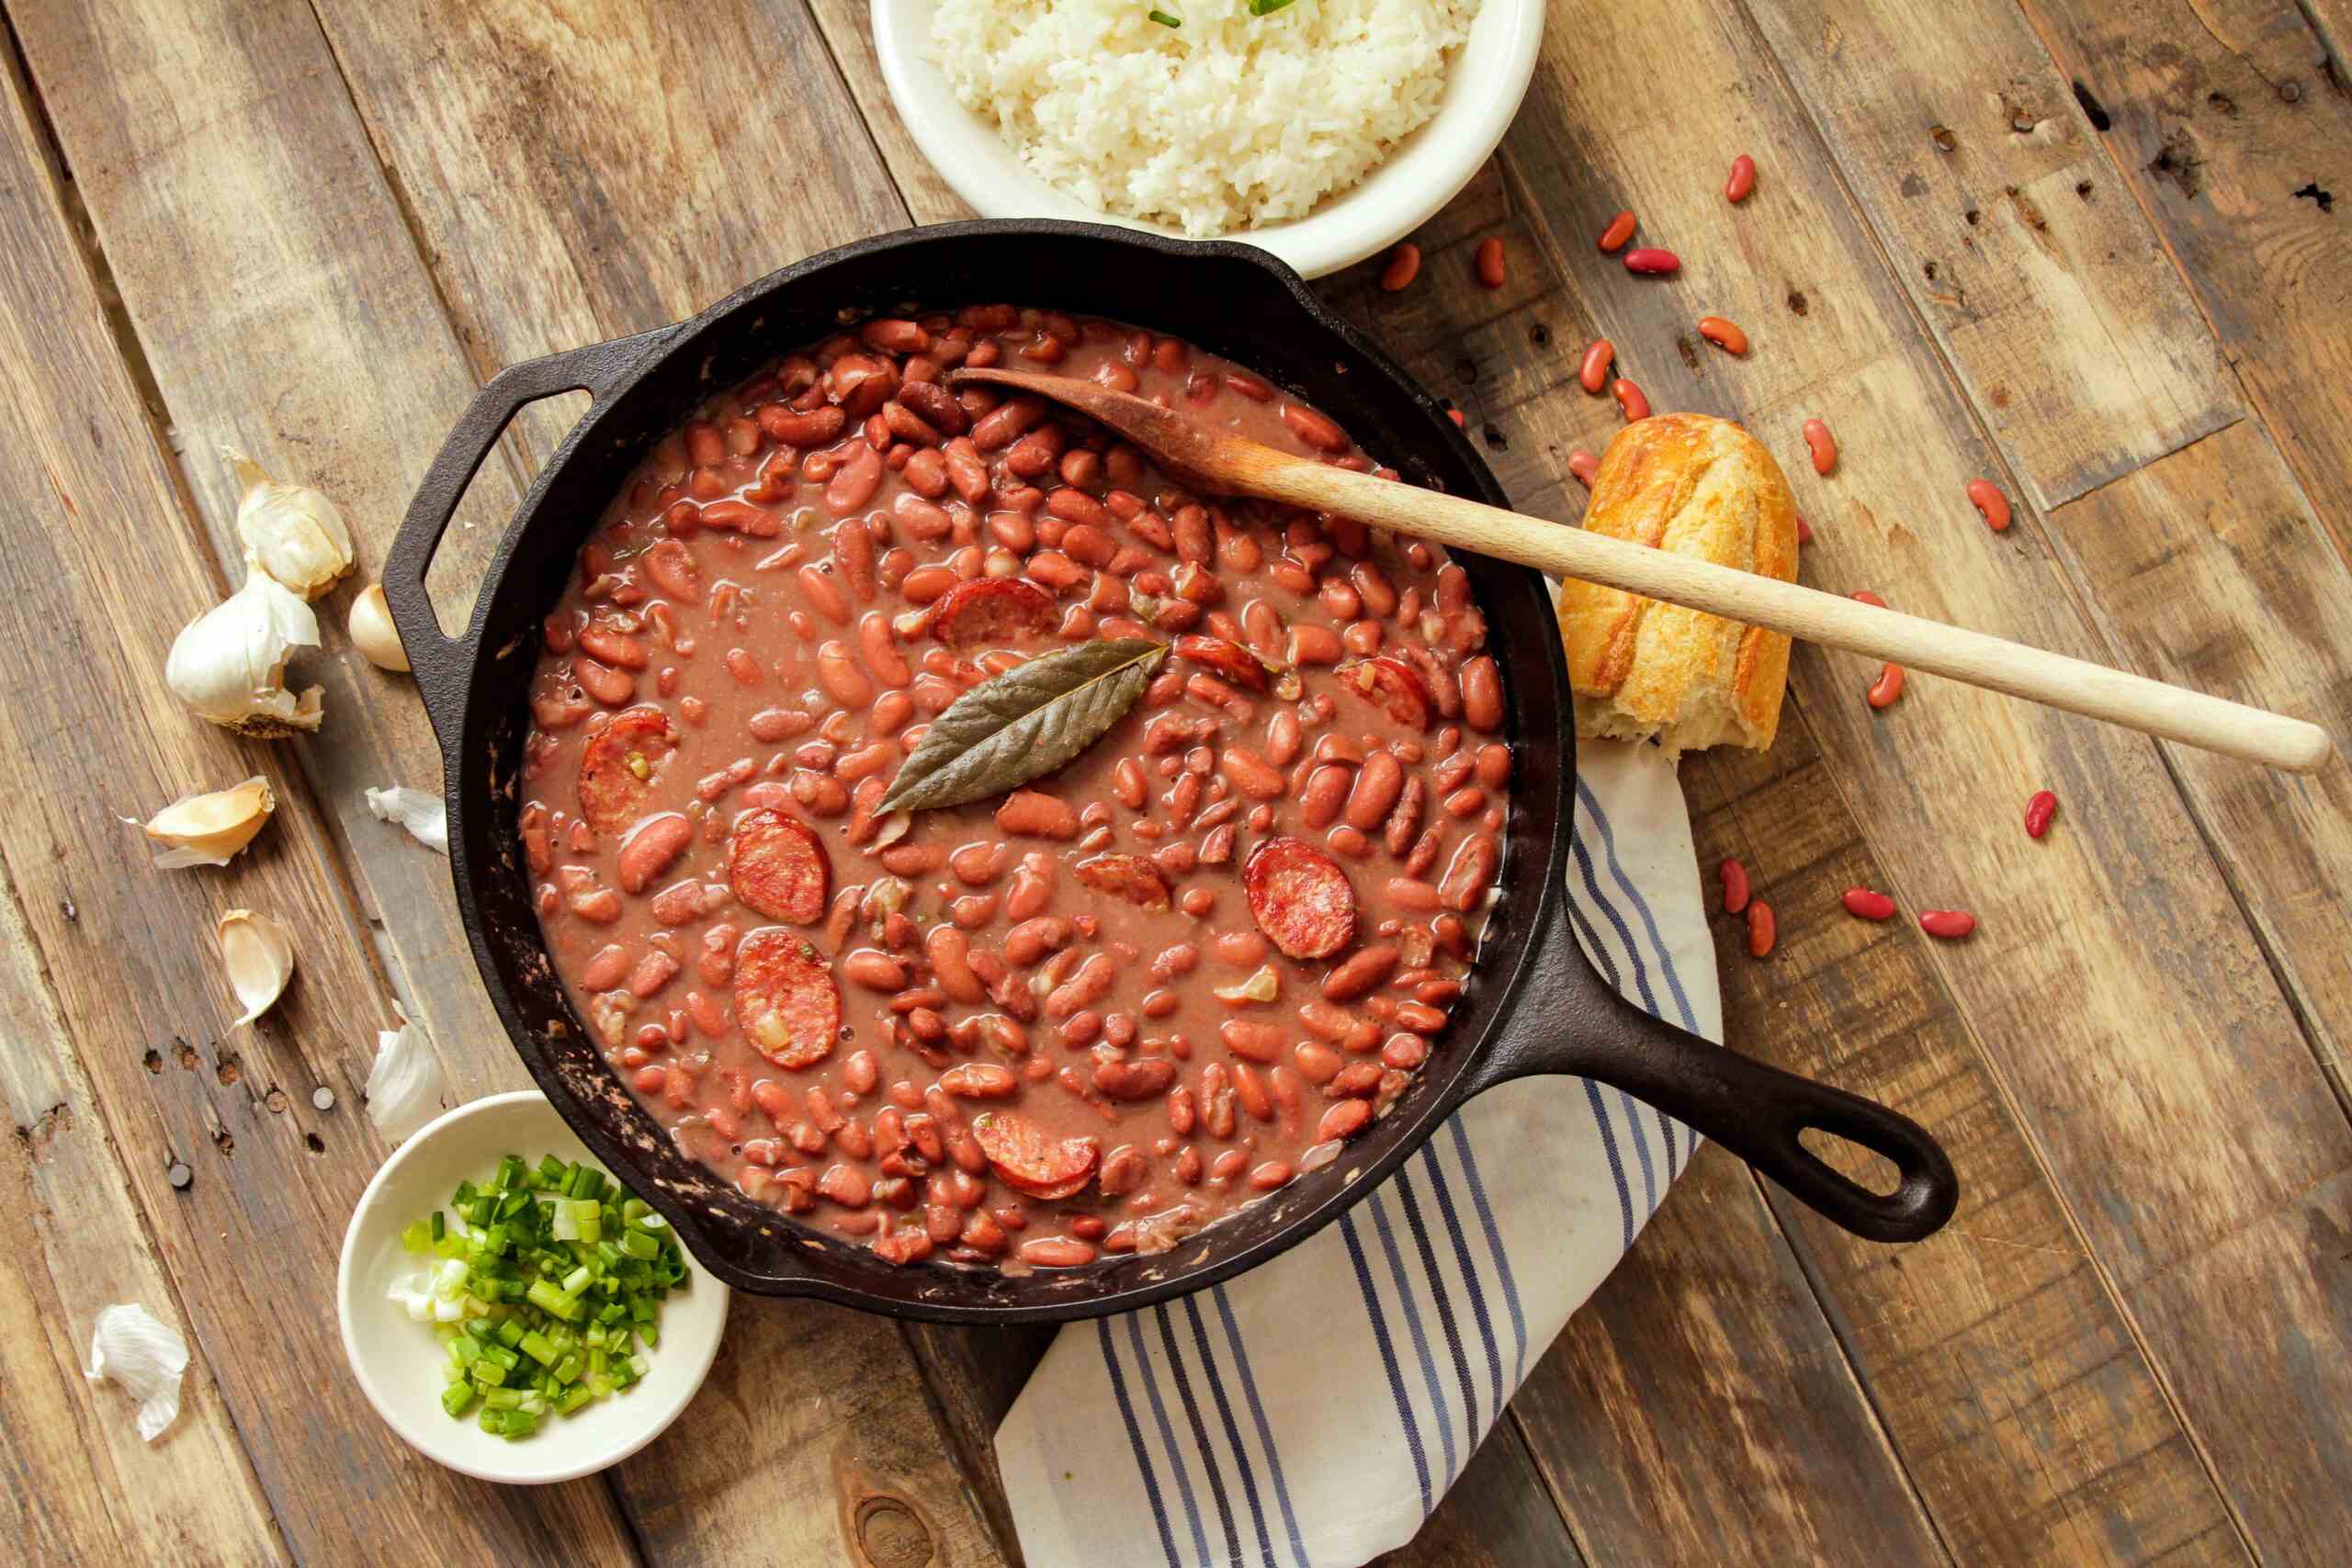
How To Season Kidney Beans From A Can
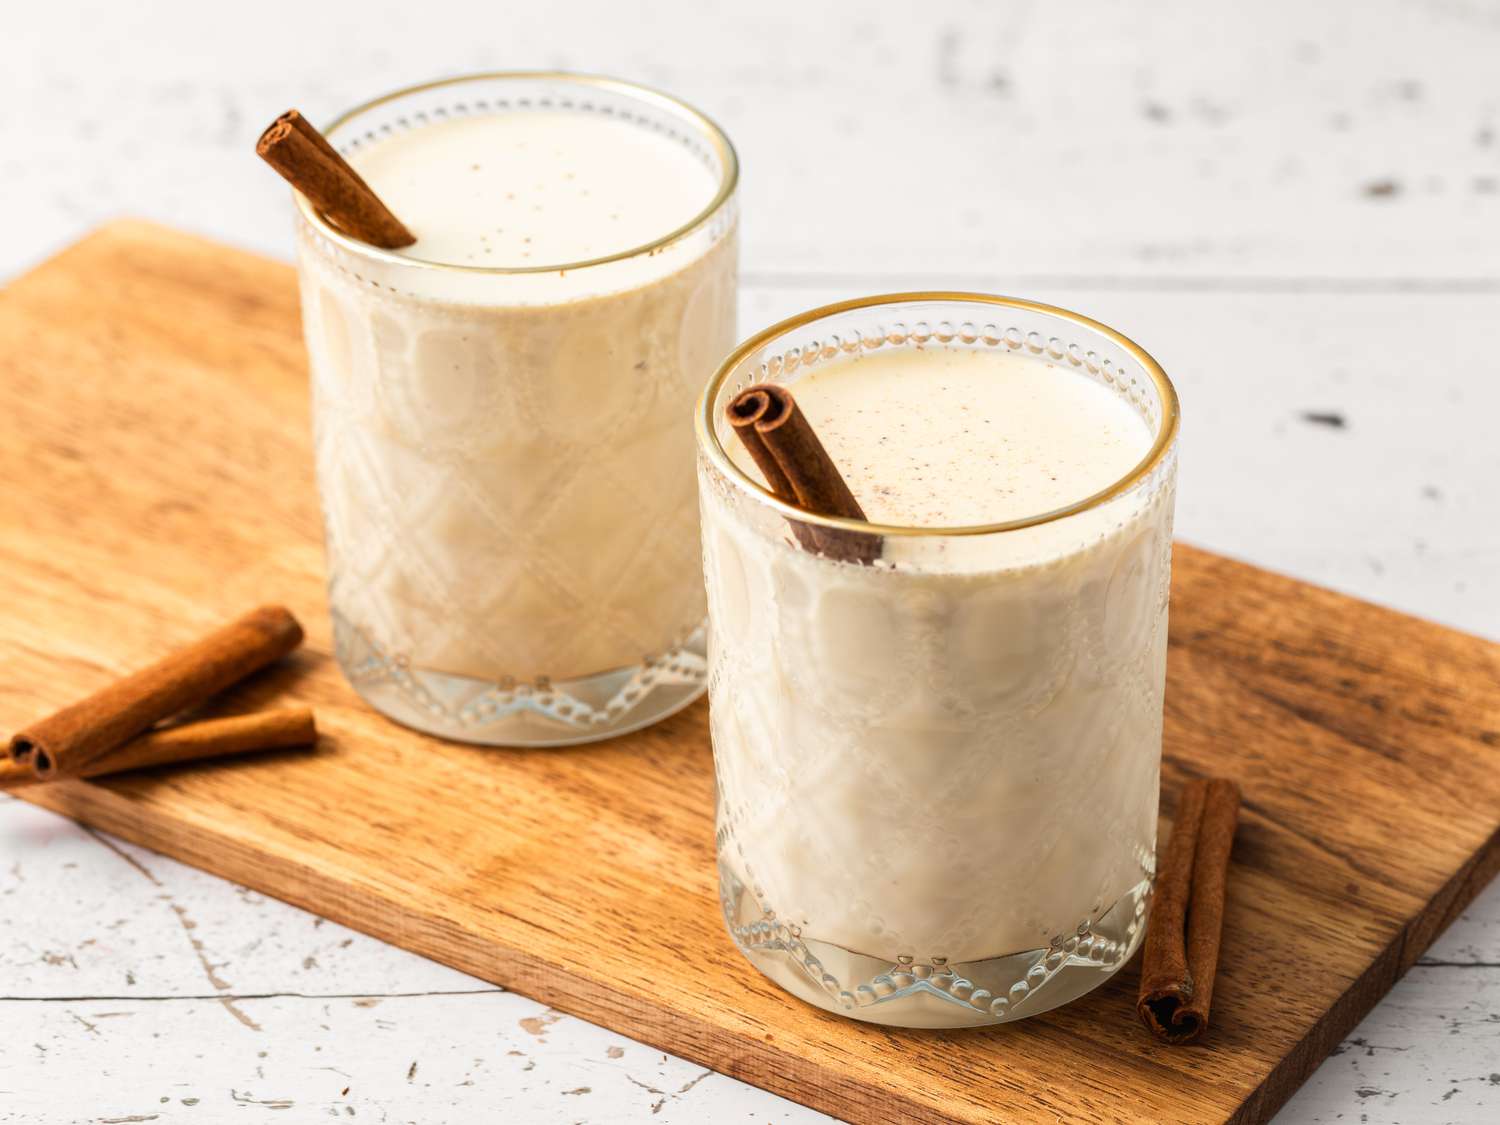
How To Infuse Cinnamon In Milk
How To Infuse More Flavor Into Chicken
How To Infuse Saffron In Oil

How To Infuse Moonshine Mash

How To Infuse A Drink

How To Infuse Store Bought Ice Cream
How To Infuse Heavy Cream