Creating the Perfect Marination for Chinese Stir Fry Chicken
Chinese stir fry chicken is a delicious and popular dish that can be easily prepared at home. The key to achieving an authentic and flavorful stir fry lies in the marination of the chicken. By marinating the chicken properly, you can infuse it with the right combination of flavors and ensure that it remains tender and juicy during the cooking process. Here’s how you can marinate chicken for Chinese stir fry:
Ingredients for the Marinade:
- Soy Sauce: This will add a savory and salty flavor to the chicken.
- Rice Wine: Rice wine helps to tenderize the chicken and adds a subtle sweetness to the marinade.
- Sesame Oil: A small amount of sesame oil will impart a nutty and aromatic flavor to the chicken.
- Garlic: Freshly minced garlic will provide a pungent and robust taste to the marinade.
- Ginger: Finely grated ginger adds a warm and spicy kick to the marinade.
- Cornstarch: Cornstarch helps to thicken the marinade and create a glossy coating on the chicken.
- Brown Sugar: A touch of sweetness from brown sugar balances out the savory and salty flavors in the marinade.
- Black Pepper: Freshly ground black pepper adds a subtle heat and depth to the marinade.
Instructions:
1. In a bowl, combine the soy sauce, rice wine, sesame oil, minced garlic, grated ginger, cornstarch, brown sugar, and black pepper. Mix the ingredients well until the sugar and cornstarch are fully dissolved.
2. Place the chicken pieces in a resealable plastic bag or a shallow dish.
3. Pour the marinade over the chicken, ensuring that each piece is evenly coated. Seal the bag or cover the dish with plastic wrap and refrigerate for at least 30 minutes. For a more intense flavor, marinate the chicken for up to 2 hours.
4. Once the chicken has marinated, it is ready to be used in your Chinese stir fry recipe. Remember to discard any leftover marinade as it has come into contact with raw chicken.
Tips for Marinating Chicken:
- Use Fresh Ingredients: Freshly minced garlic and grated ginger will impart the best flavors to the marinade.
- Allow Sufficient Time: For the flavors to fully penetrate the chicken, it is essential to marinate it for at least 30 minutes. Longer marination will result in a more pronounced flavor.
- Proper Storage: Always refrigerate the marinating chicken to prevent the growth of harmful bacteria. Use a sealed container or plastic bag to avoid cross-contamination.
- Balancing Flavors: Adjust the ingredients in the marinade to suit your taste preferences. You can add more sugar for sweetness or increase the amount of soy sauce for a saltier flavor.
By following these simple steps and tips, you can create a delectable marination for Chinese stir fry chicken that will elevate the overall taste of your dish. The next time you prepare a Chinese stir fry, take the time to marinate the chicken properly, and you’ll be rewarded with a flavorful and tender result!
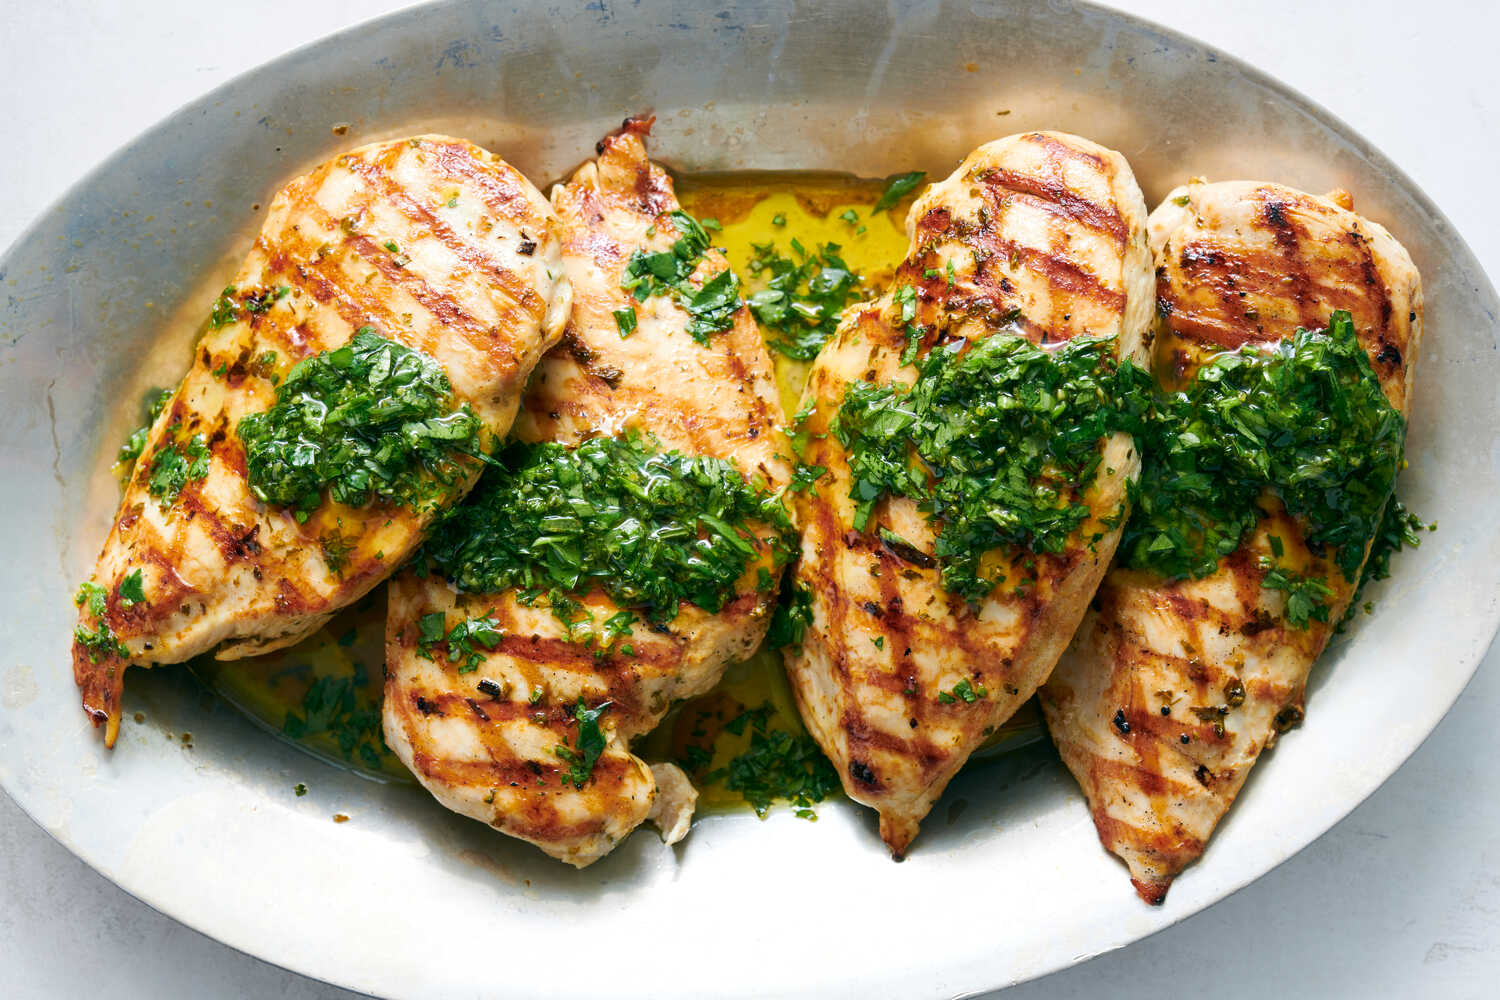
For those looking to master the art of marinating chicken for Chinese stir fry, there's a treasure trove of recipes to explore. Start with the Classic Chicken and Broccoli Stir Fry, which perfectly showcases how a simple marinade can bring out the best in chicken and vegetables. If you're in the mood for something with a kick, try the Spicy Kung Pao Chicken, where the marinade amplifies the heat and flavors. The Cashew Chicken Stir Fry is another excellent choice, offering a delightful crunch and savory taste that will impress any palate. For a citrusy twist, the Lemon Chicken Stir Fry and Orange Chicken Stir Fry provide bright and refreshing flavors that pair wonderfully with the marinated chicken. Lastly, the Teriyaki Chicken Stir Fry is a must-try, featuring a sweet and savory marinade that caramelizes beautifully during cooking. These recipes not only highlight different marinade techniques but also offer a range of delicious meals to enjoy.
Was this page helpful?
Related Articles

25 Simple Homemade Chinese Dinner Recipes

Top 21 Stir-Fry Dishes to Sizzle Up Your Kitchen

What Is Chinese White Sauce?

How To Marinate Chicken With Mrs Dash
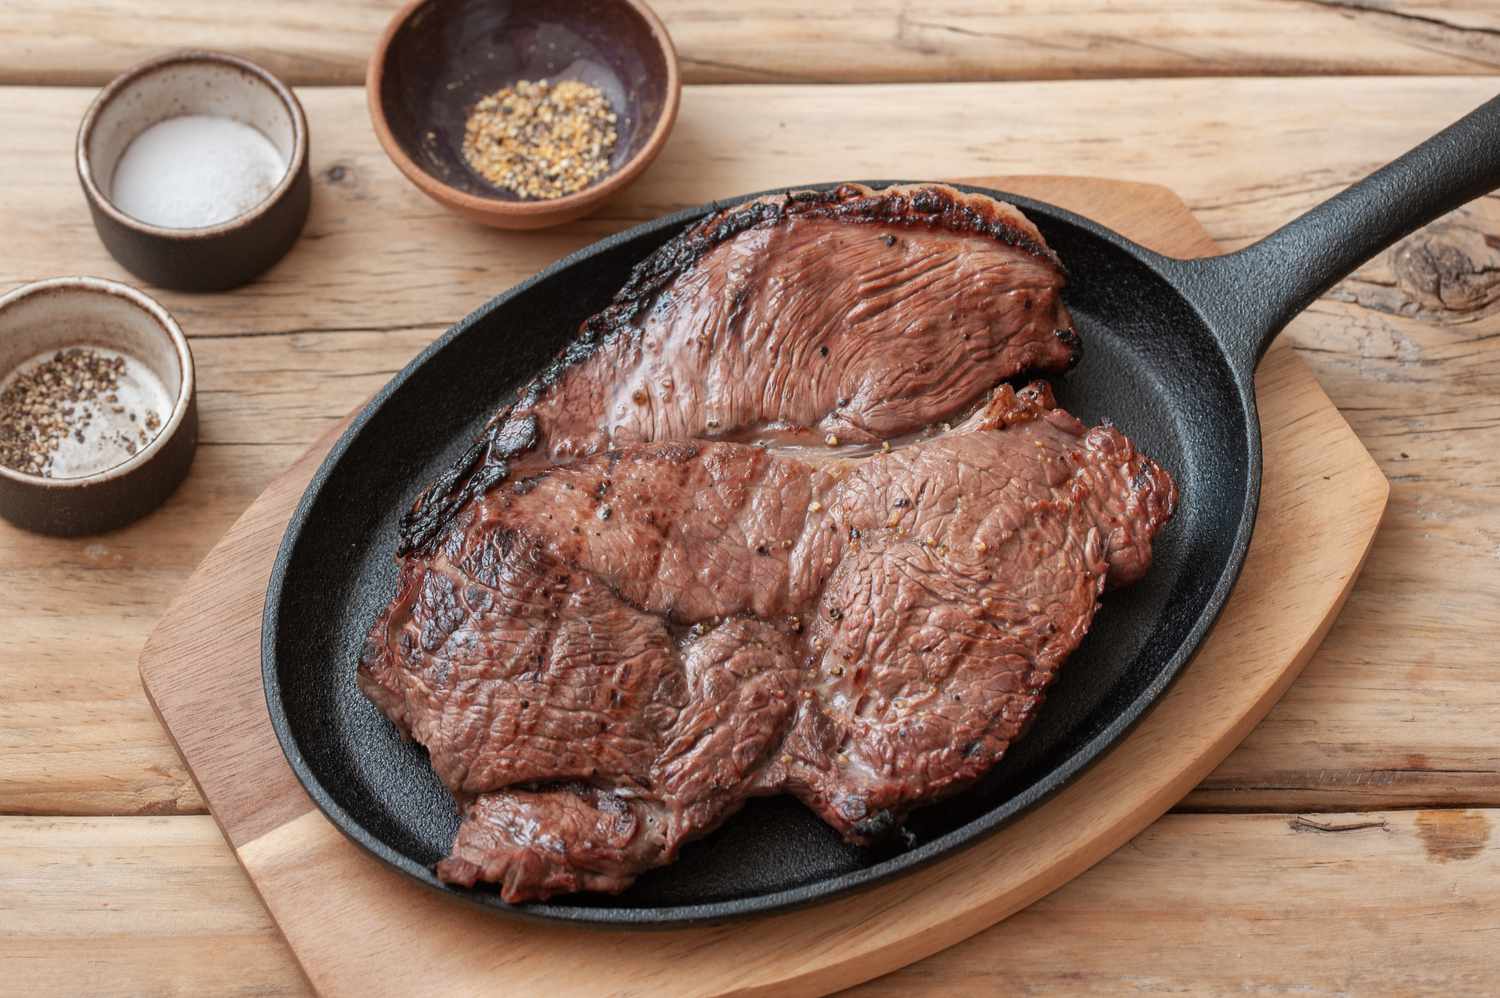
How To Marinate Steaks With Italian Dressing

How To Marinate Chicken For Curry Indian
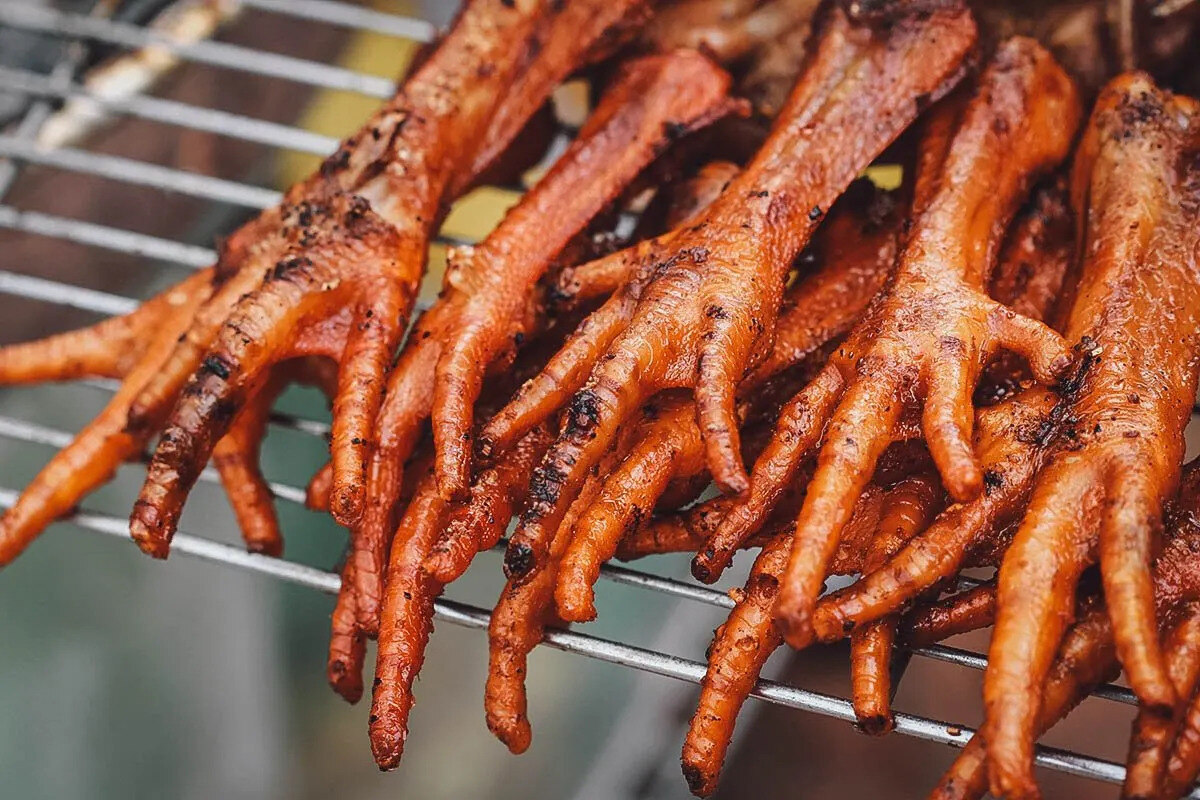
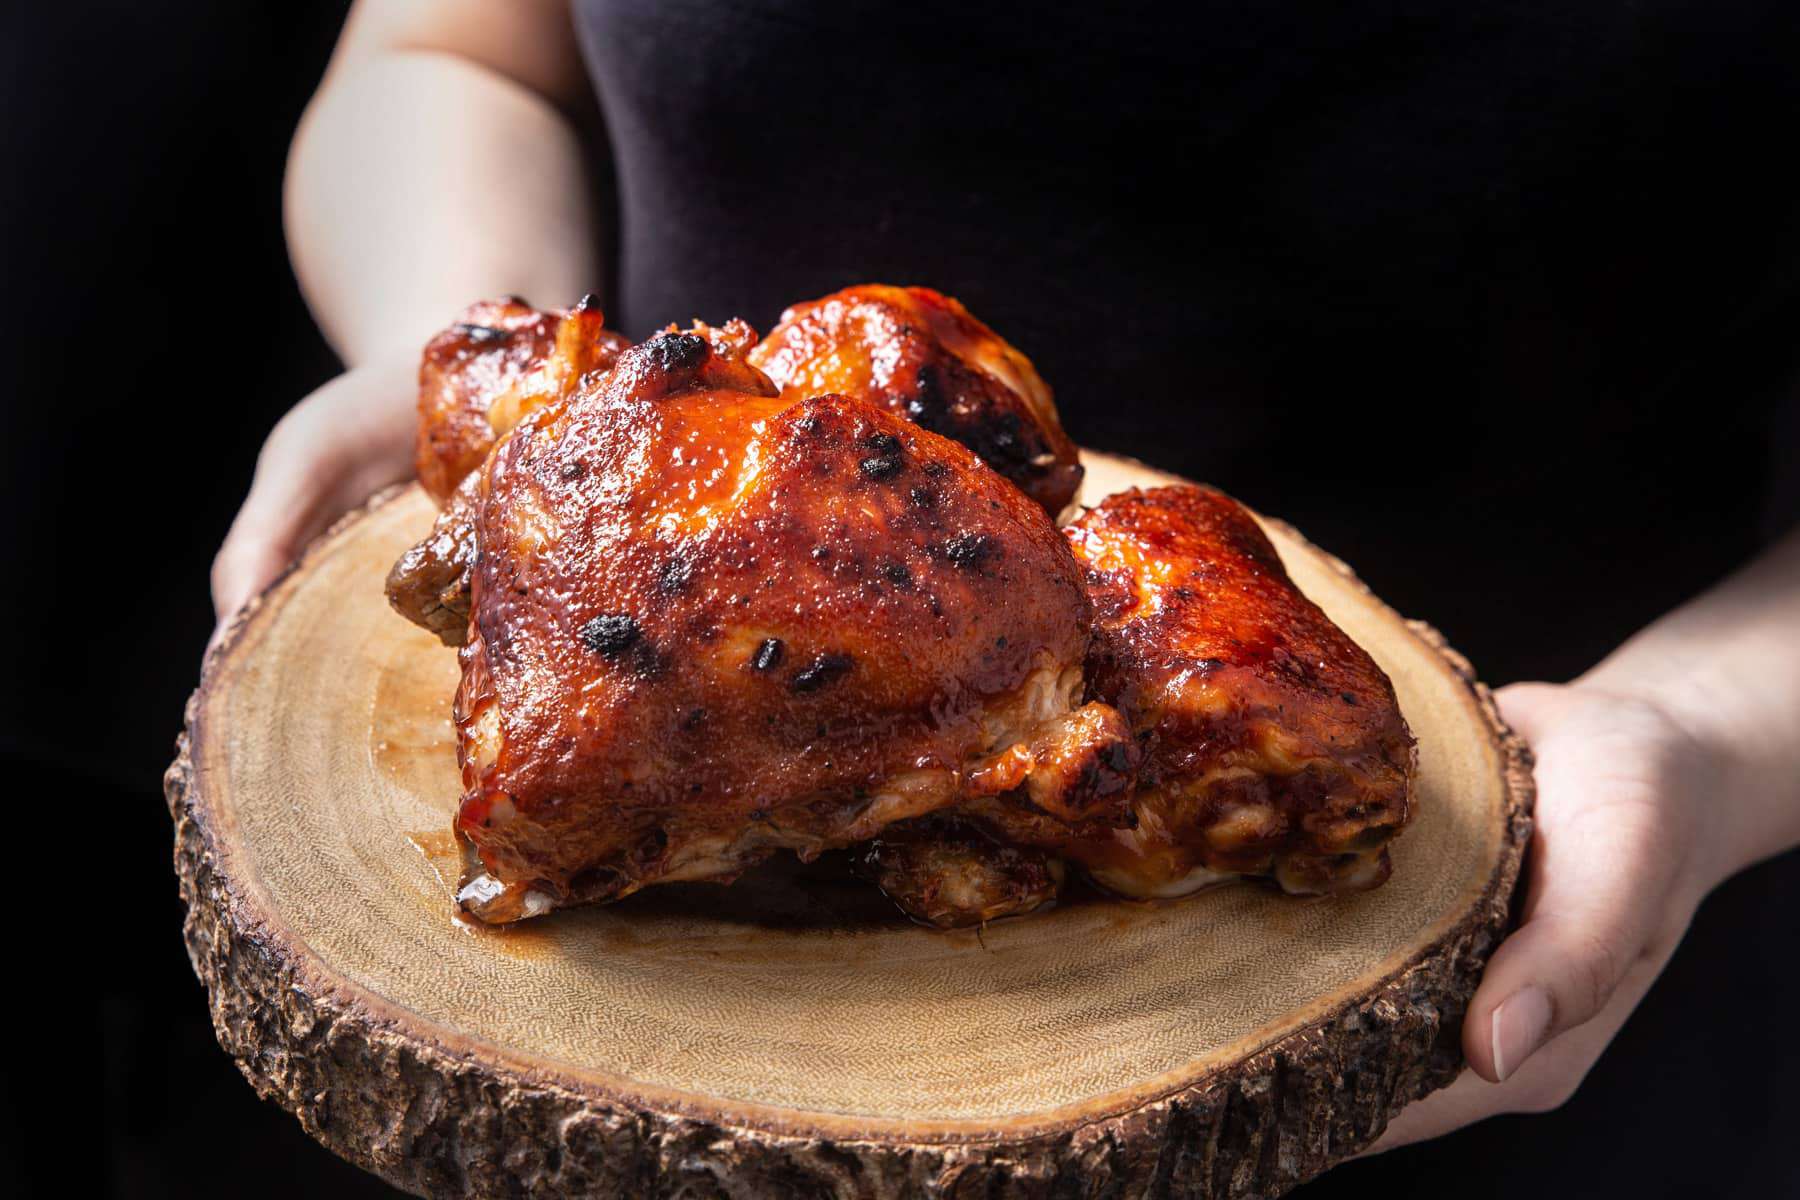
How To Marinate Chicken Feet For BBQ

How To Marinate Chicken Biryani
How To Marinate Chicken For Japanese Food
How To Marinate A Tough Steak To Make It Tender

How To Marinate Chicken Breast With Orange Juice