Quick and Easy Tips for Proofing Frozen Dough
Proofing frozen dough can be a time-consuming process, but with the right techniques, you can speed up the proofing time and have delicious, freshly baked bread in no time. Whether you’re a seasoned baker or just starting out, these tips will help you proof frozen dough quickly and efficiently.
1. Thawing the Dough
Before you can begin the proofing process, it’s important to properly thaw the frozen dough. There are a few options for thawing dough, including:
- Thawing in the refrigerator overnight
- Thawing at room temperature for a few hours
- Thawing in the microwave on a low setting
Choose the method that works best for your schedule, but be sure to follow any specific thawing instructions provided with the dough.
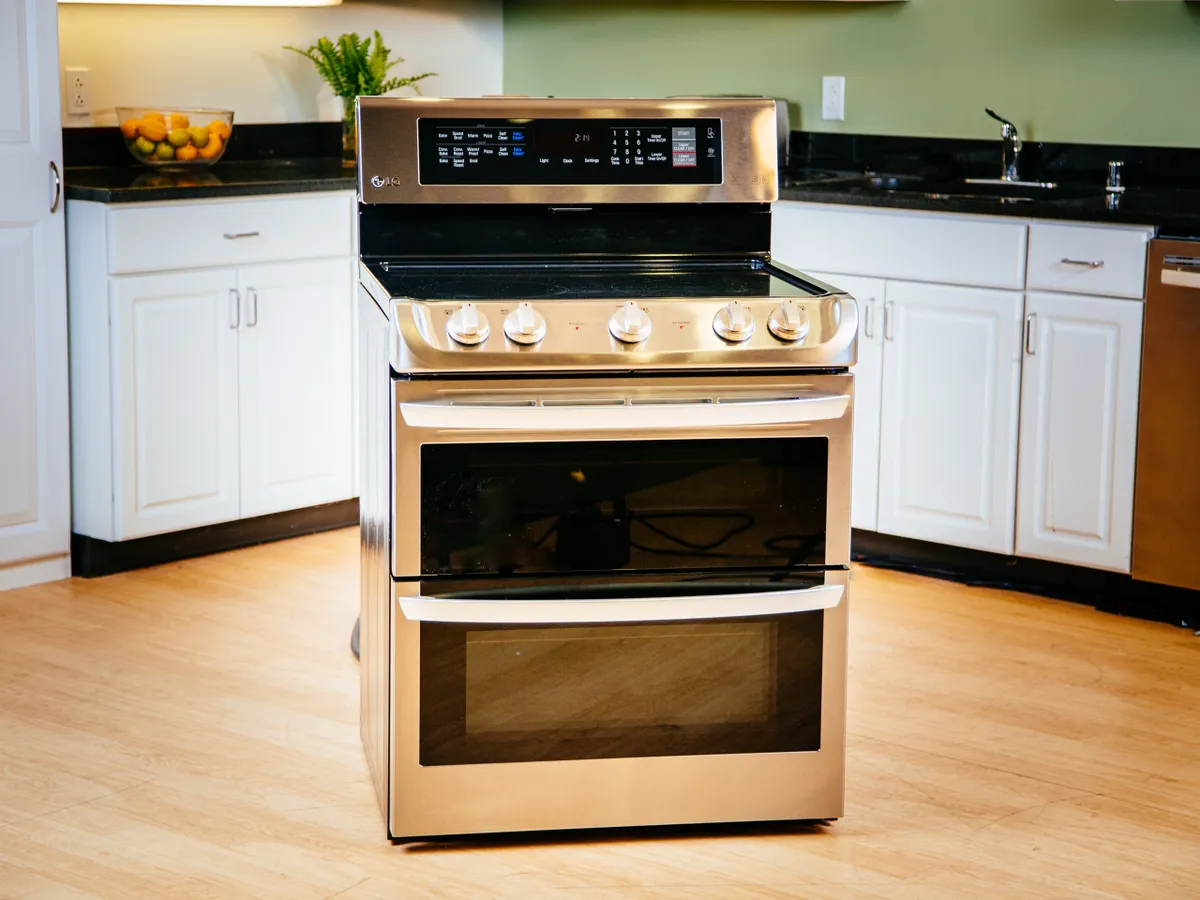
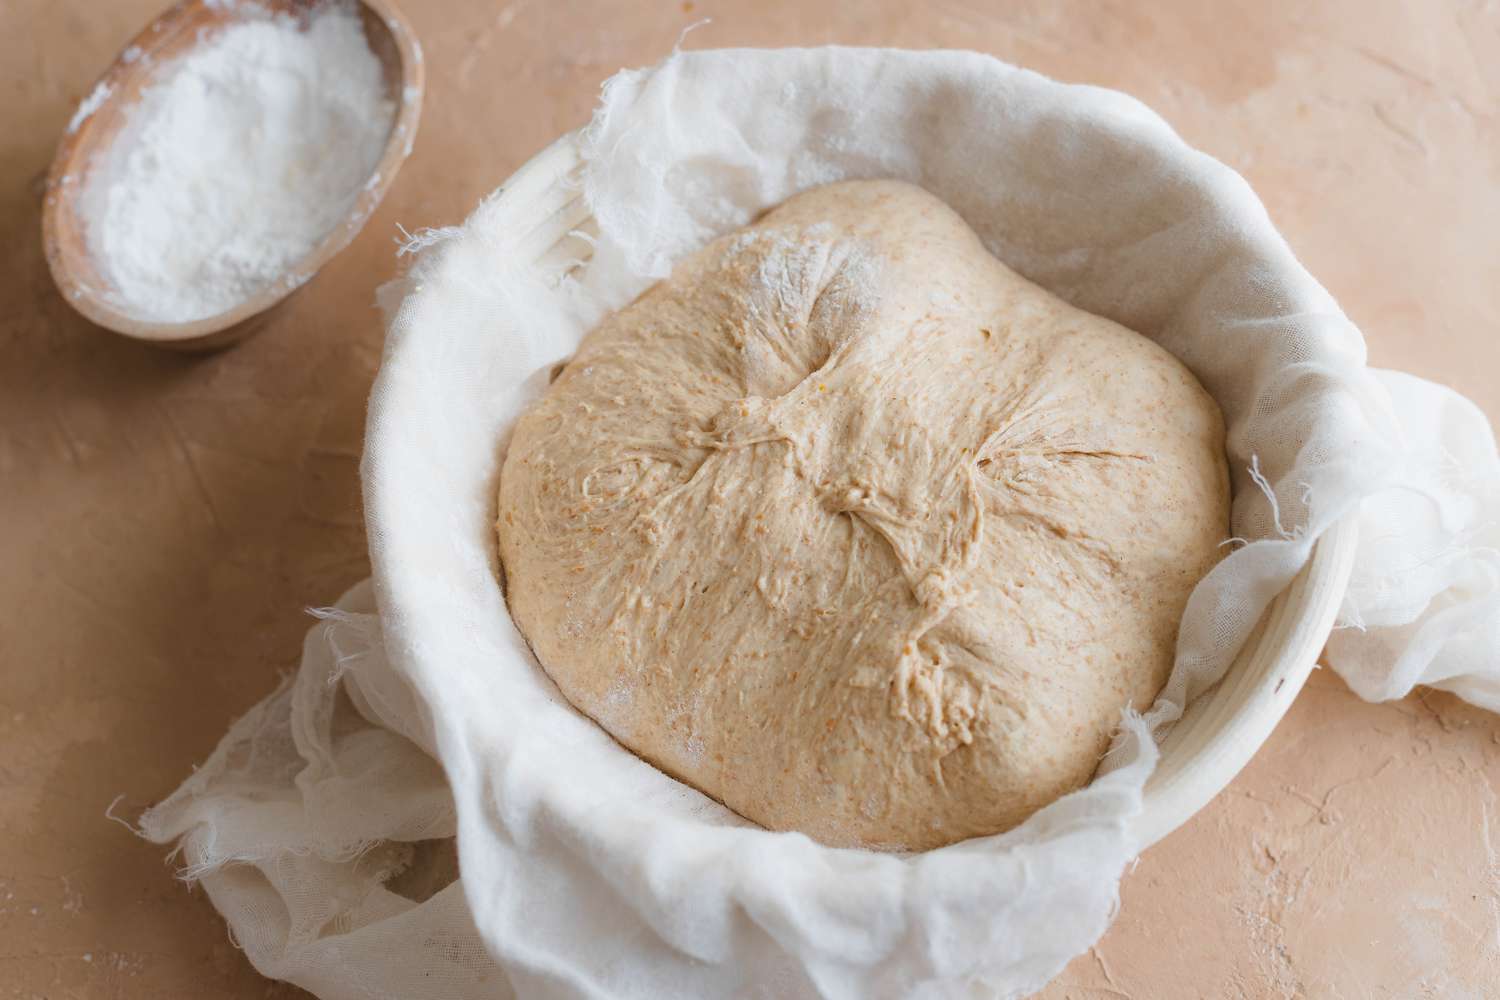
2. Use a Warm, Moist Environment
Creating a warm, moist environment is key to speeding up the proofing process. You can achieve this by:
- Placing the dough in a warm oven (turned off) with a bowl of hot water
- Using a proofing box or bread proofer
- Covering the dough with a damp towel and placing it in a warm area of your kitchen
These methods will help the dough to proof faster and more evenly, resulting in a better texture and flavor in the finished product.
3. Add a Boost of Yeast
If you’re looking to speed up the proofing process even further, consider adding a bit of extra yeast to the dough. This will help the dough to rise more quickly, cutting down on the overall proofing time. Just be sure not to overdo it, as too much yeast can affect the flavor of the bread.
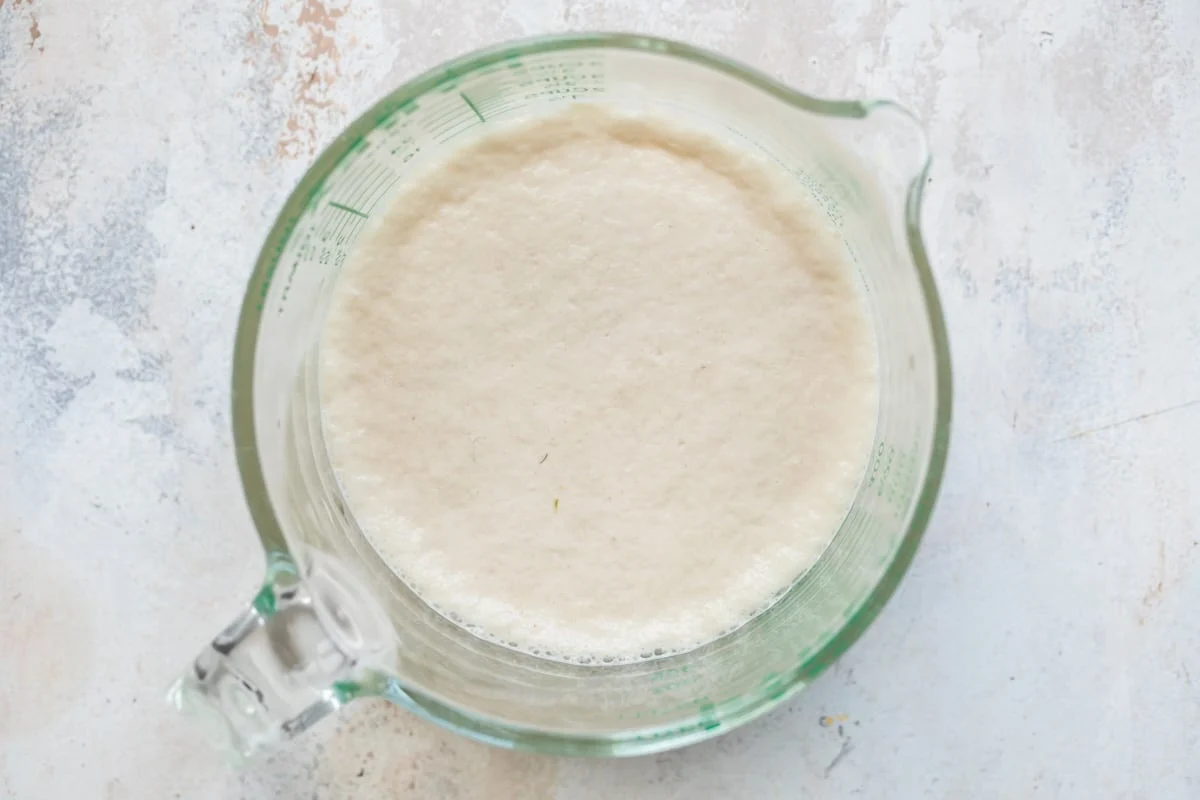
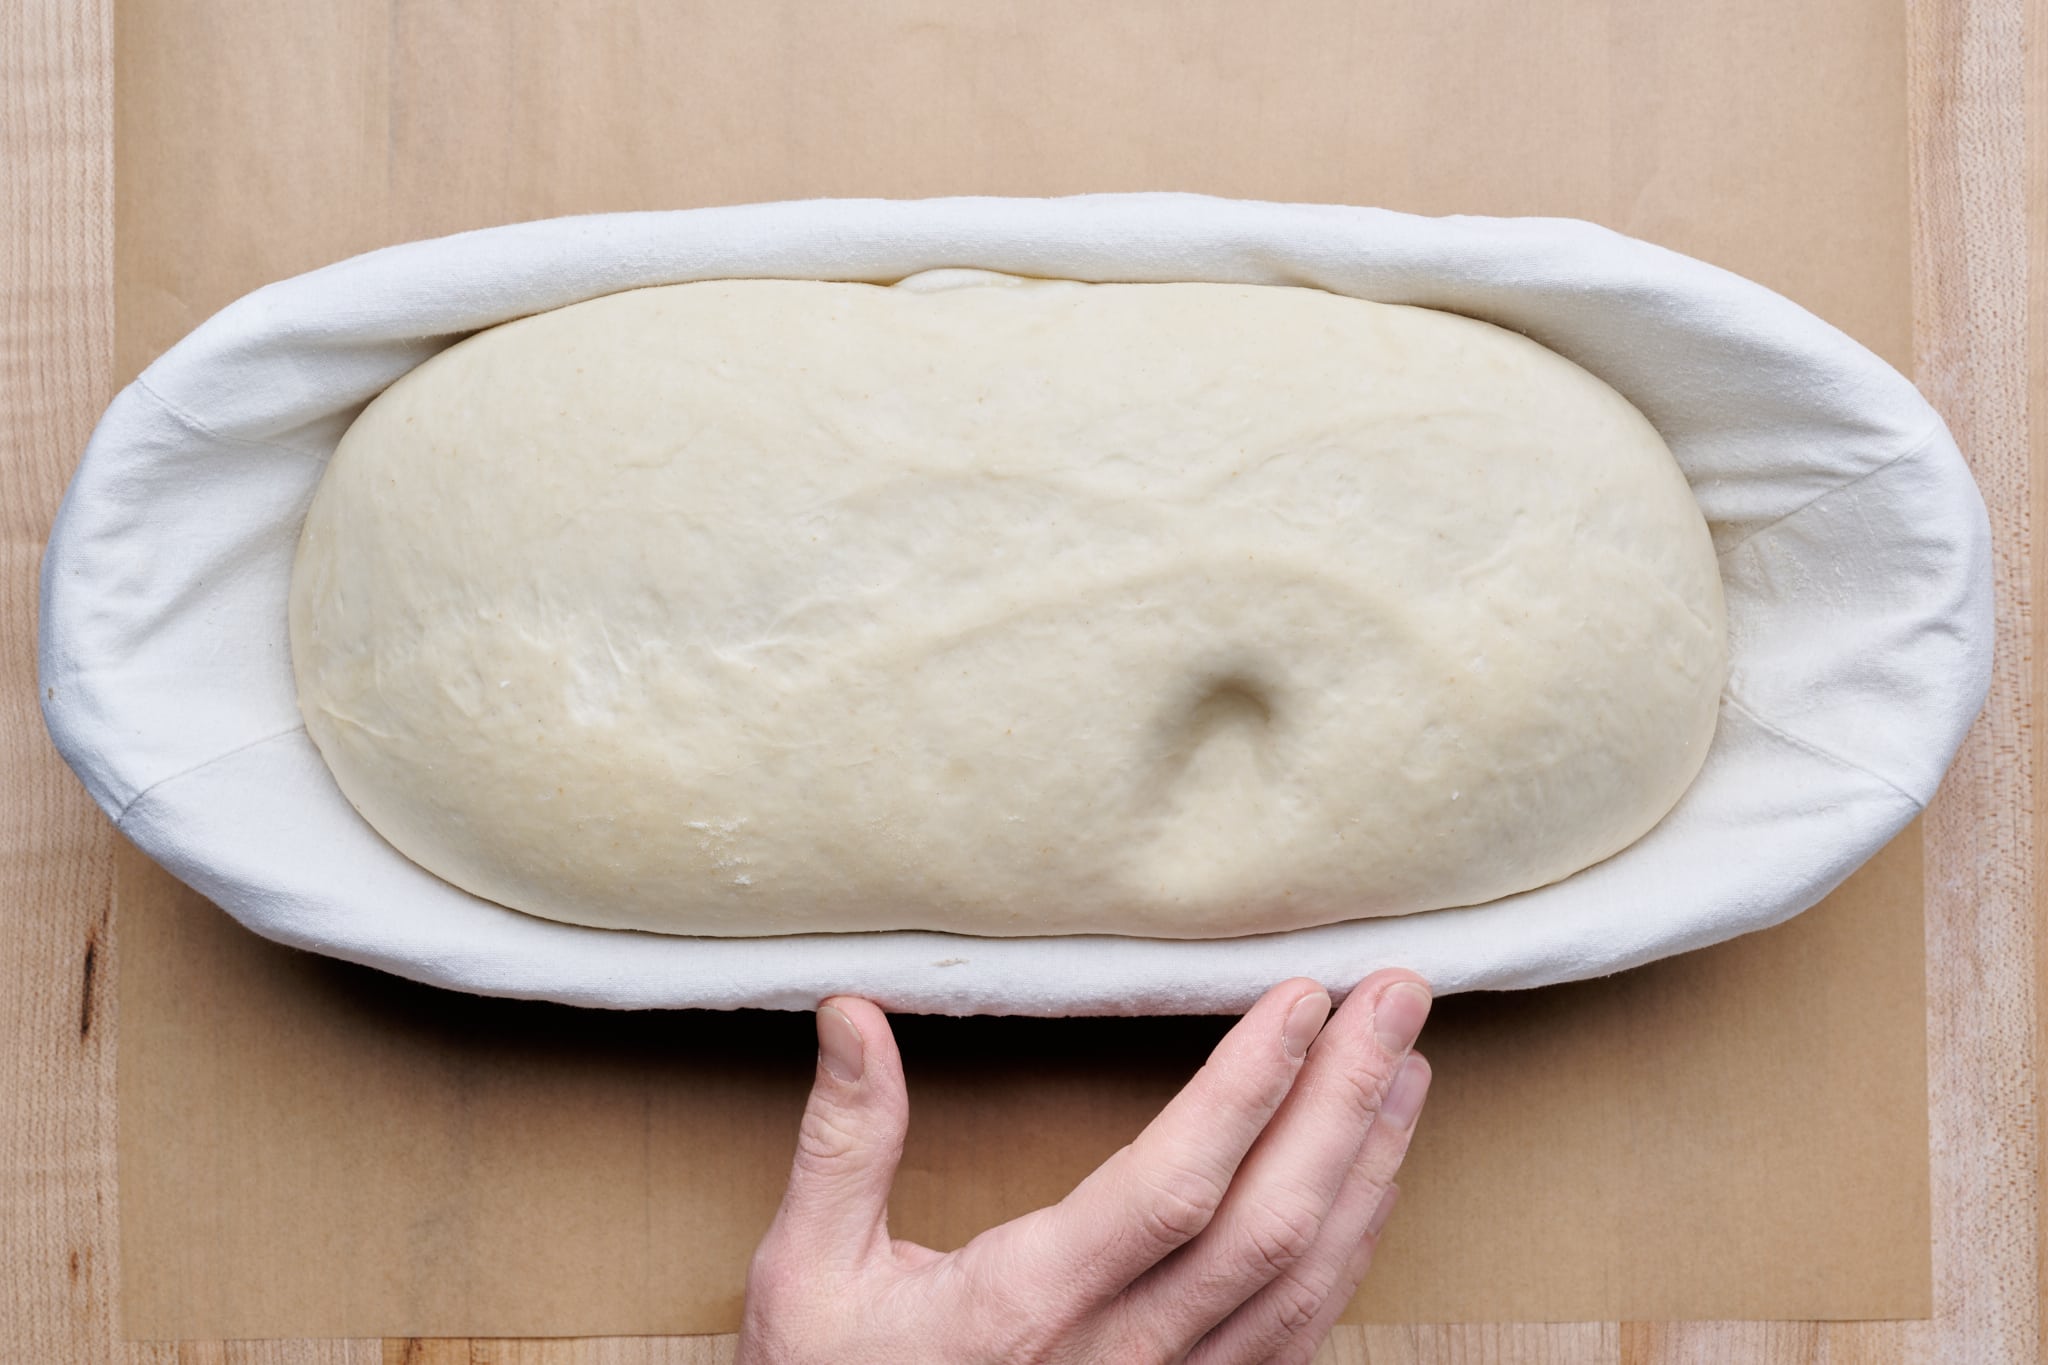
4. Monitor the Dough Closely
As the dough is proofing, keep a close eye on it to ensure that it doesn’t overproof. Overproofing can lead to a lackluster rise and a dense, tough texture in the finished bread. Check the dough periodically and be ready to move on to the next step once it has doubled in size.
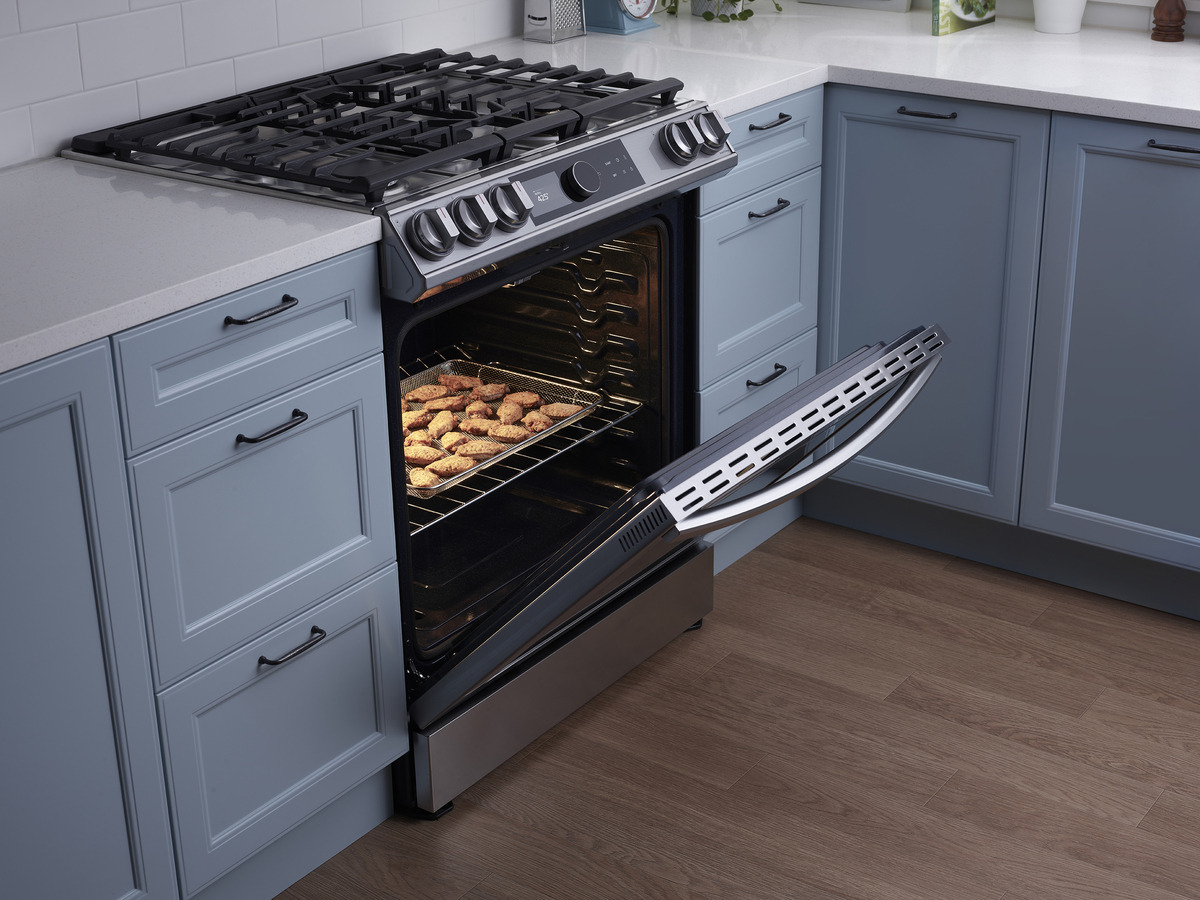
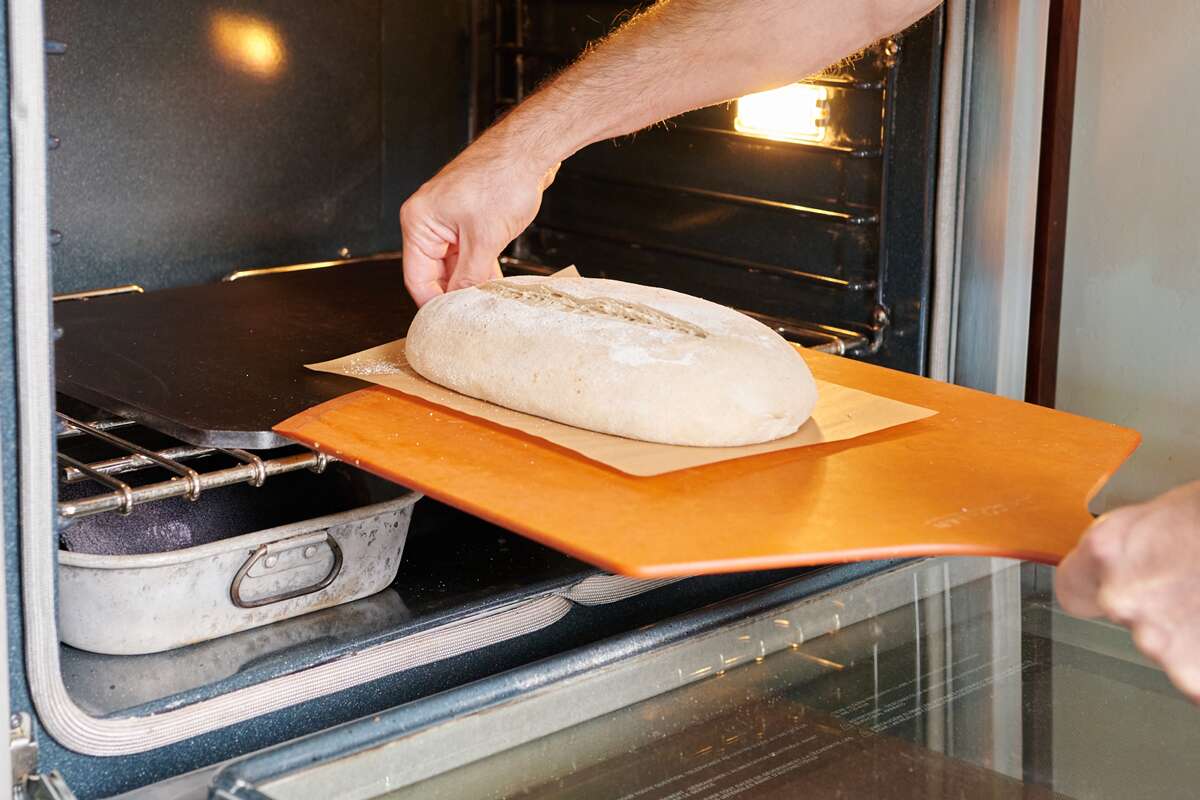
5. Bake Immediately
Once the dough has finished proofing, it’s important to bake it immediately to lock in the rise and ensure a light, airy texture. Preheat your oven and get ready to enjoy the delicious aroma of freshly baked bread in your kitchen.
By following these tips, you can proof frozen dough quickly and enjoy the satisfaction of baking your own fresh bread without the long wait. Experiment with different methods to find the approach that works best for you, and soon you’ll be enjoying delicious homemade bread whenever the craving strikes.
Explore Delicious Recipes Using Proofed Dough
Having mastered the fast proofing of frozen dough, the culinary enthusiast can now venture into a variety of baking projects that showcase this skill. For those looking to impress at the dinner table, Garlic Butter Dinner Rolls are a must-try, offering a rich, buttery flavor that complements any meal. Artisan bread lovers might gravitate towards the Classic French Baguette or the Rustic Sourdough Bread, both of which benefit immensely from a well-proofed dough, resulting in superior texture and taste. For a sweeter touch, the Blueberry Lemon Breakfast Rolls provide a delightful start to any morning with their zesty and fruity notes. Each recipe offers a unique way to apply the techniques learned, encouraging the baker to explore new flavors and textures in their homemade creations.
Was this page helpful?
Read Next: How To Proof Cinnamon Roll
Related Articles

How To Proof Donuts At Home
How To Proof Bread In LG Oven
How To Proof Yeast In Milk
How To Proof Bread In LG Oven
How To Proof Bread In Samsung Oven
How To Proof Bread Without A Proofer

How To Infuse More Flavor Into Fish
How To Proof Bread Dough In Steam Oven
How To Proof Sour Dough Bread
How To Proof Donuts At Home
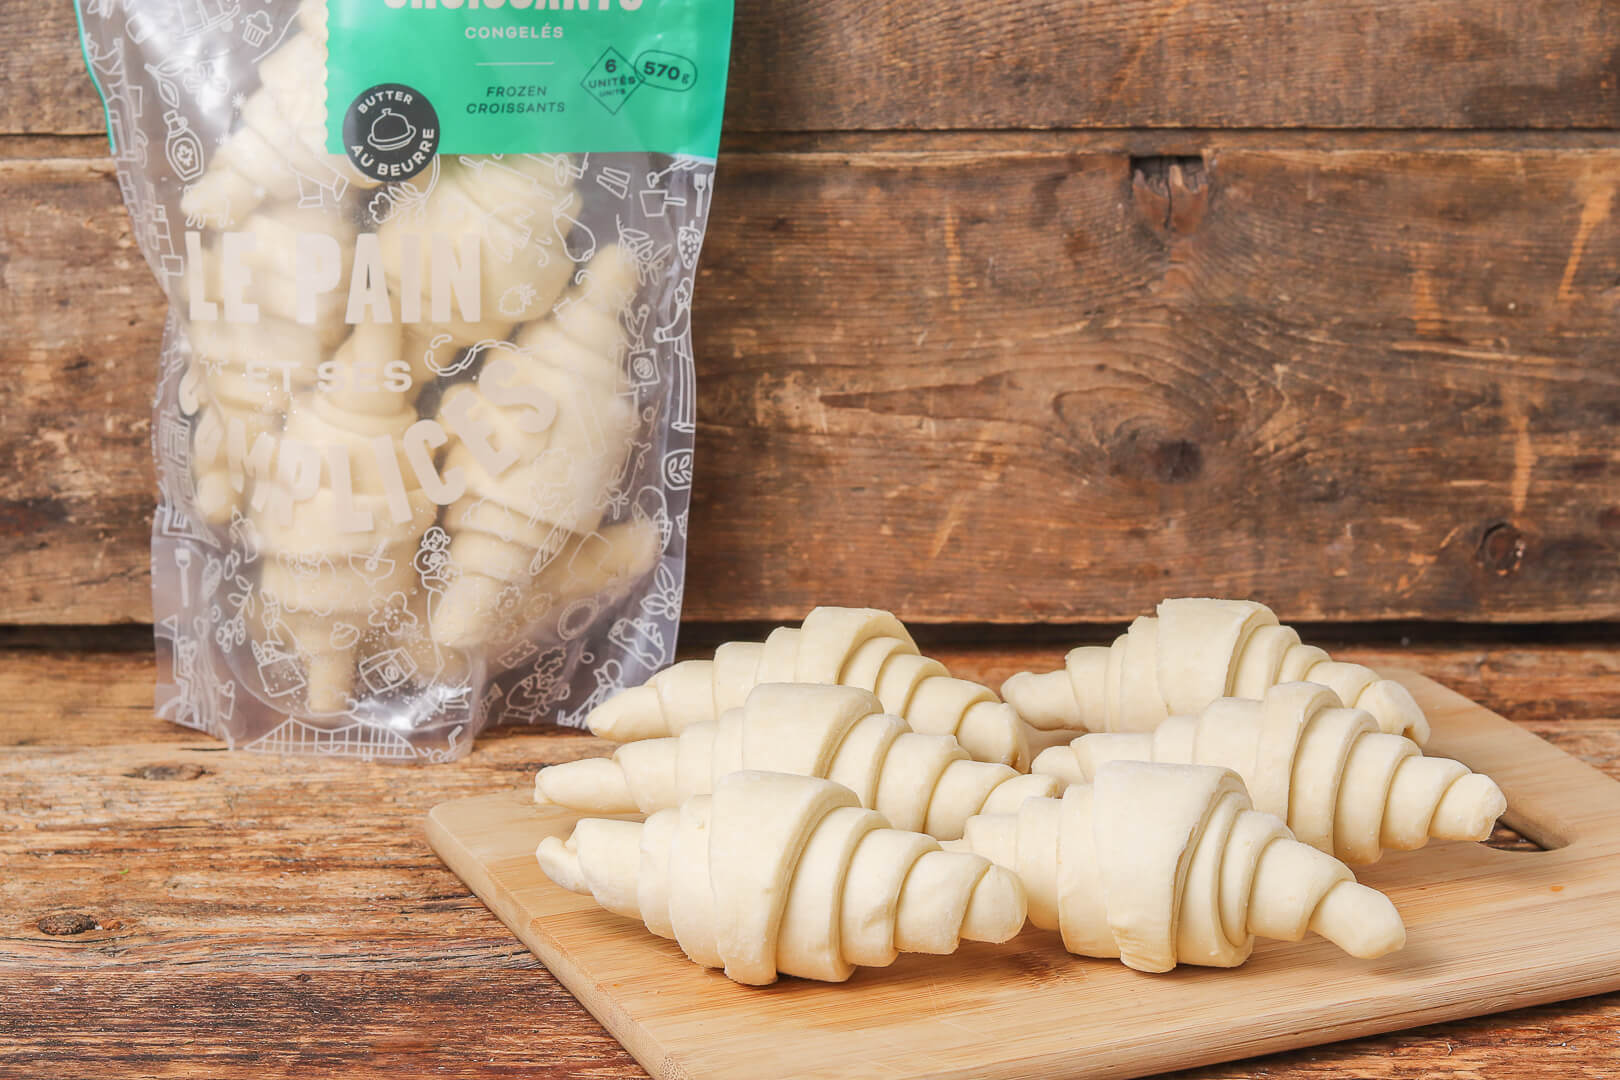
How To Proof Frozen Croissants Quickly