Mastering the Art of Julienne with a Mandoline
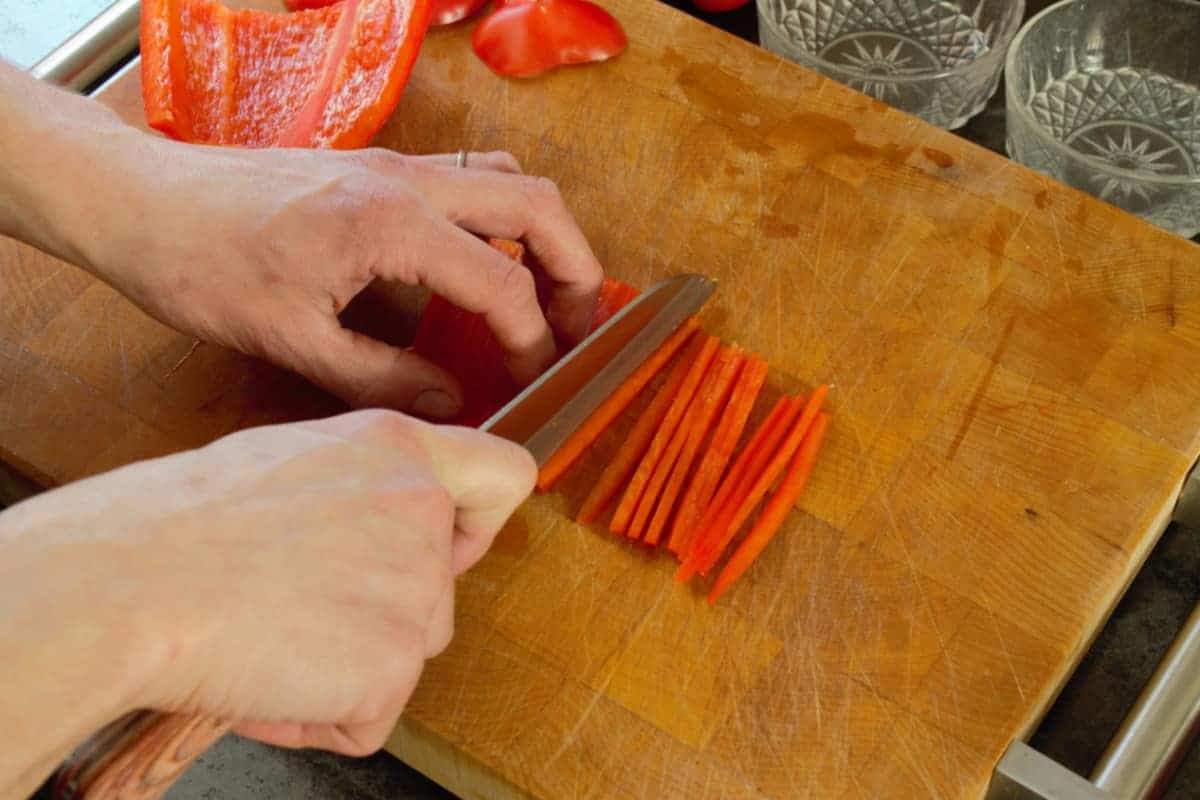
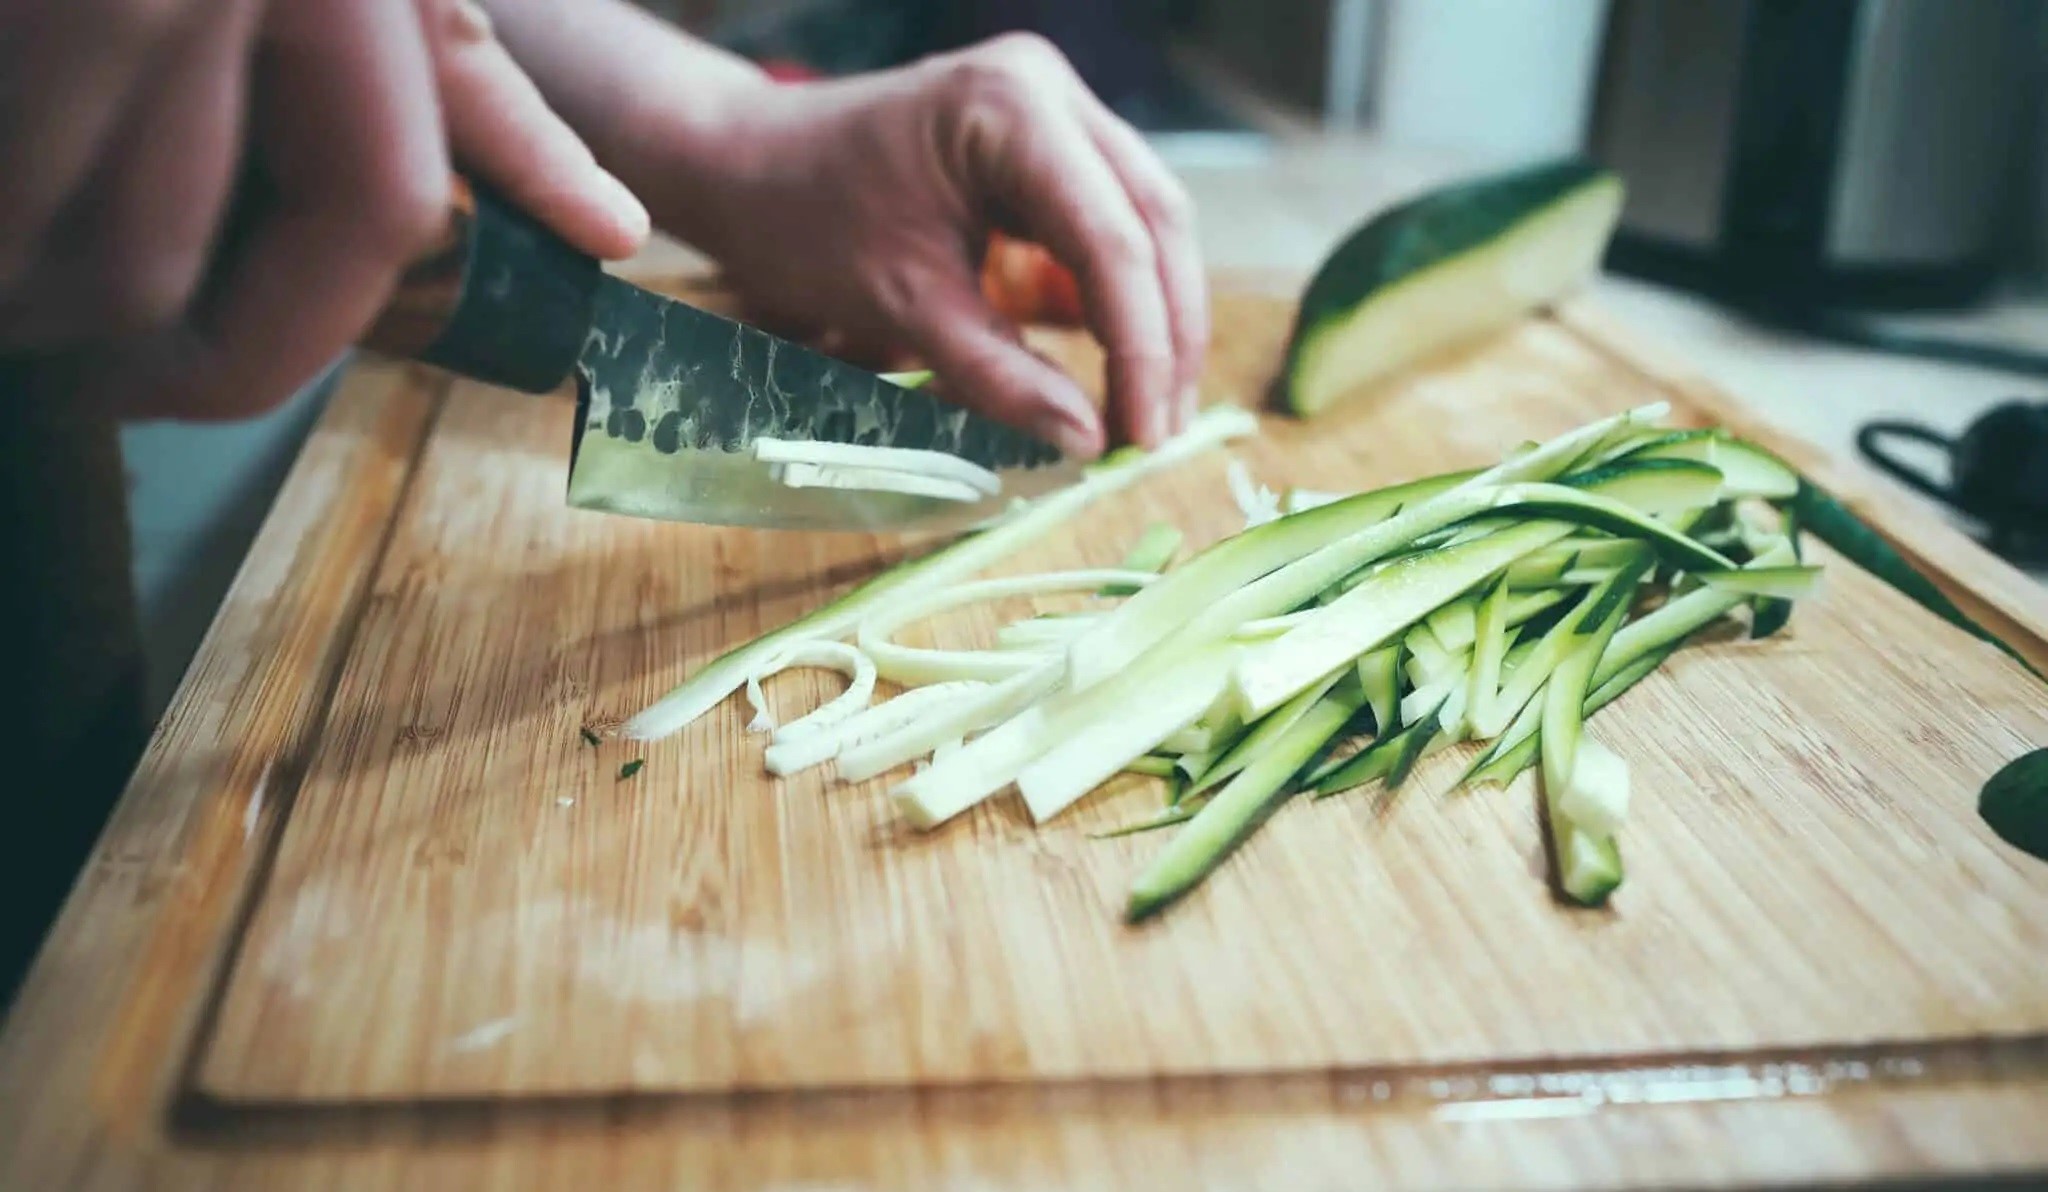
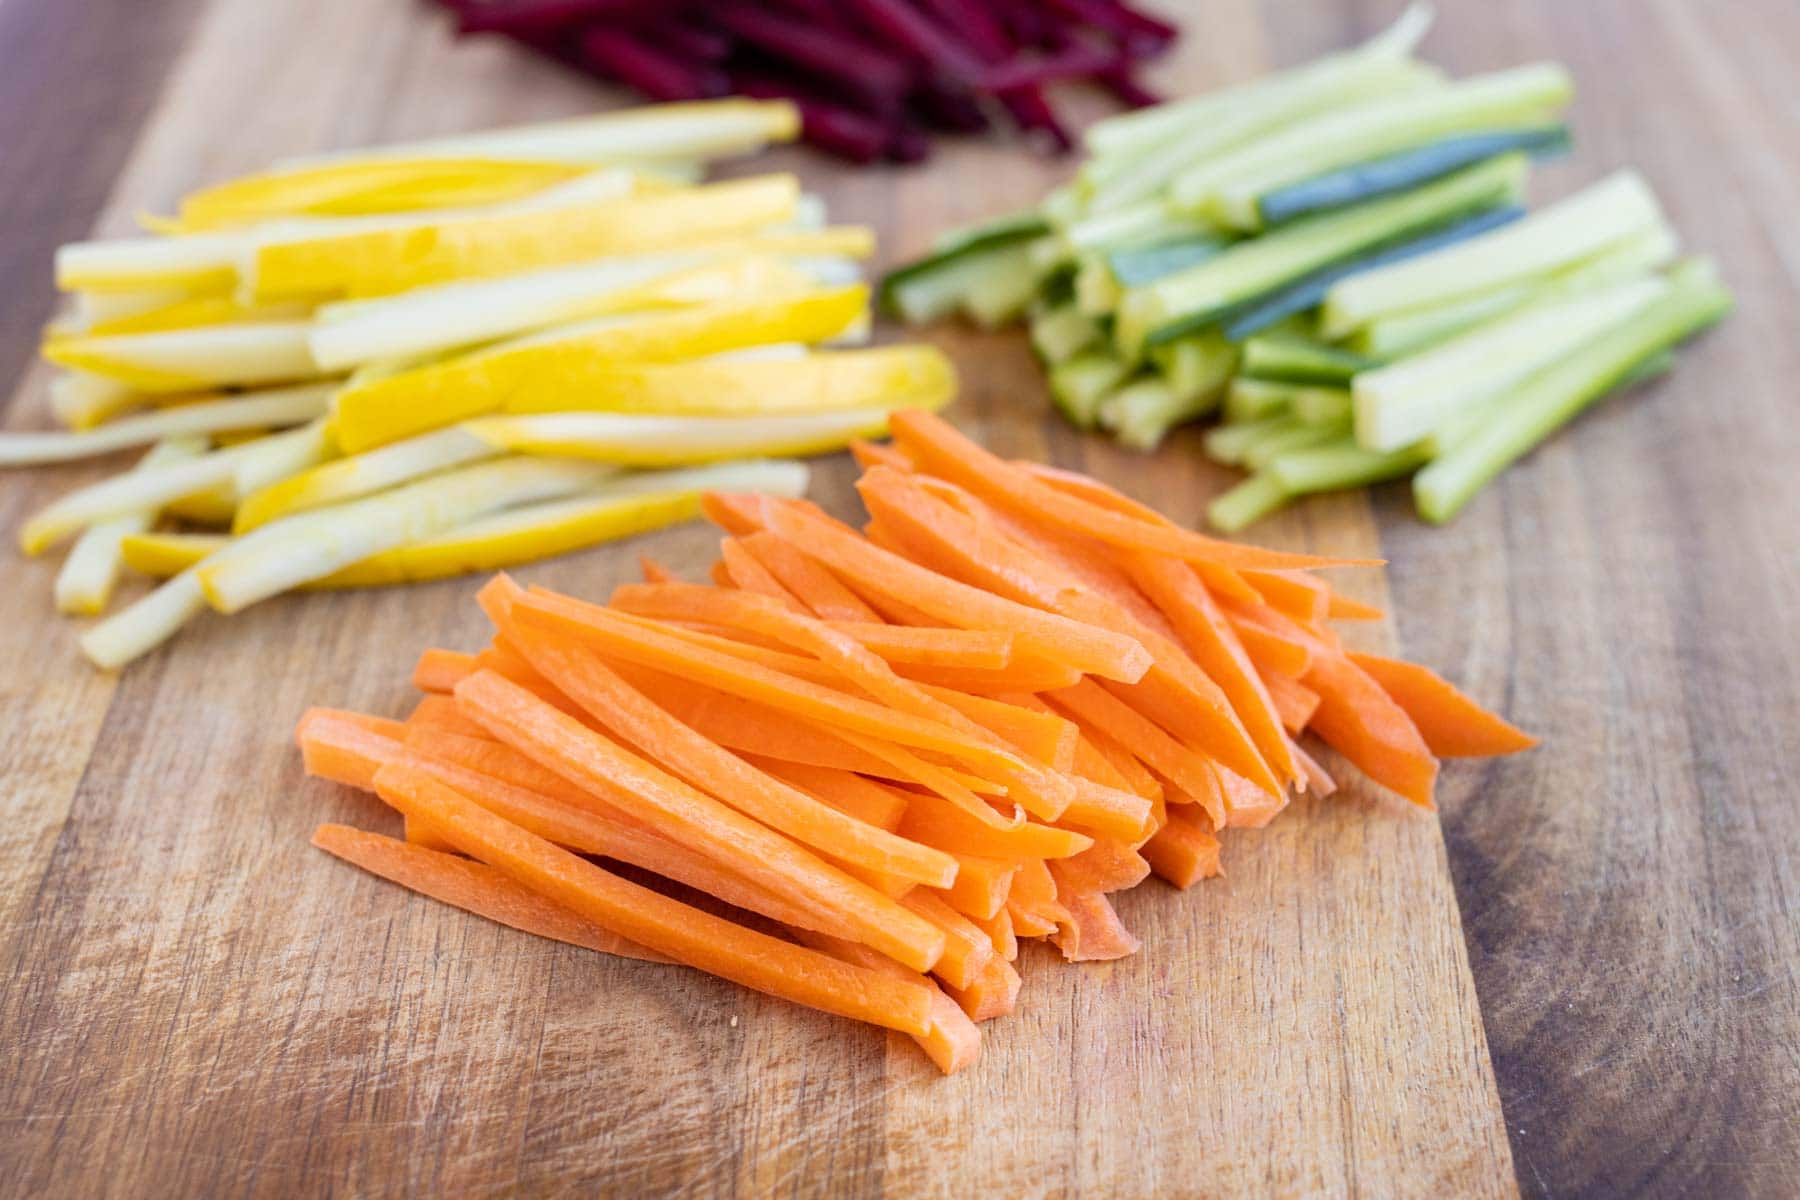
Julienne is a classic cutting technique used to create long, thin strips of vegetables and fruits. When done properly, it can add a touch of elegance to your dishes and elevate their presentation. One of the best tools for achieving perfect julienne cuts is a mandoline. In this guide, we’ll walk you through the steps to master the art of julienning with a mandoline.
Choosing the Right Mandoline
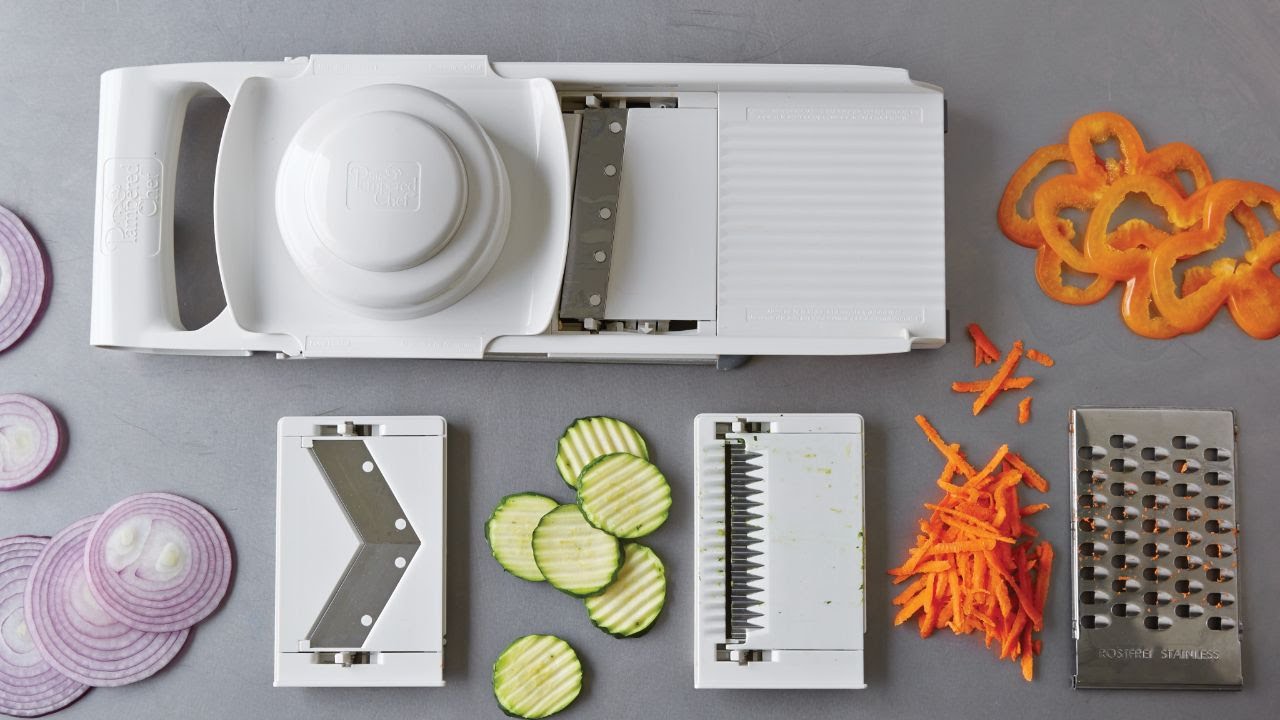
Before you begin julienning, it’s important to select the right mandoline for the task. Look for a mandoline with adjustable blade settings, a sturdy build, and a hand guard for safety. Ensure that the blades are sharp and can be easily adjusted to achieve the desired thickness of the julienned cuts.
Preparing Your Ingredients
Before using the mandoline, it’s essential to prepare your ingredients for julienning. Wash the vegetables or fruits thoroughly and pat them dry with a clean kitchen towel. Trim the ends and, if necessary, peel the skin before proceeding.
Setting Up the Mandoline
Place the mandoline on a flat, stable surface and adjust the blade to the desired thickness for julienne cuts. Most mandolines have a knob or lever that allows you to adjust the blade settings. Start with a wider setting and gradually decrease the thickness until you achieve the desired julienne size.
Using the Hand Guard
When using a mandoline, it’s crucial to prioritize safety. Most mandolines come with a hand guard that securely holds the food and protects your fingers from the sharp blades. Always use the hand guard to guide the vegetables or fruits across the blade, applying gentle pressure to produce consistent julienne cuts.
Technique for Julienning
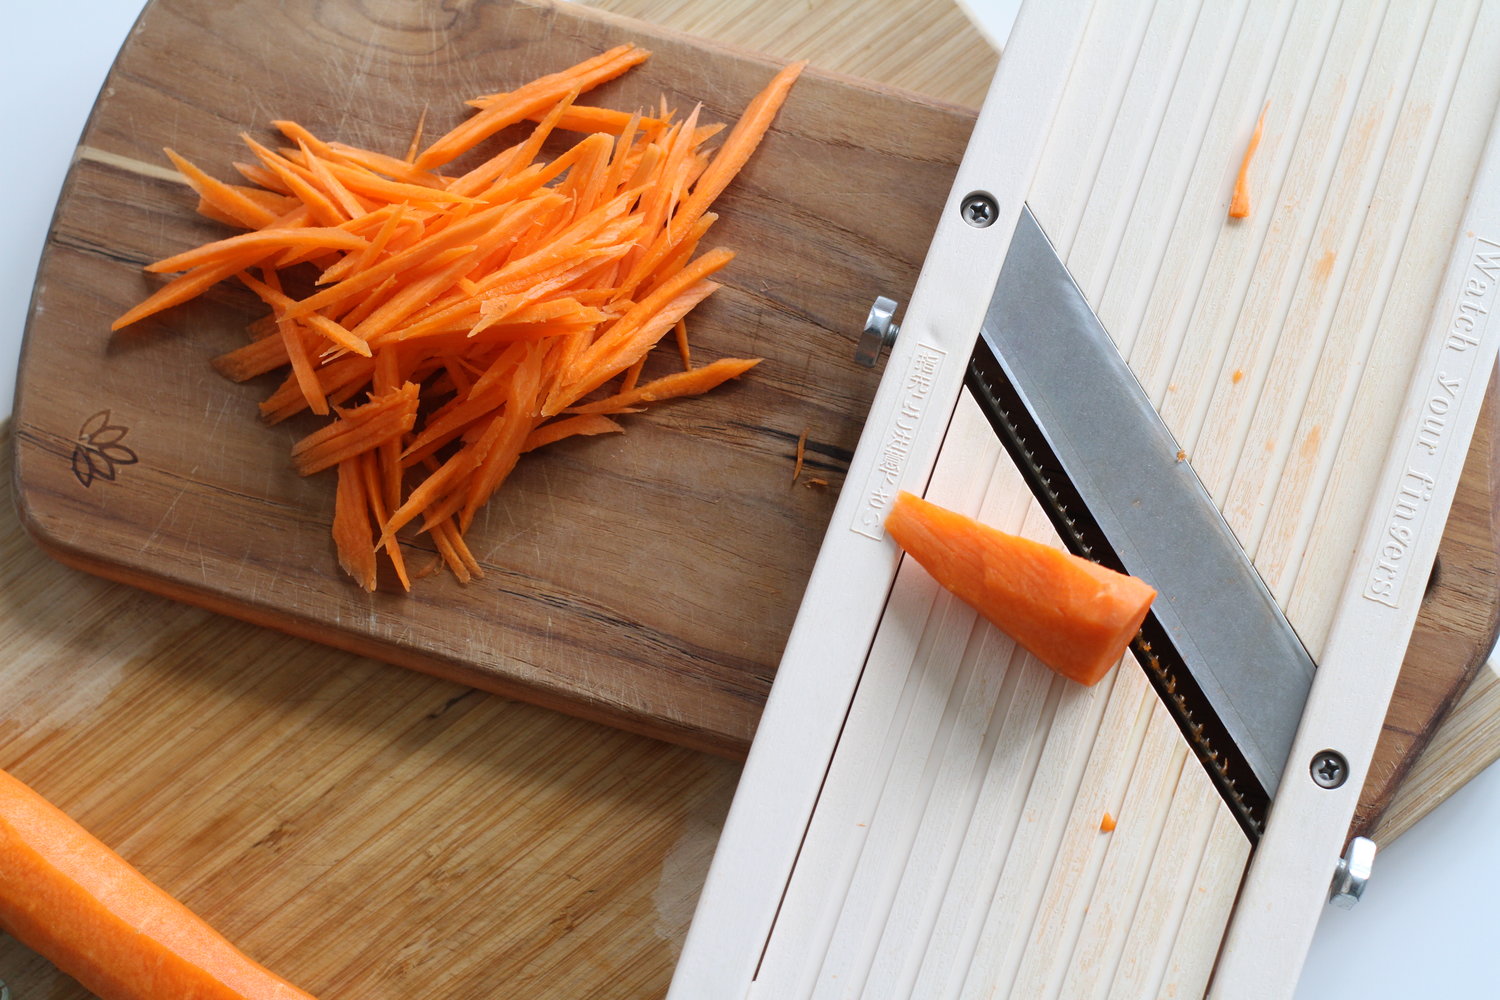
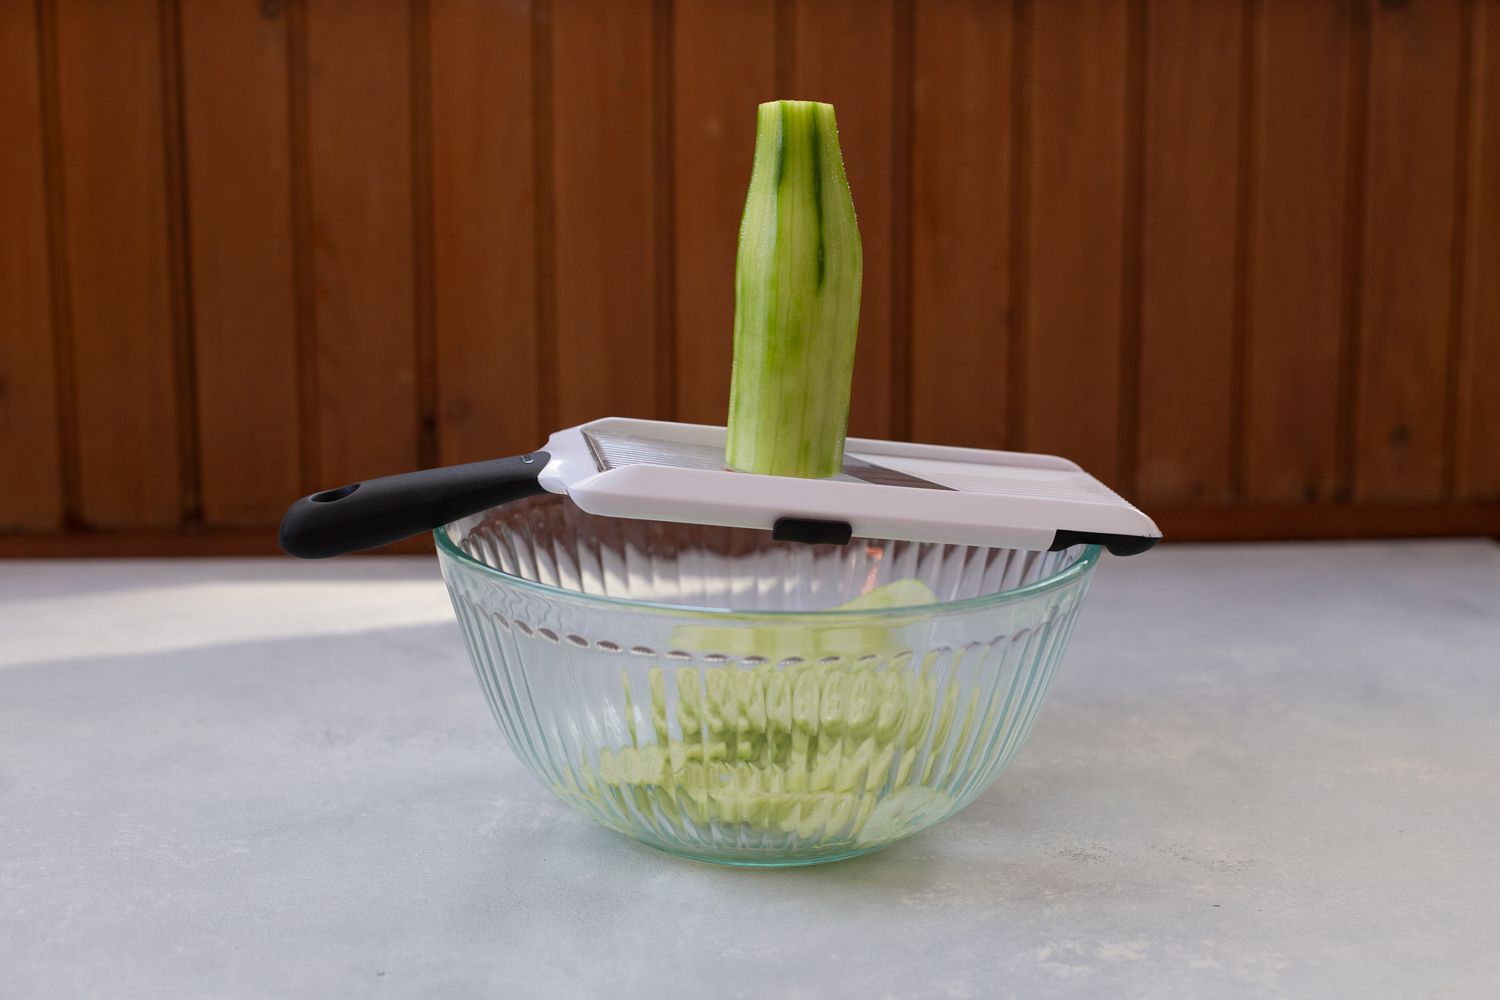
Hold the vegetable or fruit with the hand guard and carefully run it along the blade of the mandoline in a smooth, steady motion. As the produce makes contact with the blade, the julienne strips will fall onto the cutting board below. Continue this process until you have julienned the desired amount of the ingredient.
Practice and Patience
Julienning with a mandoline may take some practice to master. It’s important to be patient and attentive to the process, especially when working with sharp blades. With time and practice, you’ll develop the dexterity and confidence to create beautiful, uniform julienne cuts with ease.
Cleaning and Maintenance
After julienning, carefully clean the mandoline by removing any food particles and residue. Follow the manufacturer’s instructions for disassembling and cleaning the device to ensure its longevity and optimal performance. Store the mandoline safely, keeping the blades covered and out of reach of children.
Experimenting with Different Ingredients
Once you’ve mastered the art of julienning with a mandoline, experiment with a variety of vegetables and fruits to add visual appeal and texture to your culinary creations. From carrots and zucchinis to apples and pears, the possibilities are endless when it comes to julienne cuts.
With these tips and techniques, you’re well on your way to becoming a julienne pro with a mandoline. Practice, patience, and a keen eye for safety will help you achieve perfect julienne cuts every time. So, grab your mandoline, sharpen those blades, and start julienning your way to culinary excellence!
Readers can put their julienne skills to the test with a variety of recipes. The Asian Chicken Stir-Fry is a great starting point, offering a mix of flavors and textures that highlight the precision of julienned vegetables. For a refreshing side, the Apple and Carrot Slaw provides a crunchy and tangy contrast, perfect for a summer meal. Those looking for a classic dish with a twist will appreciate the Korean Bibimbap, where julienned vegetables add both visual appeal and a delightful crunch. Another tasty option is the Julienne Carrot and Zucchini Noodles, which transforms simple ingredients into a vibrant, healthy dish. Finally, the Summer Rolls with Peanut Dipping Sauce are a must-try, combining fresh julienned veggies with a rich, savory dip for a satisfying bite.
