Mastering the Art of Kneading Gluten-Free Dough
Whether you have celiac disease, a gluten intolerance, or simply prefer to avoid gluten, mastering the art of kneading gluten-free dough is essential for creating delicious baked goods. Gluten-free dough can be a bit trickier to work with than traditional dough, but with the right techniques, you can achieve fantastic results. Here’s a step-by-step guide to help you knead gluten-free dough like a pro.
Choose the Right Flour
When it comes to gluten-free baking, the type of flour you use makes a big difference. Gluten-free flours such as rice flour, almond flour, and tapioca flour are popular choices for making dough. Make sure to use a high-quality gluten-free flour blend that is specifically designed for baking. These blends often contain a mixture of different flours and starches, which helps mimic the texture of traditional wheat flour.
Measure the Ingredients Accurately
Accuracy is key when working with gluten-free dough. Use measuring cups and spoons to ensure that you are adding the right amount of each ingredient. Even a small variation in the amount of flour or liquid can significantly impact the texture and consistency of the dough.
Combine the Ingredients
Once you have measured out your ingredients, it’s time to combine them. In a large mixing bowl, combine the gluten-free flour with any other dry ingredients, such as salt or xanthan gum. Use a whisk to ensure that the dry ingredients are well mixed.
In a separate bowl, mix together the wet ingredients, such as eggs, oil, and water. Slowly add the wet ingredients to the dry ingredients, stirring constantly to form a sticky dough. The dough may be more sticky and wetter than traditional dough, but that’s completely normal for gluten-free recipes.
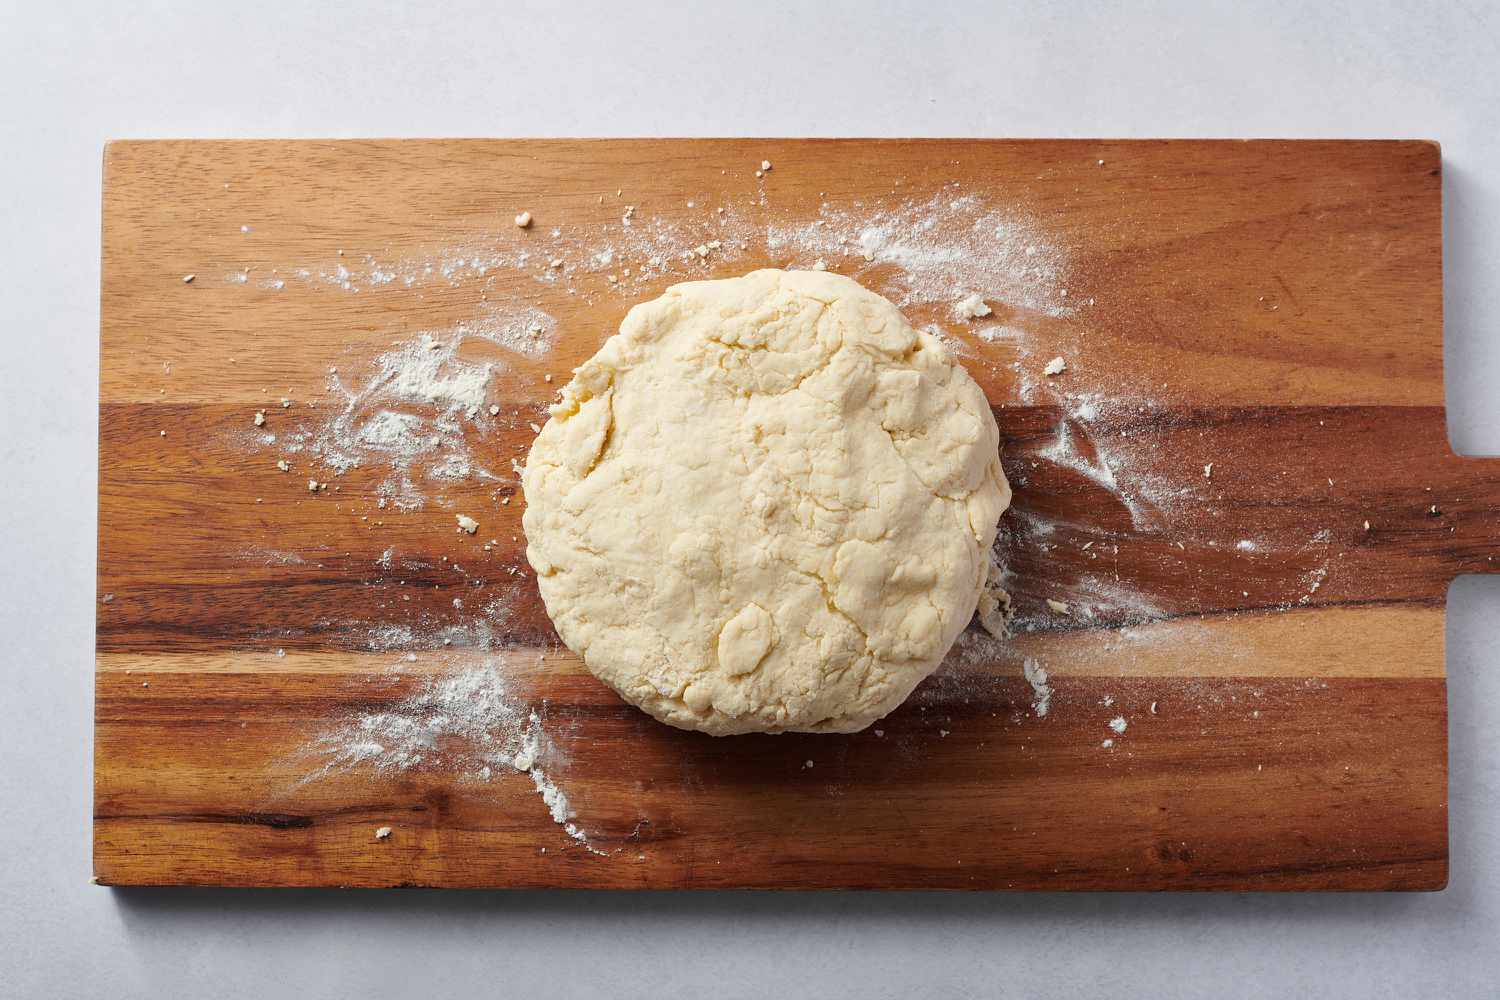
Prepare Your Work Surface
Before you start kneading the dough, prepare your work surface. Dust it lightly with gluten-free flour to prevent the dough from sticking. You can also lightly oil the surface to make it easier to work with the dough.
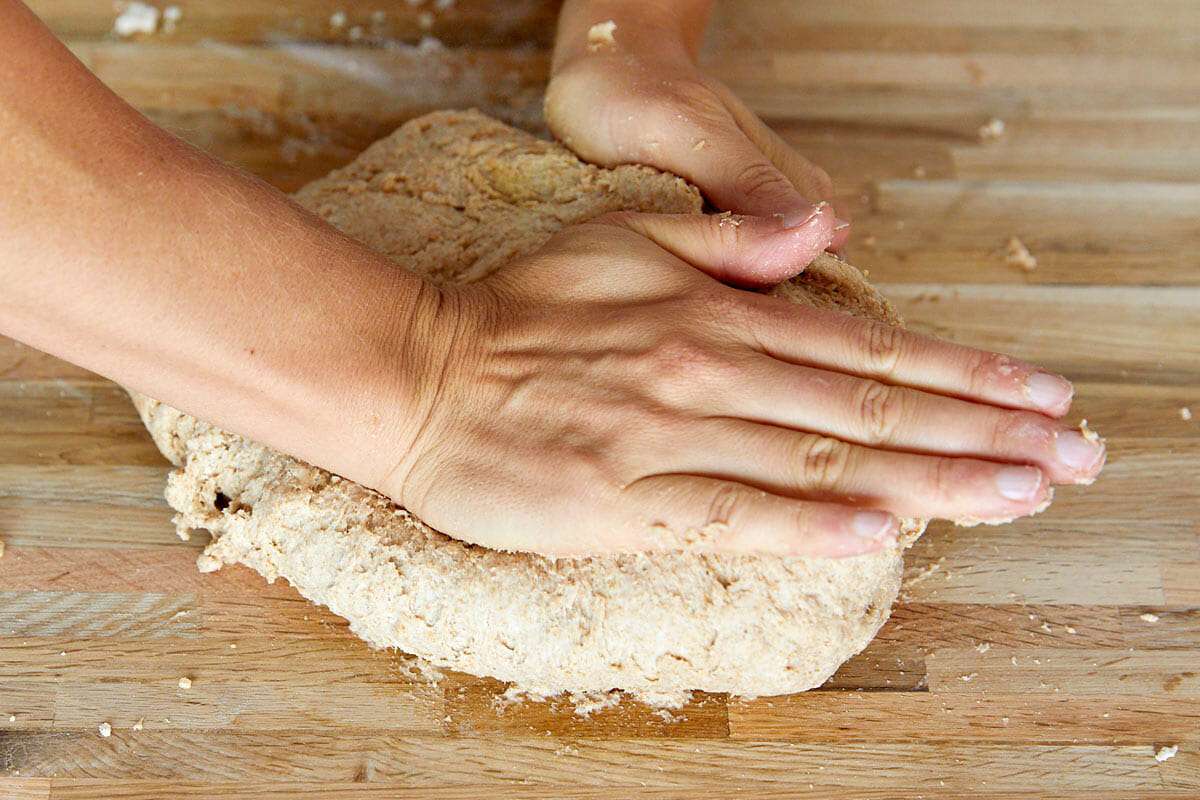
Knead the Dough
When kneading gluten-free dough, it’s important to use a gentle touch. Unlike traditional dough, gluten-free dough does not require intense kneading. Use your hands to gently fold the dough over onto itself, pressing it down and away from you with the heel of your hand. Rotate the dough and repeat this process for about 2-3 minutes, or until the dough becomes smoother and more elastic.
Rest the Dough
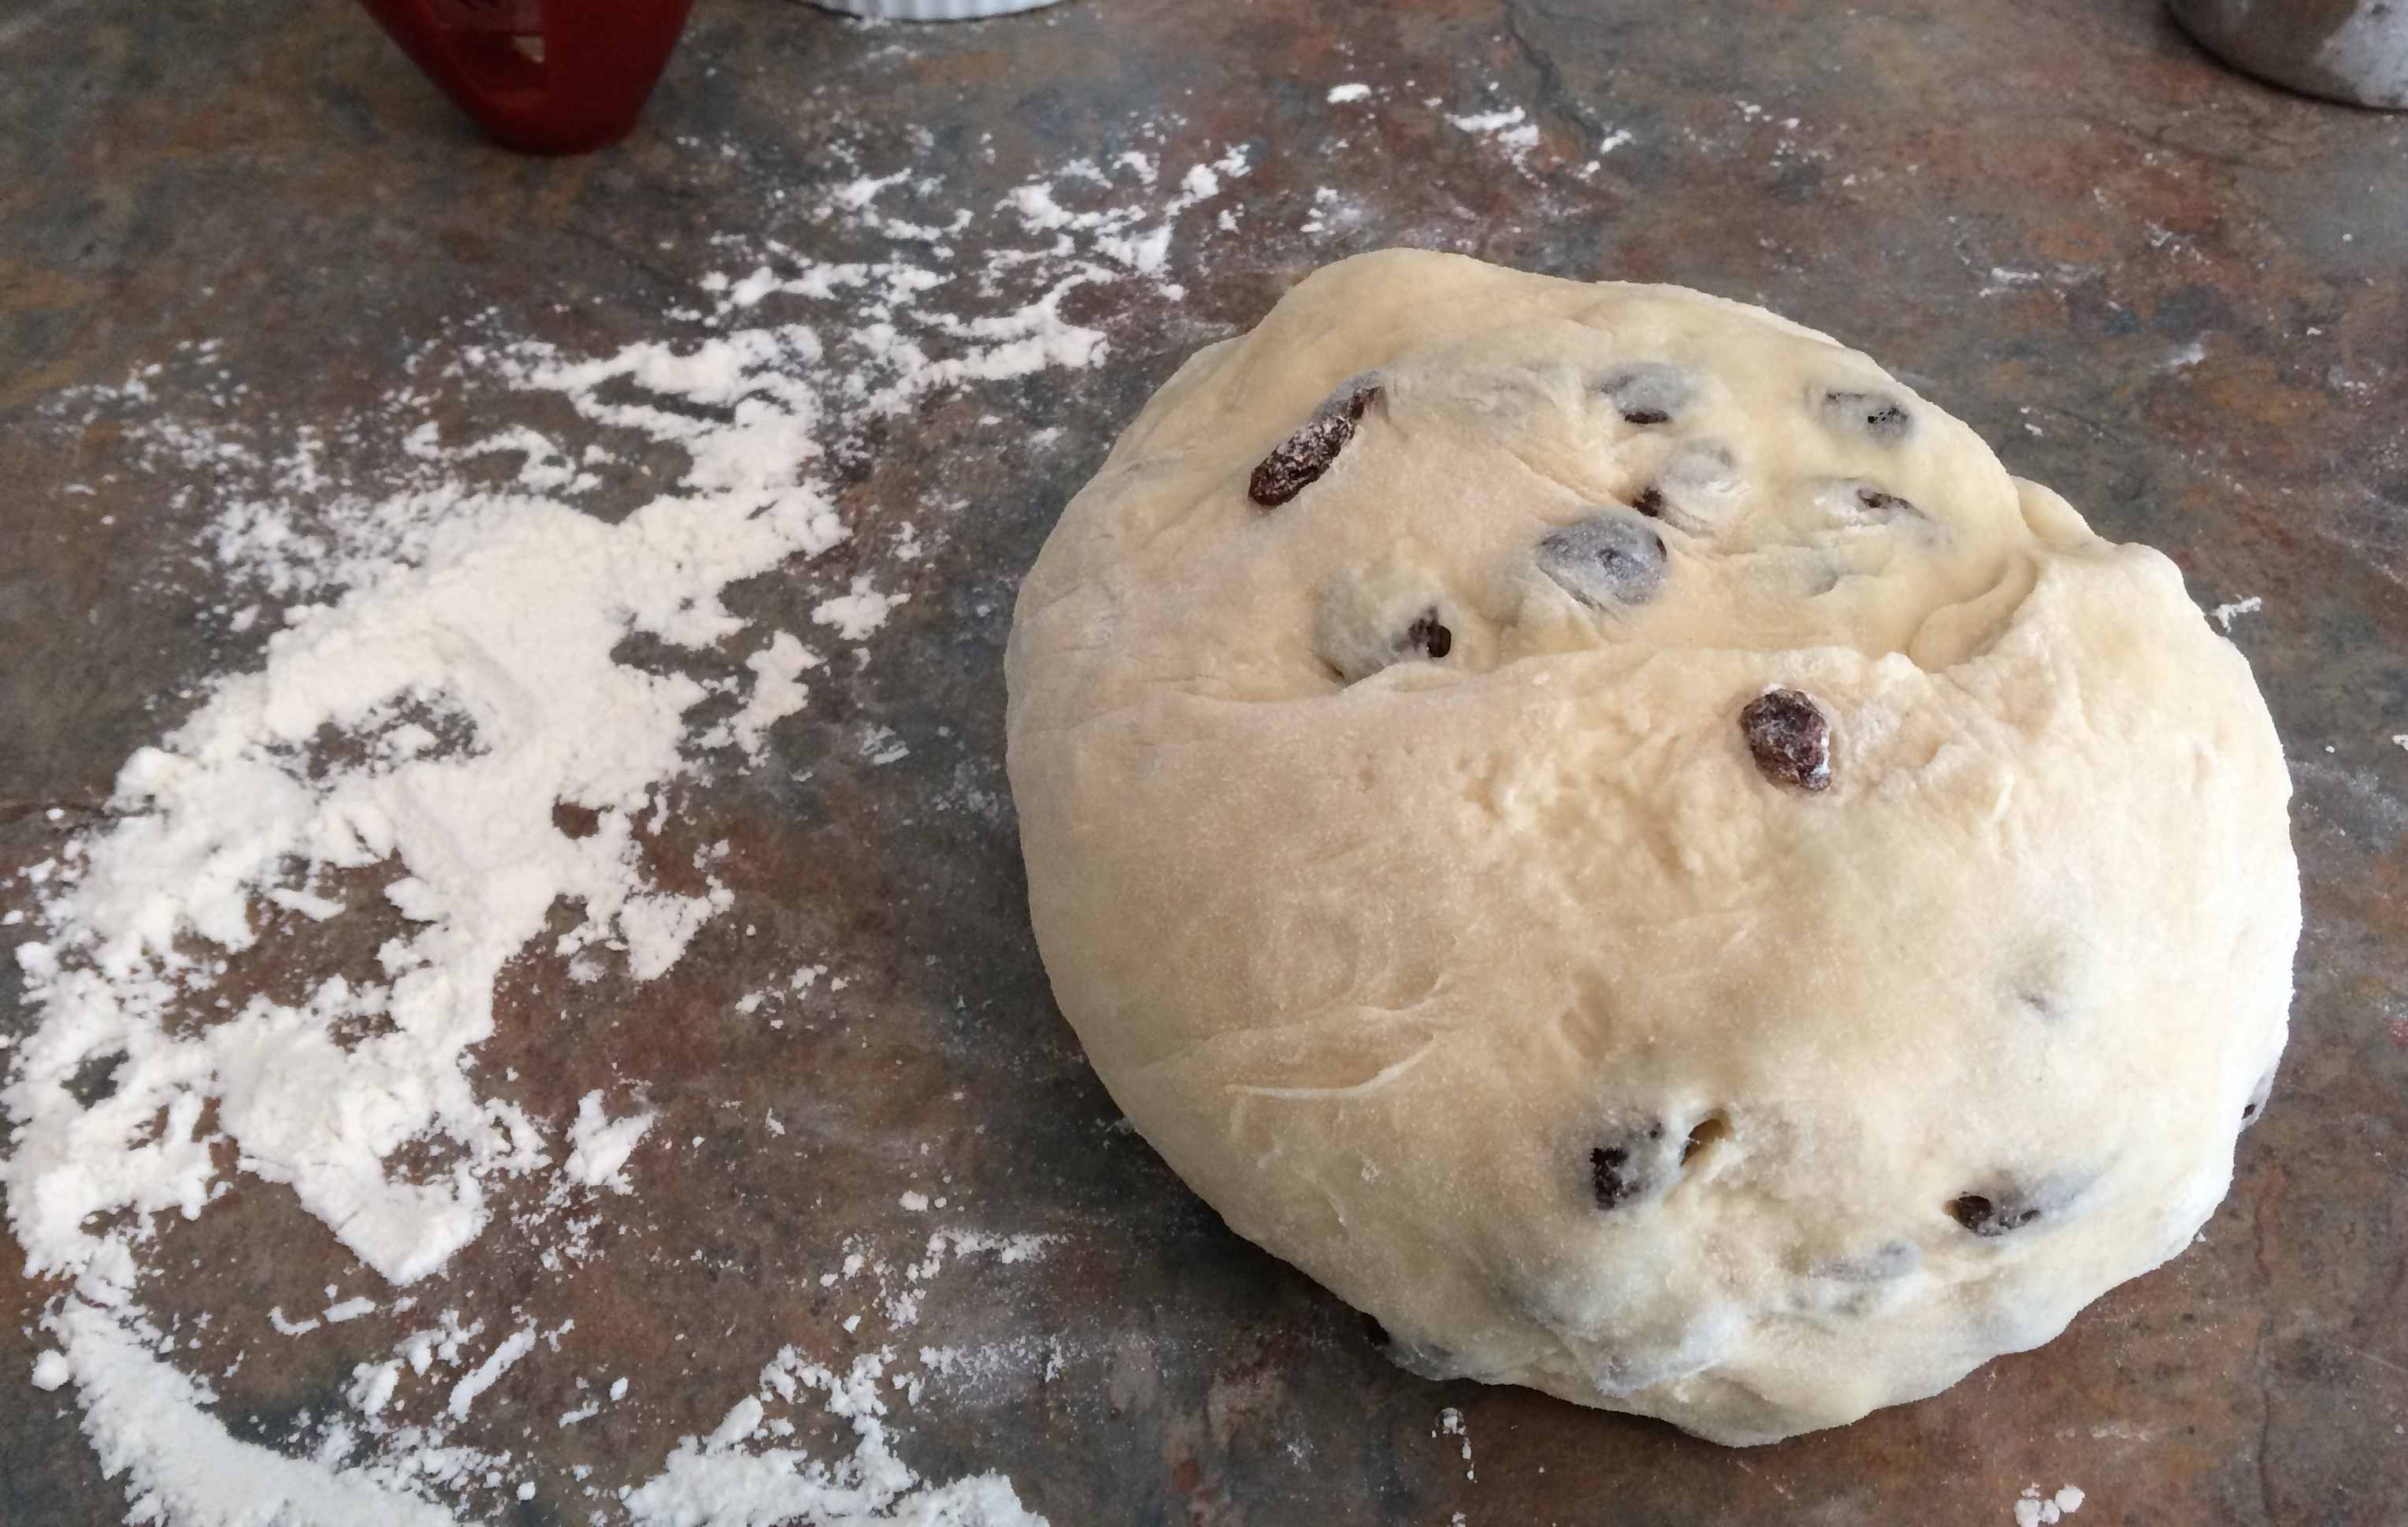
After kneading, shape the dough into a ball and let it rest for a few minutes. This allows the flour to fully hydrate and the dough to relax, making it easier to work with. Cover the dough with a clean kitchen towel or plastic wrap to prevent it from drying out.
Use the Dough as Directed
Once you have kneaded your gluten-free dough, it’s ready to be used in your favorite recipes. Whether you’re making pizza crust, bread, or pastries, follow the recipe instructions for baking times and temperatures. With a bit of practice, you’ll become a gluten-free baking pro in no time!
Now that you’ve mastered the art of kneading gluten-free dough, you can enjoy a wide variety of delicious baked goods without the worry of gluten. Experiment with different recipes and techniques to find the perfect gluten-free treats that suit your taste preferences. Happy baking!
Explore Recipes and More Ways to Apply This Guide
Now that you've mastered the art of kneading gluten-free dough, it's time to put your skills to the test with a variety of delicious recipes. From the savory Gluten-Free Pizza Crust Recipe to the sweet delight of Gluten-Free Cinnamon Rolls Recipe, there’s a dish for every occasion. For those looking to impress at dinner, the Gluten-Free Artisan Bread Recipe comes highly recommended for its rustic charm and satisfying texture. Don't miss out on trying the Gluten-Free Sourdough Bread Recipe, which offers a delightful twist on a traditional favorite, perfect for those who cherish a tangy loaf. Each recipe provides a unique opportunity to apply the kneading techniques you've learned, ensuring delectable results that are sure to please any palate.
Was this page helpful?
Related Articles
How To Knead Scone Dough
How To Knead Whole Wheat Dough

How To Knead Focaccia Dough
How To Knead Raisins Into Dough
How To Knead Focaccia Dough
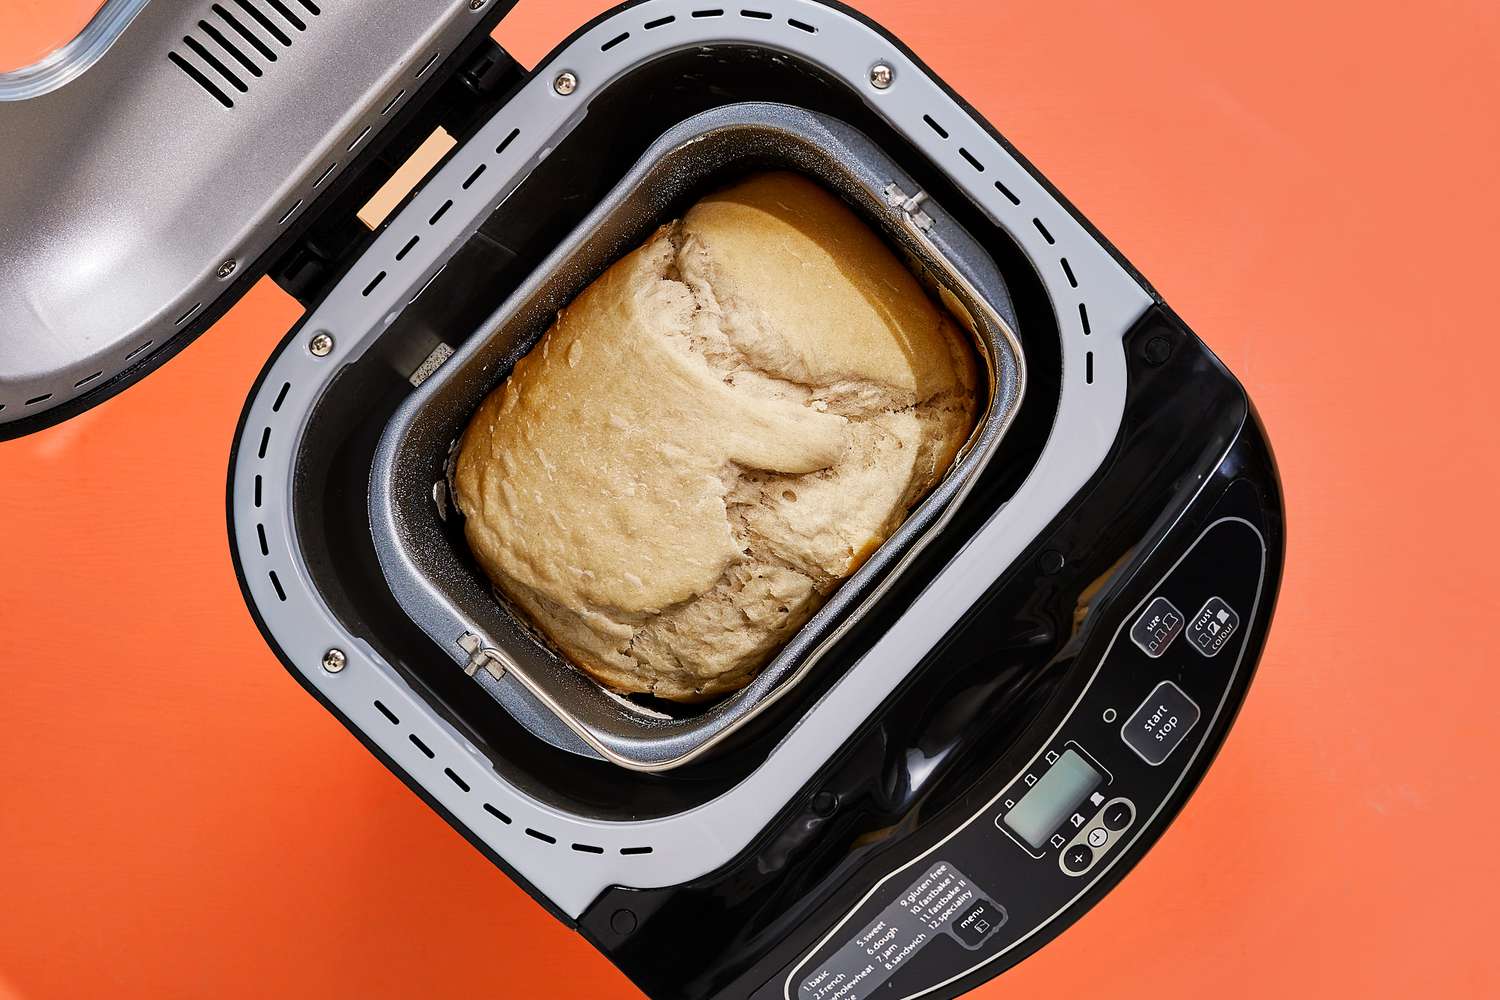
How To Knead Dough With A Bread Machine
How To Knead Whole Wheat Dough
How To Knead Dough In Thermomix
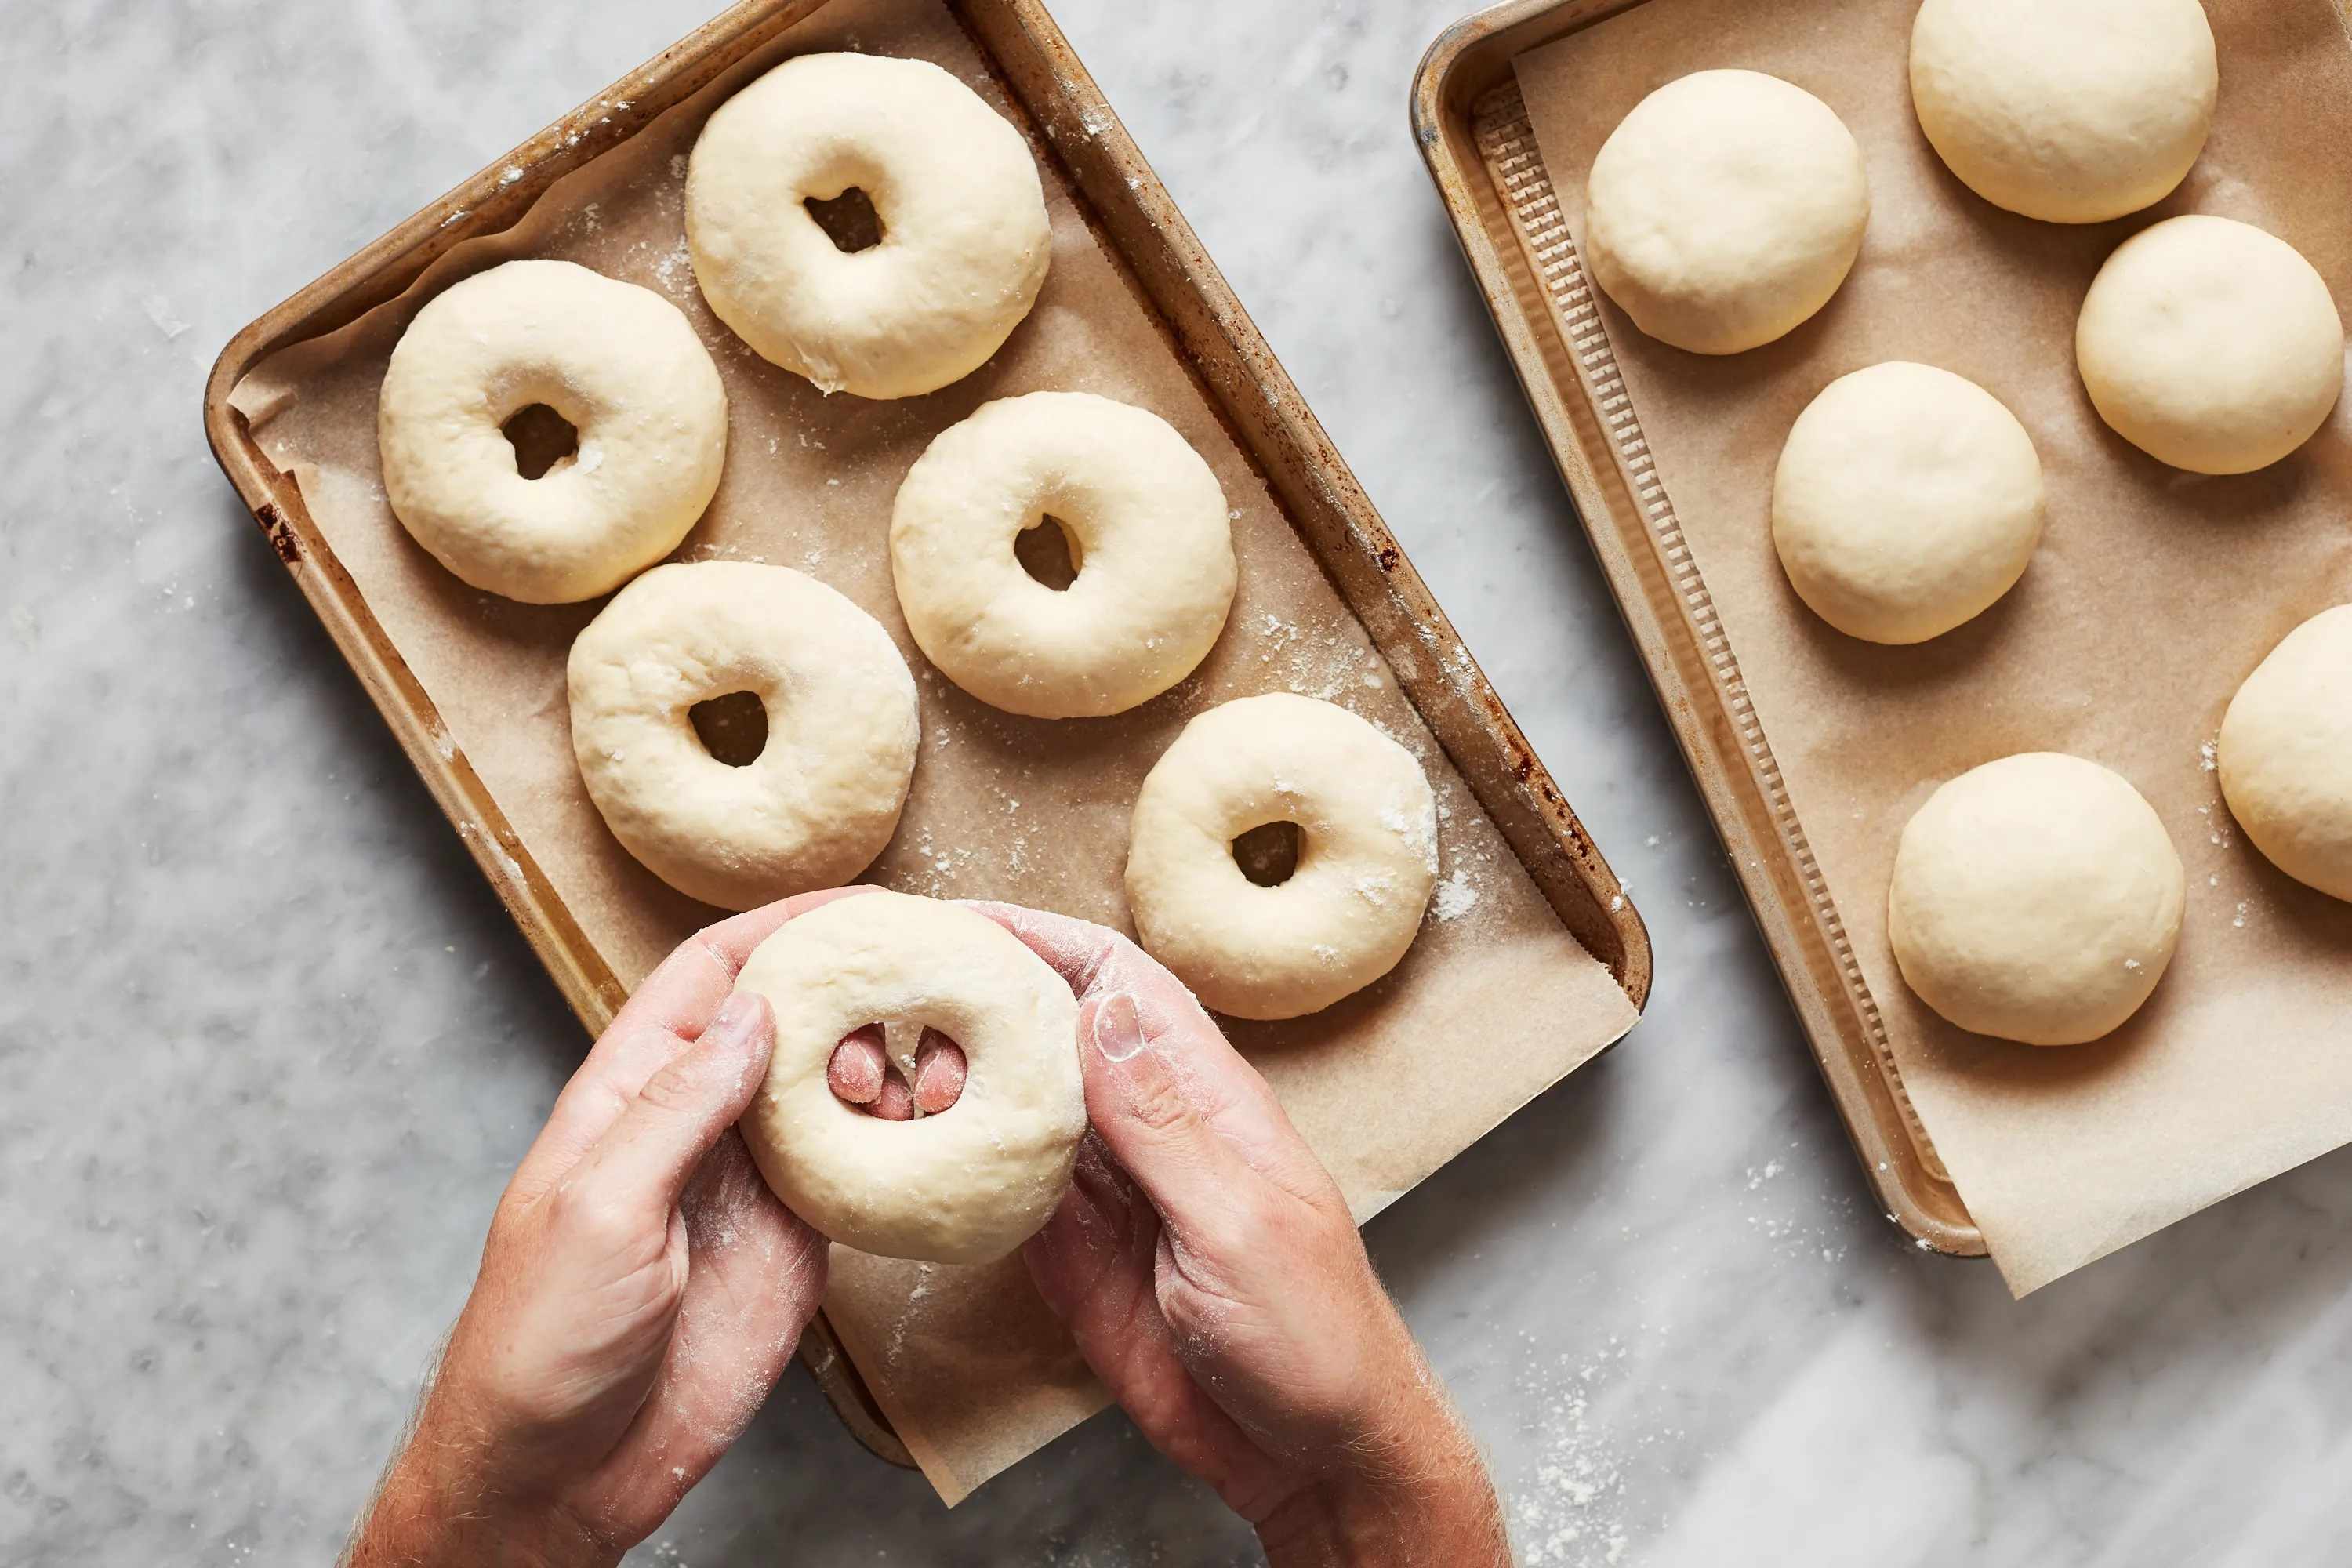
How To Knead Bagel Dough By Hand
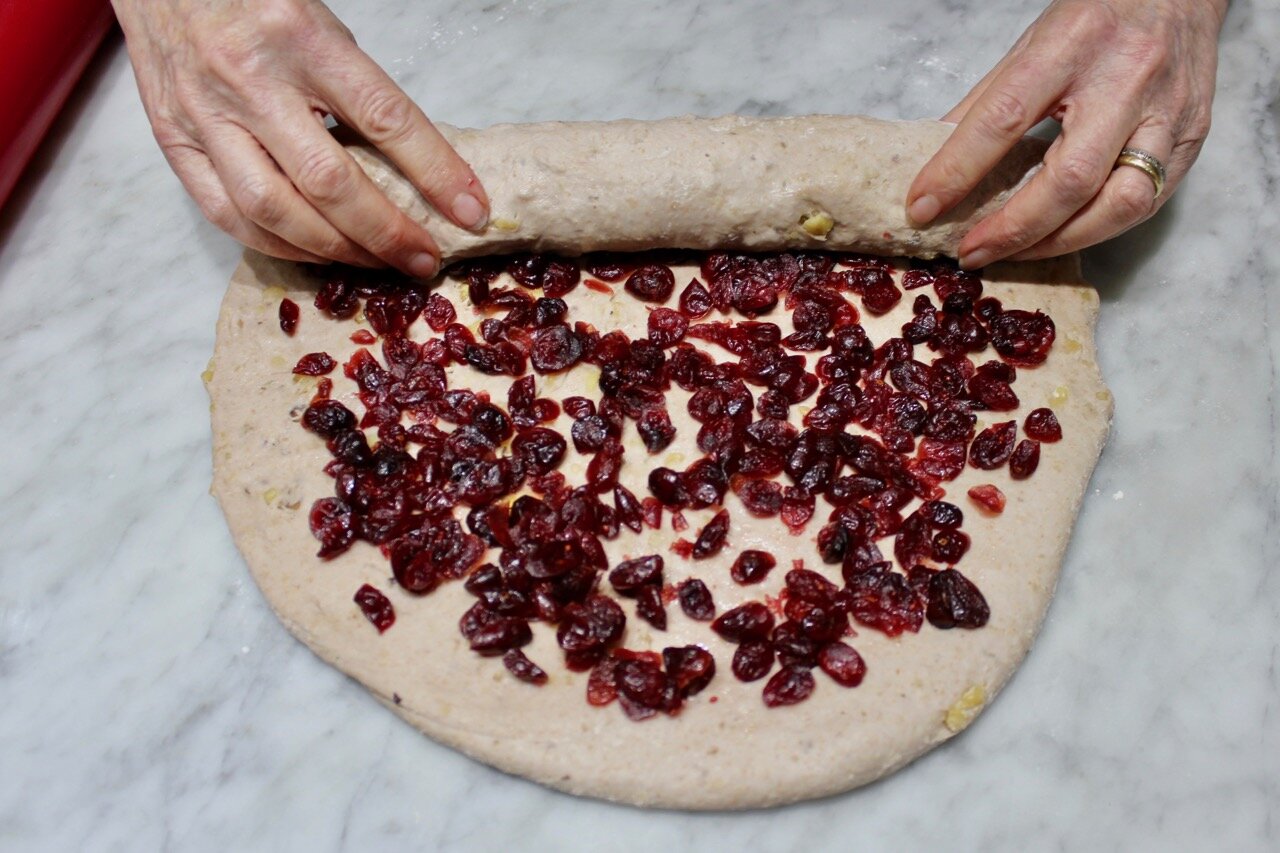
How To Knead Dried Fruit Into Bread Dough
How To Knead Scone Dough
