Introduction
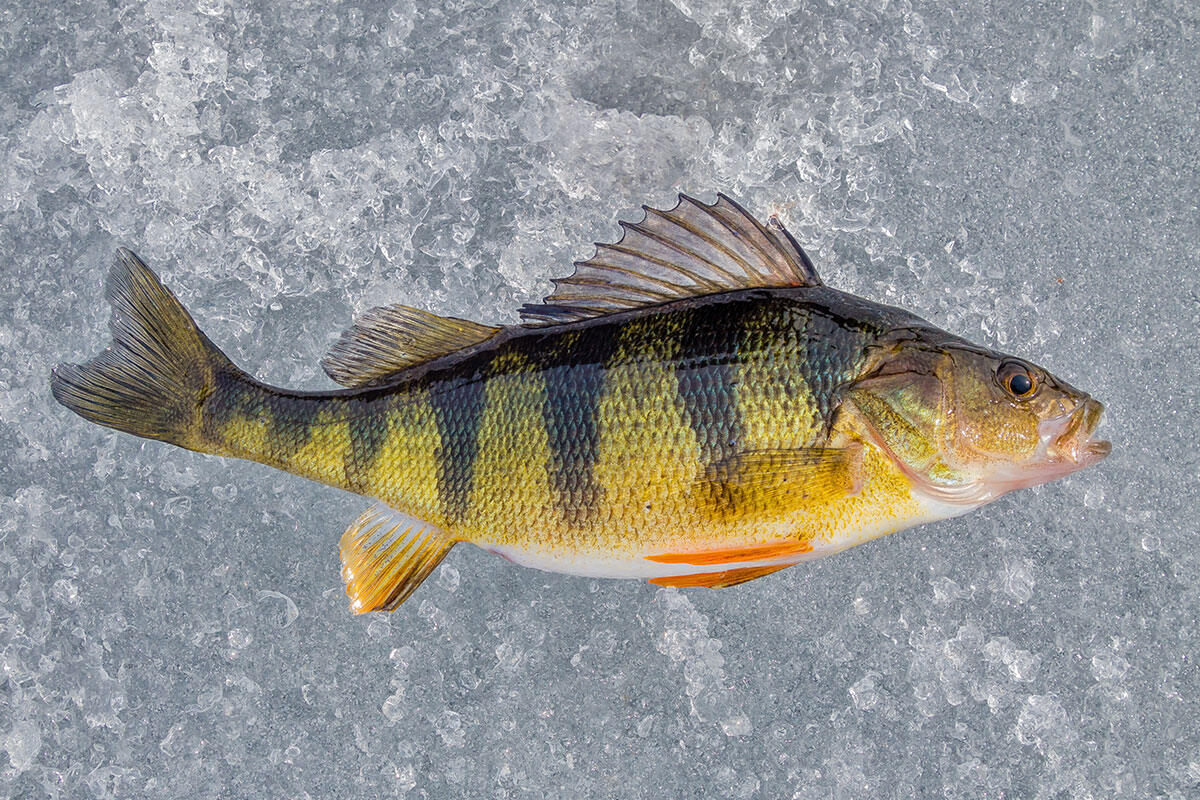
Welcome to our guide on filleting a delicious landlocked salmon! Whether you’ve just caught one or bought it fresh from the market, knowing how to properly fillet a salmon is essential for enjoying its flavorful meat. In this article, we’ll take you through the step-by-step process of filleting a landlocked salmon, so you can prepare it for cooking and savoring its delectable taste.
Step 1: Gather Your Tools
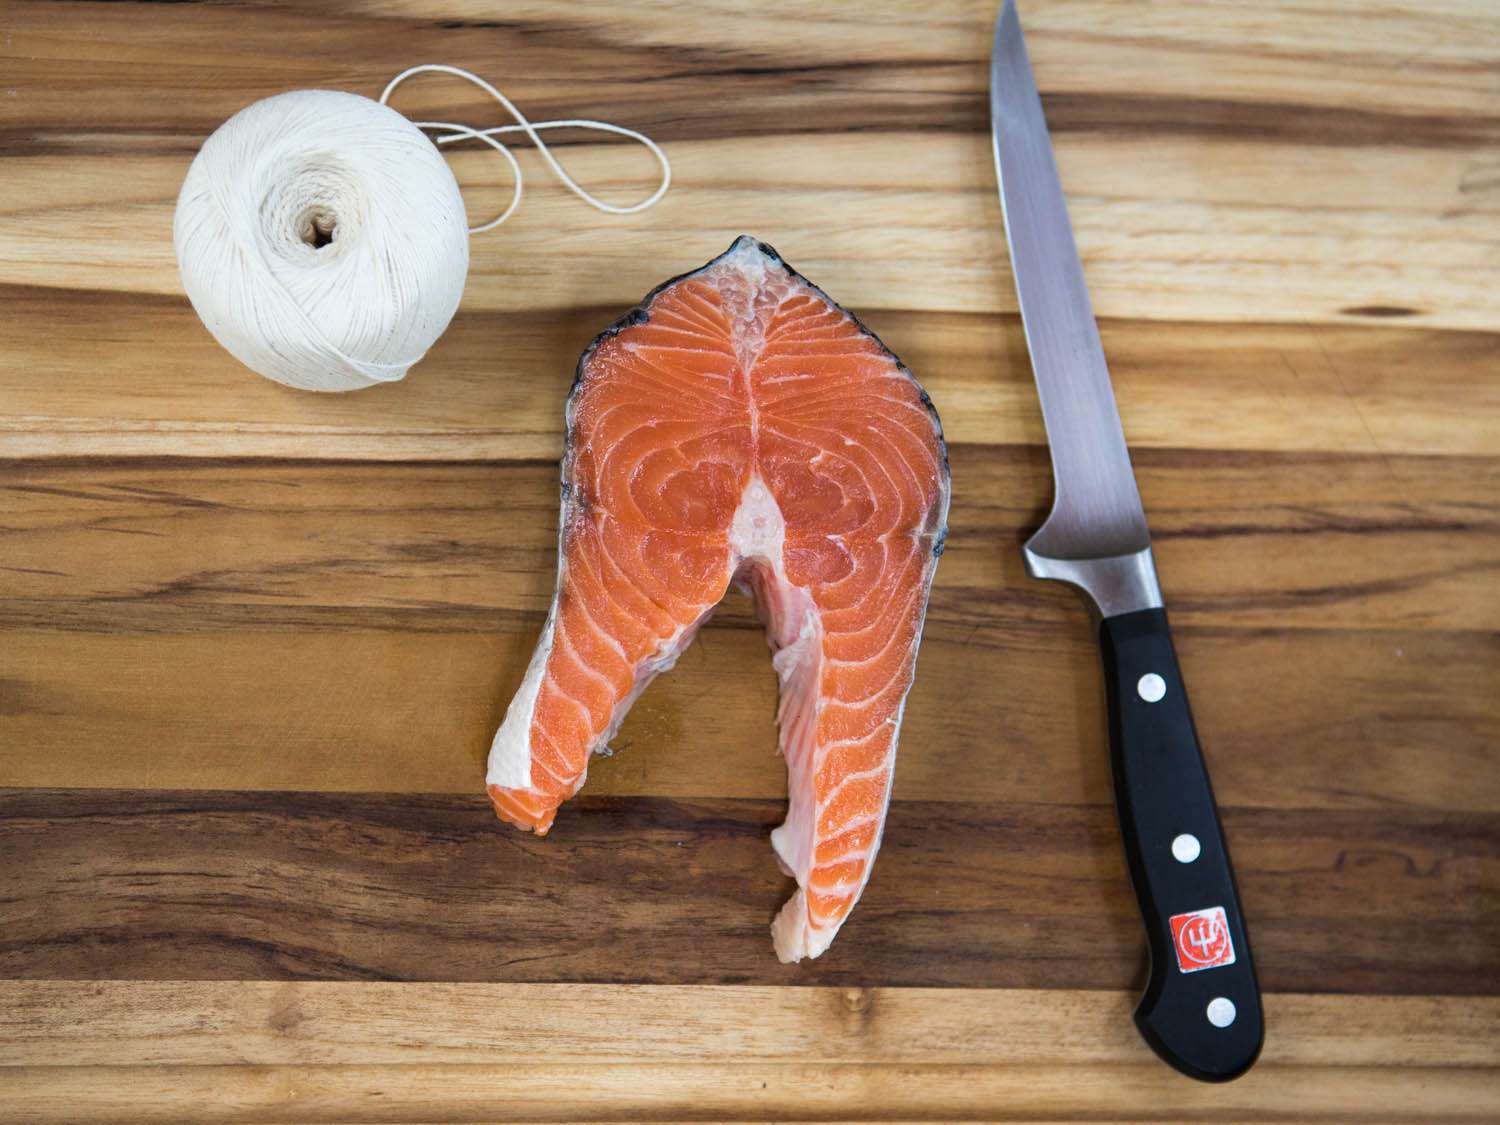
Before you begin, make sure you have the right tools for the job. You’ll need a sharp fillet knife, a cutting board, and a pair of fish pliers or tweezers to remove any remaining bones. Having these tools at hand will make the filleting process much easier and more efficient.
Step 2: Prepare the Salmon
Start by placing the salmon on the cutting board with its belly facing up. Use a firm grip to hold the salmon in place, ensuring that it doesn’t slip during the filleting process.
Step 3: Make the Incision
Using your fillet knife, make a small incision just behind the gills and pectoral fin. Angle the knife slightly towards the head of the salmon as you make the cut. This will help guide the knife along the backbone as you fillet the fish.
Step 4: Fillet the Salmon
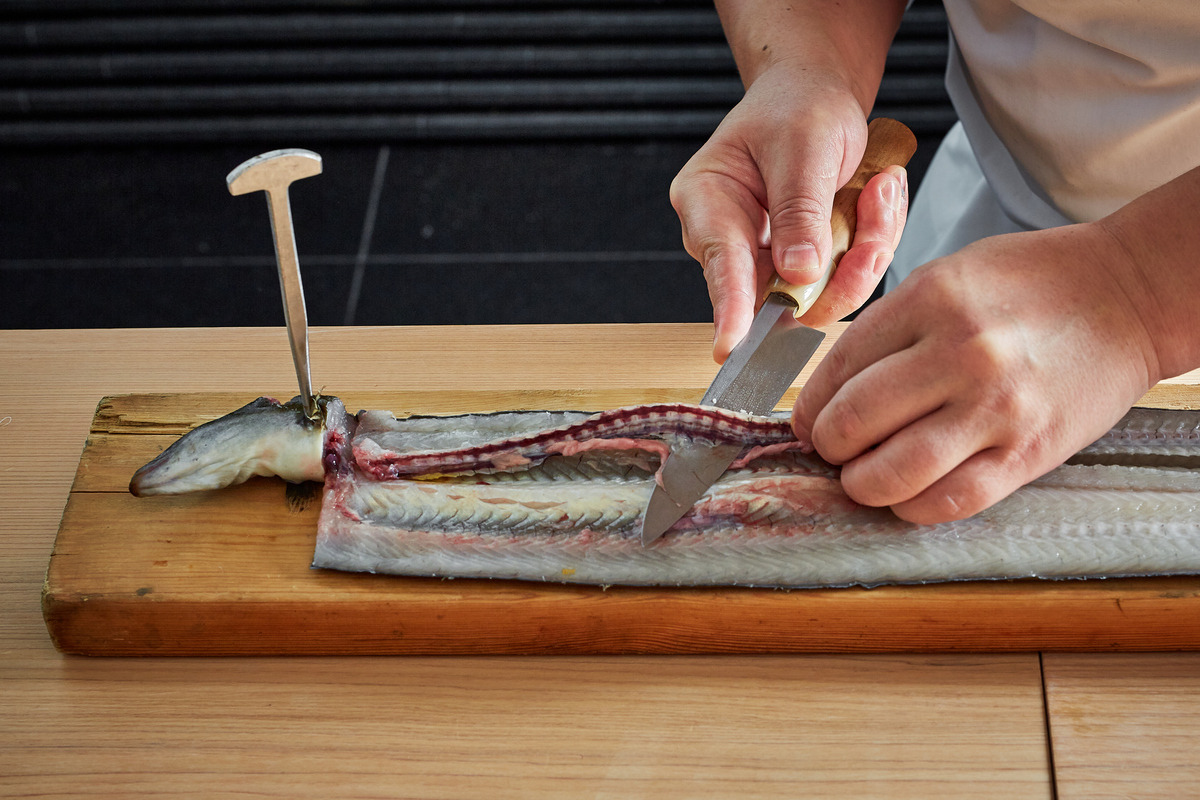
With the initial incision made, carefully run the fillet knife along the backbone towards the tail. Use smooth, steady strokes to separate the fillet from the bones, taking care to preserve as much of the meat as possible. Once the first fillet is removed, repeat the process on the other side of the salmon.
Step 5: Remove the Skin
After you’ve filleted both sides of the salmon, it’s time to remove the skin. Hold the tail end of the fillet firmly and slide the knife between the flesh and the skin, using a back-and-forth motion to separate the two. With a bit of practice, you’ll be able to cleanly remove the skin, leaving behind the succulent salmon meat.
Step 6: Check for Bones
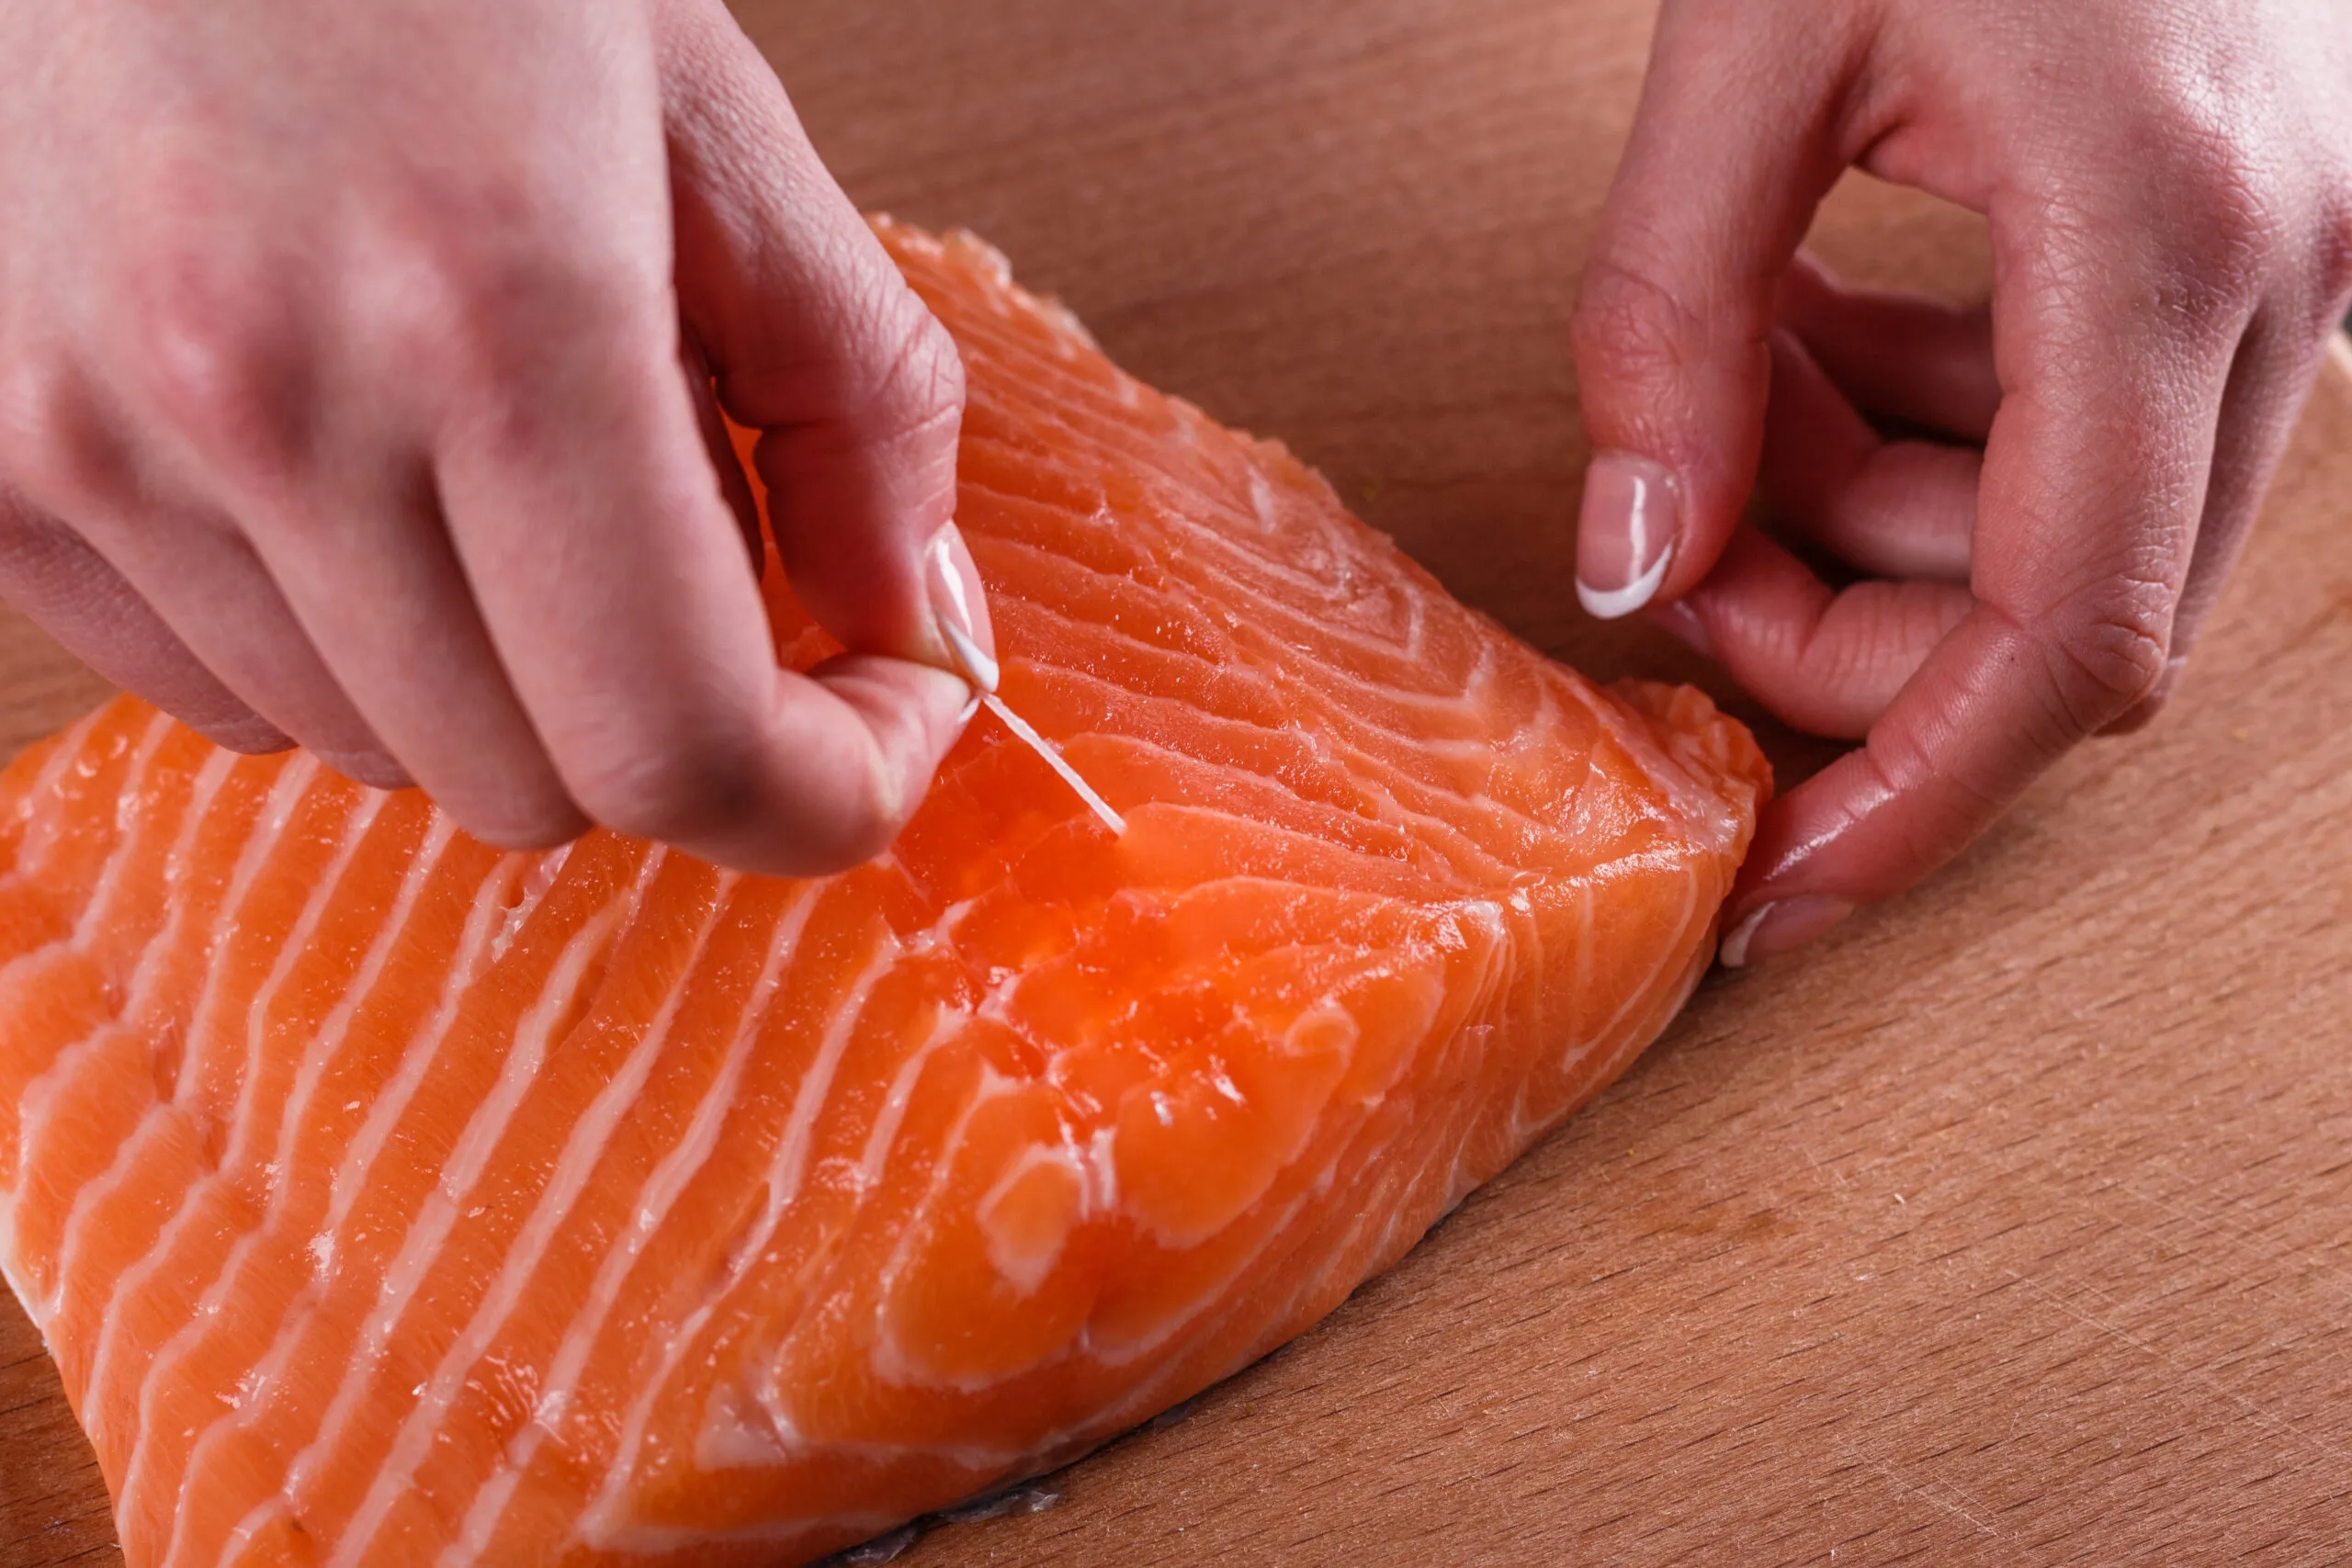
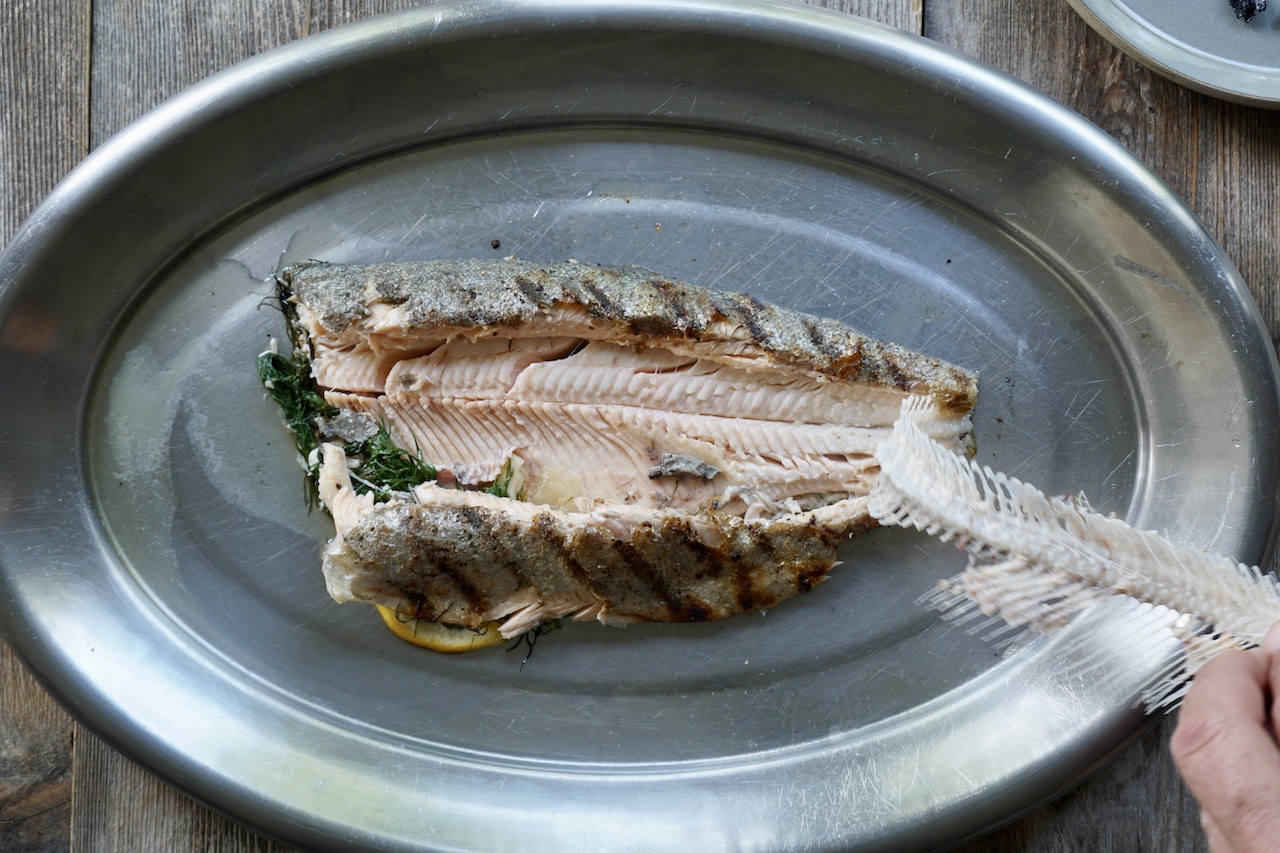
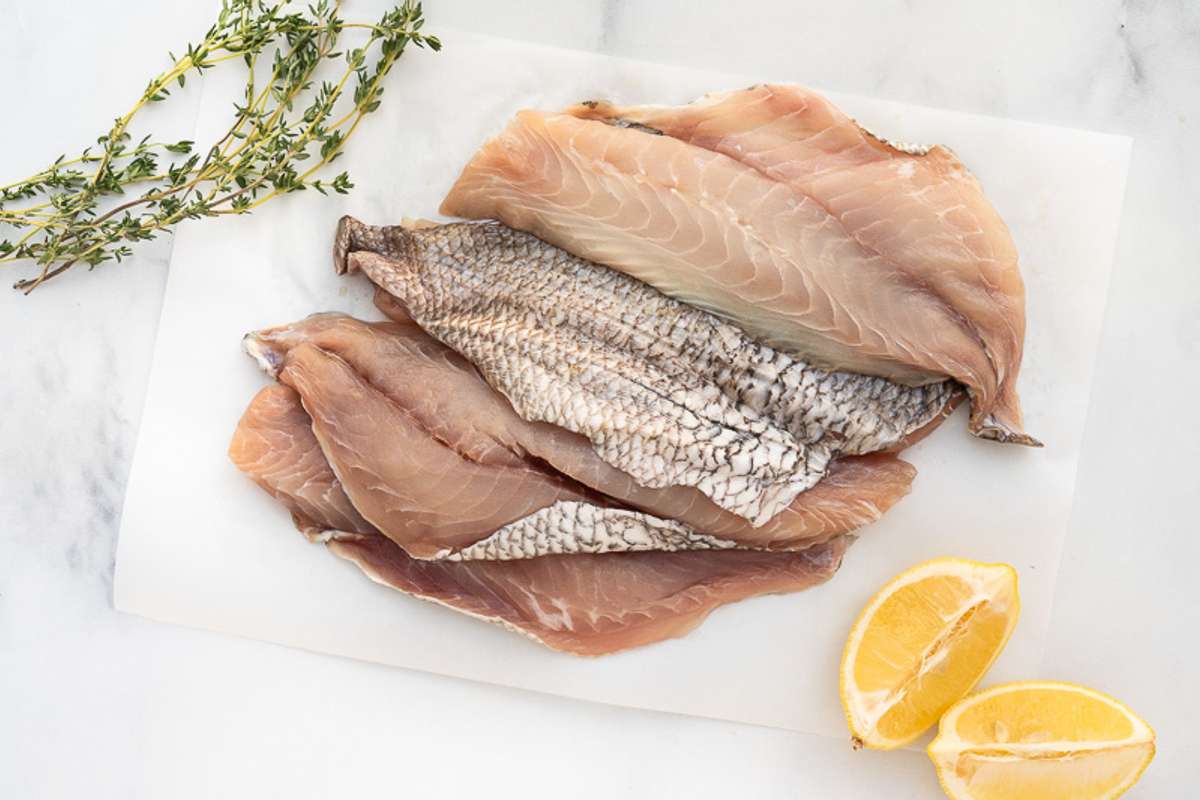
Once the skin is removed, inspect the fillets for any remaining bones. Use fish pliers or tweezers to carefully pull out any pin bones that may still be attached to the flesh. Ensuring that the fillets are bone-free will make for a more enjoyable dining experience.
Step 7: Rinse and Store the Fillets
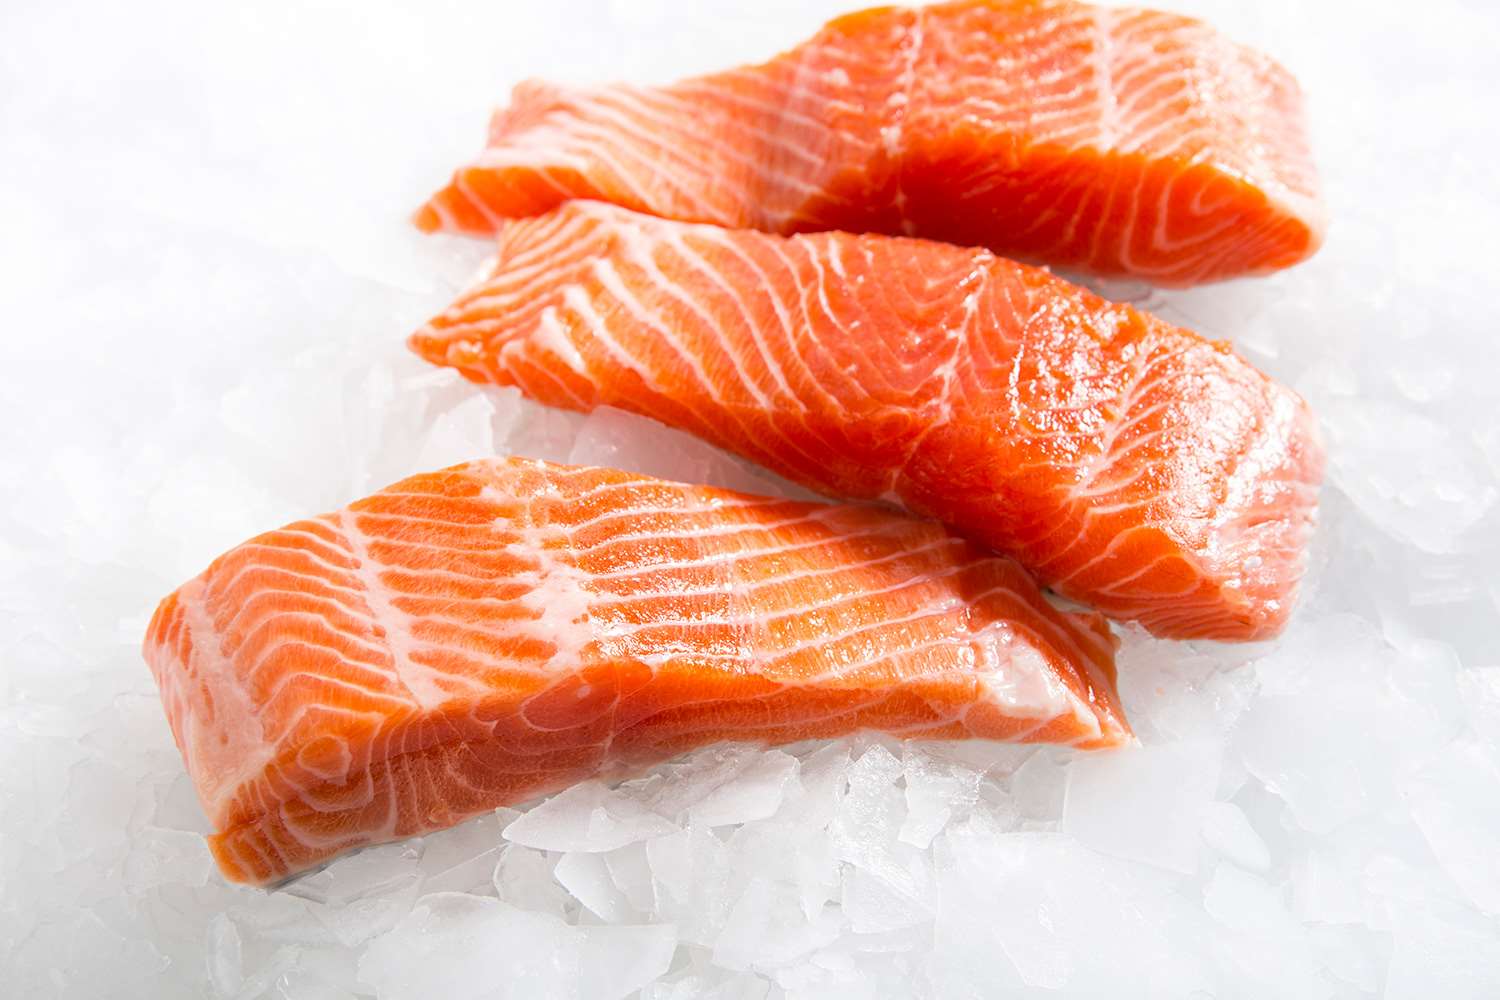
After filleting and deboning the salmon, give the fillets a gentle rinse under cold water to remove any remaining scales or debris. Pat the fillets dry with a paper towel and then store them in the refrigerator if you’re not cooking them right away. Properly stored salmon fillets can stay fresh for a few days before cooking.
Conclusion
Congratulations! You’ve successfully filleted a delicious landlocked salmon. Now that you have your fresh fillets ready, you can explore a variety of recipes to cook and enjoy this delectable fish. Whether you grill, bake, or pan-sear the salmon, knowing how to fillet it properly is the first step towards a delightful dining experience.
Remember, practice makes perfect, so don’t be discouraged if your first attempt isn’t flawless. With time and experience, you’ll become more adept at filleting salmon and appreciating the culinary rewards it brings.
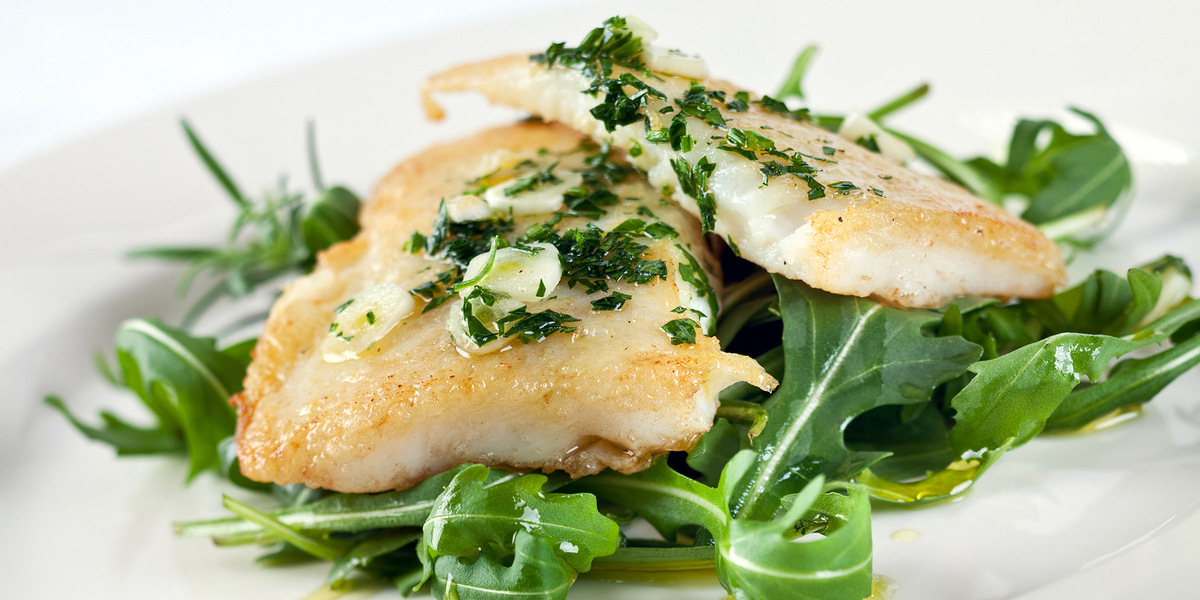
For those looking to master the art of filleting landlocked salmon, several delicious recipes await. Start with Grilled Landlocked Salmon with Lemon and Dill for a simple yet flavorful introduction. Pan-Seared Landlocked Salmon with Herbed Butter offers a rich, buttery experience, while Landlocked Salmon Tacos with Avocado Salsa add a fun twist with vibrant flavors. For a slightly exotic touch, Teriyaki-Glazed Landlocked Salmon provides a sweet and savory option. Finally, Landlocked Salmon with Creamy Dill Sauce combines the fresh taste of dill with a luscious creaminess, making it a must-try. Each of these recipes highlights the delicate taste of landlocked salmon and builds on the filleting skills outlined in the guide.
