How To Cut A Bone In Pork Shoulder In Half
Are you a pork lover looking to create the perfect roast or pulled pork dish? If so, you may find yourself in a situation where you need to cut a bone-in pork shoulder in half. This can be a challenging task, but with the right technique, you can achieve the desired result. In this article, we will guide you through the steps to successfully cut a bone-in pork shoulder in half, allowing you to create delicious and succulent pork dishes.
Gather Your Tools
Before you begin, make sure you have the right tools for the job. Here’s what you’ll need:
- Sharp chef’s knife
- Cutting board
- Kitchen twine (optional)
Step-by-Step Guide
Follow these simple steps to cut a bone-in pork shoulder in half:
- Prepare your work area: Start by ensuring a clean and organized work area. Keeping everything tidy will make the process easier and safer.
- Secure the shoulder: Place the bone-in pork shoulder on the cutting board with the bone side facing up. If desired, you can tie the shoulder with kitchen twine to keep it in place.
- Identify the bone: Locate the bone running through the center of the pork shoulder. This bone will act as a guide for splitting the shoulder in half.
- Make an incision: Using a sharp chef’s knife, carefully cut alongside the bone, starting at the top and working your way down. Apply firm and controlled pressure to ensure a clean and even cut.
- Continue cutting: Once you’ve created an initial incision, continue cutting through the meat, following the bone until you reach the other end. Take your time and make precise cuts to maintain symmetry.
- Separate the halves: After cutting through the entire pork shoulder, you will have two separate halves. You can choose to leave them as-is or further trim and shape them according to your recipe’s needs.
- Trim excess fat: If desired, trim any excess fat from both halves of the pork shoulder. This step will help enhance the flavor and texture of your final dish.
By following these steps, you can successfully cut a bone-in pork shoulder in half. Remember to take your time and exercise caution while handling sharp knives. Once you’ve mastered this technique, you’ll have more control over the portions and cooking time, allowing you to create delicious pork dishes that will impress your family and friends.
So, go ahead and confidently tackle a bone-in pork shoulder, divide it in half, and let your culinary creativity shine. Happy cooking!
More Delicious Pork Shoulder Recipes
Now that you've learned how to expertly cut a bone-in pork shoulder in half, it's time to put that skill to delicious use. Try your hand at creating mouth-watering dishes like Classic Pulled Pork Sandwiches or Slow-Cooked Pork Shoulder Roast, perfect for any family dinner or special occasion. For a more exotic twist, explore flavors from around the world with recipes such as Asian-Inspired Pork Shoulder Stir-Fry or Caribbean Jerk Pork Shoulder. We highly recommend the Herb-Rubbed Pork Shoulder for Sunday Roast for its aromatic appeal and the Italian Pork Ragu with Pappardelle for a comforting weekend meal. Each of these recipes provides a fantastic opportunity to utilize your pork cutting skills while impressing friends and family with delectable meals.
Was this page helpful?
Read Next: How To Cut Acidity In Soup
Related Articles
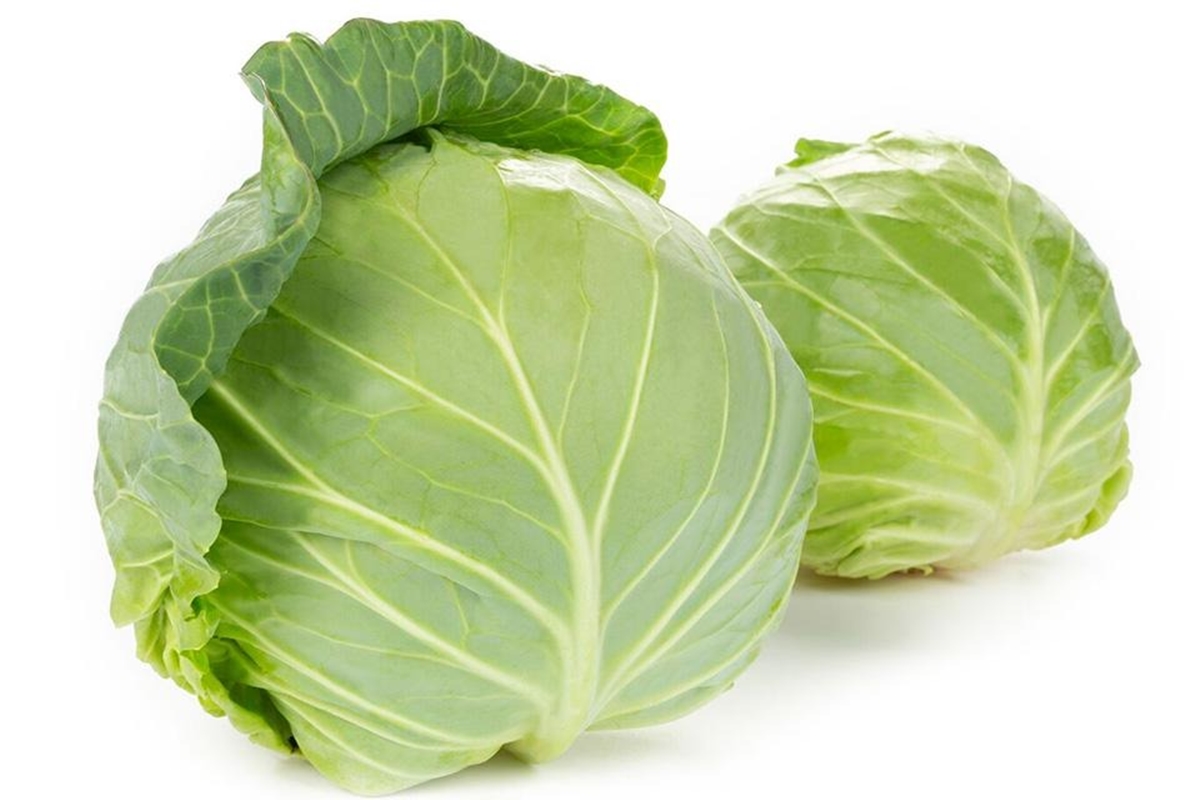
How To Cut Up A Head Of Cabbage

How To Cut Heat In Salsa
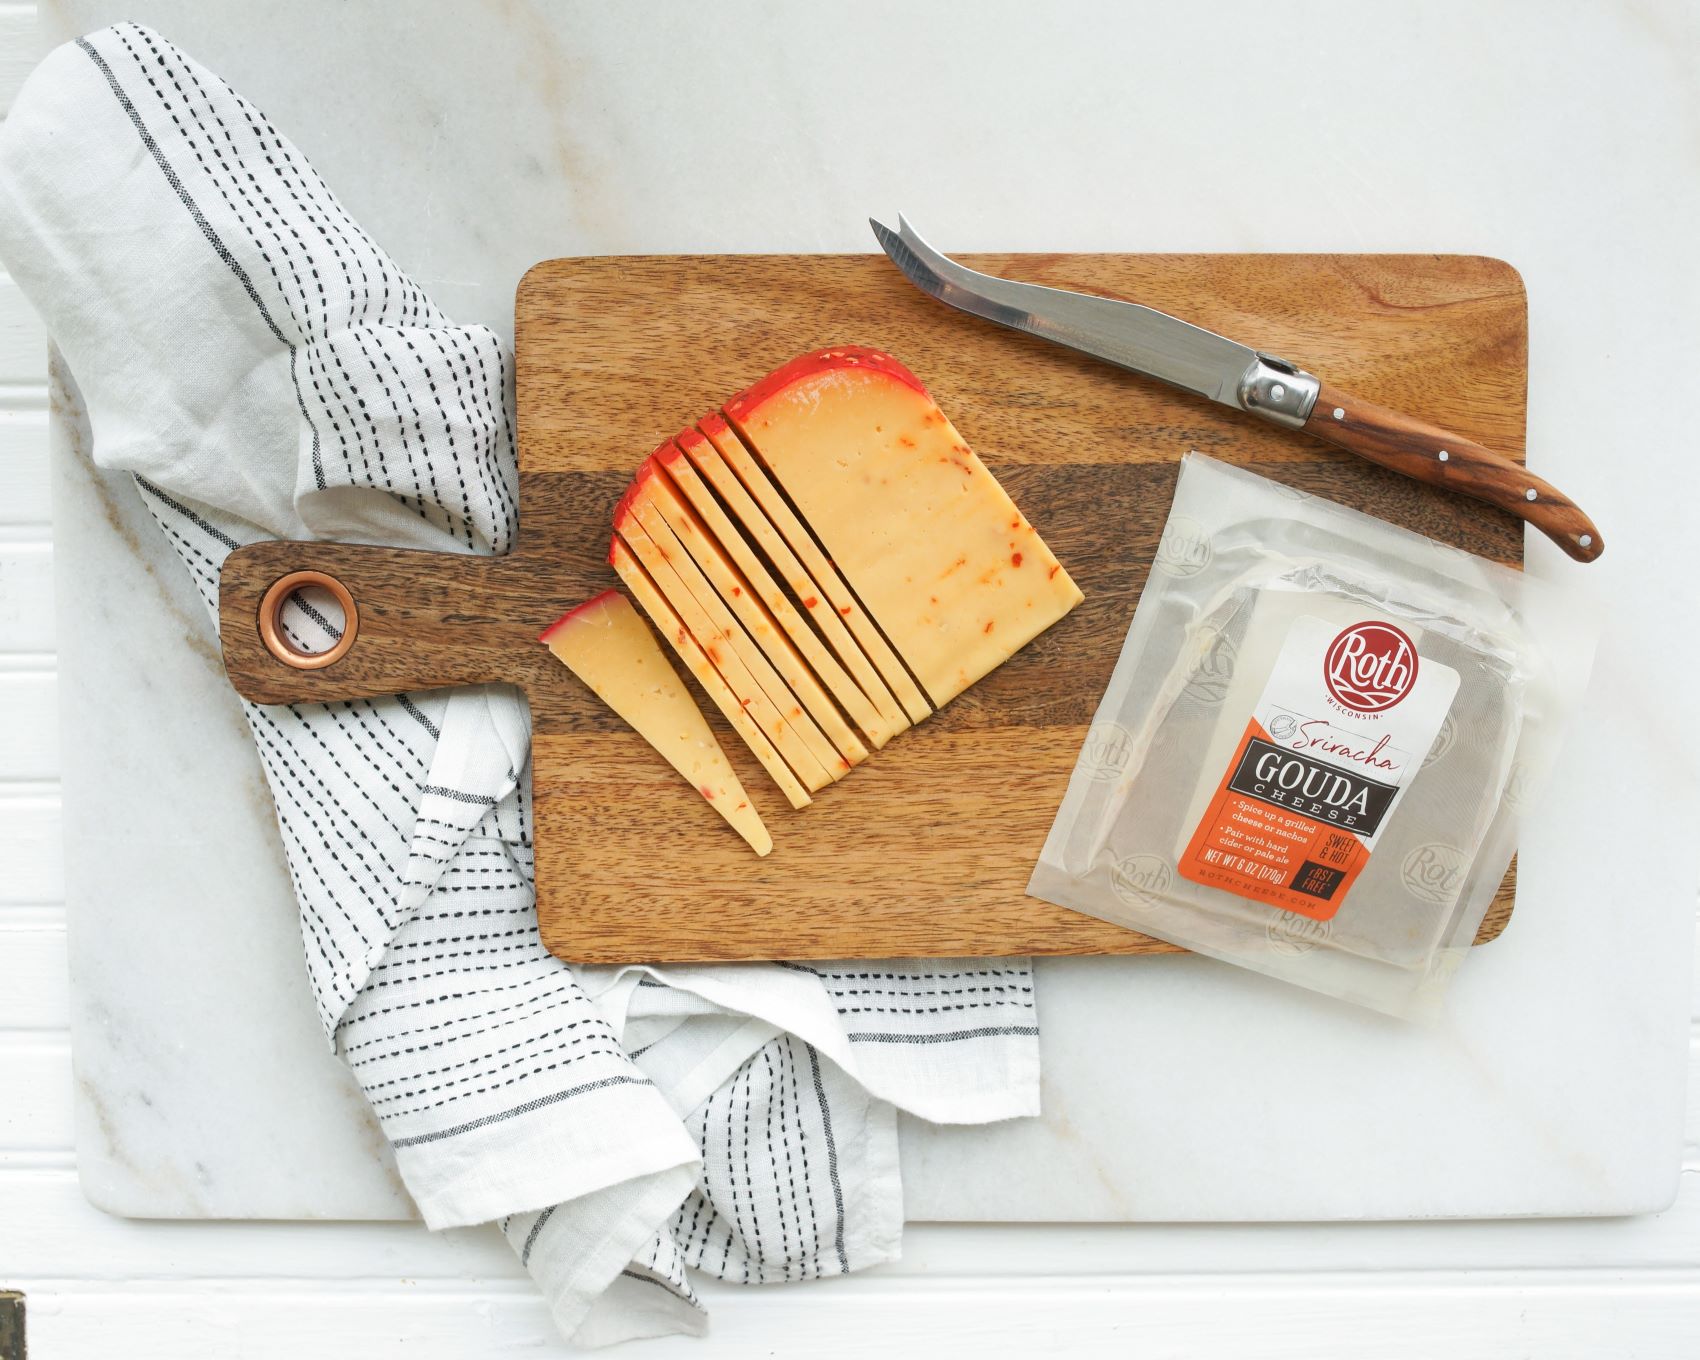
How To Cut Smoked Gouda For Charcuterie Board
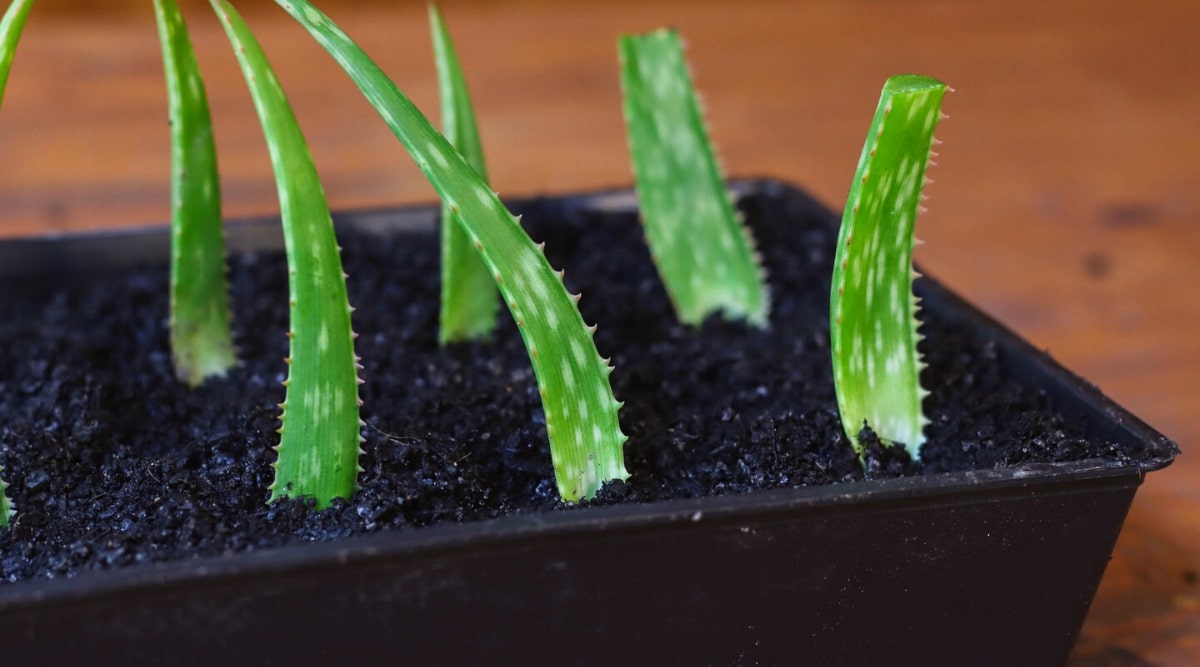
How To Cut An Aloe Plant Without Killing It
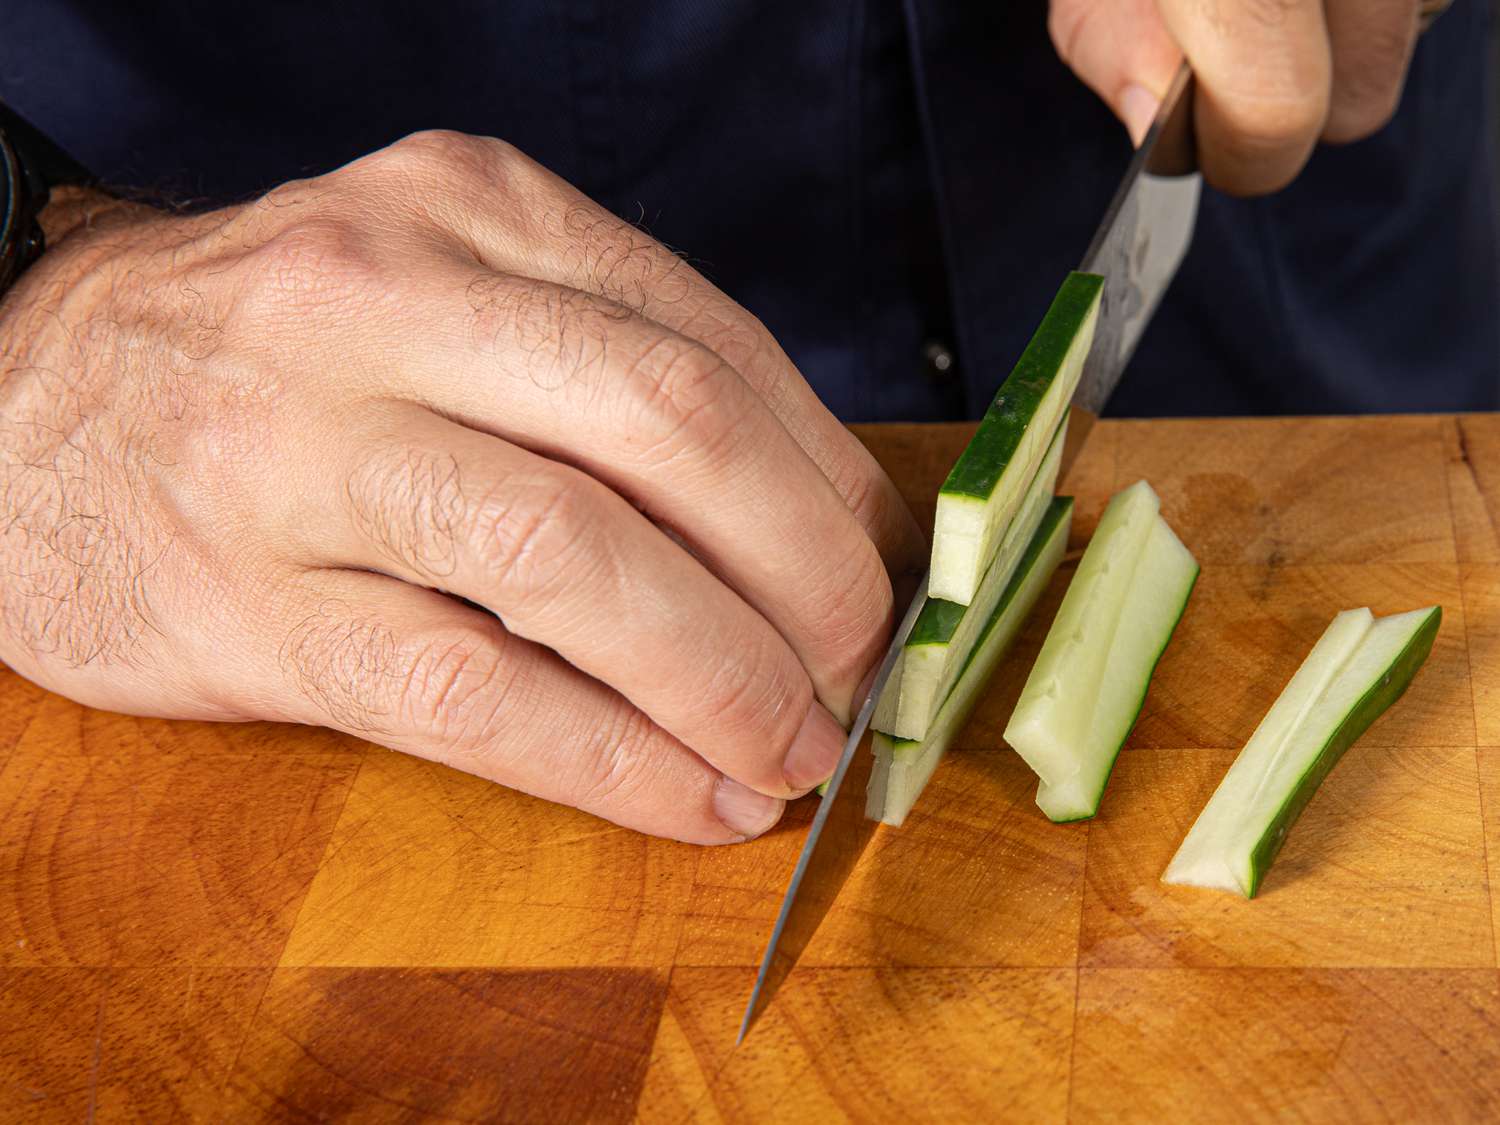
How To Cut Cucumber Sticks
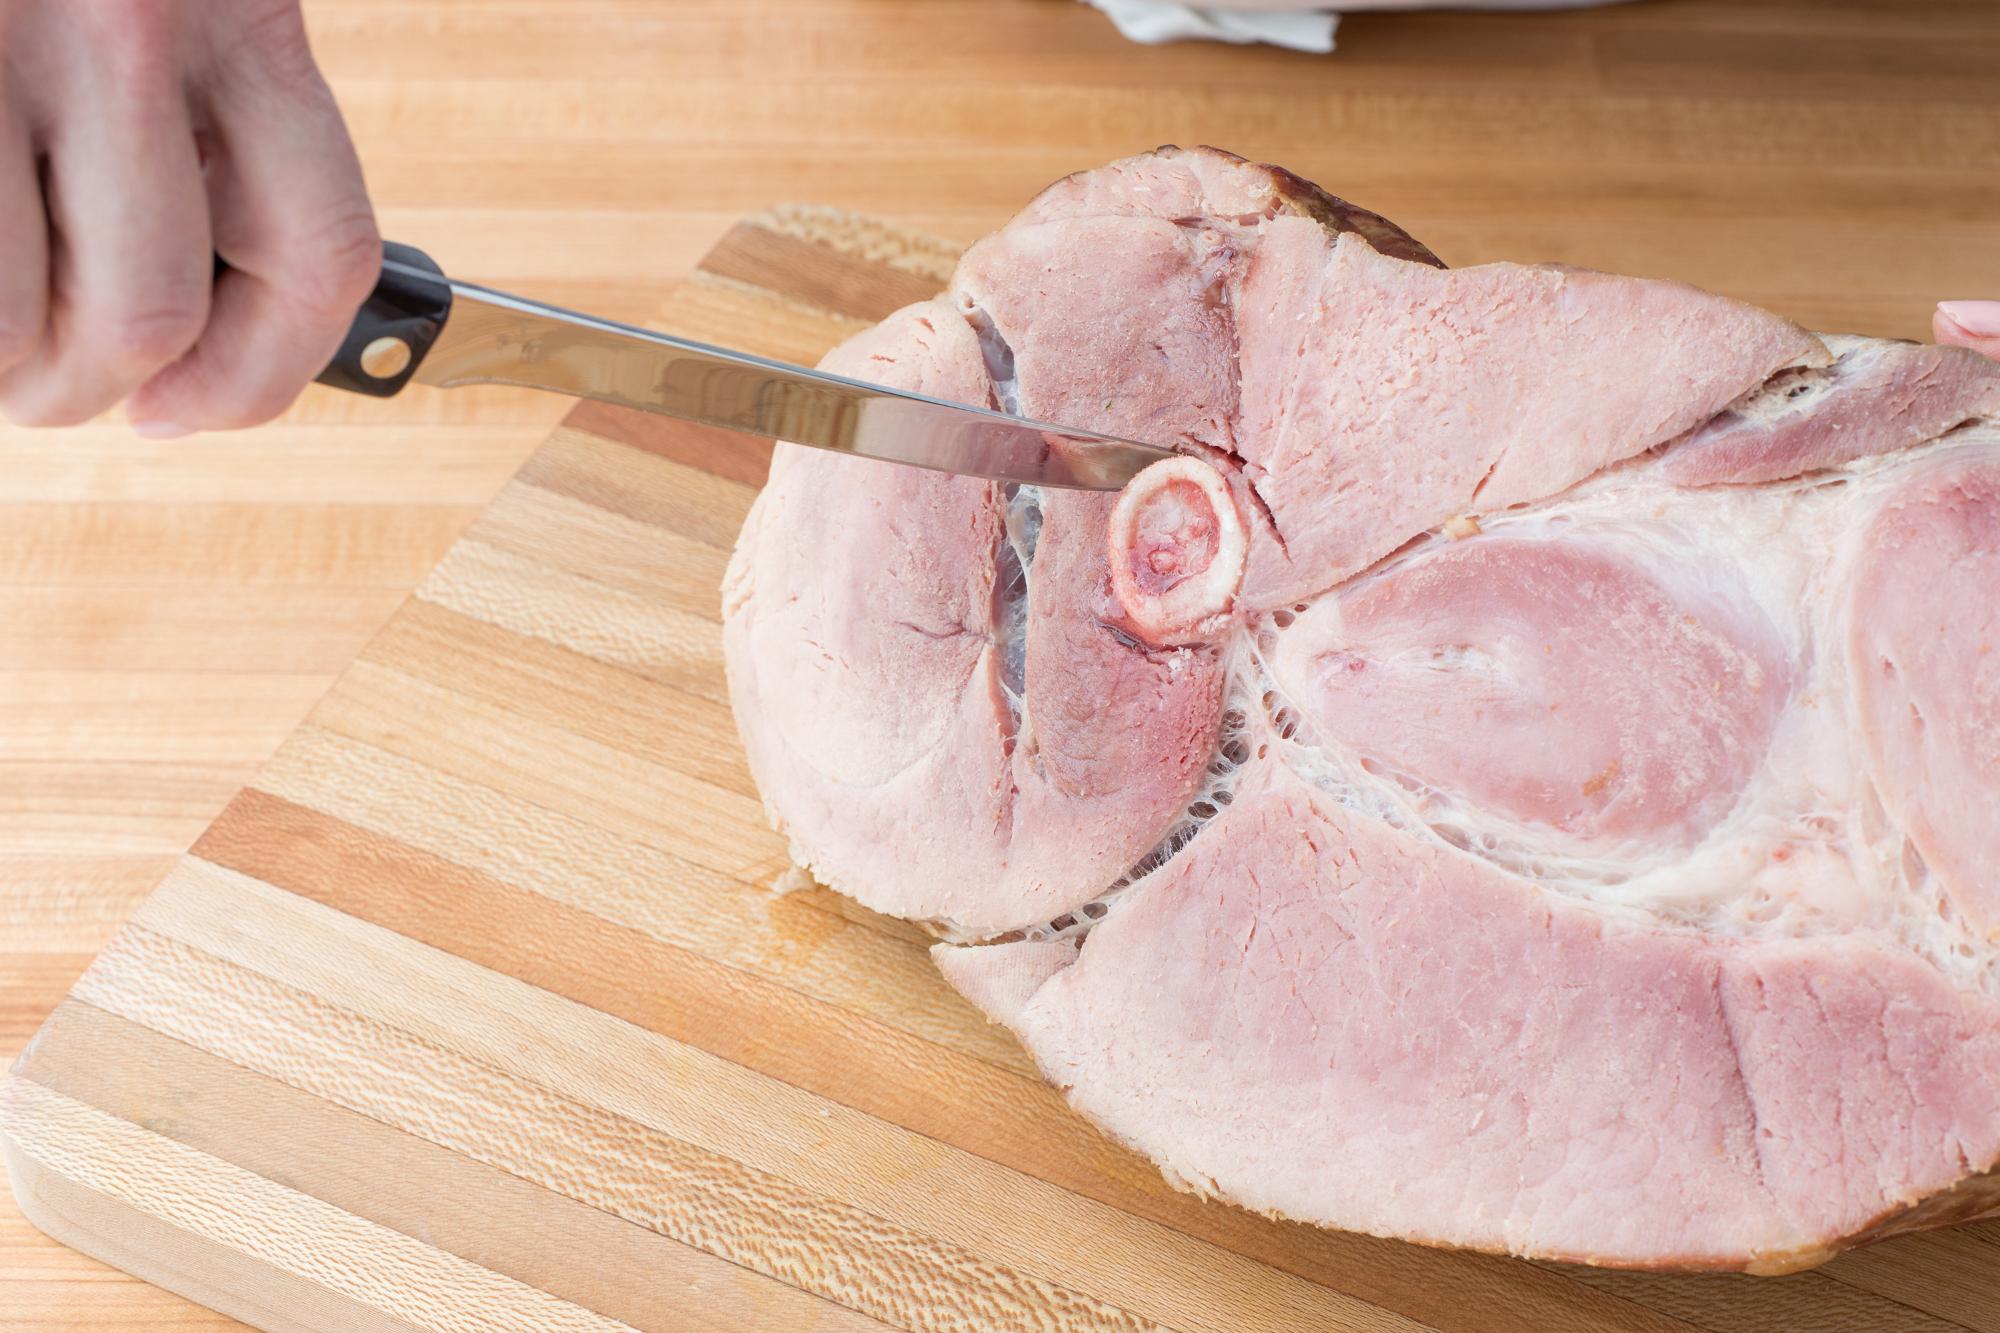
How To Cut Bone In Ham
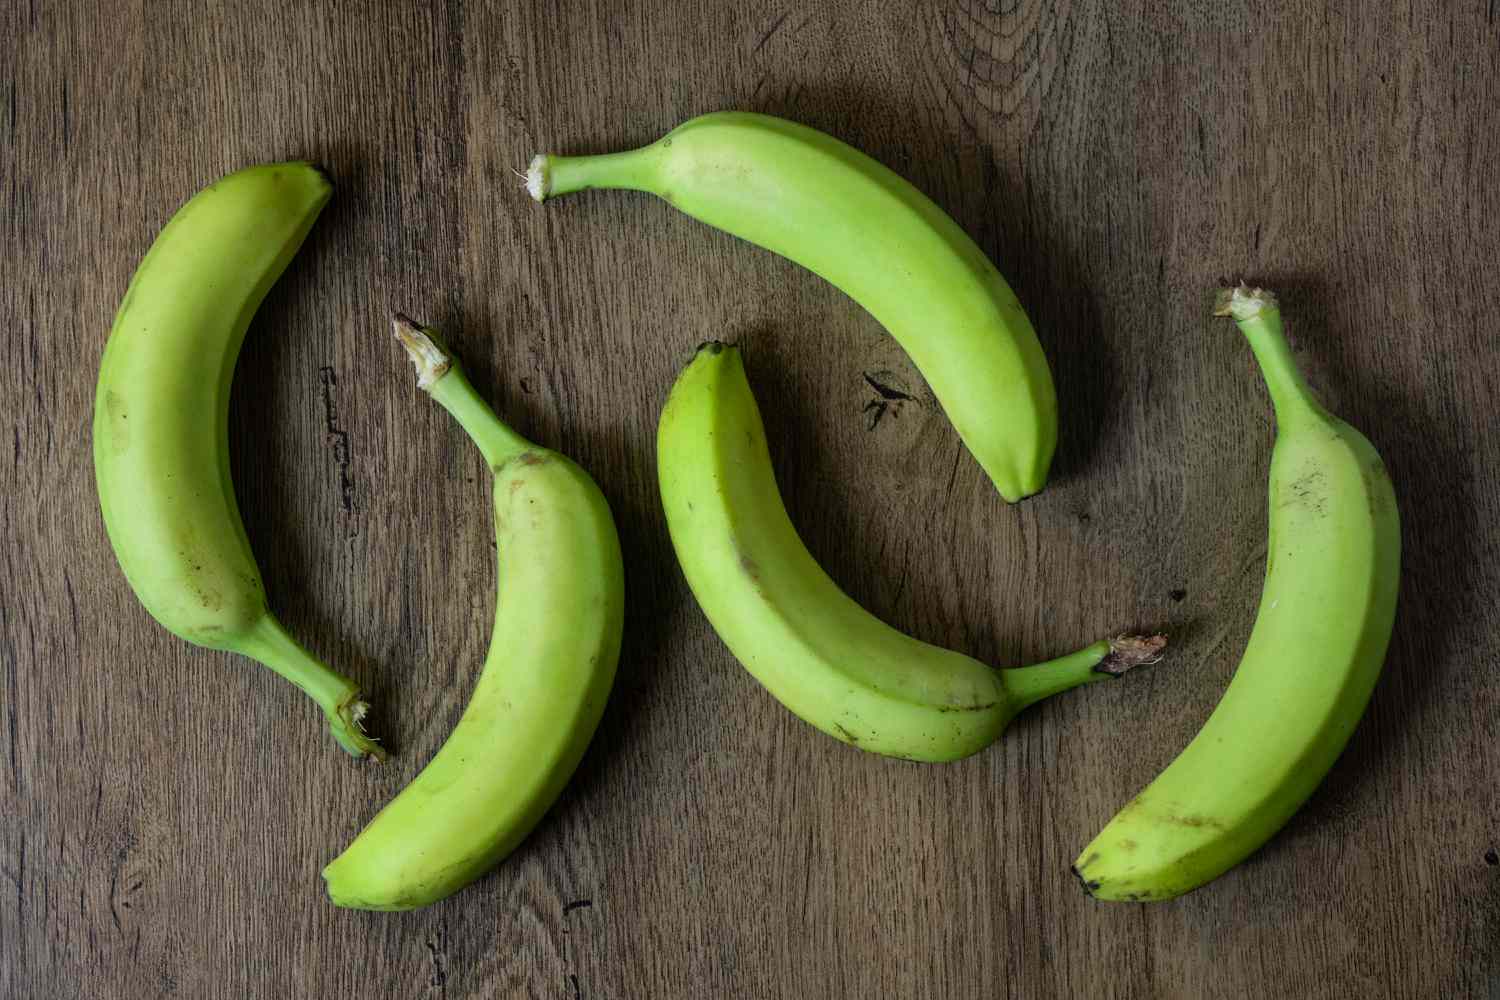
How To Boil Green Bananas Puerto Rican Style
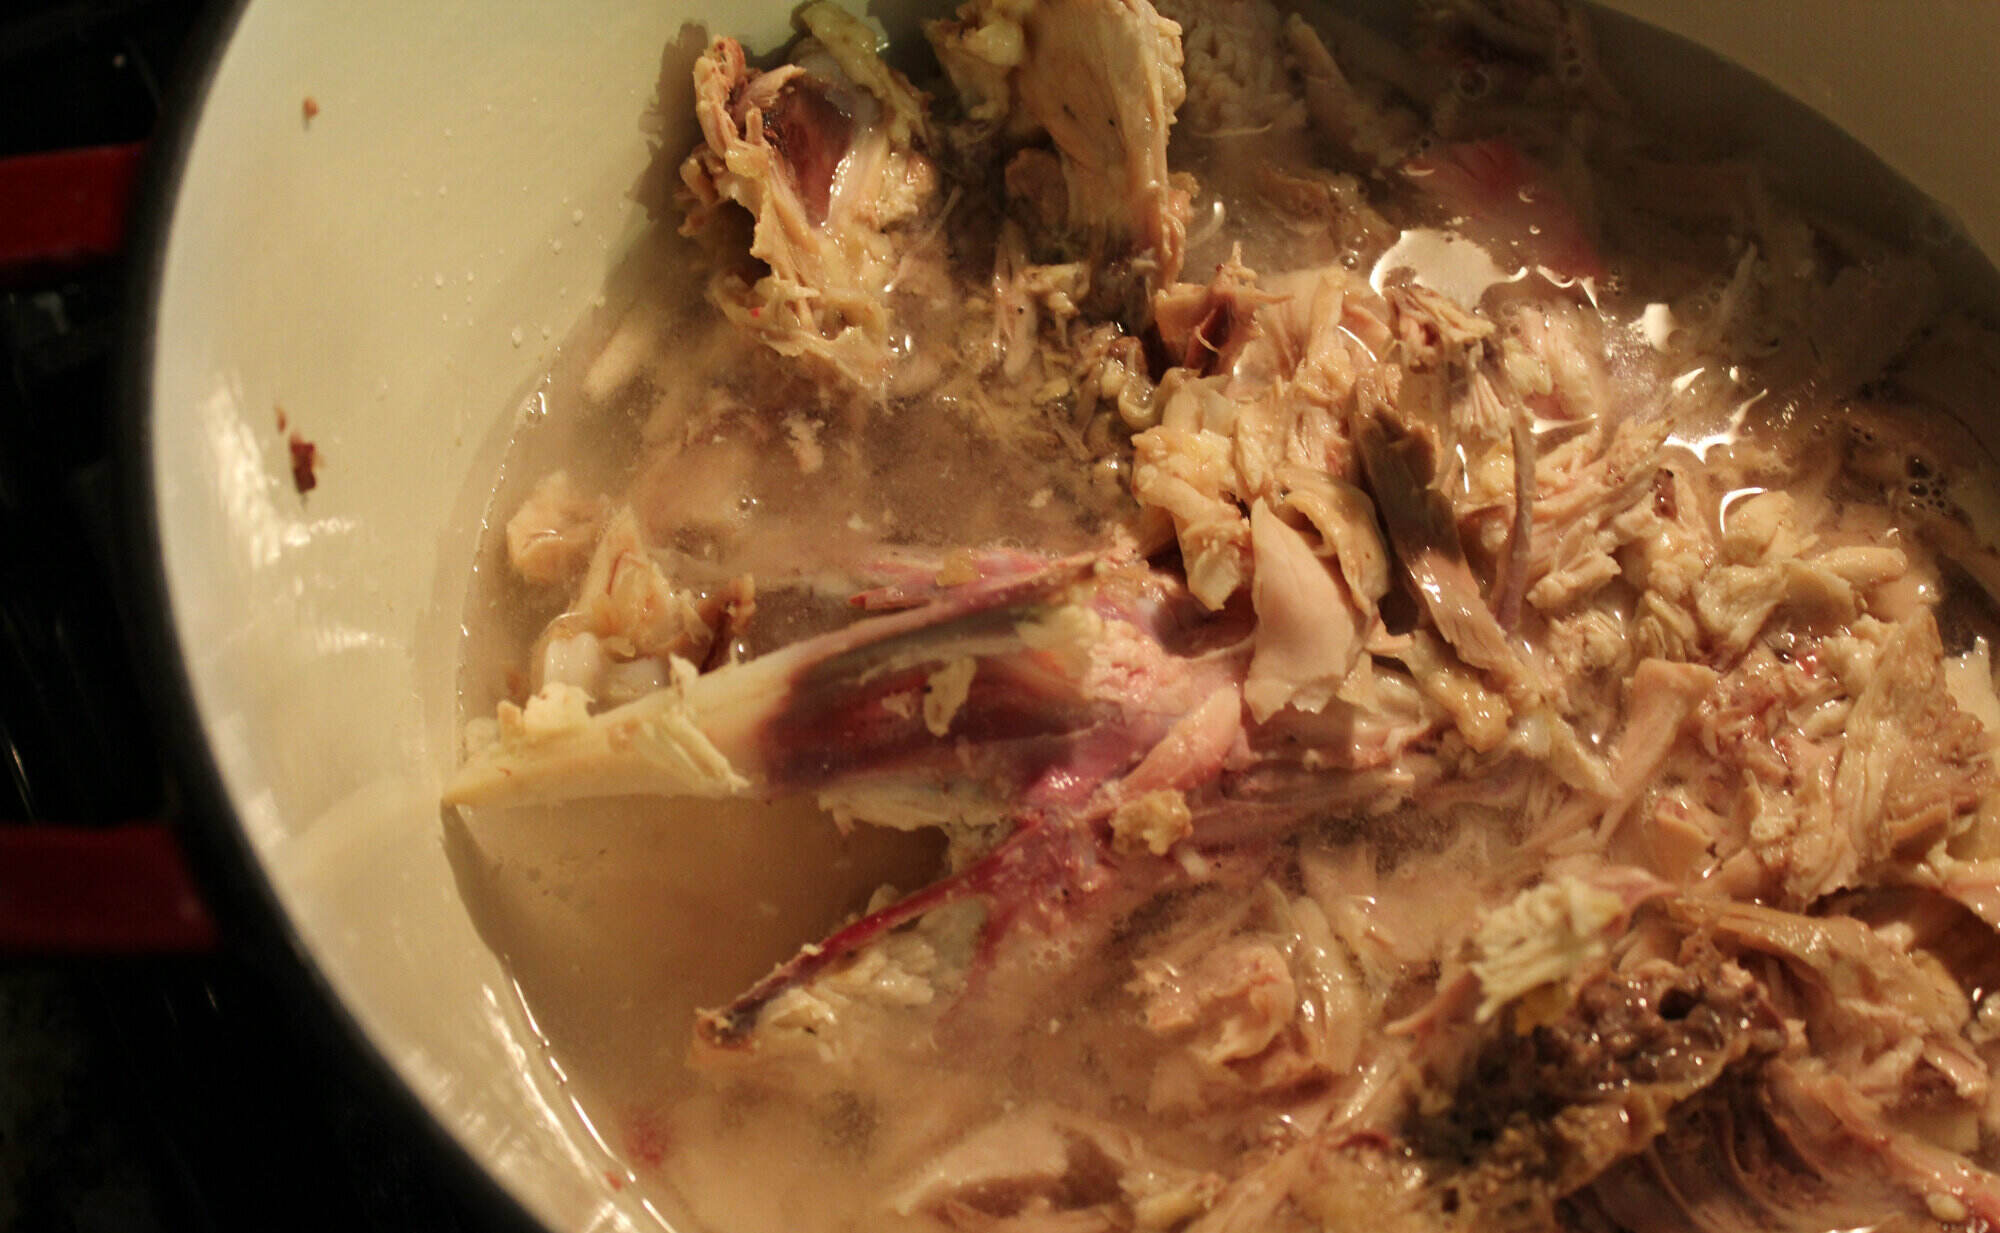
How To Boil A Chicken Carcass
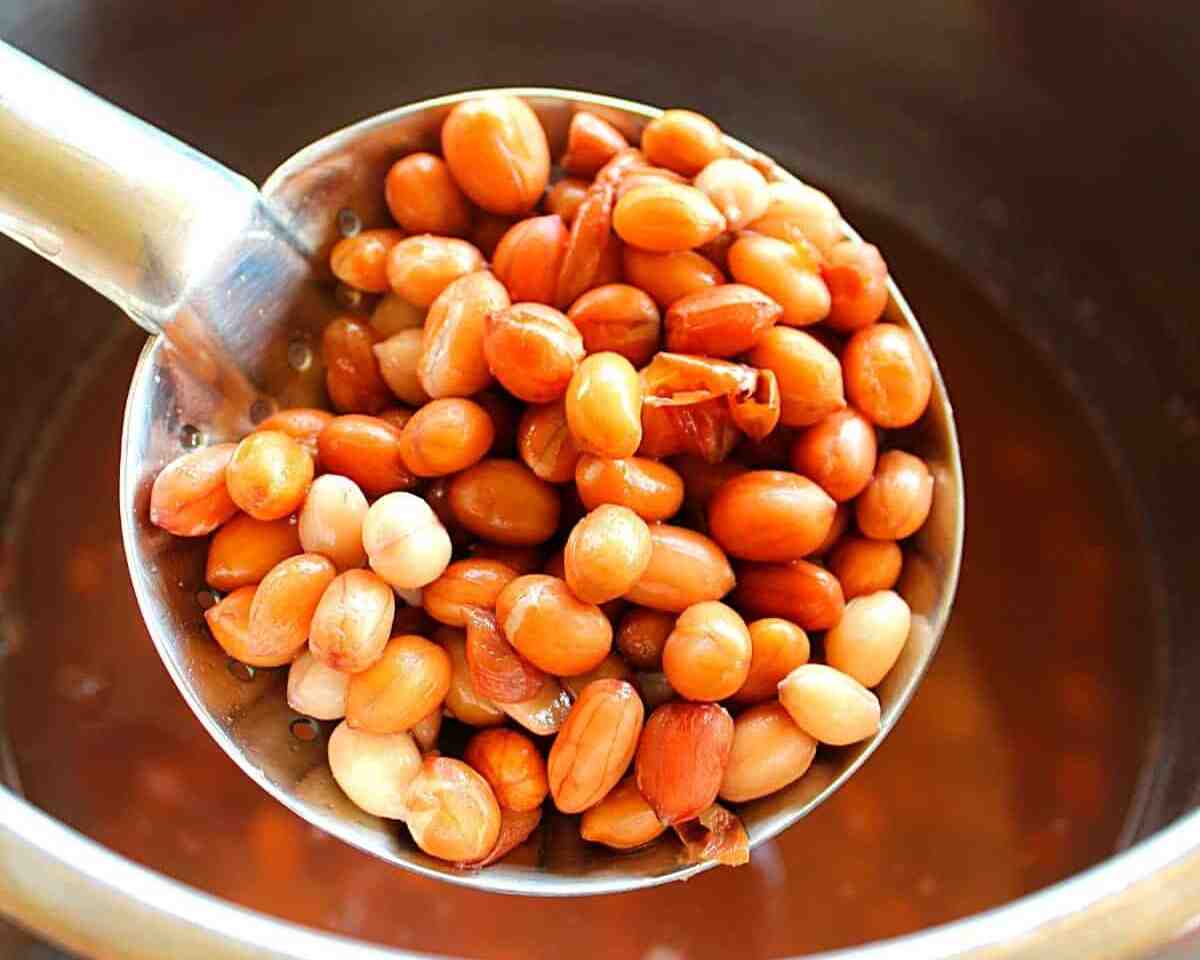
How To Boil Peanuts In Pressure Cooker Indian Style
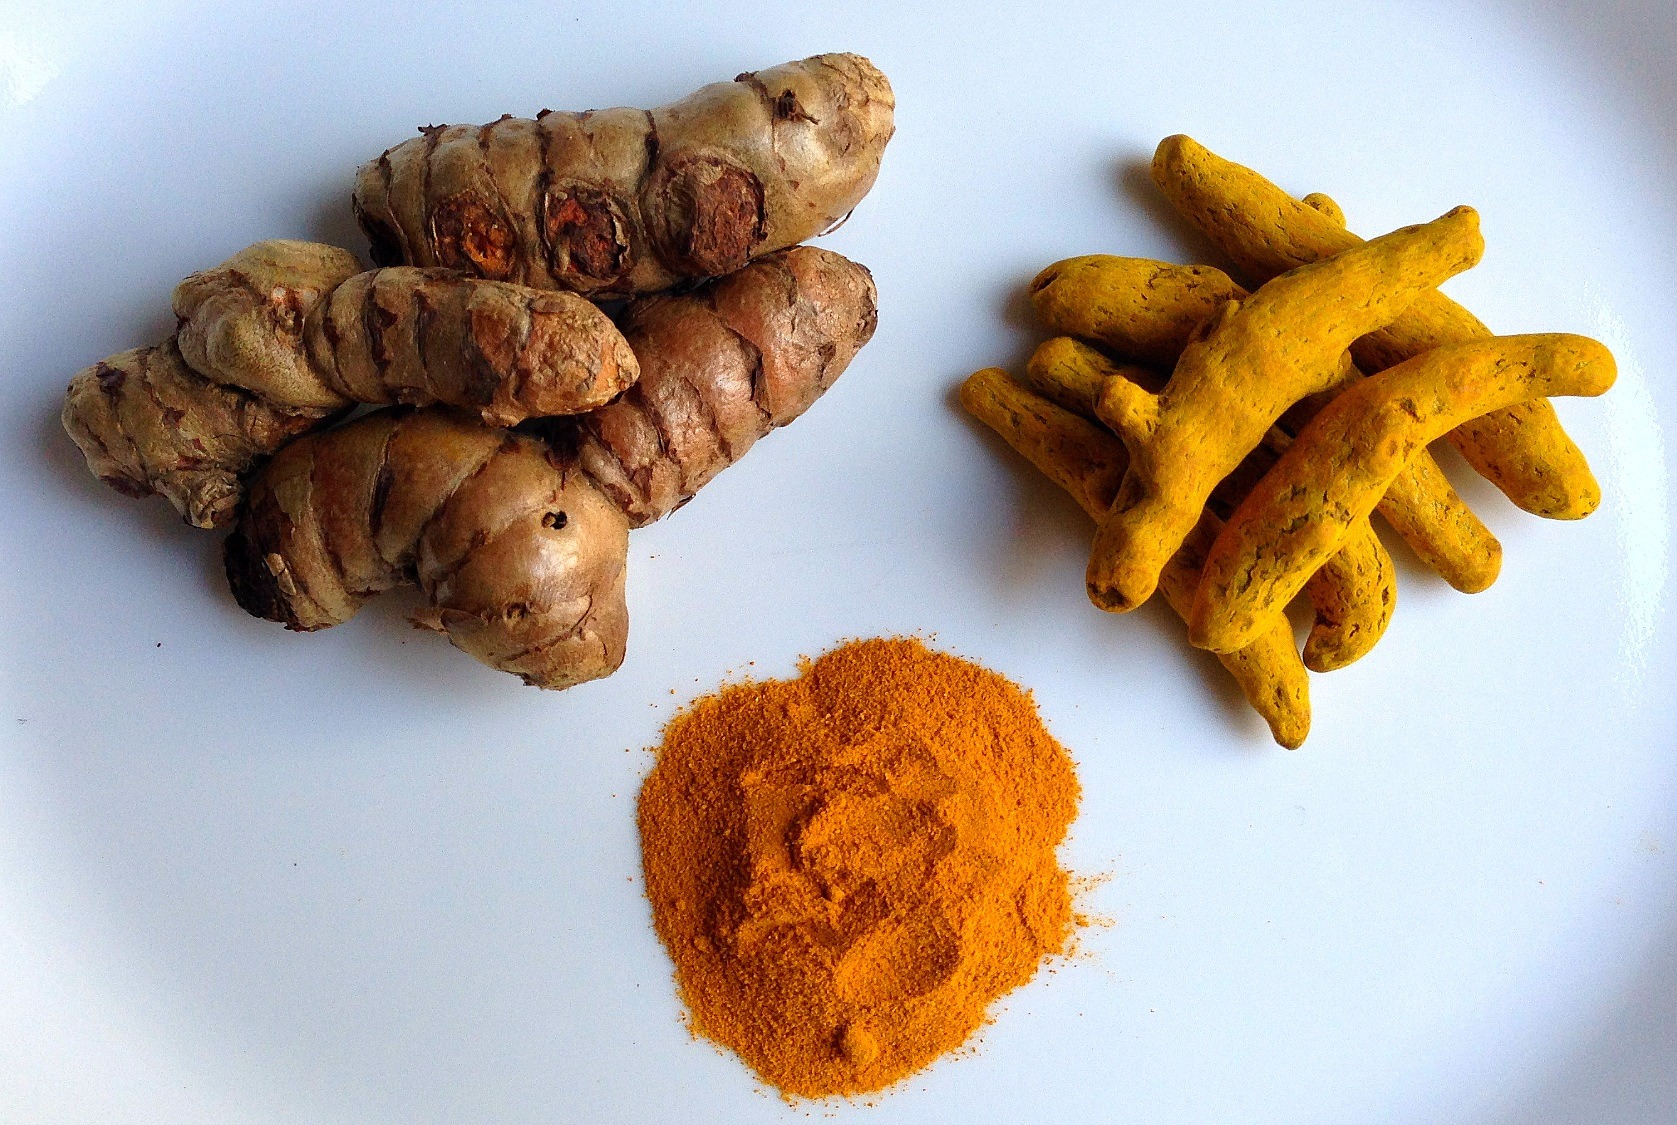
How To Boil Turmeric Root
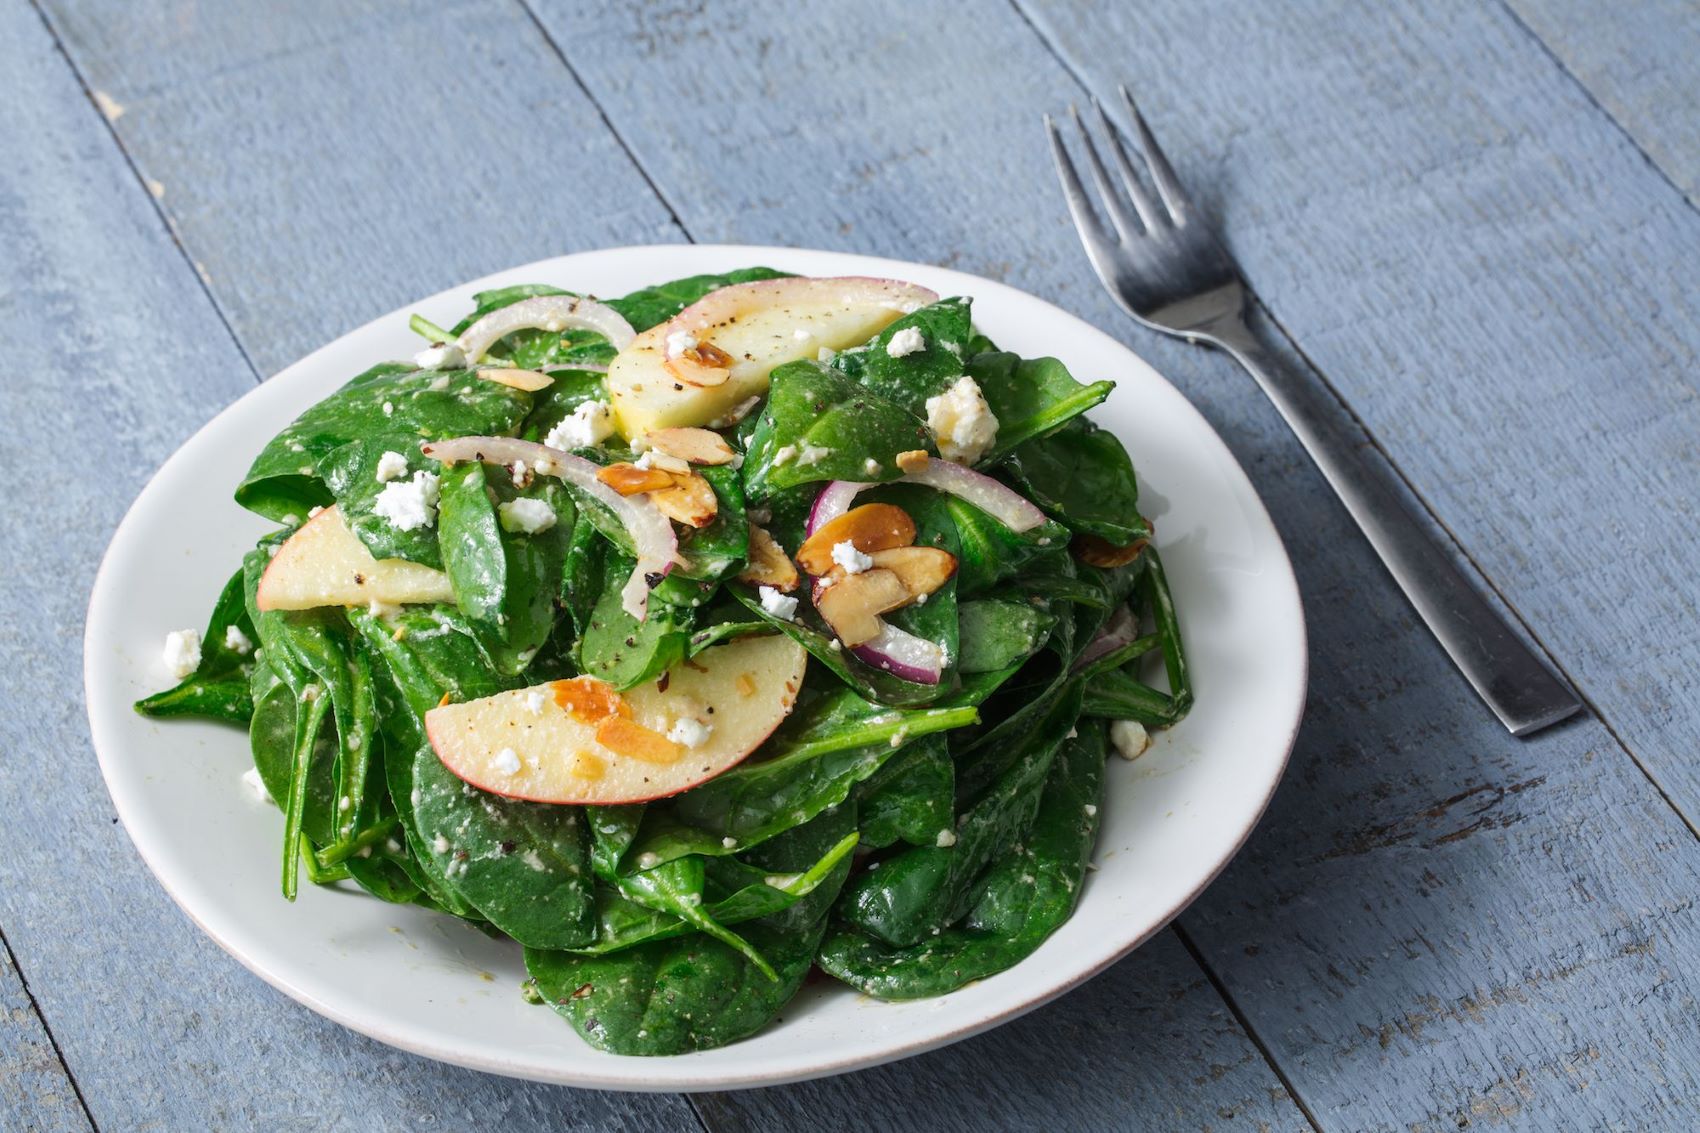
How To Cut Spinach For Salad