Mastering the Art of Cooking Rice in the Ninja
Are you tired of inconsistent rice results? Look no further! In this article, we will guide you on how to cook rice to perfection using the versatile Ninja cooker. With its advanced features and precise settings, you’ll be able to cook fluffy and delicious rice every time. Let’s get started!
Choosing the Right Rice
Before we dive into the cooking process, it’s important to choose the right type of rice. You can use any variety of rice in your Ninja cooker, whether it’s long-grain, short-grain, basmati, or jasmine rice. However, keep in mind that the water-to-rice ratio may vary slightly depending on the type of rice you choose.
Measuring the Ingredients
Consistency is key when it comes to cooking rice, so let’s make sure we measure everything correctly. Here’s a simple guideline to follow:
- 1 cup of rice
- 1 1/2 cups of water
- A pinch of salt (optional)
Preparing the Rice
Once you’ve measured the ingredients, it’s time to prepare the rice for cooking:
- Place the desired amount of rice in a fine-mesh strainer and rinse under cold water. This helps remove excess starch and ensures fluffier cooked rice.
- After rinsing, transfer the rice to the inner pot of your Ninja cooker.
- Add the measured amount of water and a pinch of salt if desired. Stir gently to distribute the salt evenly.
Setting Up the Ninja Cooker
Now that the rice is ready, it’s time to set up your Ninja cooker:
- Ensure that the inner pot is securely placed in the cooker.
- Close the lid of the cooker and make sure it’s properly locked.
- Select the “Rice” function on your Ninja cooker. If your model doesn’t have a specific “Rice” function, you can select the “Pressure Cook” or “Multi-Cook” function according to your cooker’s manual.
- Set the cooking time according to the type of rice you’re using. Typically, it ranges from 10-15 minutes for white rice and 20-25 minutes for brown rice.
- Once you’ve set the cooking time, press the “Start” button and let the Ninja cooker work its magic.
Allowing Natural Pressure Release
Once the cooking time is complete, it’s important to allow natural pressure release for about 10 minutes. This helps the rice to continue cooking and absorb any remaining moisture, resulting in evenly cooked grains.
Fluffing and Serving the Rice
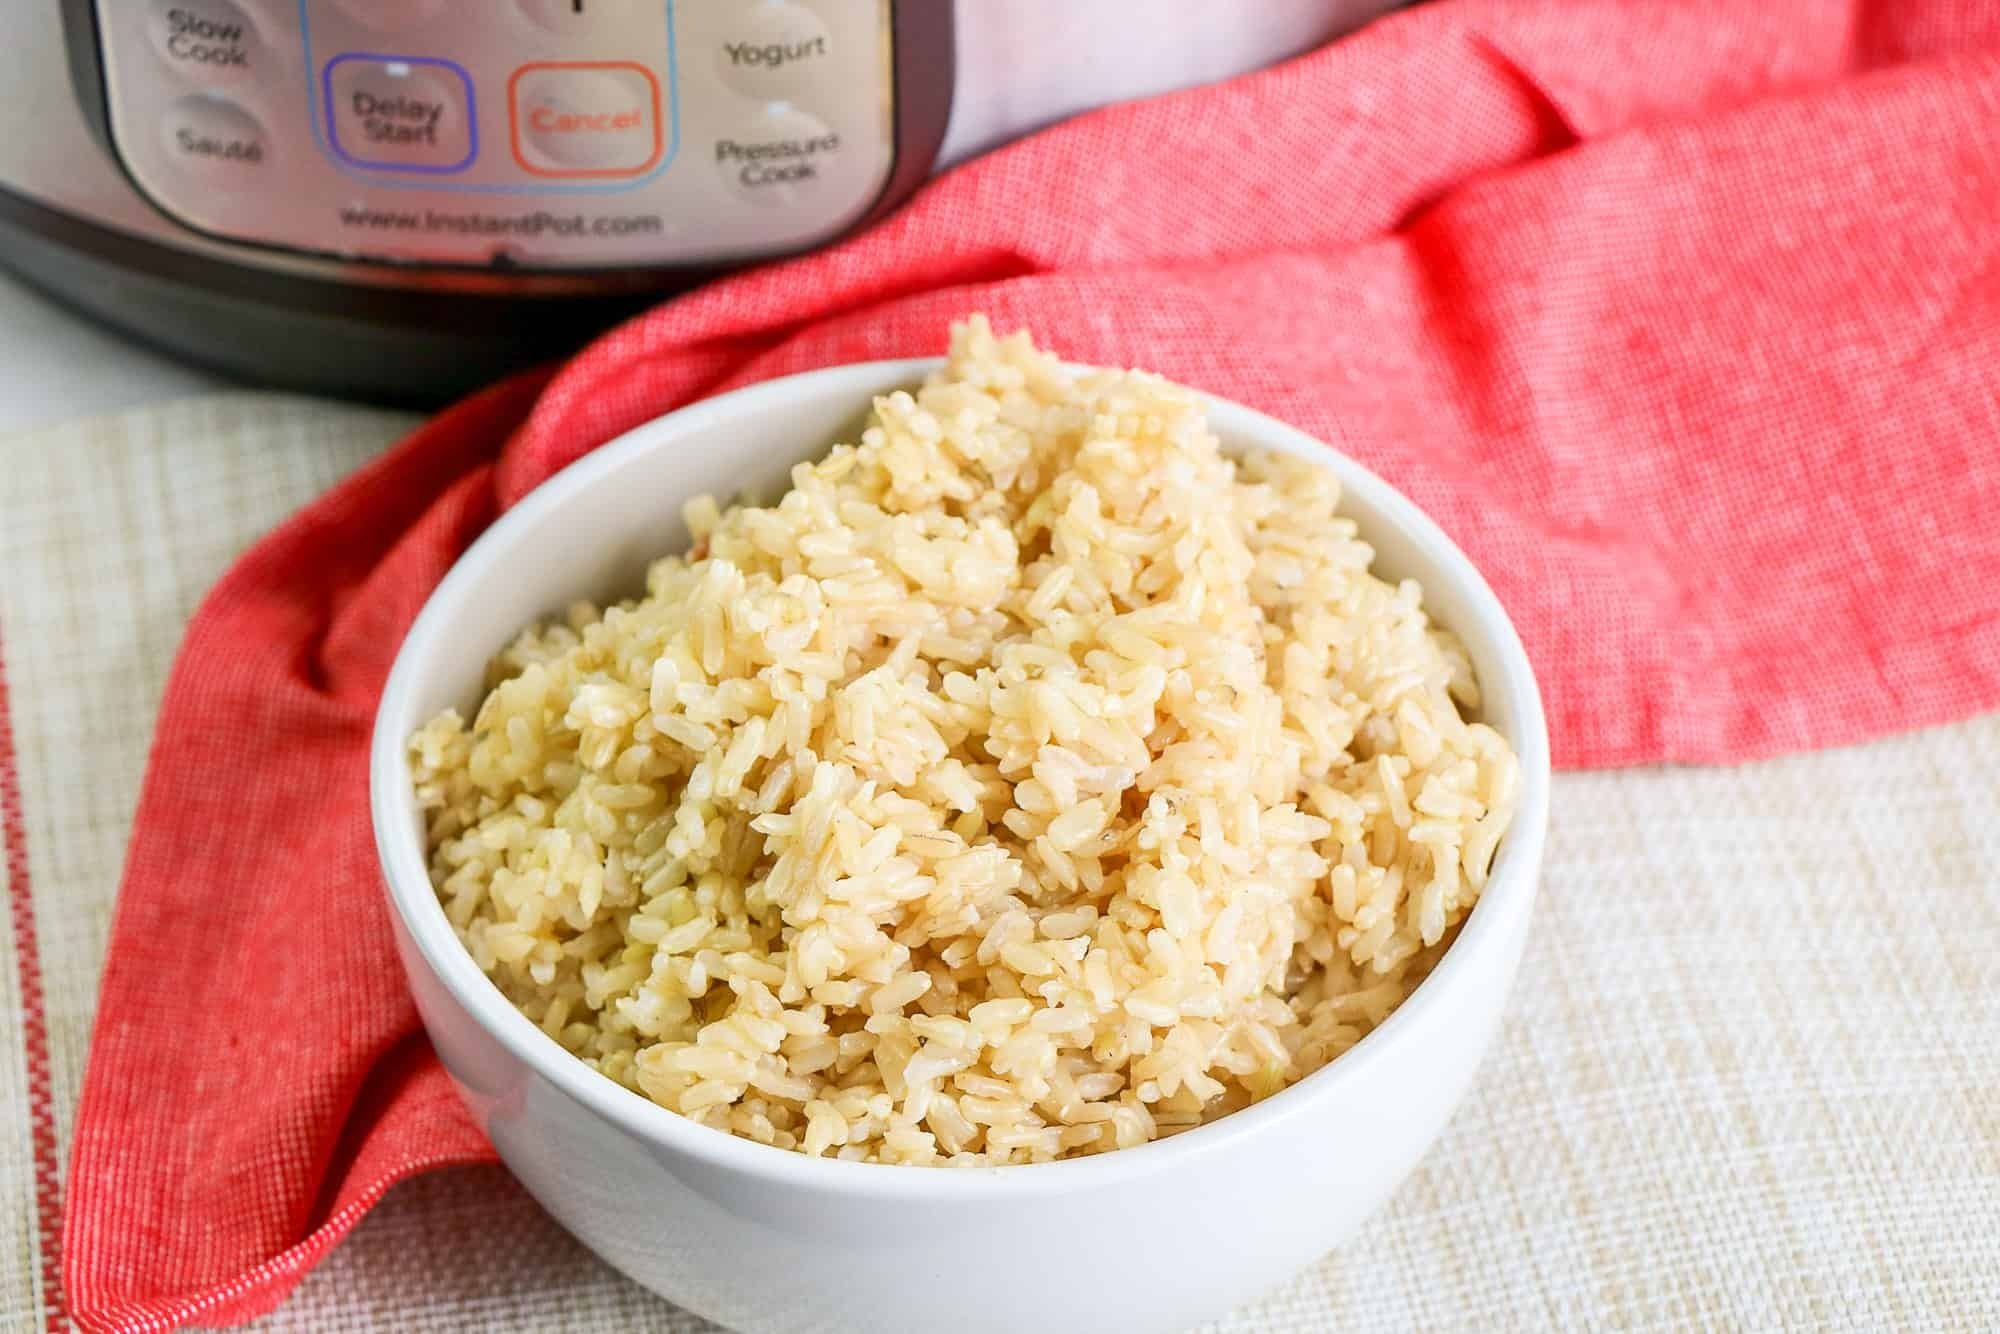
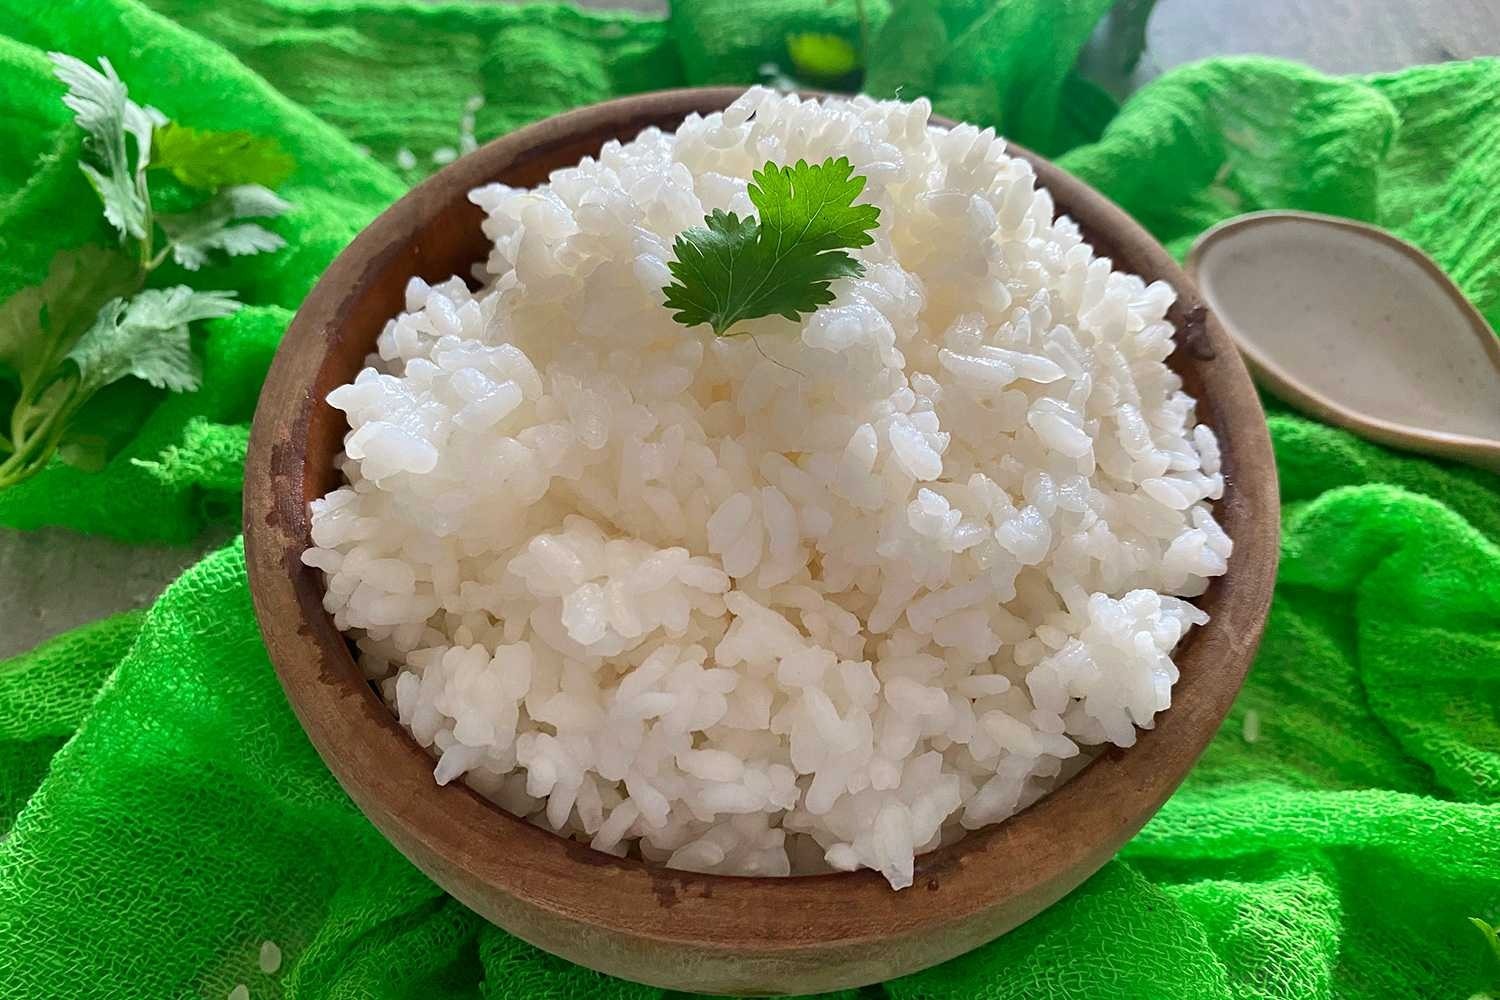
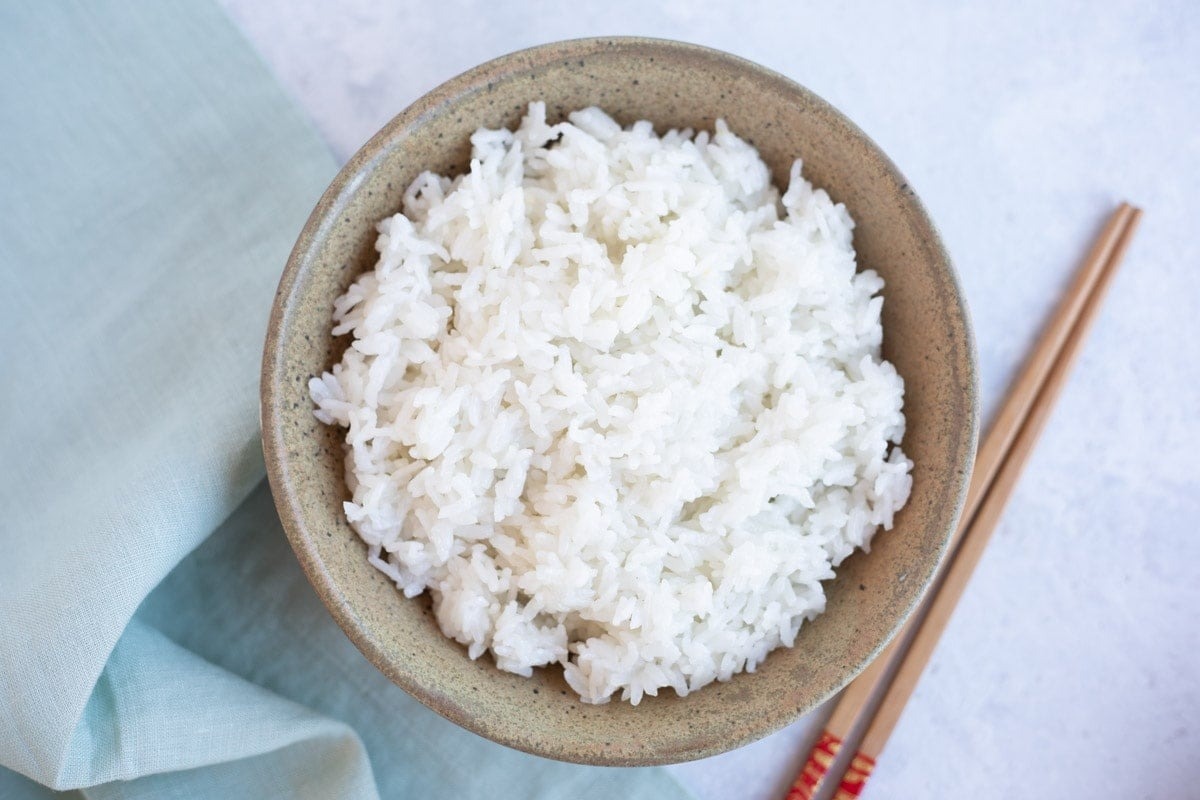
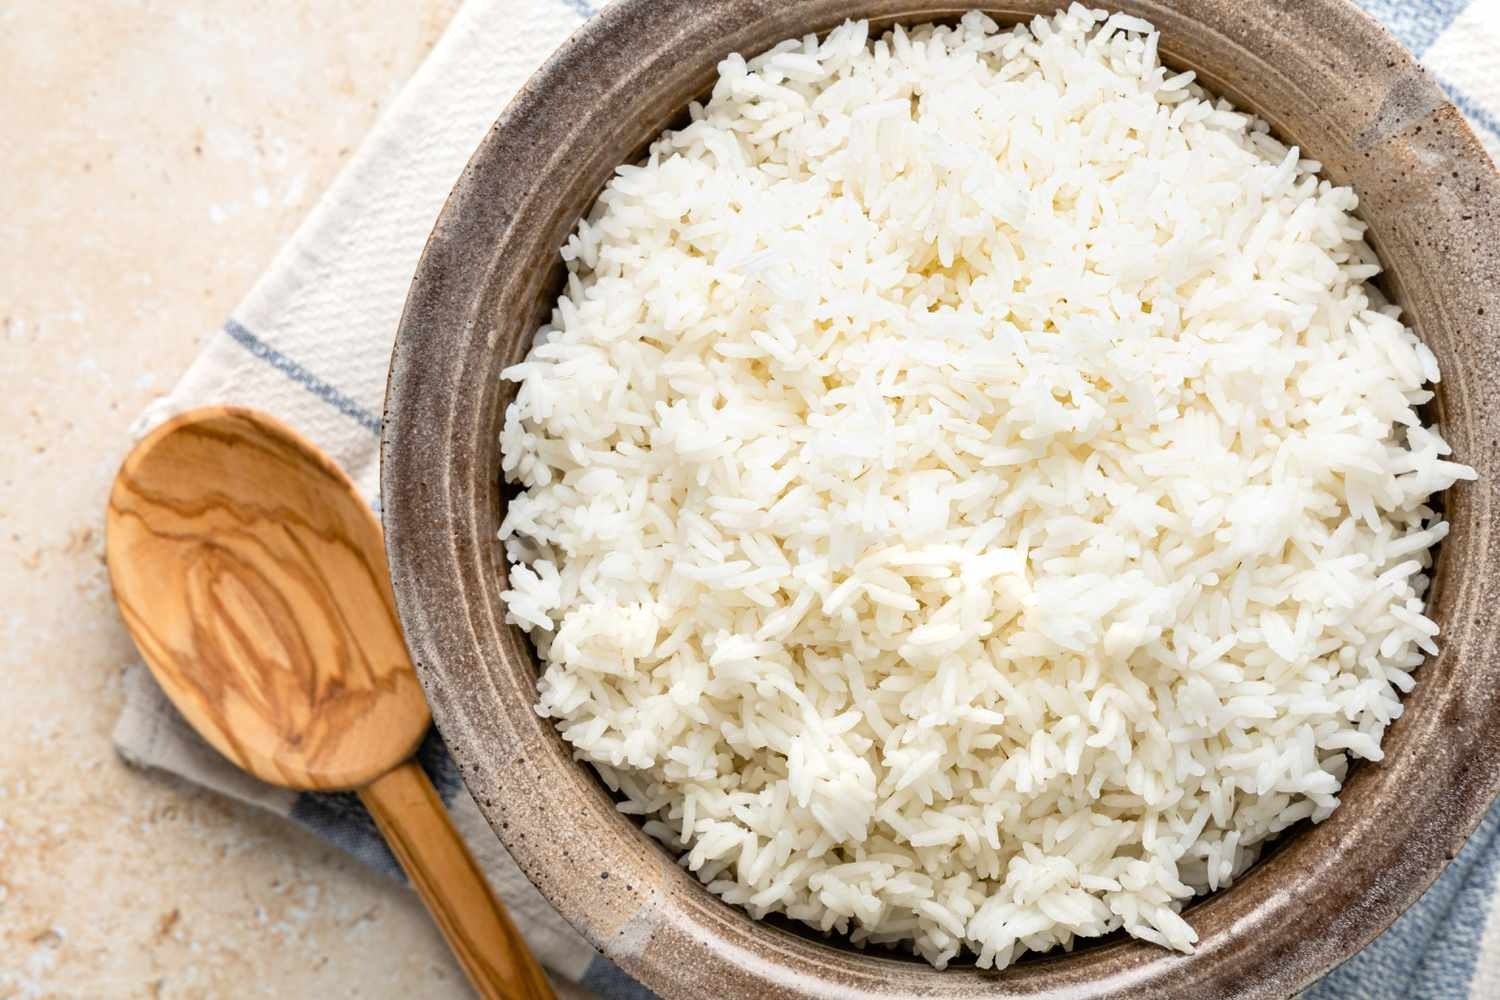
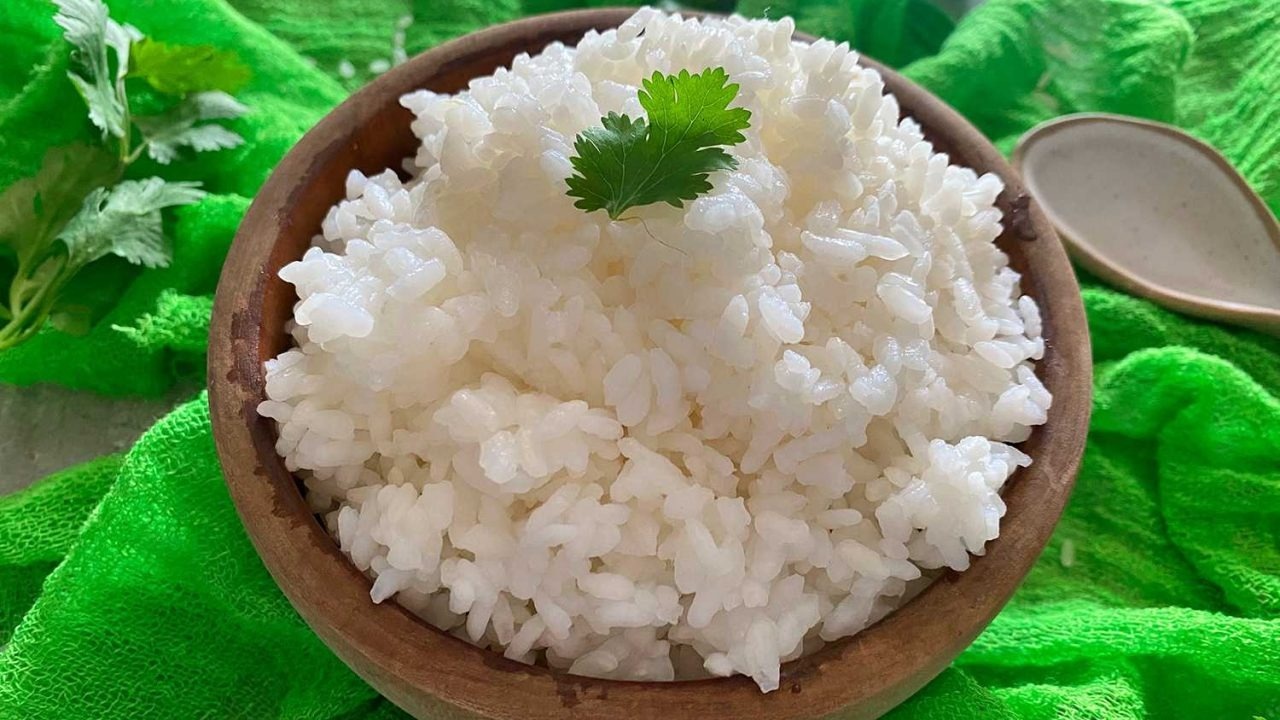
After the natural pressure release, carefully open the lid of the Ninja cooker. With a fork or rice paddle, gently fluff the rice to separate the grains and release any excess steam. Now your perfectly cooked rice is ready to be served!
Remember, practice makes perfect. Adjust the water-to-rice ratio and cooking time as necessary to suit your preference and the type of rice you’re using. With the Ninja cooker’s precise settings and your newfound knowledge, you’ll soon become a rice cooking expert!
For those looking to try their hand at cooking rice in a Ninja, there are several recipes worth exploring. The Vegetable Fried Rice is a great starting point, providing a simple yet flavorful dish. For something heartier, the Beef and Broccoli Rice Bowl is a perfect blend of savory beef and crisp broccoli. If you're after a rich, aromatic experience, the Thai Coconut Curry Rice combines coconut milk and spices for a creamy, flavorful dish. Seafood lovers might enjoy the Spanish Paella, a delightful mix of seafood, chicken, and saffron-infused rice. Lastly, the Mexican Rice and Beans offers a tasty and filling option that's both budget-friendly and easy to make. Each of these recipes not only showcases the versatility of the Ninja but also provides a delicious meal for any occasion.
Was this page helpful?
Read Next: How To Cook Uncle Ben’s Brown Rice
