How to Cook a Frozen Roast in a Crock Pot
If you’re in a hurry or simply forgot to defrost your roast, don’t fret! With a few simple steps, you can easily cook a frozen roast in a crock pot and still end up with a delicious and tender meal. Let’s dive in!
Ingredients:
- 1 frozen roast (beef, pork, or lamb)
- 1 cup beef or vegetable broth
- 1 tablespoon olive oil
- 2 cloves garlic, minced
- 1 onion, sliced
- 1 teaspoon dried herbs (such as rosemary, thyme, or oregano)
- Salt and pepper to taste
Instructions:
- Prepare the crock pot: Start by ensuring your crock pot is clean and ready for use. Plug it in and set it to the desired cooking temperature.
- Sear the roast: Heat the olive oil in a skillet over medium-high heat. Season the frozen roast with salt and pepper, then sear it on all sides until browned. This step helps enhance the flavor and texture of the meat.
- Layer the ingredients: Place the sliced onions and minced garlic at the bottom of the crock pot. Add the seared roast on top, making sure to pour any drippings from the skillet into the pot as well.
- Add the liquid and herbs: Pour the beef or vegetable broth over the roast, ensuring that the liquid covers at least half of the meat. Sprinkle the dried herbs on top, evenly distributing the flavors.
- Cook on low and slow: Cover the crock pot with its lid and cook the frozen roast on low heat for 8-10 hours or on high heat for 4-6 hours. Slow cooking allows the meat to tenderize and absorb the flavors of the broth and herbs.
- Check for doneness: Use a meat thermometer to check the internal temperature of the roast. For beef, aim for 145°F (medium-rare) to 160°F (medium). Pork and lamb should reach an internal temperature of 145°F to 165°F.
- Let it rest and serve: Once the roast is cooked to your desired doneness, remove it from the crock pot and let it rest for a few minutes. This allows the juices to redistribute, resulting in a more tender and flavorful meat. Slice the roast against the grain and serve it with the delicious onions and garlic from the crock pot.
Voilà! You’ve successfully cooked a frozen roast in a crock pot. This method not only saves you time but also produces a mouthwatering meal that will impress your family and friends. So the next time you find yourself with a frozen roast and a craving for something hearty, don’t hesitate to give this recipe a try. Happy cooking!
Explore More Delicious Recipes and Uses
Having mastered the art of cooking a frozen roast in a crock pot, why not broaden your culinary horizons with a variety of delicious recipes designed for your slow cooker? From the hearty Hearty Classic Pot Roast to the robust flavors of Robust Beef Bourguignon, these recipes offer a fantastic way to utilize your new skills. For a savory twist, try the Savory Italian Beef, perfect for casual gatherings. If you're in the mood for something uniquely flavorful, the Sophisticated Coffee Braised Beef provides a sophisticated taste profile that is sure to impress. Each recipe has been tailored to help you make the most of your crock pot, ensuring tender, succulent meals that are both convenient and satisfying.
Was this page helpful?
Related Articles
How To Cook Smithfield Pork Tenderloin In Air Fryer
How To Cook Ground Beef Without A Stove
How To Cook Catfish In An Air Fryer
How To Cook A Bone-In Ham In Air Fryer
How To Cook Thin Sliced Pork Belly
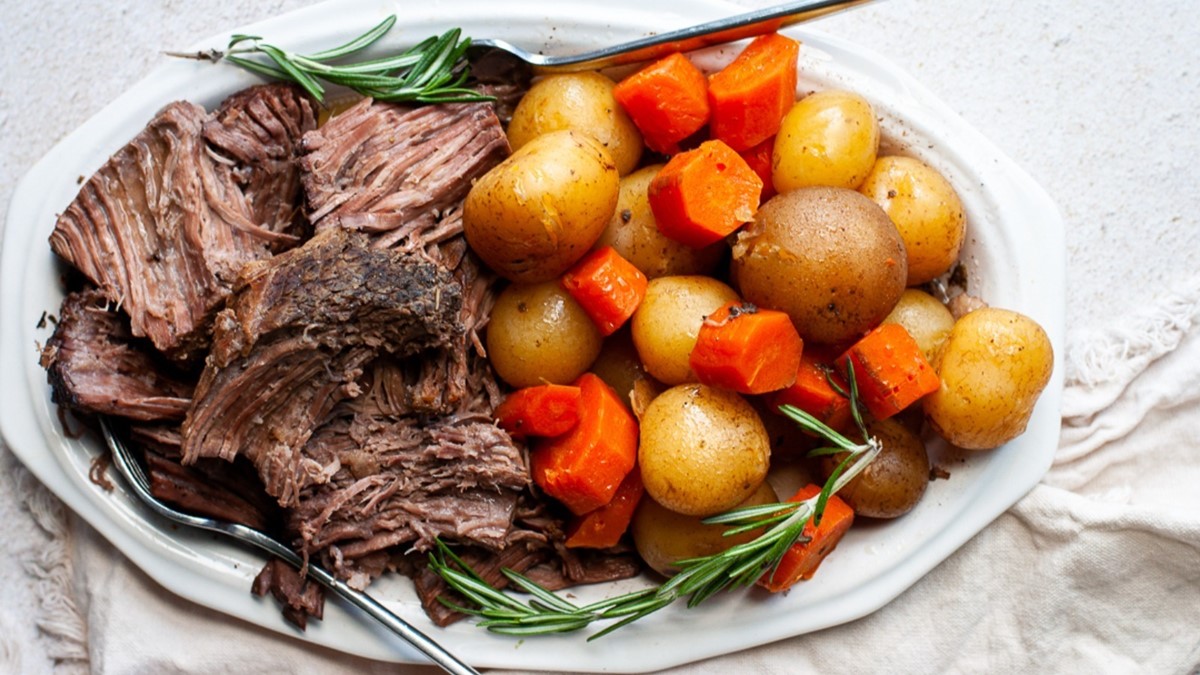
How To Cook A Rump Roast In A Slow Cooker
How To Cook Deer Jerky In The Oven

How To Cook Frozen Sausage Patties In The Oven
How To Cook Ribs In The Oven With Aluminum Foil
How To Cook Marinated Pork Chops In Oven
How To Cook A Tender T-Bone Steak