How To Cook A Ham In A Ninja Cooking System
Are you craving a delicious, tender ham for your next meal? Look no further! In this guide, we’ll show you how to perfectly cook a ham using the versatile Ninja Cooking System. With its ability to slow cook, roast, and even bake, this kitchen appliance is an excellent tool for creating mouthwatering ham dishes.
Step 1: Choose the Perfect Ham
Before you start cooking, it’s essential to select the right ham for your preferences. There are two main types of hams available: bone-in ham and boneless ham. Bone-in ham tends to be more flavorful, while boneless ham is easier to slice. Decide which one you prefer and purchase a high-quality ham from your local butcher or grocery store.
Step 2: Prepare the Ninja Cooking System
Now it’s time to get your Ninja Cooking System ready for action. Begin by thoroughly cleaning the cooking pot and ensuring that it’s dry. Install the appropriate rack or trivet that came with the appliance to elevate the ham and prevent it from touching the bottom of the pot.
Step 3: Season and Flavor
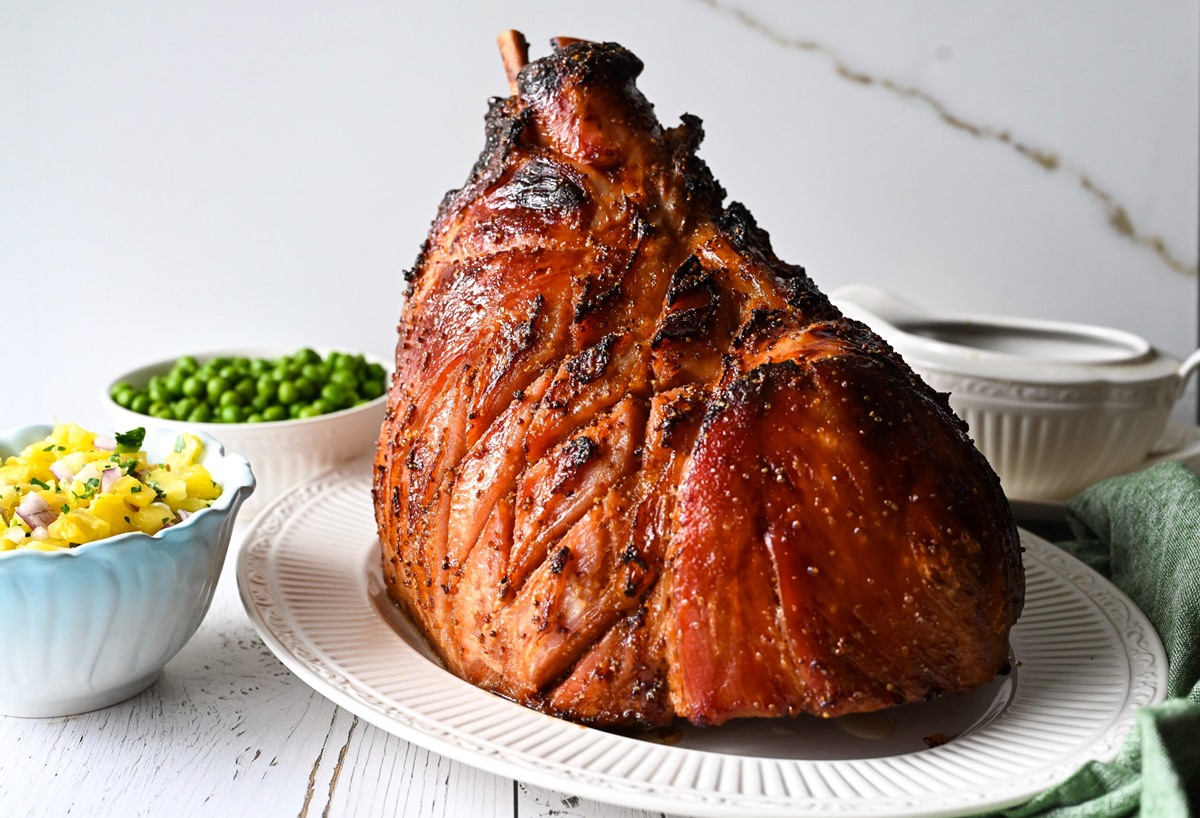
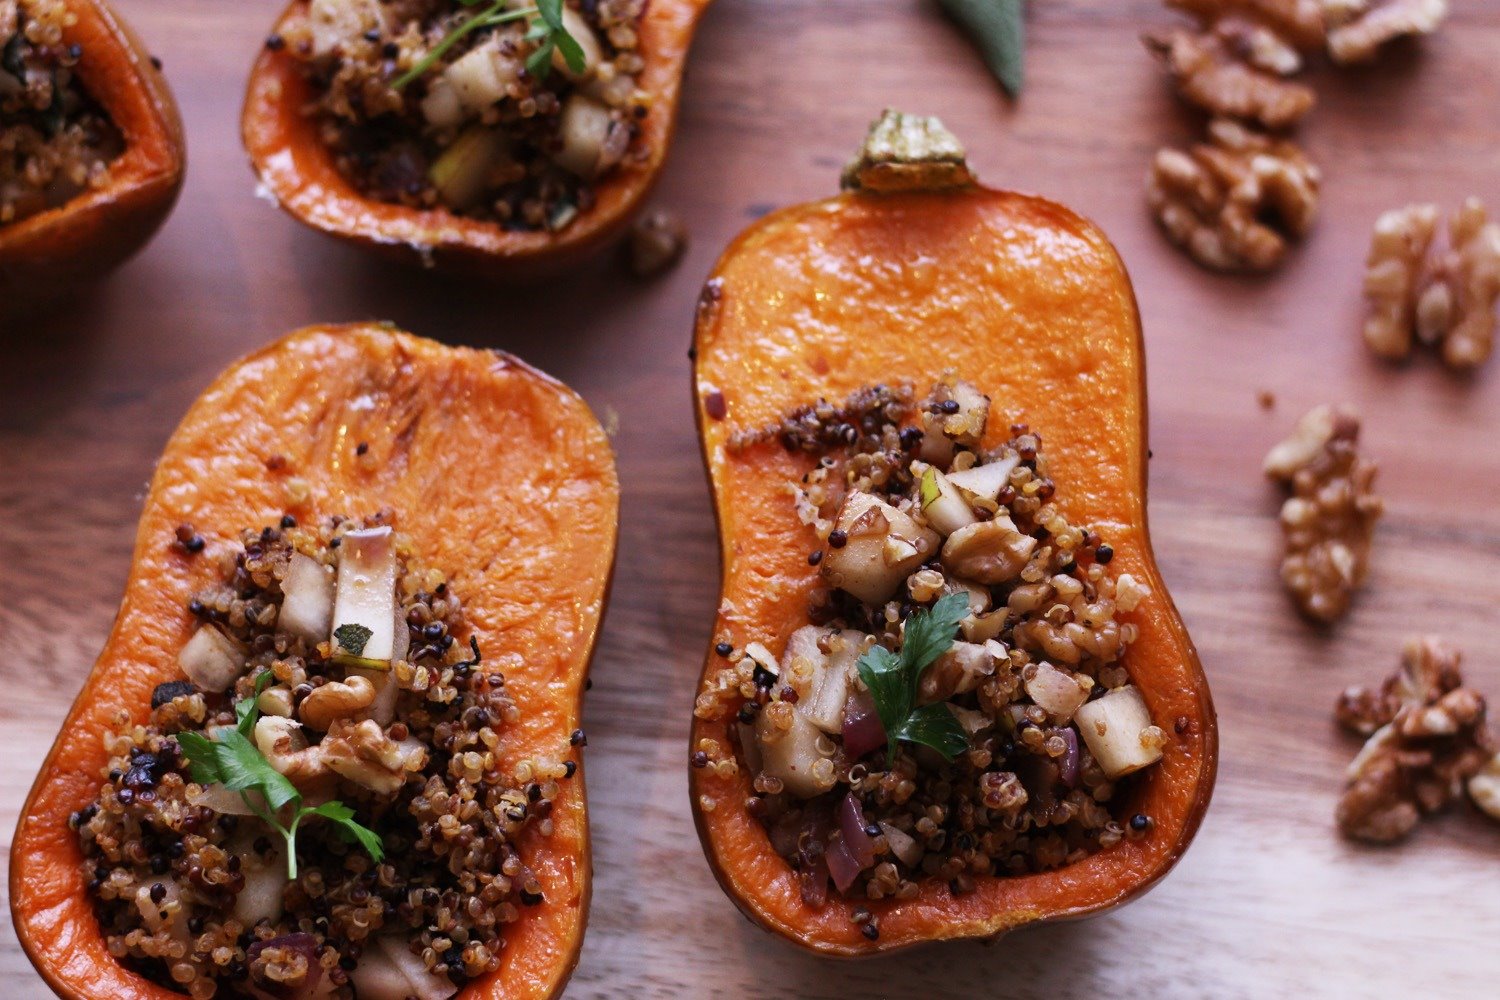
Adding the right seasonings and flavors will take your ham to the next level. You can use a variety of spices and herbs to create a unique taste profile. Classic options include cloves, brown sugar, mustard, and honey glaze. Apply the seasonings generously all over the ham to infuse it with flavor.
Step 4: Cook
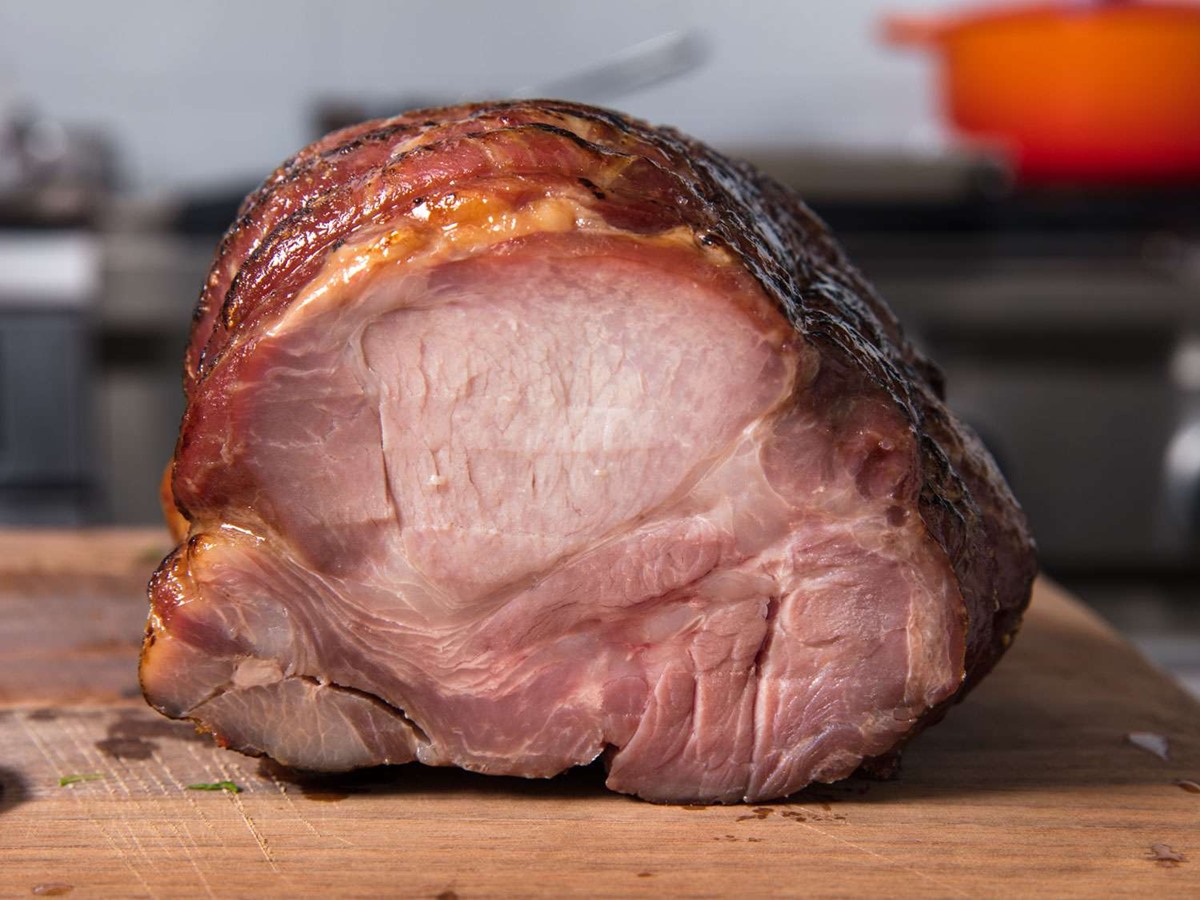
Place the seasoned ham on the prepared rack or trivet inside the Ninja Cooking System. Set the appliance to the desired cooking method. For a tender, fall-off-the-bone ham, choose the slow cook setting and cook on low heat for several hours. If you prefer a crispier exterior, opt for the roast or bake setting and adjust the cooking time accordingly.
Step 5: Let it Rest
Once the ham is fully cooked, carefully remove it from the Ninja Cooking System using oven mitts or silicone grips. Allow the ham to rest on a cutting board or serving dish for at least 15 minutes. This resting period allows the juices to redistribute, ensuring that each slice is juicy and flavorful.
Step 6: Carve and Serve
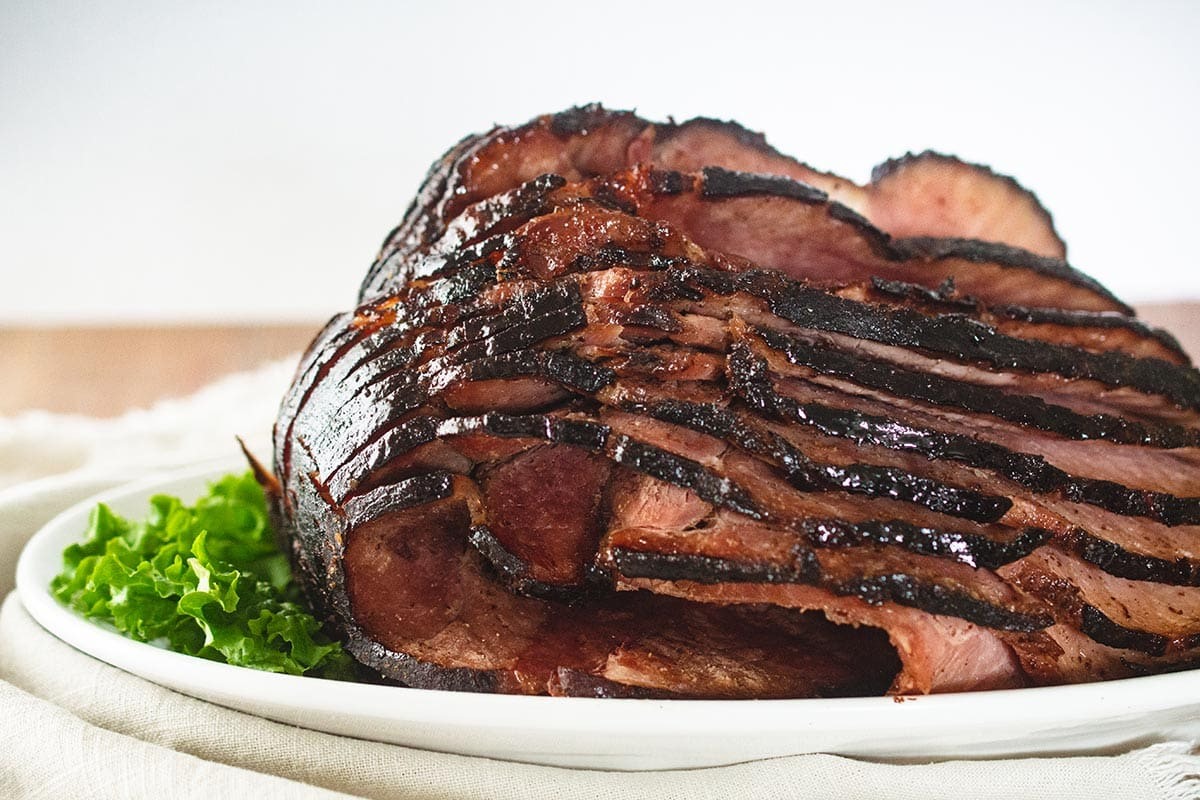
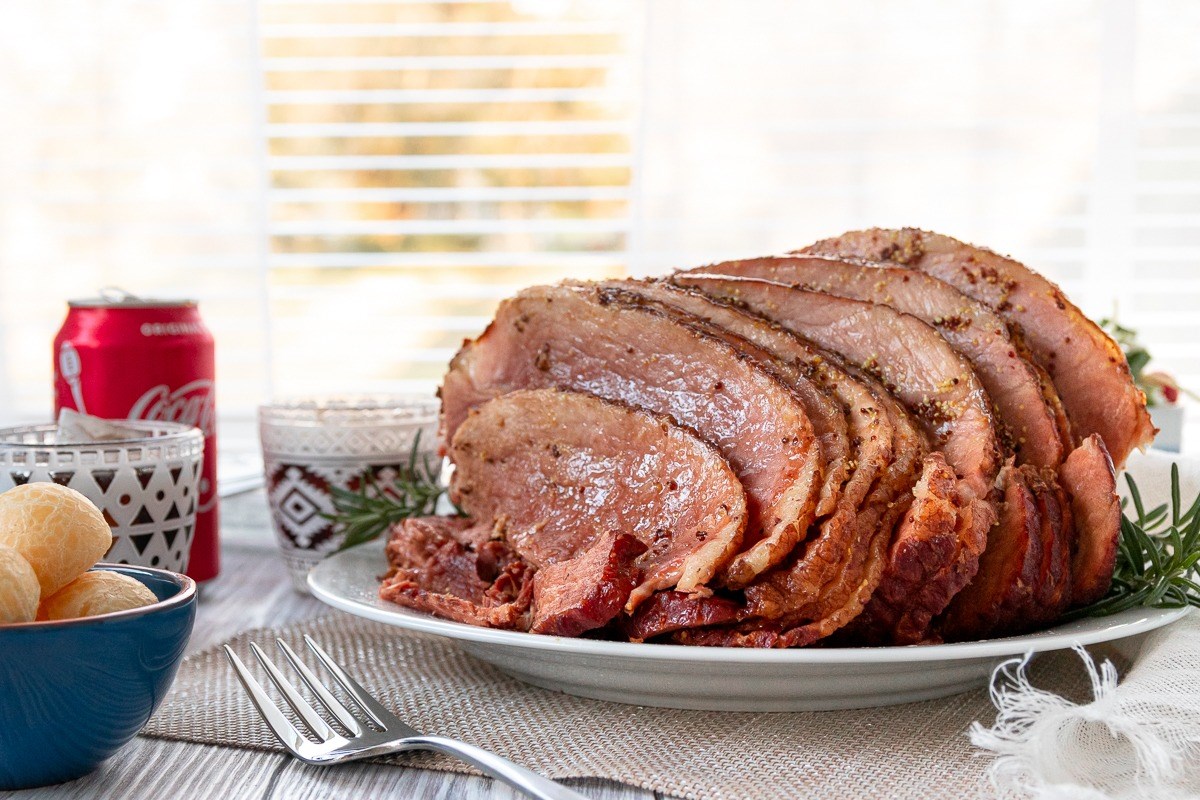
Now comes the fun part – carving and serving your perfectly cooked ham! Use a sharp knife to slice the ham into thin or thick slices, depending on your preference. Arrange the slices on a platter and serve alongside your favorite side dishes, such as mashed potatoes, roasted vegetables, or a fresh salad.
Enjoy Your Delicious Ninja-Cooked Ham!
Congratulations! You’ve mastered the art of cooking a ham in a Ninja Cooking System. The tender, flavorful ham is sure to impress your family and guests. Don’t be surprised if they come back for seconds!
Remember to experiment with different flavors and seasonings to create unique variations of this classic dish. The versatility of the Ninja Cooking System allows you to get creative and explore new flavors with each cooking adventure.
So, next time you’re in the mood for a mouthwatering ham, don’t hesitate to use your trusty Ninja Cooking System. Follow these steps, and you’ll be well on your way to a ham that’s tender, juicy, and bursting with flavor.
Readers looking to master cooking ham in a Ninja Cooking System will find a variety of recipes to try, such as the Honey Glazed Ham Recipe, which offers a sweet and savory finish perfect for any occasion. For those who love a bit of zest, the Brown Sugar and Mustard Ham Recipe offers a tangy twist that pairs well with the ham's natural flavors. For a tropical flair, the Pineapple Glazed Ham Recipe is a must-try, providing a delightful balance between sweet and tart. Another standout is the Maple Bourbon Ham Recipe, which infuses the ham with rich, smoky notes. Finally, the Classic Holiday Ham Recipe is perfect for traditionalists looking for that quintessential holiday flavor. These recipes provide a range of flavors and techniques that will help any home cook make the most of their Ninja Cooking System.
Was this page helpful?
Read Next: How To Cook Enoki Mushrooms In Soup
Related Articles
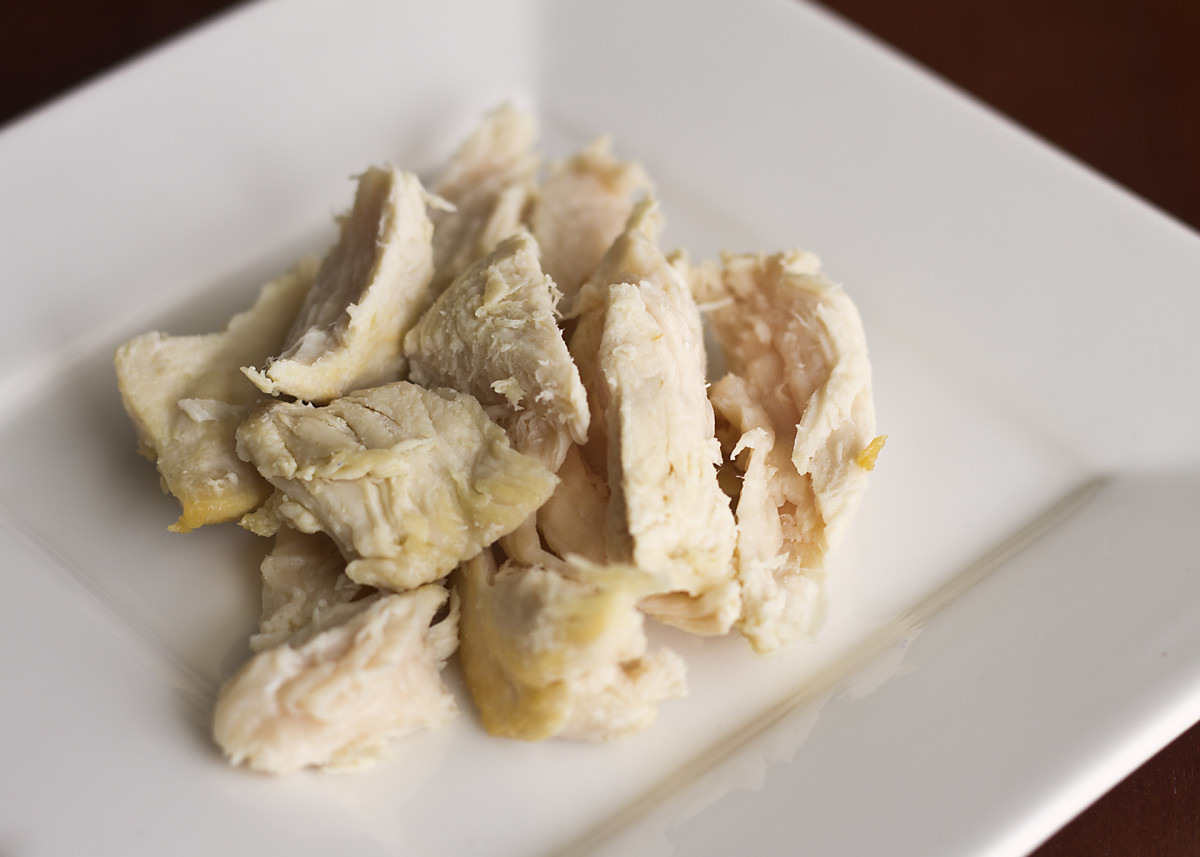
How To Cook Chicken For Dog With Upset Stomach
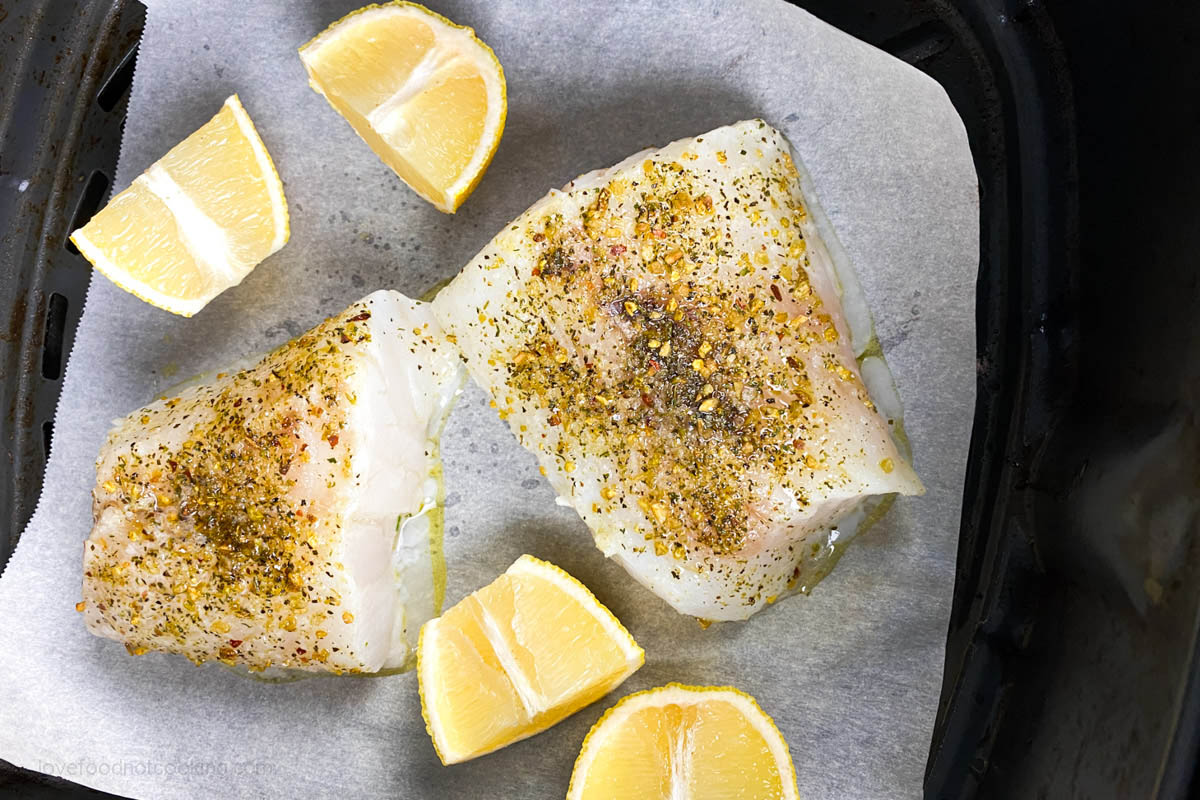
How To Cook White Fish In Air Fryer
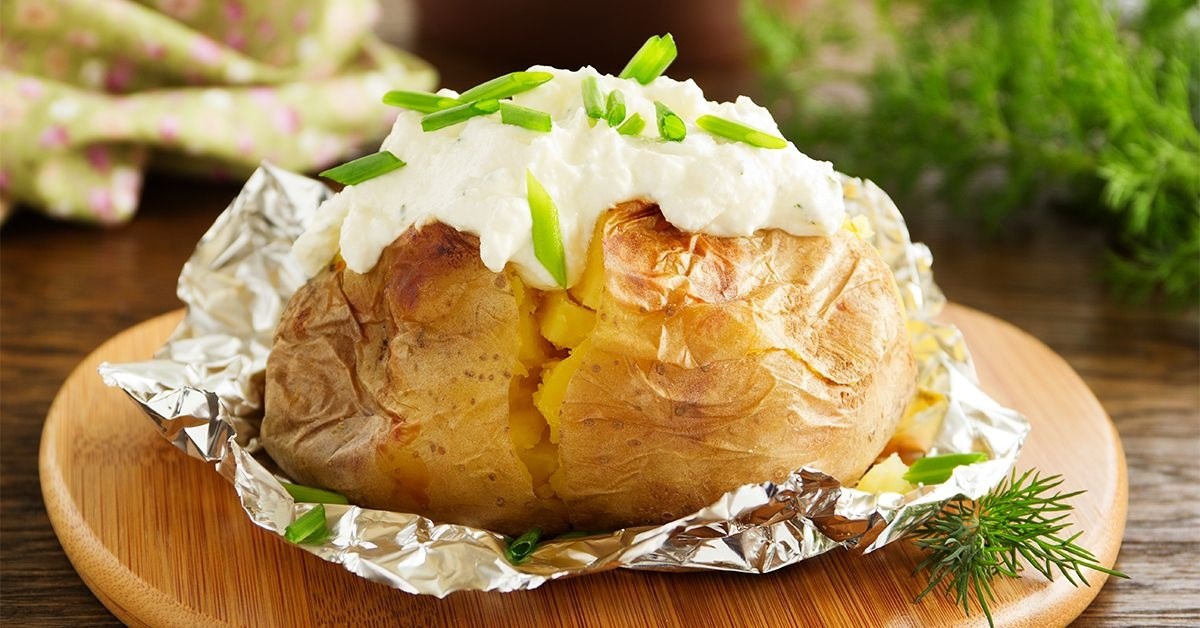
How To Cook A Baked Potato In Foil
How To Cook A Picnic Ham Bone In
How To Cook A Raw Picnic Ham
How To Cook A Ham In Electric Roaster
How To Cook A Country Ham With Coke

How To Cook Yellow Squash In Microwave
How To Cook A Honeynut Squash
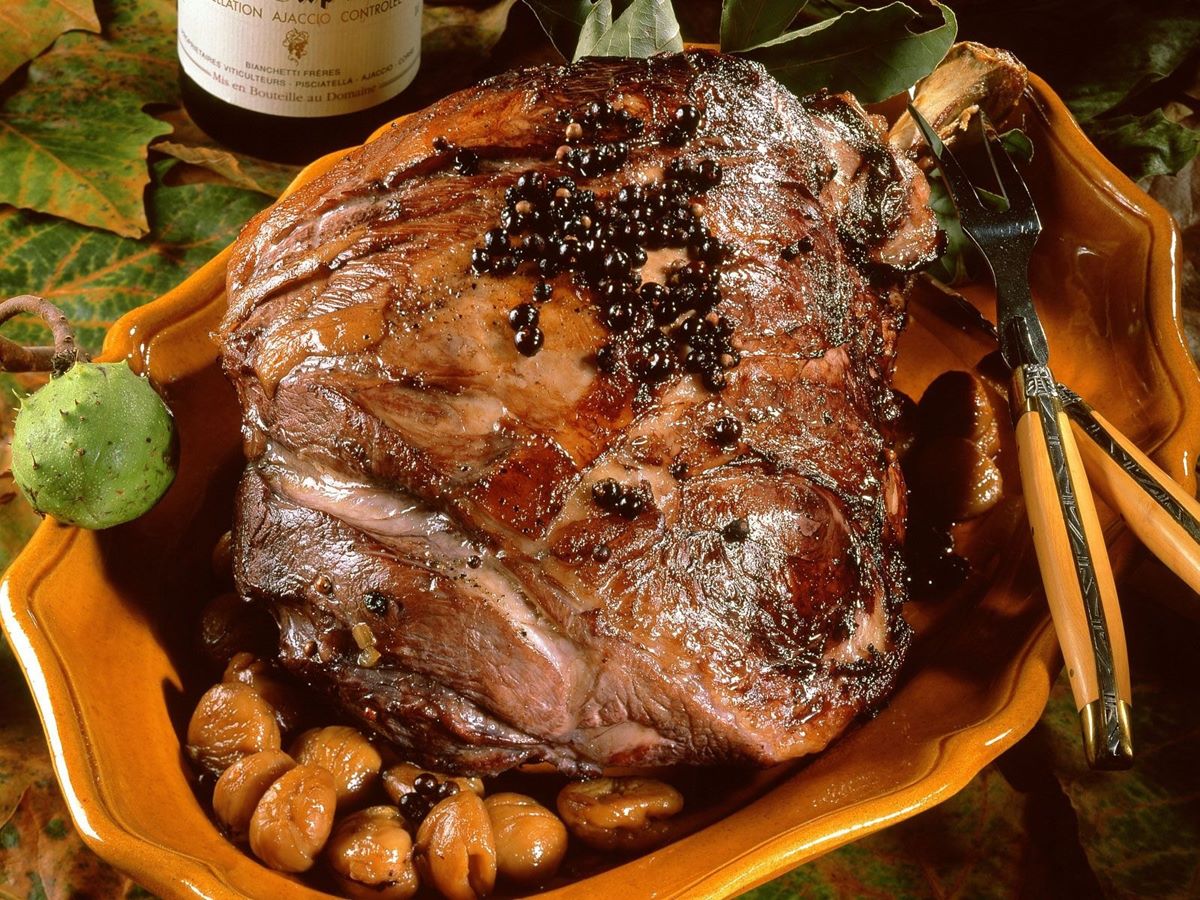
How To Cook Wild Boar Meat
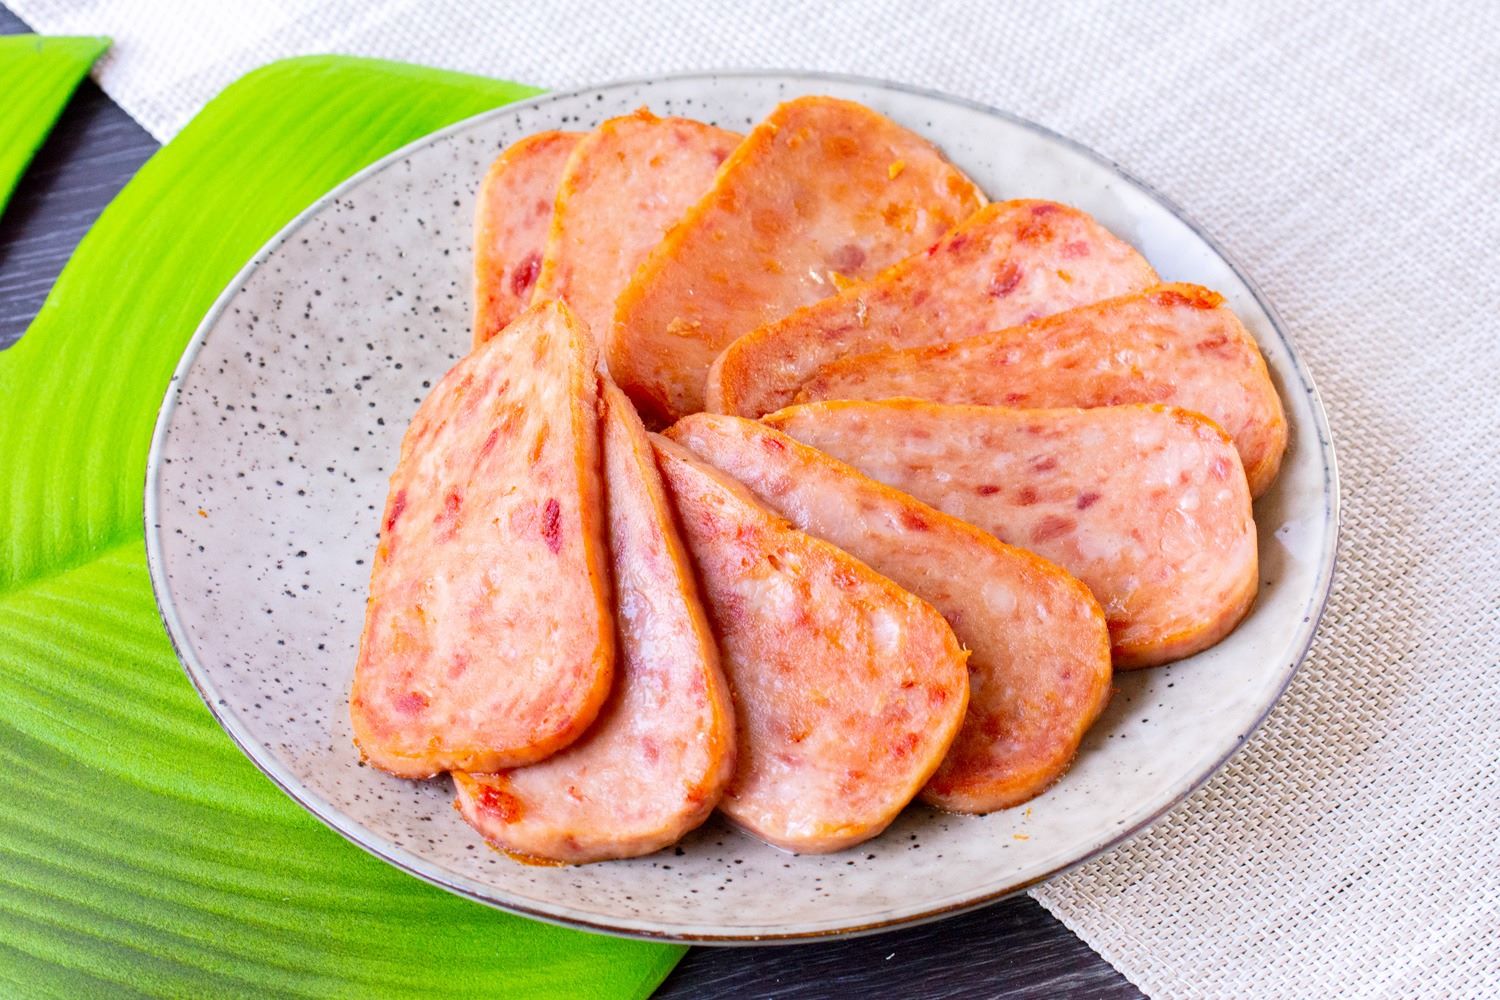
How To Cook Luncheon Meat