Broiling in Your RV Oven: A Quick and Easy Guide
Broiling can be a convenient and efficient way to cook delicious meals in your RV oven. Whether you’re grilling steaks, roasting vegetables, or melting cheese on top of a casserole, broiling can add a flavorful touch to your dishes. If you’re new to RV cooking or just looking to improve your broiling skills, we’ve got you covered with this simple guide on how to broil in your RV oven.
Preparation Is Key
Before you start broiling, it’s important to prepare your ingredients and your oven for the cooking process. Here’s what you need to do:
- Preheat the oven: Turn your RV oven to the broil setting and allow it to preheat for at least 10 minutes. This will ensure that the oven is hot enough to properly broil your food.
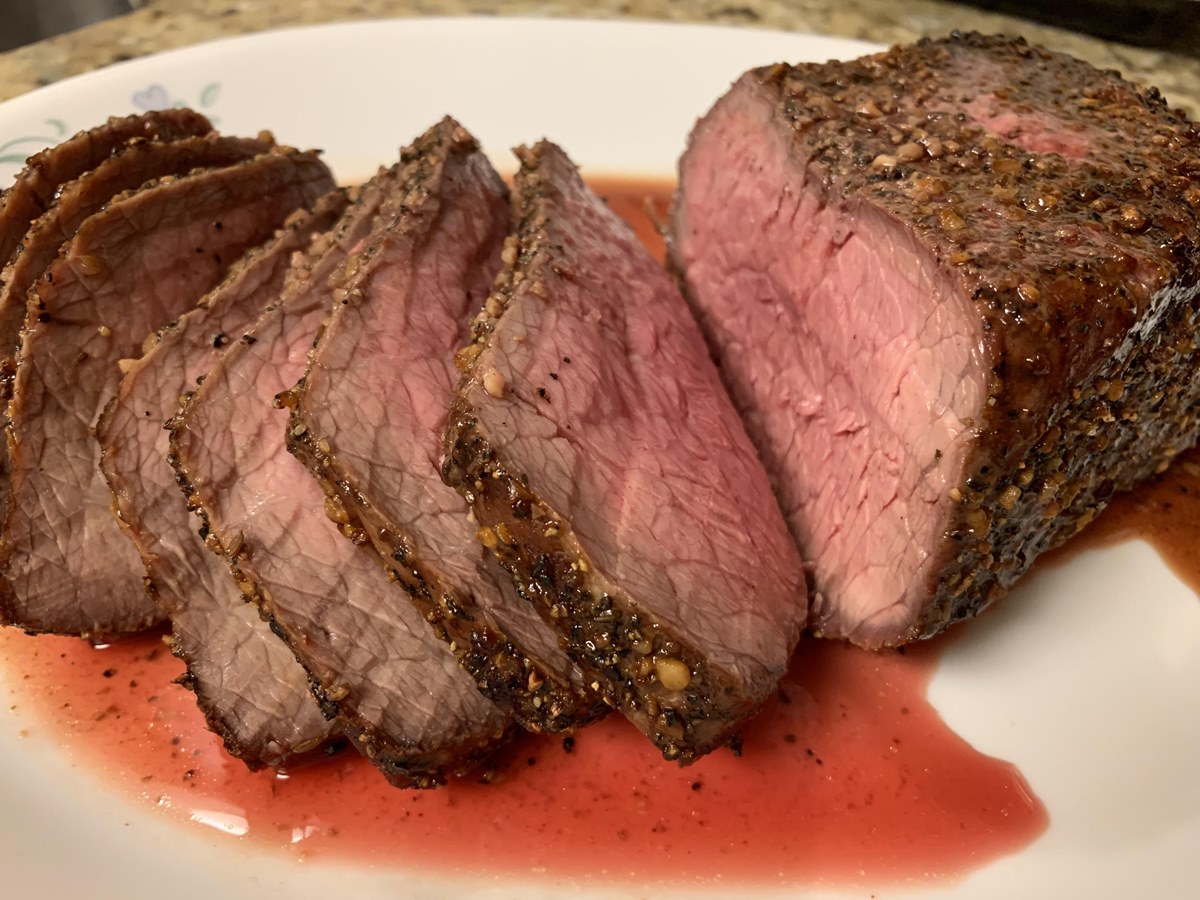
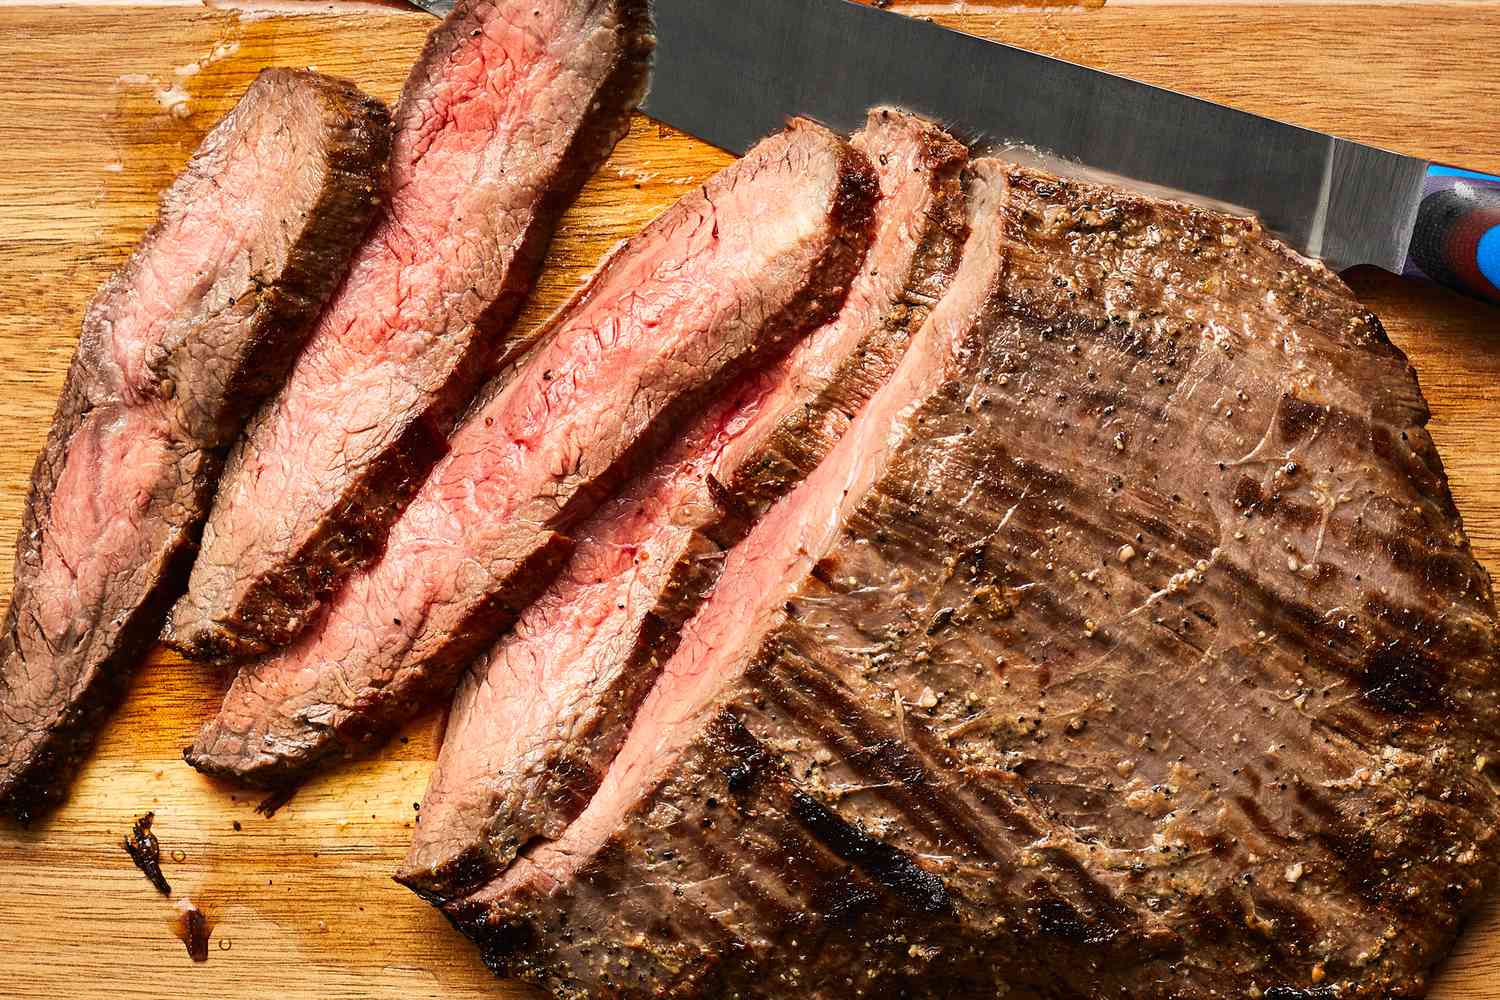
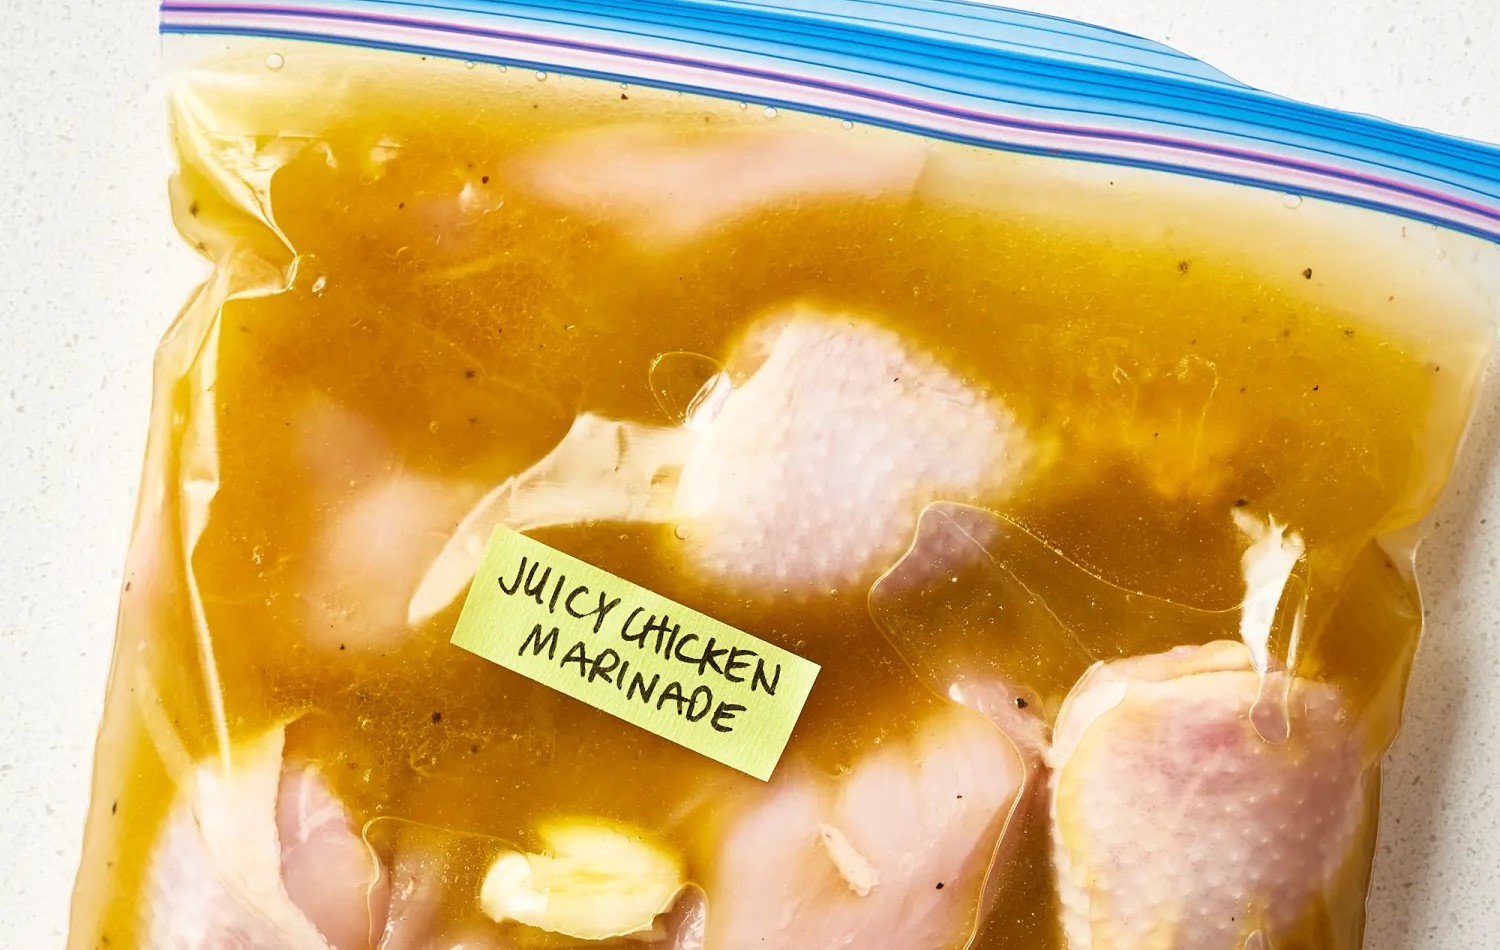
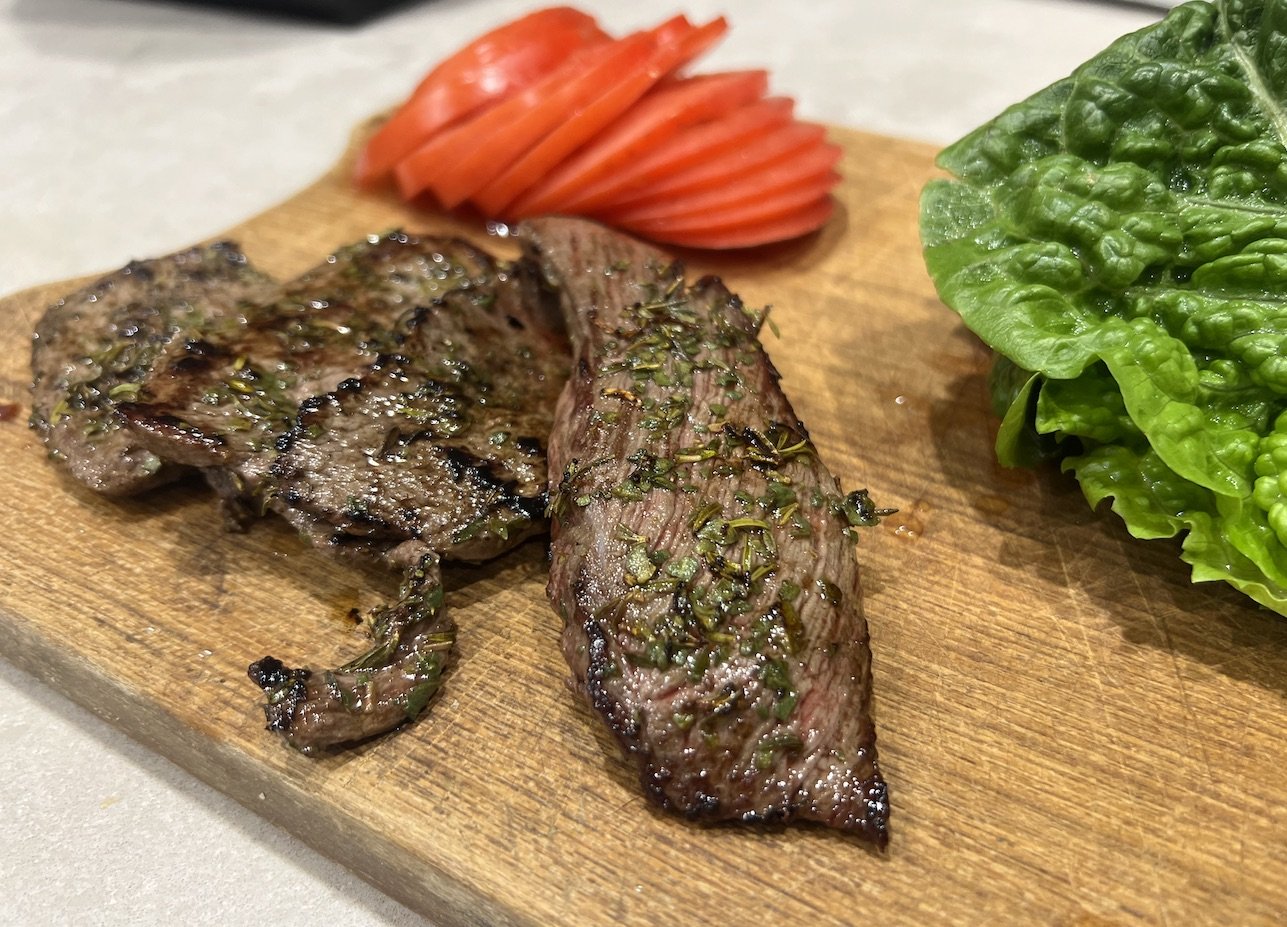
- Prepare your ingredients: Season or marinate your food as desired. For example, if you’re broiling steaks, you might want to season them with salt, pepper, and your favorite herbs and spices.
- Use the right cookware: Choose a broiler pan or a shallow baking dish that can withstand high heat. This will help ensure even cooking and easy cleanup.
Broiling Techniques
Once your oven is preheated and your ingredients are ready, it’s time to start broiling. Here are a few techniques to keep in mind:
- Positioning the rack: Adjust the oven rack to the desired position based on the thickness of your food and the level of browning you want to achieve. For example, if you want a well-done crust on top of your dish, place the rack closer to the broiler element.
- Monitoring the cooking process: Keep an eye on your food as it broils to prevent burning. You may need to turn the food halfway through the cooking time for even browning.
- Using the broiler pan: If you’re using a broiler pan, make sure to place the food on the slotted top portion to allow the drippings to fall onto the lower pan, preventing the food from steaming in its juices.
Broiling Tips
Here are a few additional tips to help you achieve the best results when broiling in your RV oven:
- Use a meat thermometer: For meats, use a meat thermometer to ensure that they reach the desired internal temperature for doneness.
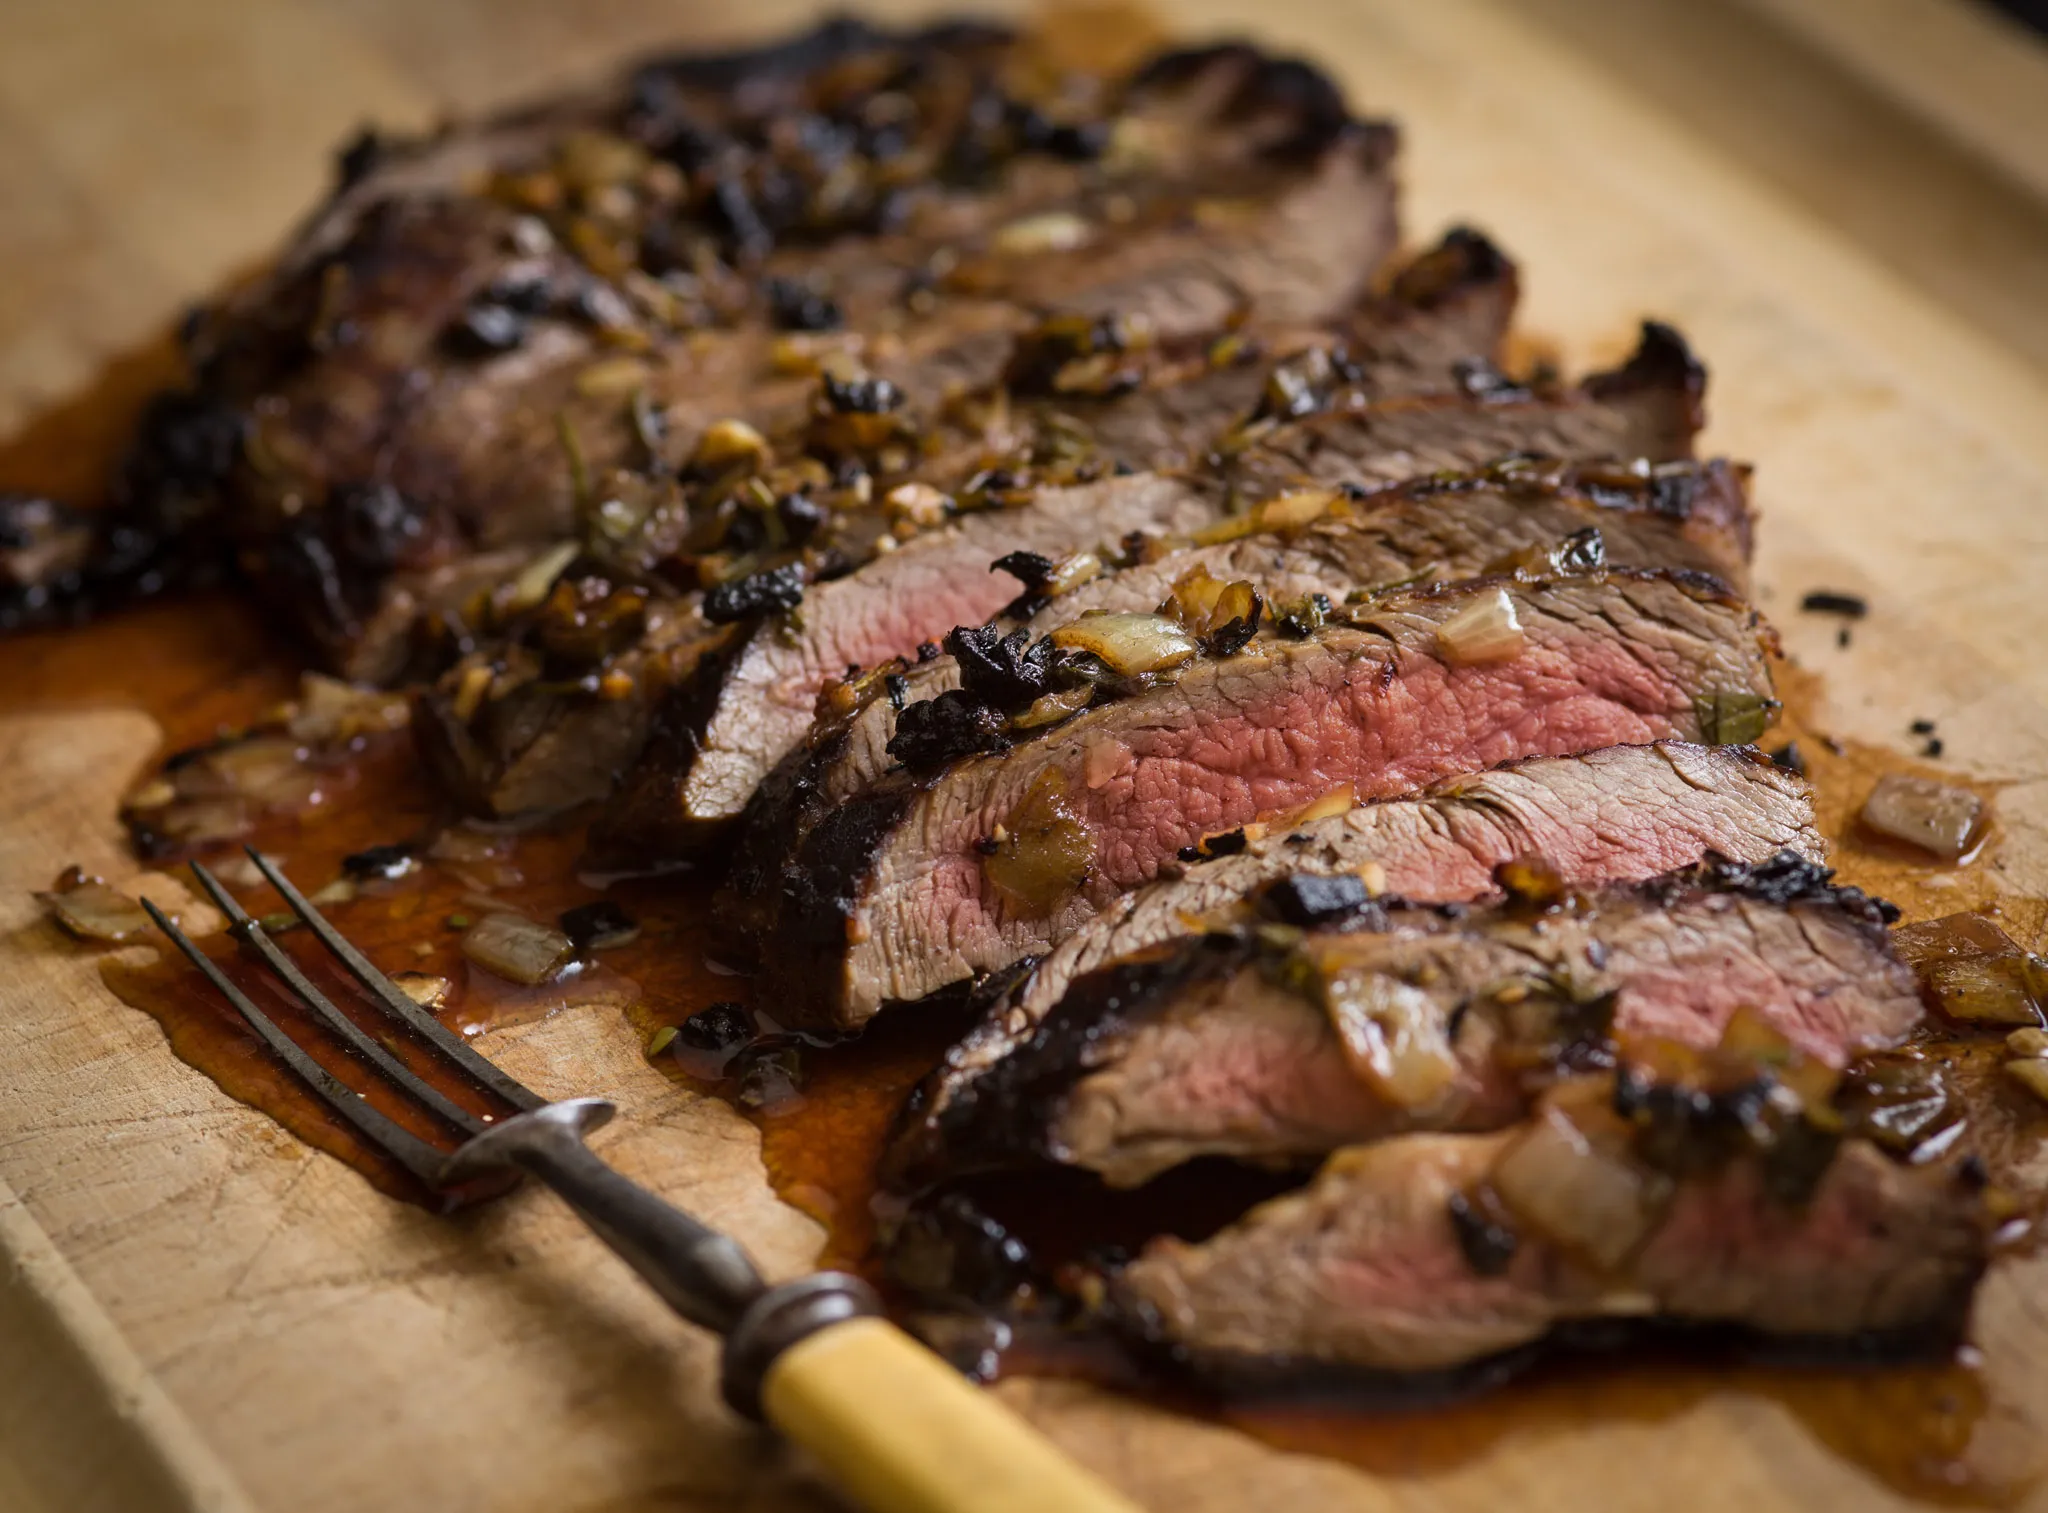
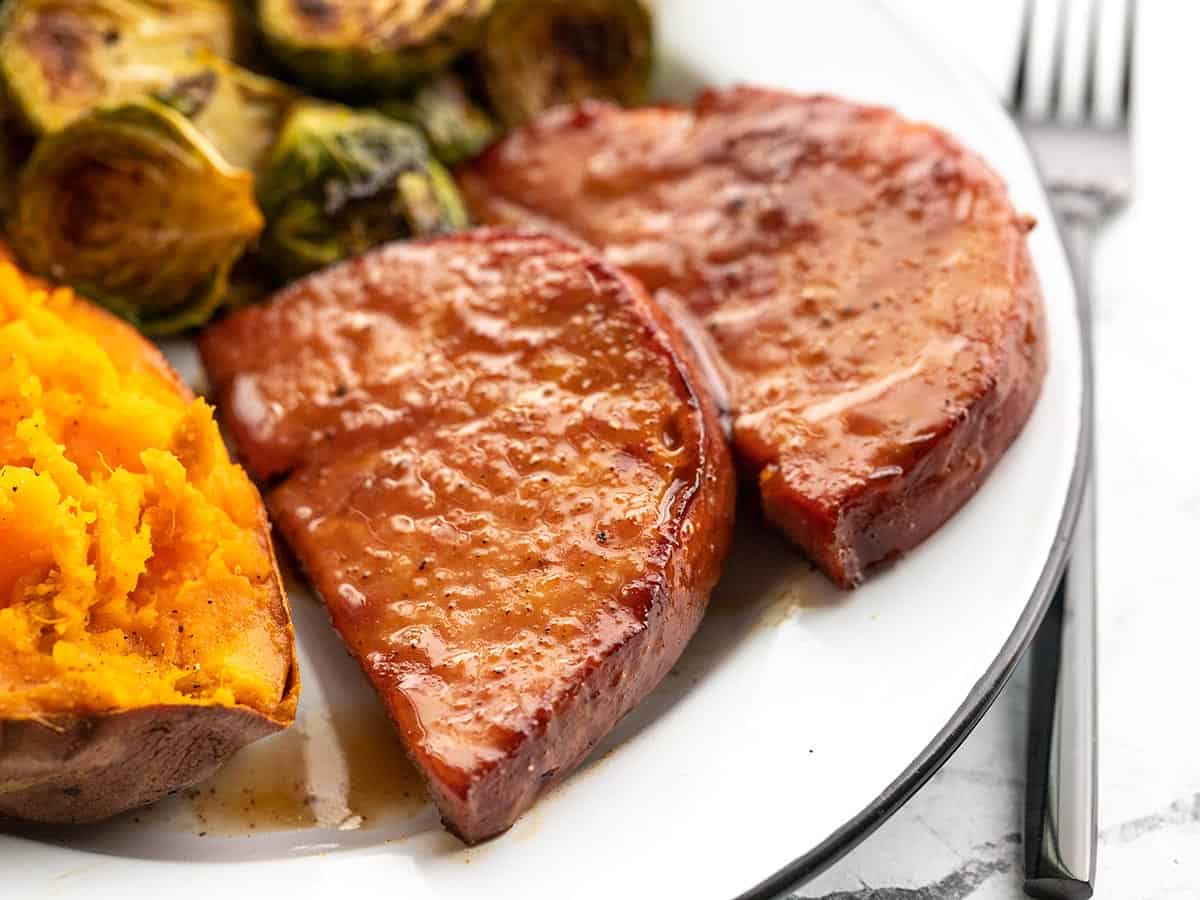
- Experiment with marinades and sauces: Broiling is a great way to caramelize and intensify the flavors of marinades and sauces, so don’t be afraid to get creative with your seasonings.
- Let the food rest: Allow your broiled dishes to rest for a few minutes after cooking to let the juices redistribute, resulting in a juicier and more flavorful end product.
Cleaning Up
After you’ve finished broiling, it’s important to clean your RV oven properly to maintain its performance. Allow the oven to cool completely before removing the broiler pan and cleaning any drippings or residue. Use a mild oven cleaner and a non-abrasive sponge to clean the broiler pan and the oven interior.
With these simple tips and techniques, you can make the most of your RV oven’s broiler function and create delicious, perfectly broiled dishes on the road. Happy cooking!
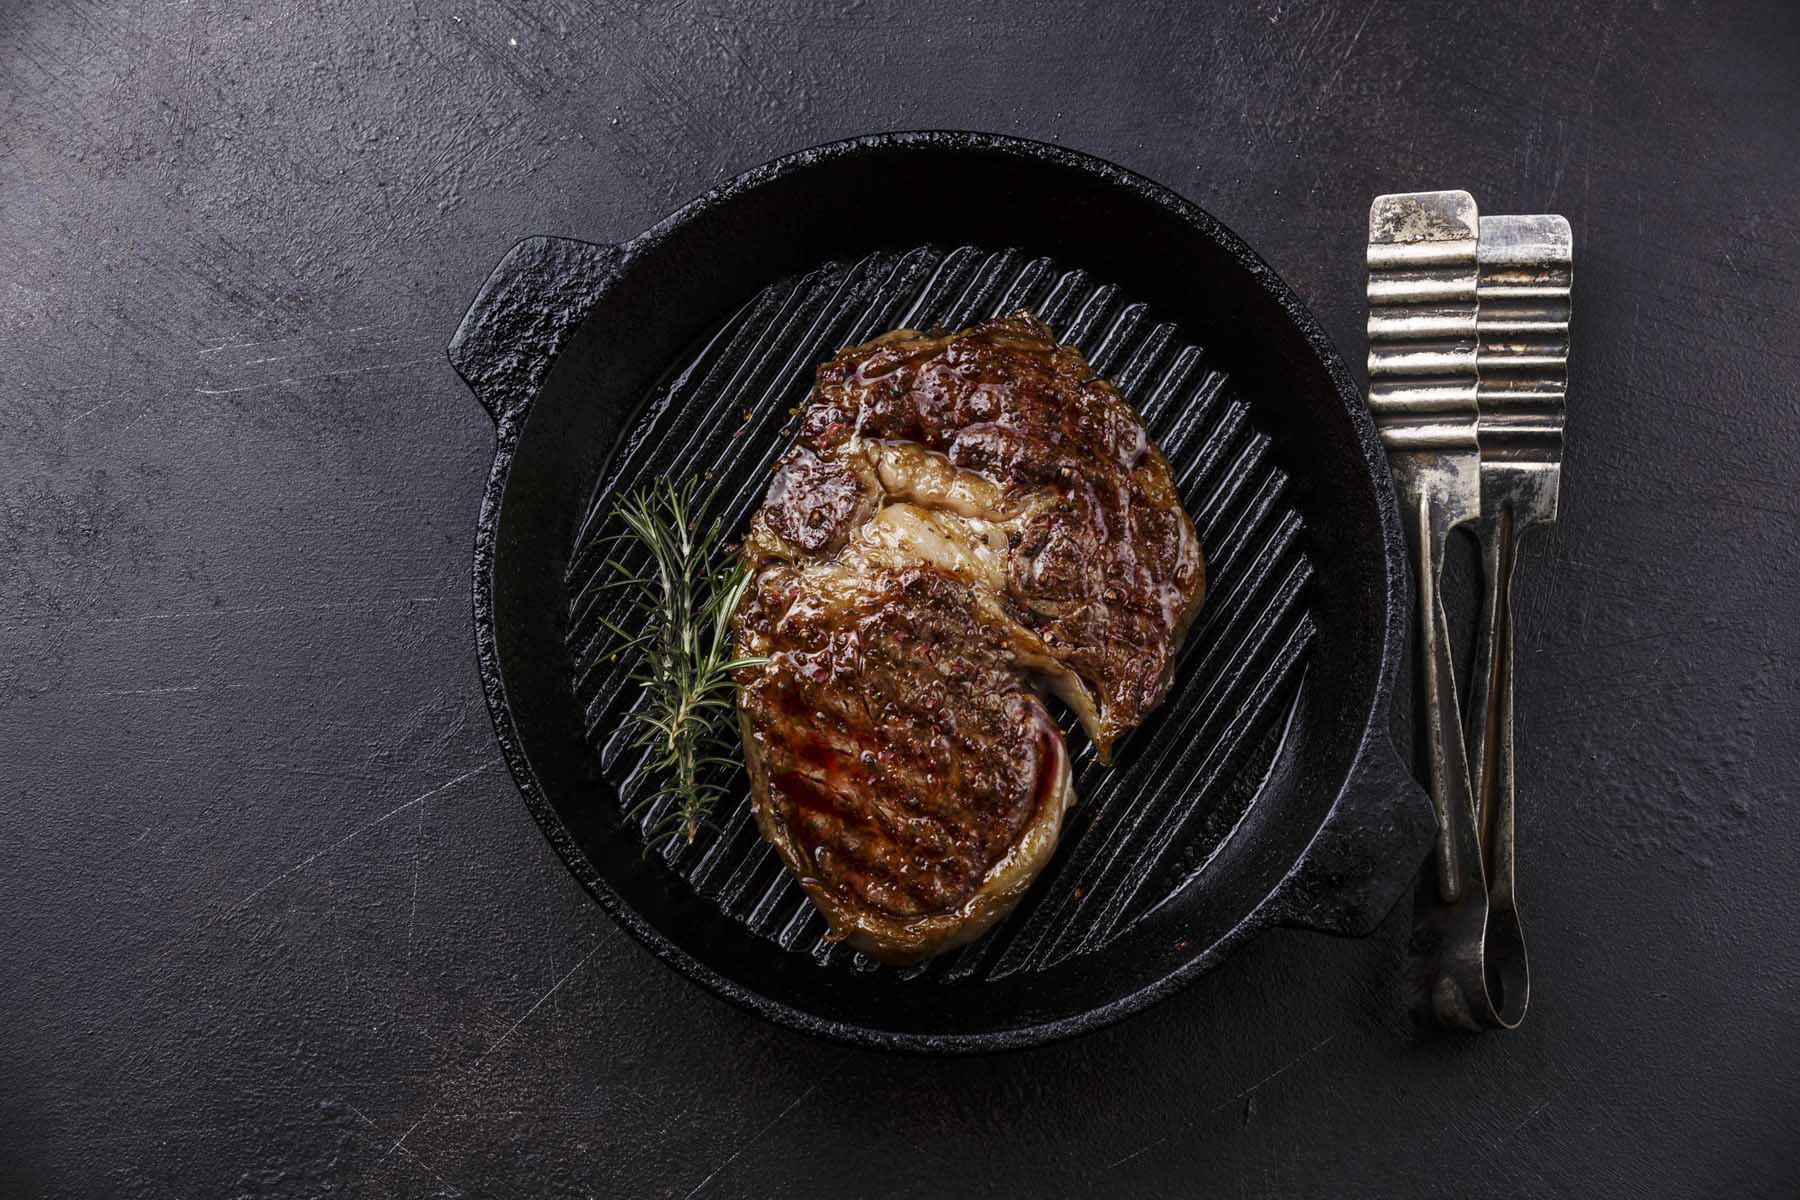
For those looking to master the art of broiling in an RV oven, there are several outstanding recipes to try. Perfectly Broiled Ribeye Steak is a must for steak lovers, offering a juicy, flavorful cut cooked to perfection. Seafood enthusiasts will savor Broiled Lobster Tails with Garlic Butter, a decadent choice that's surprisingly simple to prepare. For a lighter option, Broiled Zucchini with Parmesan presents a deliciously crispy vegetable dish that's a great side or snack. And for a sweet treat, Broiled Pineapple with Brown Sugar Glaze offers a tropical, caramelized dessert that's sure to impress. Each of these recipes utilizes the broiling technique effectively, making them perfect for testing out your new skills.
