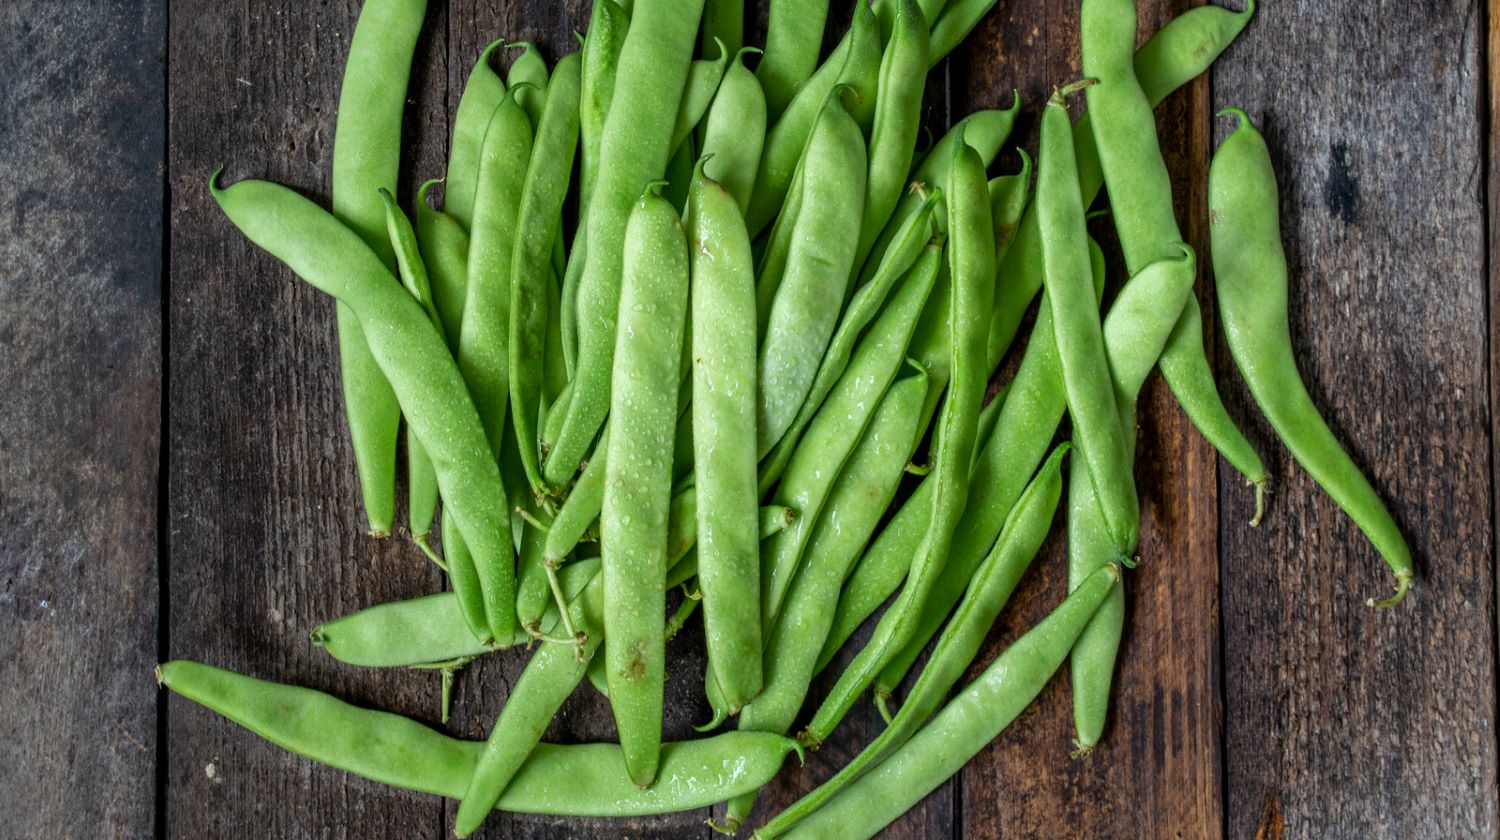
Preserving Your Harvest: How to Blanch Wax Beans for Freezing
As a food enthusiast and home gardener, I understand the joy of harvesting fresh produce from your garden. Wax beans, also known as yellow beans, are a delicious and nutritious addition to any meal. If you find yourself with an abundance of wax beans, blanching and freezing them is a great way to preserve their flavor and nutrients for future use. In this guide, I will walk you through the simple process of blanching wax beans for freezing, allowing you to enjoy the taste of summer all year round.
Why Blanch Wax Beans?
Blanching is a crucial step in the freezing process as it helps to preserve the color, flavor, and nutritional value of the beans. By blanching the wax beans, you can inactivate enzymes that cause loss of flavor, color, and nutrients over time. Additionally, blanching helps to clean the beans and remove any dirt or bacteria, ensuring that they remain safe to eat after freezing.
Step-by-Step Guide to Blanching Wax Beans
Follow these simple steps to blanch and freeze your wax beans:
- Prepare the Beans: Start by washing the wax beans thoroughly under cold running water. Trim the ends and remove any blemished or discolored spots.
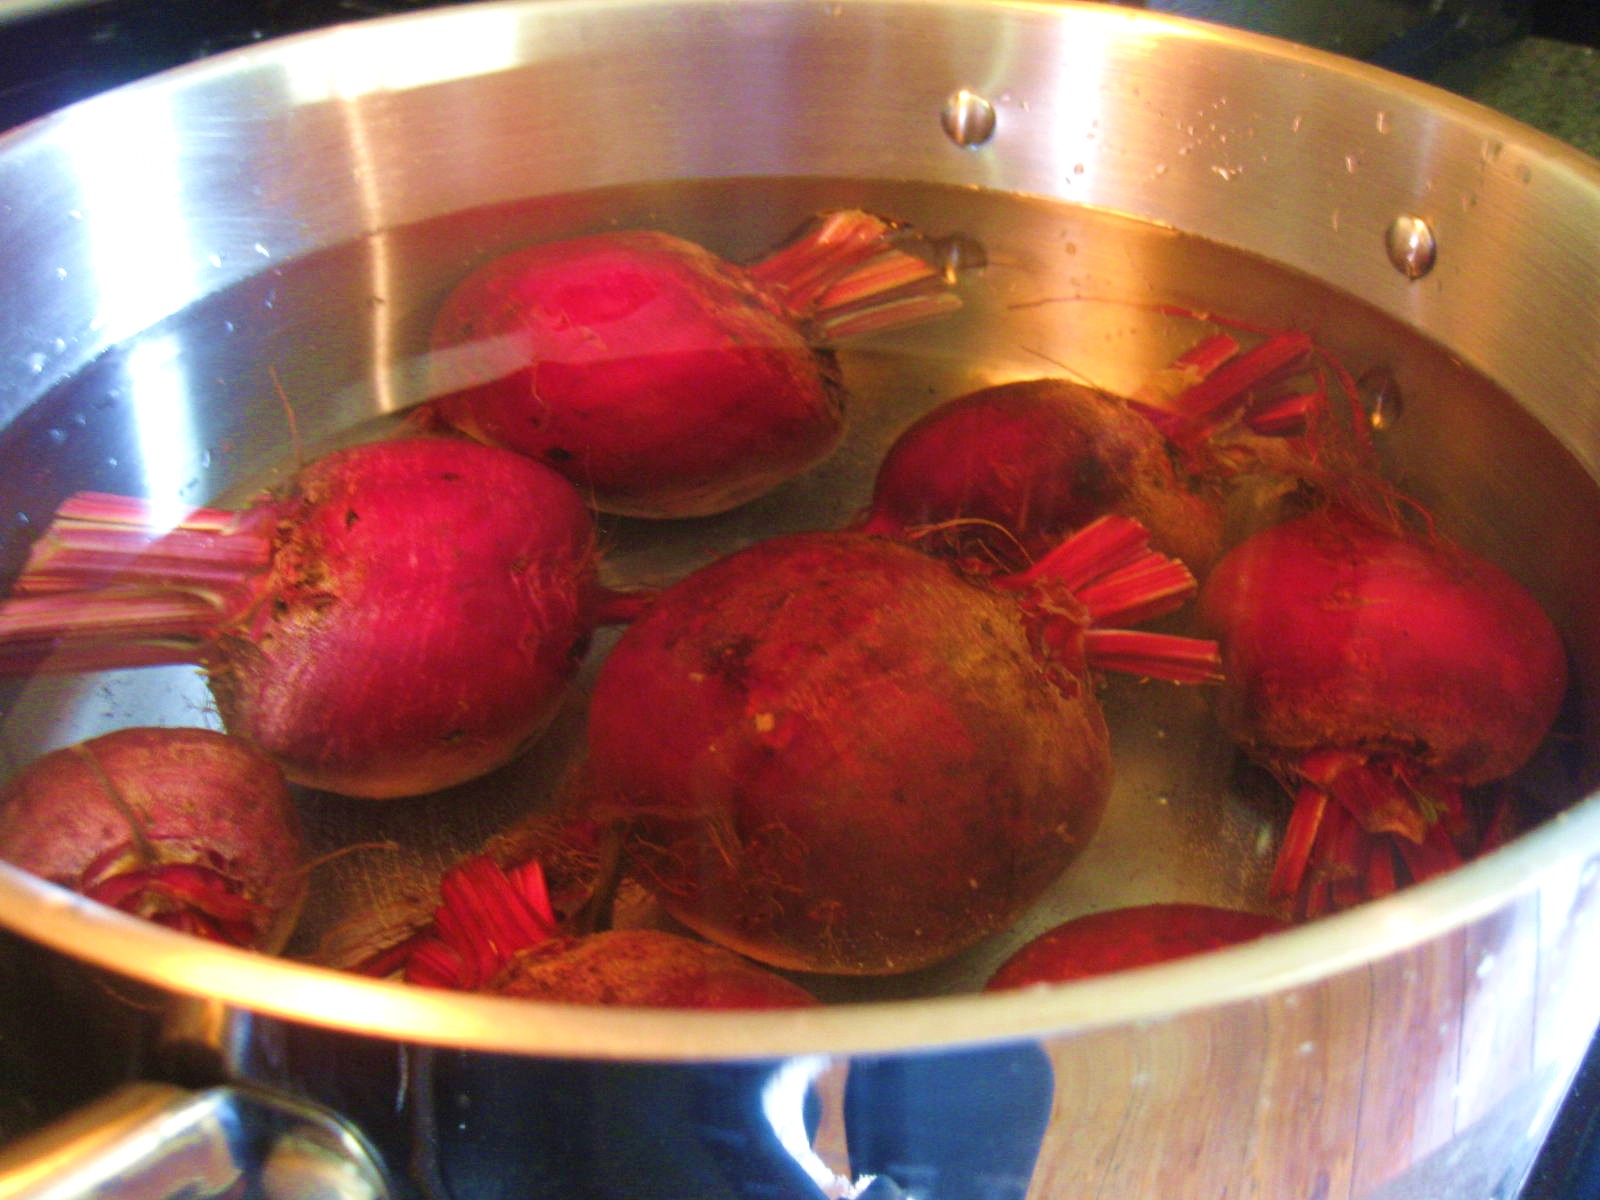
- Boil Water: Fill a large pot with water and bring it to a rapid boil. You will need approximately 1 gallon of water per pound of wax beans.
- Blanch the Beans: Carefully lower the prepared wax beans into the boiling water. Allow them to blanch for 2-3 minutes, depending on their size. Blanching time for smaller beans may be closer to 2 minutes, while larger beans may require 3 minutes.
- Cooling Process: Once the blanching time is complete, quickly remove the beans from the boiling water and transfer them to a large bowl of ice water. This will stop the cooking process and help the beans retain their vibrant color and crisp texture.
- Drain and Dry: After the beans have cooled for a few minutes, drain them thoroughly and pat them dry with a clean kitchen towel or paper towels.
Freezing the Blanched Wax Beans
Now that your wax beans are blanched and dried, it’s time to prepare them for freezing:
- Package the Beans: Divide the blanched wax beans into portion sizes that you are likely to use in recipes. Place them in airtight freezer bags or containers, removing as much air as possible before sealing.
- Label and Freeze: Label the freezer bags or containers with the date and contents, then place them in the freezer. The blanched wax beans can be stored in the freezer for up to 12 months.
Enjoying Your Frozen Wax Beans
When you’re ready to use your frozen wax beans, there’s no need to thaw them before cooking. Simply add them directly to your favorite recipes, such as soups, stews, stir-fries, or casseroles. The blanching process ensures that the beans will maintain their quality and flavor, providing you with a taste of summer even in the coldest months.
By following these simple steps, you can savor the flavor of homegrown wax beans throughout the year. Whether you’re a seasoned gardener or new to preserving your harvest, blanching and freezing wax beans is a rewarding way to enjoy the fruits of your labor long after the growing season has ended.
So, the next time your garden is overflowing with wax beans, remember the simple process of blanching and freezing to capture their freshness and flavor for the months ahead.
For those looking to put their newfound blanching skills to good use, there are several recipes worth trying. The Wax Bean and Cherry Tomato Salad is a fresh and vibrant dish that highlights the crispness of blanched wax beans. If you're in the mood for something hearty, the Creamy Wax Bean and Potato Soup provides a comforting blend of flavors. For a delightful mix of textures, try the Wax Bean and Quinoa Pilaf. For a bit of indulgence, the Wax Bean and Bacon Casserole offers a savory and satisfying option. Lastly, if you're seeking a meal with a twist, the Wax Bean and Black Bean Tacos are sure to impress with their unique combination of ingredients.
Was this page helpful?
Related Articles
How To Blanch Runner Beans For Freezing
How To Blanch Lima Beans Before Freezing

How To Blanch Green Beans In Microwave

How To Blanch String Beans
How To Blanch Runner Beans For Freezing
How To Blanch Green Beans In Microwave
How To Blanch Lima Beans Before Freezing
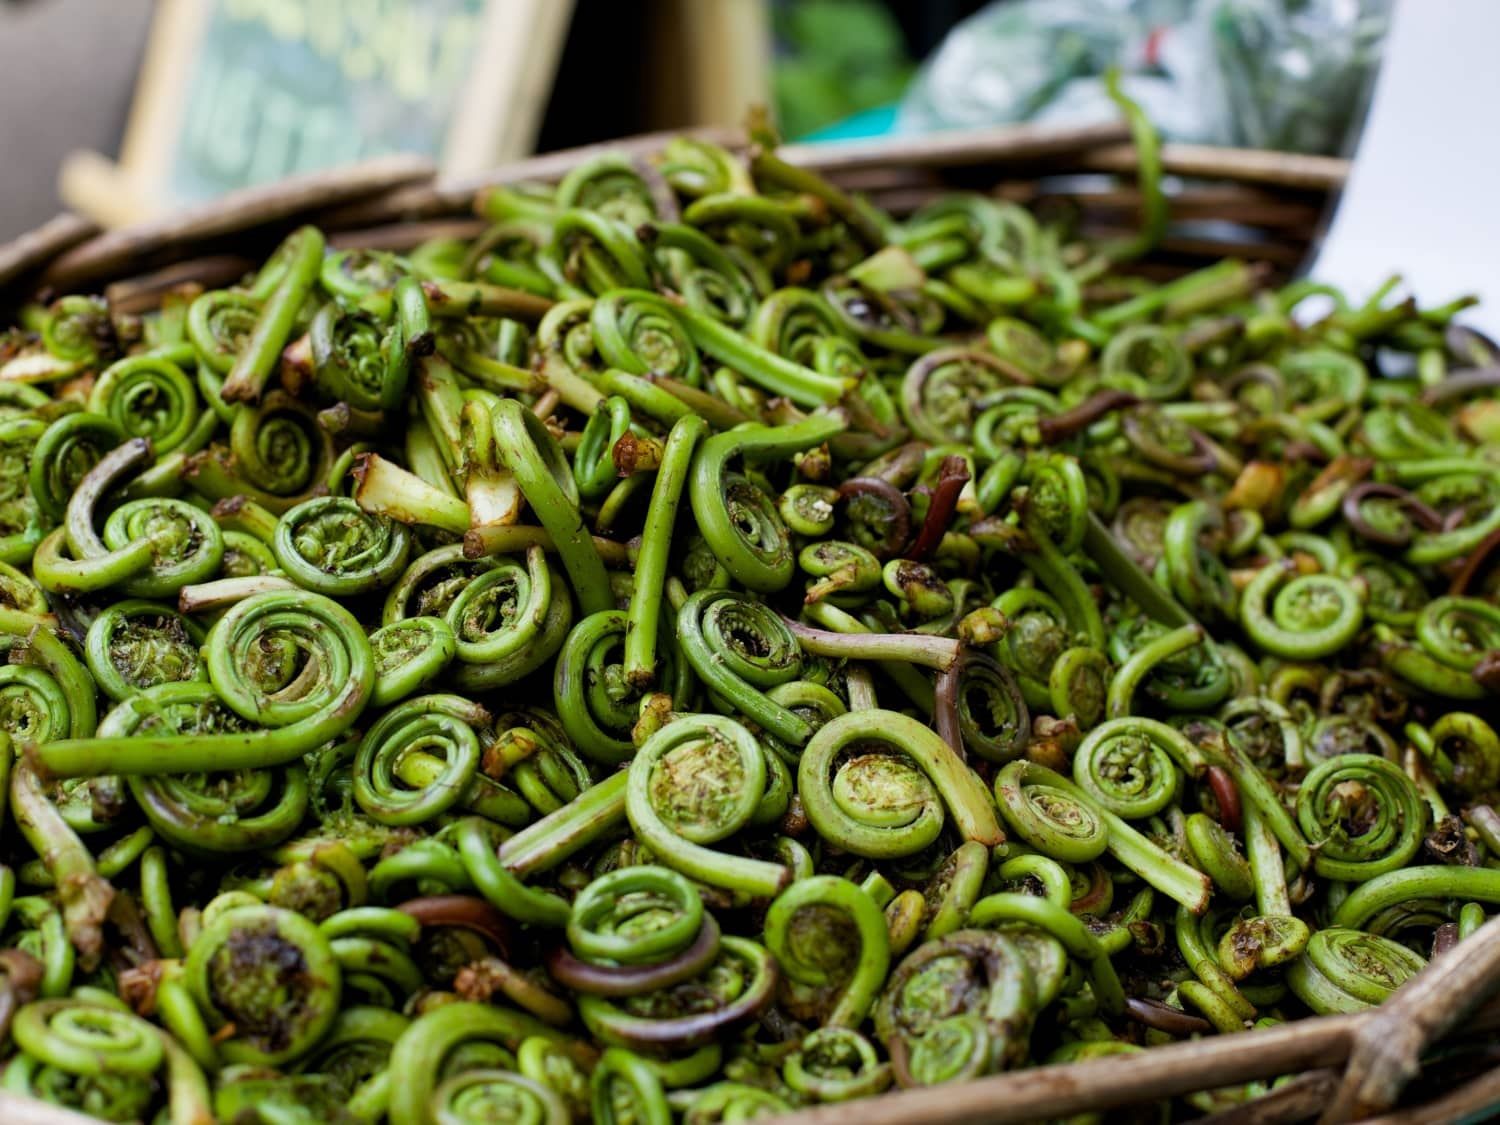
How To Blanch Fiddleheads For Freezing?
How To Blanch Brussels Sprouts For Freezing

How To Blanch Bean Sprouts
How To Blanch A Banana Peel