Blanching Plums: A Step-by-Step Guide
Blanching plums is a simple and effective way to prepare them for various culinary uses. Whether you want to remove the skin for a smoother texture or preserve them for future use, blanching is the perfect technique. In this guide, we’ll walk you through the process of blanching plums to help you achieve the best results.
What You’ll Need
Before you begin blanching plums, make sure you have the following items on hand:
- Fresh plums
- Large pot
- Slotted spoon
- Bowl of ice water
- Sharp knife
Step 1: Prepare the Plums
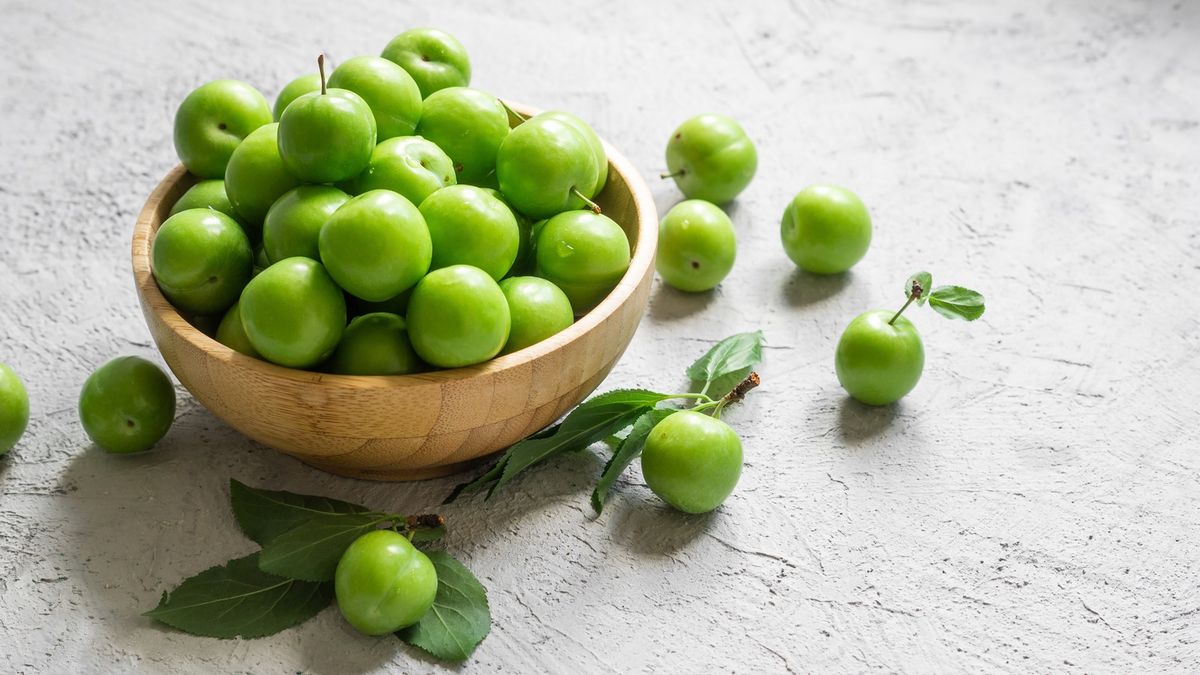
Start by selecting ripe, firm plums for blanching. Rinse them thoroughly under cold water to remove any dirt or residue. Use a sharp knife to score a small “X” on the bottom of each plum. This will help the skins to peel off more easily during the blanching process.
Step 2: Boil the Water
Fill a large pot with water and bring it to a rolling boil over high heat. The pot should be large enough to accommodate the plums without overcrowding them. While the water is heating up, prepare a bowl of ice water and set it aside.
Step 3: Blanch the Plums
Once the water is boiling, carefully lower the plums into the pot using a slotted spoon. Allow the plums to blanch in the boiling water for about 30 seconds to 1 minute. Keep a close eye on the plums to ensure that they do not overcook.
Step 4: Transfer to Ice Water
Using the slotted spoon, quickly transfer the blanched plums to the bowl of ice water. The ice water will shock the plums and stop the cooking process, preserving their vibrant color and preventing them from becoming mushy.
Step 5: Peel the Plums
Once the plums have cooled in the ice water for a few minutes, remove them and pat them dry with a clean kitchen towel. The skins should now be easy to peel off using your fingers or a paring knife. Gently peel away the skin, starting from the scored “X” at the bottom of each plum.
Step 6: Put the Plums to Use
Now that your plums are blanched and peeled, they are ready to be used in your favorite recipes. Whether you’re making plum jam, compote, or adding them to a fruit salad, blanched plums will bring a burst of flavor to your dishes.
Final Thoughts
Blanching plums is a quick and easy process that can elevate your culinary creations. By following these simple steps, you can enjoy the smooth texture and vibrant color of blanched plums in a variety of dishes. Experiment with different recipes and discover the versatility of blanched plums in your kitchen!
Blanching plums is a great skill to master, and once you have it down, you'll want to try a few delicious recipes! After you've blanched your plums, consider making a delightful Plum Jam RecipePlum Jam, perfect for spreading on toast or gifting in cute jars. If you're in the mood for baking, a Plum Tart RecipePlum Tart or a rustic Plum Galette RecipePlum Galette will impress guests with their beautiful presentation and flavors. For a refreshing treat, a Plum Smoothie RecipePlum Smoothie is a quick and healthy way to enjoy your blanched plums. Lastly, try the sweet and tangy Plum Upside-Down Cake RecipePlum Upside-Down Cake, a show-stopping dessert that's surprisingly simple to make.
