Preserving Freshness: How to Blanch Peas for Freezing
When the harvest season is in full swing and you find yourself with an abundance of fresh peas, blanching and freezing them is a great way to preserve their flavor and nutrients for later use. Blanching, the process of briefly immersing the peas in boiling water and then rapidly cooling them, helps to halt the enzyme activity that can cause loss of flavor, color, and texture over time. If you’re wondering how to blanch peas for freezing, follow these simple steps to ensure that your peas stay fresh and delicious for months to come.
Step 1: Prepare the Peas
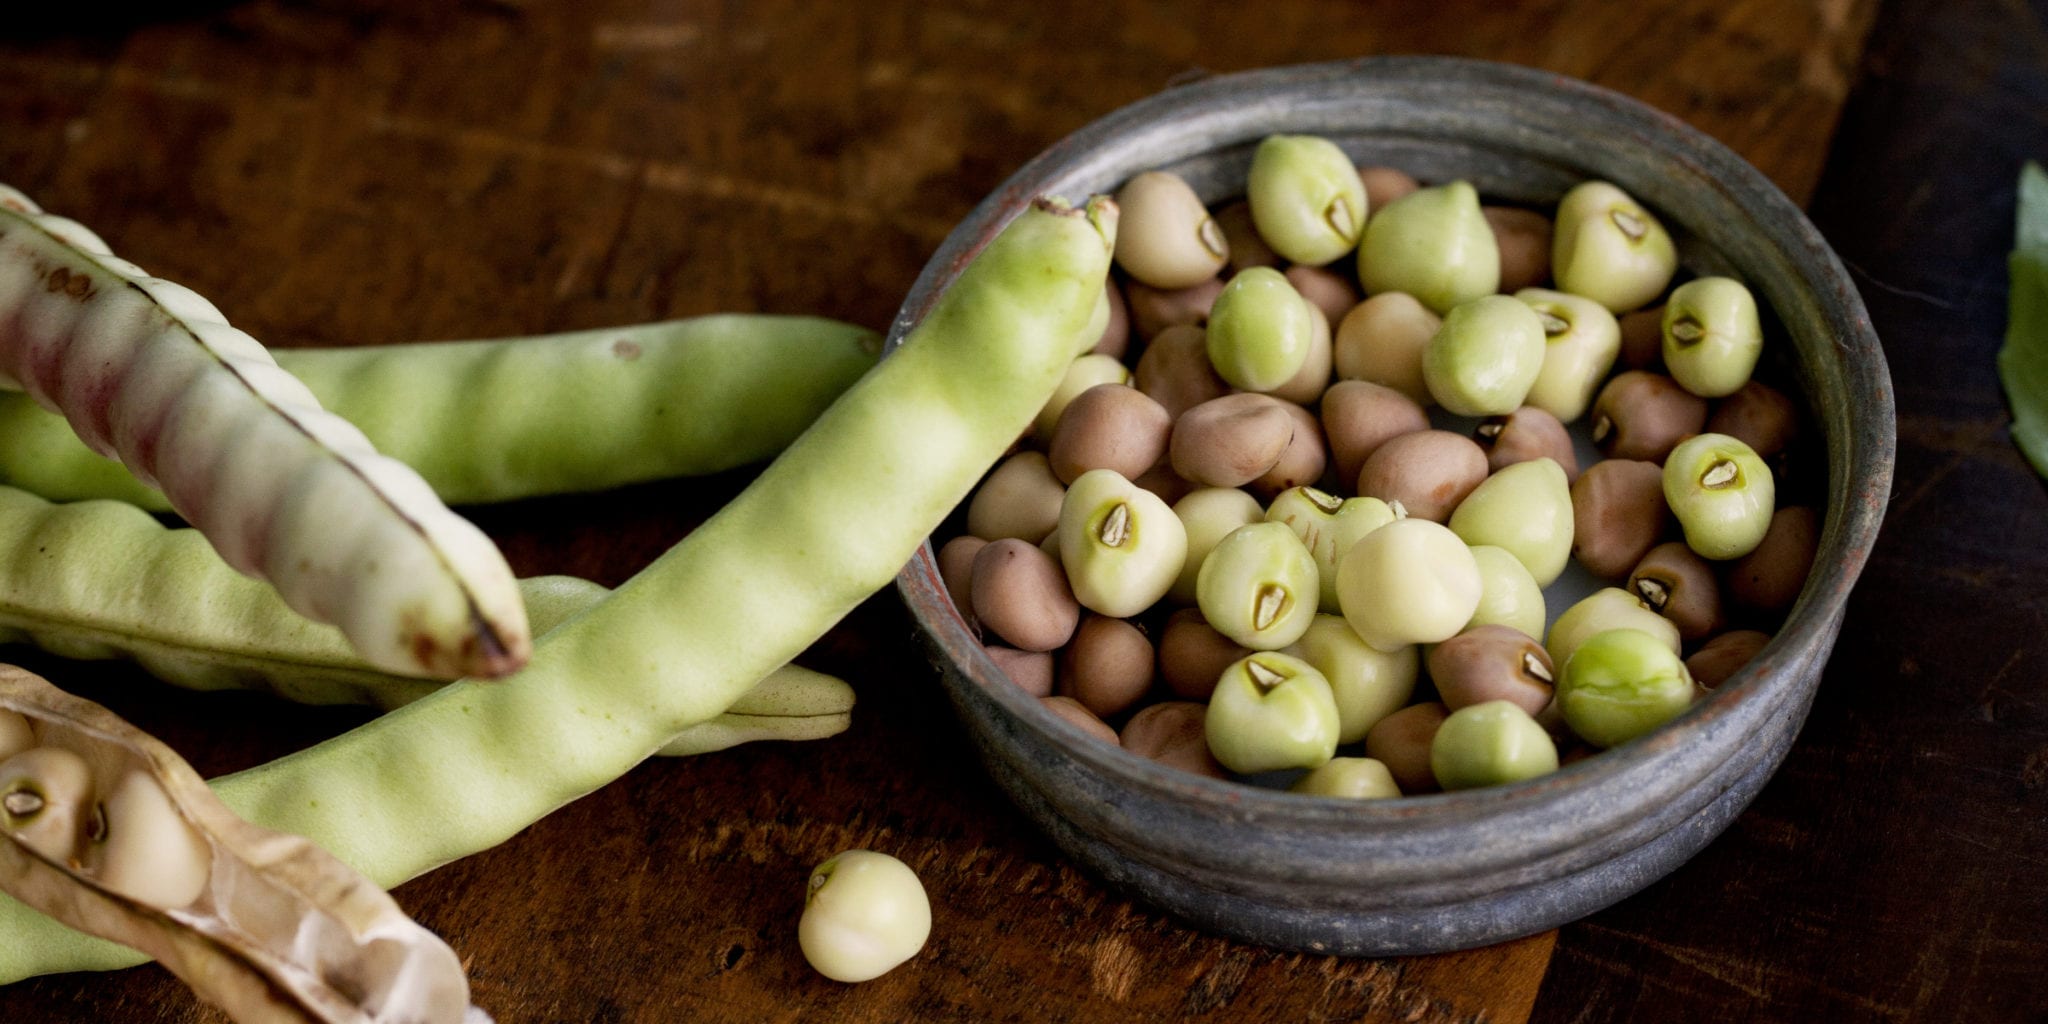
Start by shelling the fresh peas and discarding any that are discolored or overripe. Rinse the peas thoroughly under cold water to remove any dirt or debris.
Step 2: Boil the Water
Fill a large pot with water and bring it to a rolling boil over high heat. It’s important to use a large pot to ensure that the water continues to boil when the peas are added, which helps to maintain the temperature.
Step 3: Blanch the Peas
Once the water is boiling, carefully add the prepared peas to the pot. Allow the peas to boil for 1-2 minutes. This blanching process helps to deactivate the enzymes that can cause the peas to deteriorate in quality over time.
Step 4: Cool the Peas
After the peas have been boiled for the appropriate amount of time, it’s crucial to quickly cool them down to stop the cooking process. Prepare a large bowl of ice water while the peas are boiling. Using a slotted spoon or strainer, transfer the peas from the boiling water to the ice water bath. Allow the peas to sit in the ice water for the same amount of time they were boiled.
Step 5: Drain and Package the Peas
Once the peas have been cooled in the ice water bath, drain them thoroughly using a colander. Pat the peas dry with a clean kitchen towel to remove any excess moisture. At this point, the peas are ready to be packaged for freezing.
For best results, consider the following packaging options:
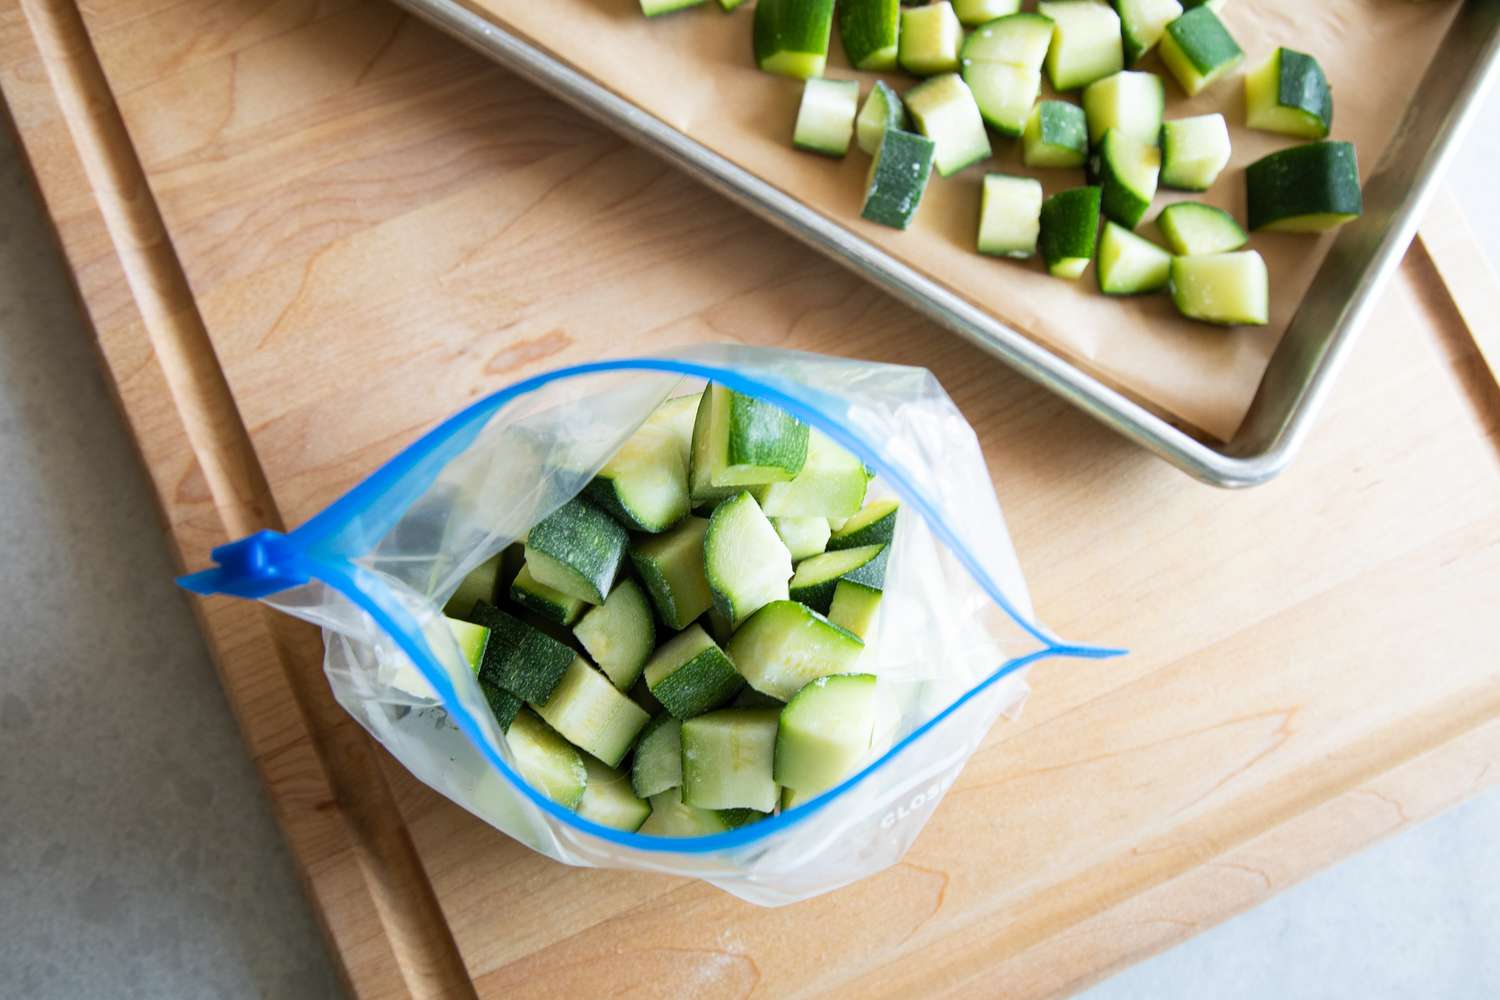
- Place the blanched peas in airtight freezer bags, removing as much air as possible before sealing.
- Use a vacuum sealer to remove air and create a tight seal around the peas.
Be sure to label the packages with the date of blanching to keep track of their freshness.
Step 6: Freeze the Peas
Once the peas are packaged, place them in the freezer as soon as possible. For optimal quality, it’s best to freeze the peas within 2 hours of blanching. Store the peas in the coldest part of the freezer, where they will remain at a consistent temperature.
By following these simple steps, you can enjoy the sweet, vibrant flavor of freshly blanched peas throughout the year. Whether you add them to soups, stews, or simply enjoy them as a side dish, properly blanching and freezing peas is a convenient way to savor the taste of the season long after the harvest has ended.
So, the next time you find yourself with an abundance of fresh peas, take the time to blanch and freeze them for future enjoyment. Your taste buds will thank you!
Blanching peas for freezing is a smart move that keeps them fresh and vibrant for future meals. If you're looking to make the most of your batch, try whipping up a batch of Pea and Ham Soup for a comforting, hearty option. For something more elegant, the Pea and Goat Cheese Tart offers a delightful blend of flavors perfect for brunch. Those looking for a quick weeknight dinner can experiment with Pea and Bacon Pasta, combining the sweet peas with savory bacon for a delicious bite. Or, if you're in the mood for a refreshing side, the Pea and Mint Salad brings a zesty, fresh element to your table. Each of these recipes uses blanched peas beautifully, showcasing their versatility and enhancing your meals with their vibrant, sweet taste.
