Get Ready to Bake Delicious Bread in a Pullman Bread Pan
Are you ready to elevate your bread baking game? Using a Pullman bread pan can help you achieve a perfectly shaped loaf with a tender crumb and a golden crust. Whether you’re a seasoned baker or just starting out, baking bread in a Pullman pan is a rewarding experience that yields professional-looking results. In this guide, we’ll walk you through the steps to bake delicious bread in a Pullman bread pan.
Choosing the Right Recipe
Before you start baking, it’s important to select a recipe that is specifically designed for a Pullman bread pan. Look for recipes that specify the pan size and follow the instructions carefully. A good Pullman bread recipe will typically result in a soft, fine-textured crumb and a square-shaped loaf that’s perfect for sandwiches.
Preparing the Pan
Properly preparing the Pullman bread pan is crucial for successful baking. Here’s how to do it:
- Grease the Pan: Use a pastry brush to coat the inside of the pan with a thin layer of oil or melted butter. This will prevent the bread from sticking to the pan.
- Attach the Lid: If your Pullman pan comes with a lid, make sure to attach it securely before adding the dough. The lid helps create a perfectly square-shaped loaf.
Mixing and Proofing the Dough
Once your dough is prepared, it’s time to transfer it to the Pullman bread pan. Here’s what to do:
- Fill the Pan: Place the prepared dough into the greased Pullman pan, making sure it’s evenly distributed.
- Let it Rise: Cover the pan with a clean kitchen towel and allow the dough to rise according to your recipe’s instructions. Proofing times may vary depending on the type of bread you’re making.
Baking the Bread
Now comes the most exciting part – baking your bread to perfection. Follow these steps for a successful bake:
- Preheat the Oven: Make sure your oven is preheated to the temperature specified in your recipe.
- Remove the Lid: If your Pullman pan has a lid, remove it before placing the pan in the oven.
- Bake According to Instructions: Place the pan in the center of the oven and bake the bread according to your recipe’s guidelines. Keep an eye on the bread as it bakes to ensure it reaches the desired golden brown color.
Cooling and Enjoying Your Bread
Once the bread is baked to perfection, remove it from the oven and let it cool in the pan for a few minutes. Then, carefully remove the loaf from the pan and transfer it to a wire rack to cool completely. Slicing into a freshly baked loaf of Pullman bread is a truly satisfying experience, and the aroma that fills your kitchen will be irresistible.
Now that you’ve mastered the art of baking bread in a Pullman bread pan, you can enjoy the fruits of your labor. Whether you use your homemade bread for sandwiches, toast, or simply enjoy it on its own, you can take pride in knowing that you’ve created a beautiful loaf from scratch.
So, gather your ingredients, preheat your oven, and get ready to bake delicious bread in a Pullman bread pan. With a little practice and the right recipe, you’ll be well on your way to becoming a bread-baking pro!
Was this page helpful?
Read Next: How To Bake Fat Cakes
Related Articles
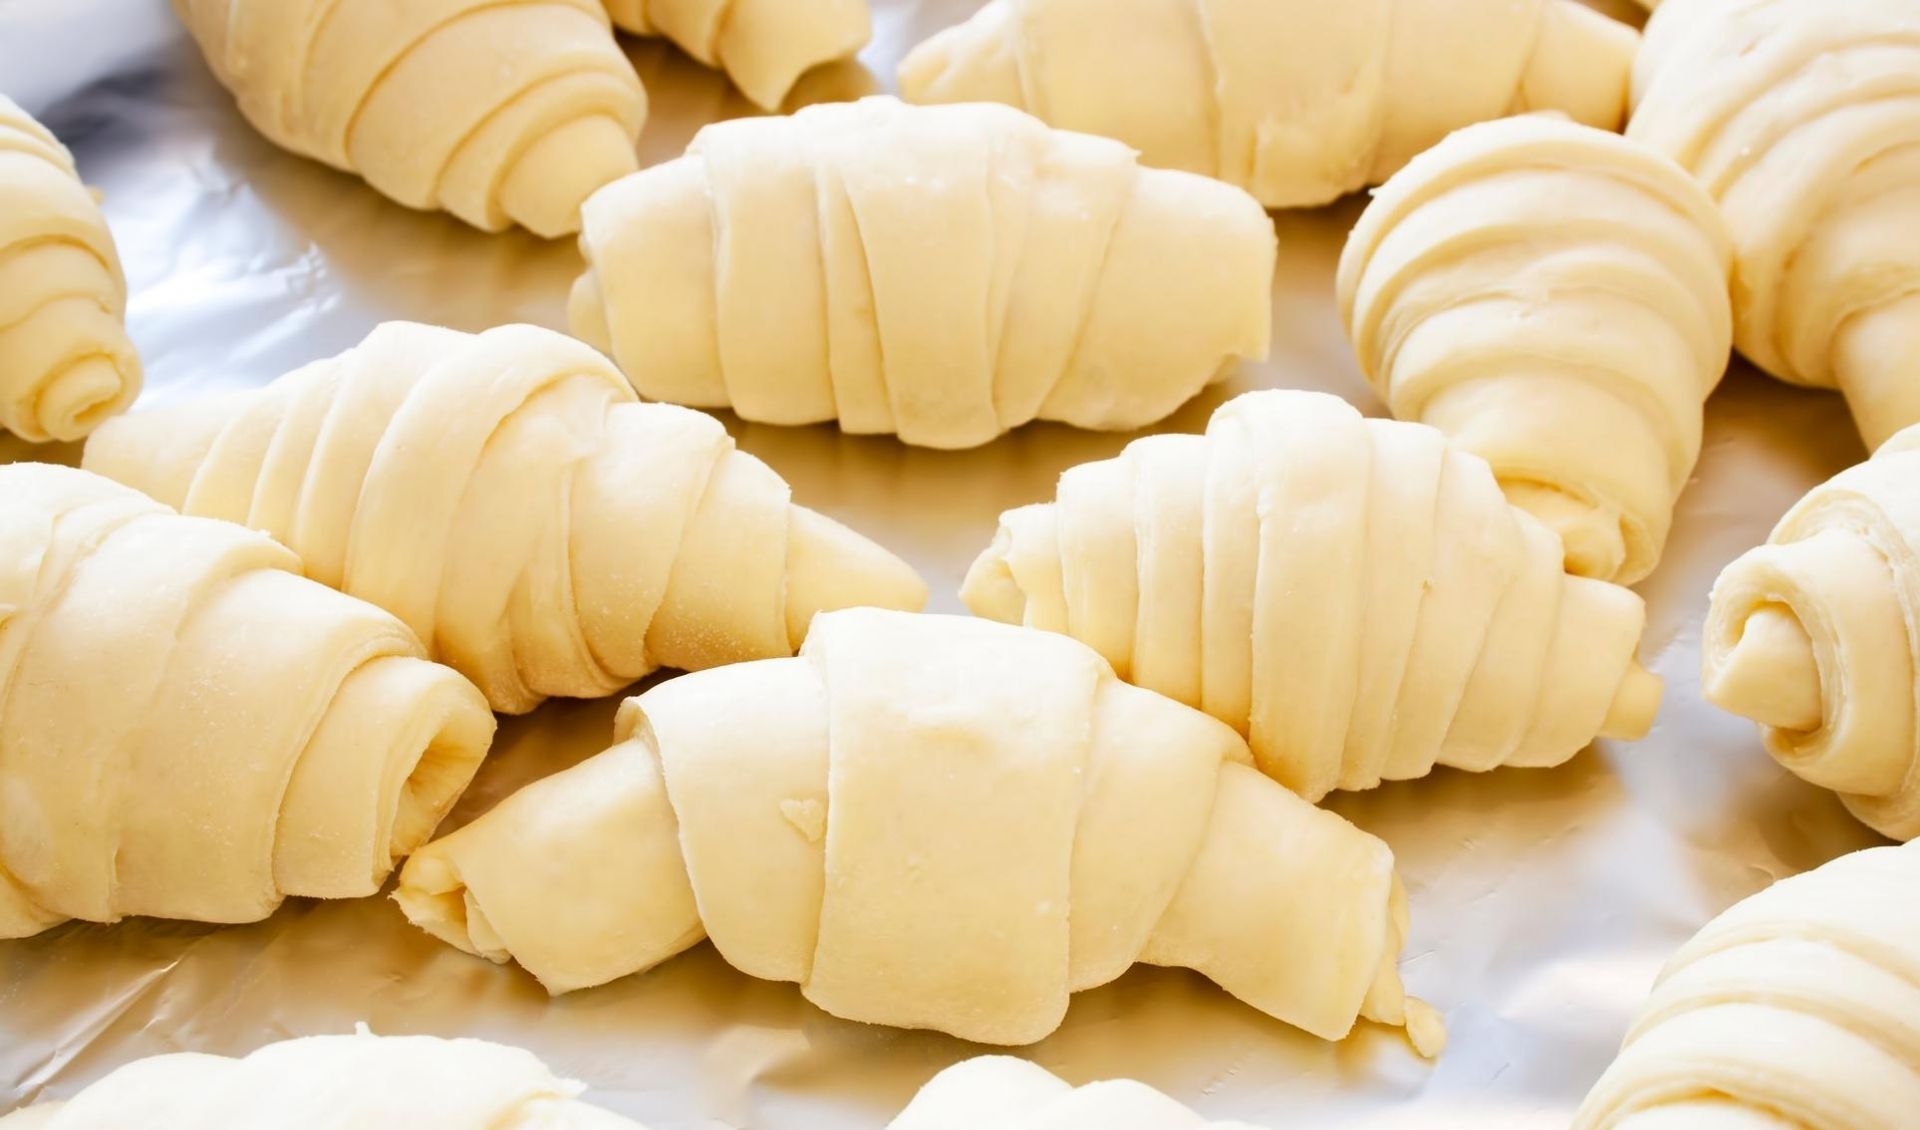
How To Bake Frozen Croissant Dough
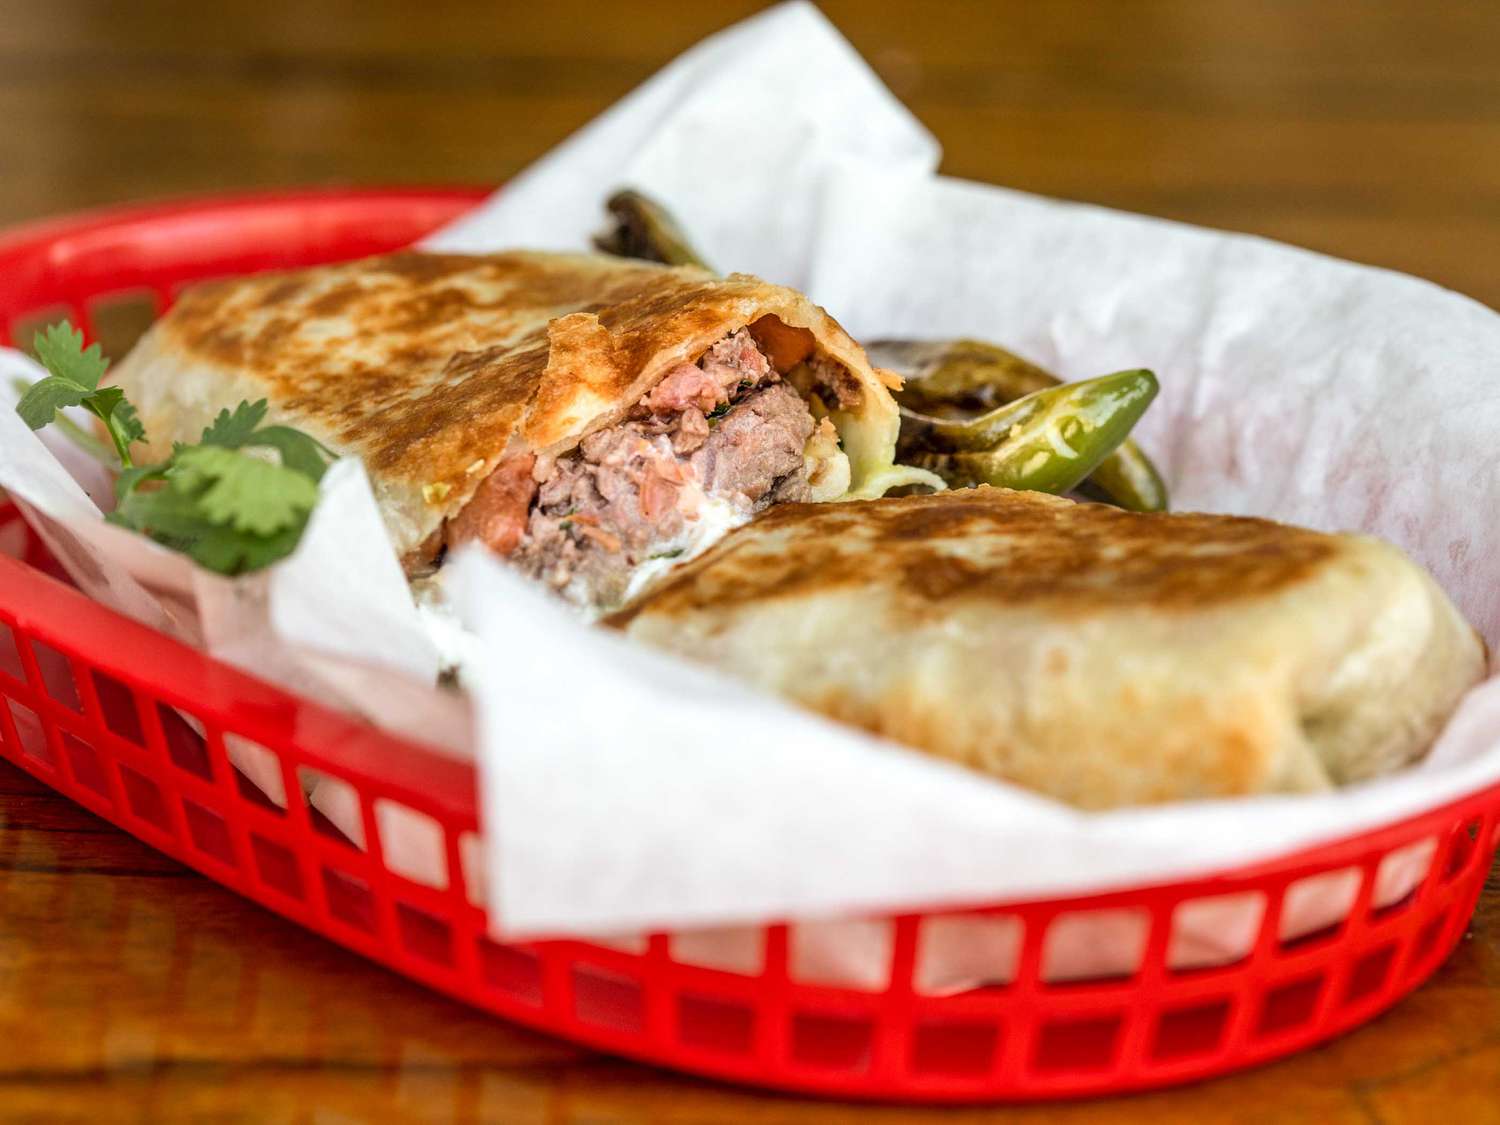
How To Bake Frozen Burrito In The Oven
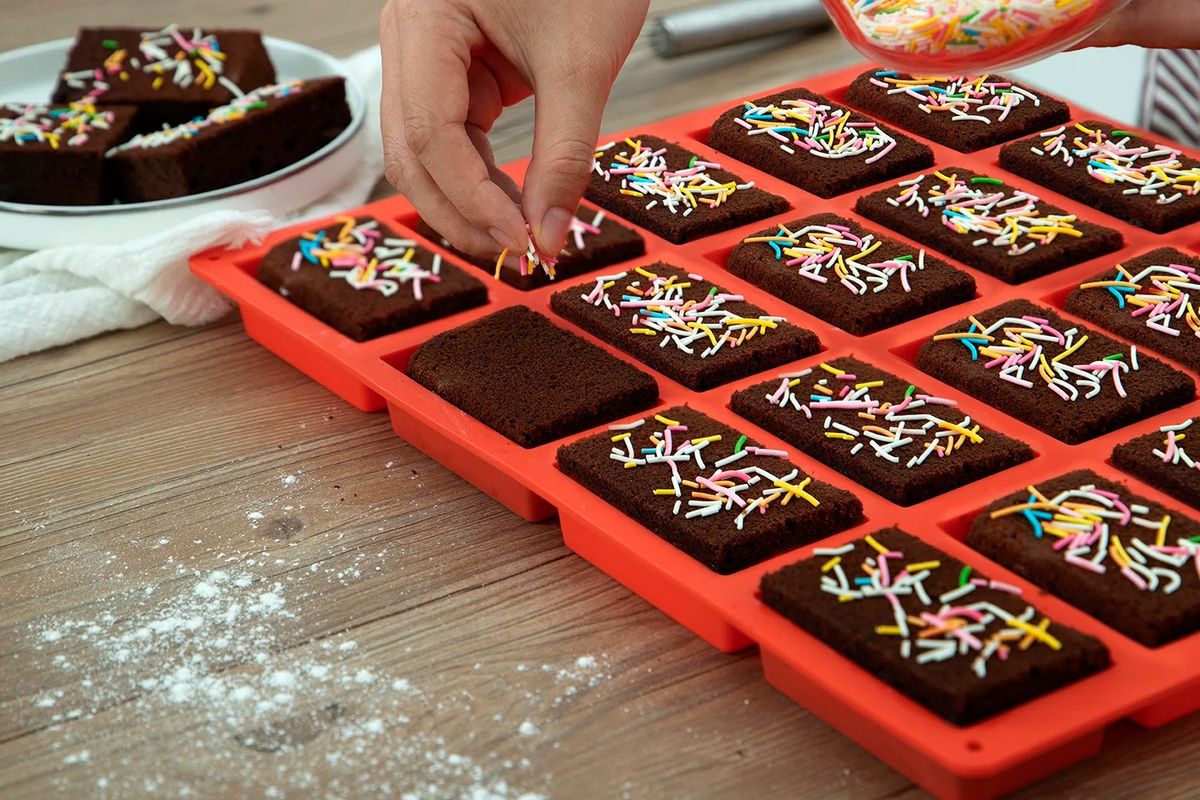
How To Bake With A Silicone Mold
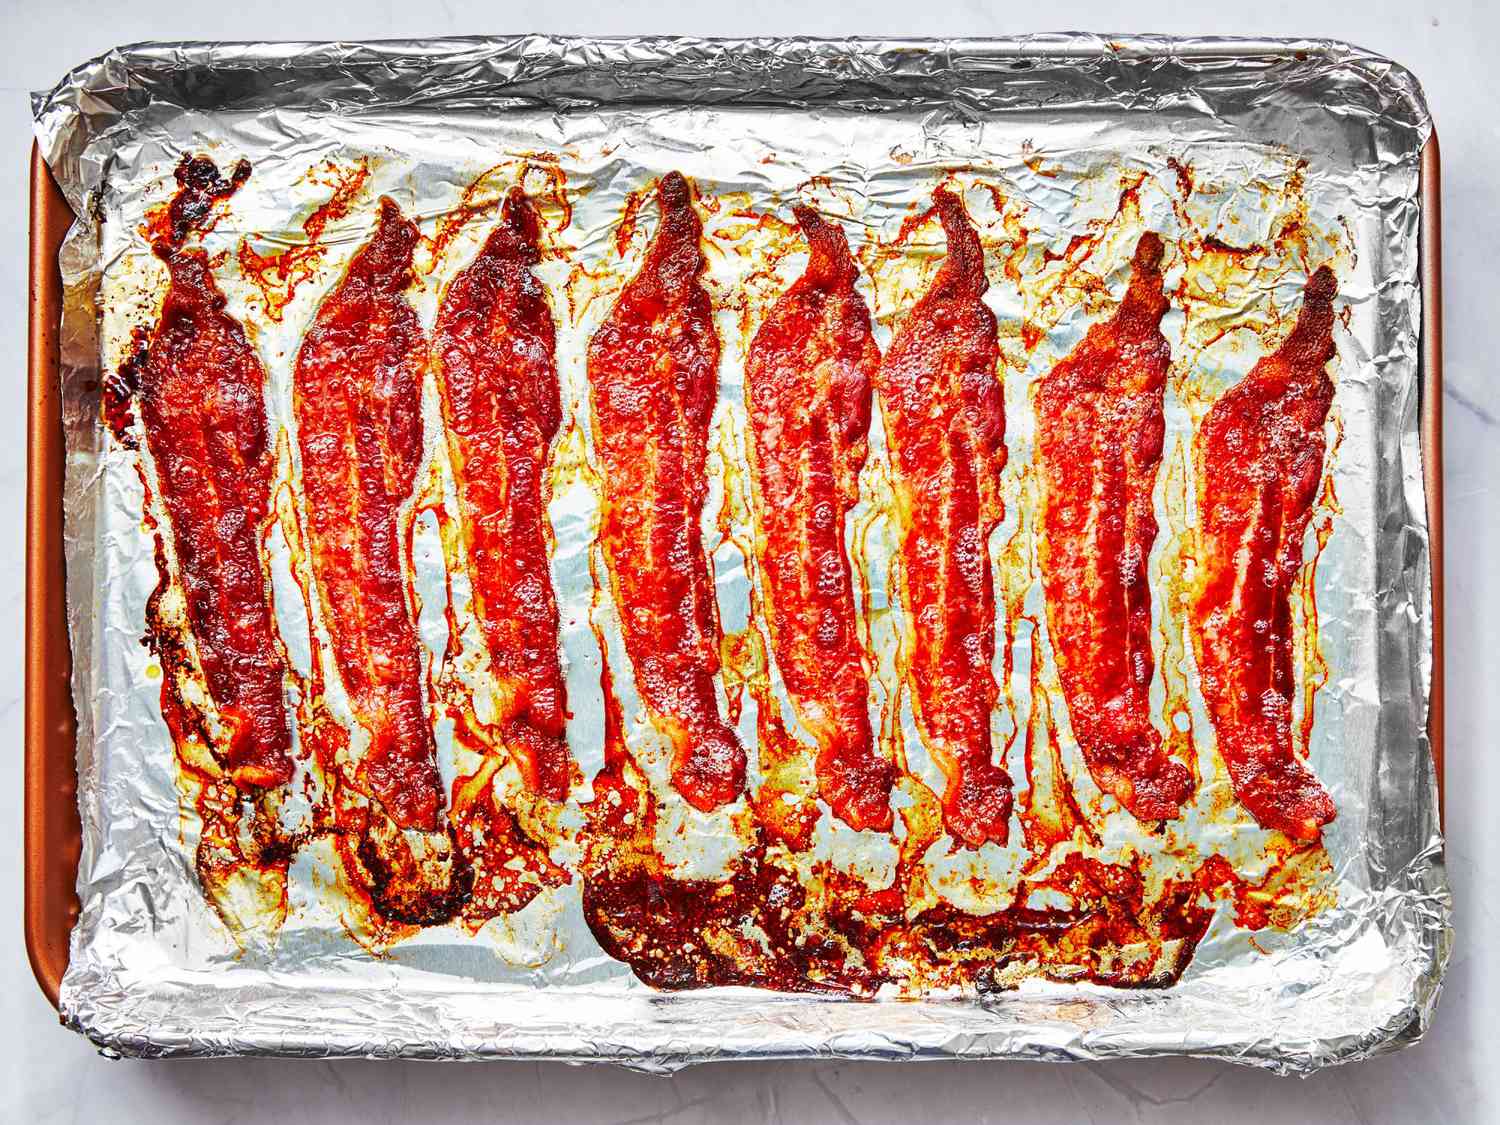
How To Bake Bacon In A Convection Oven
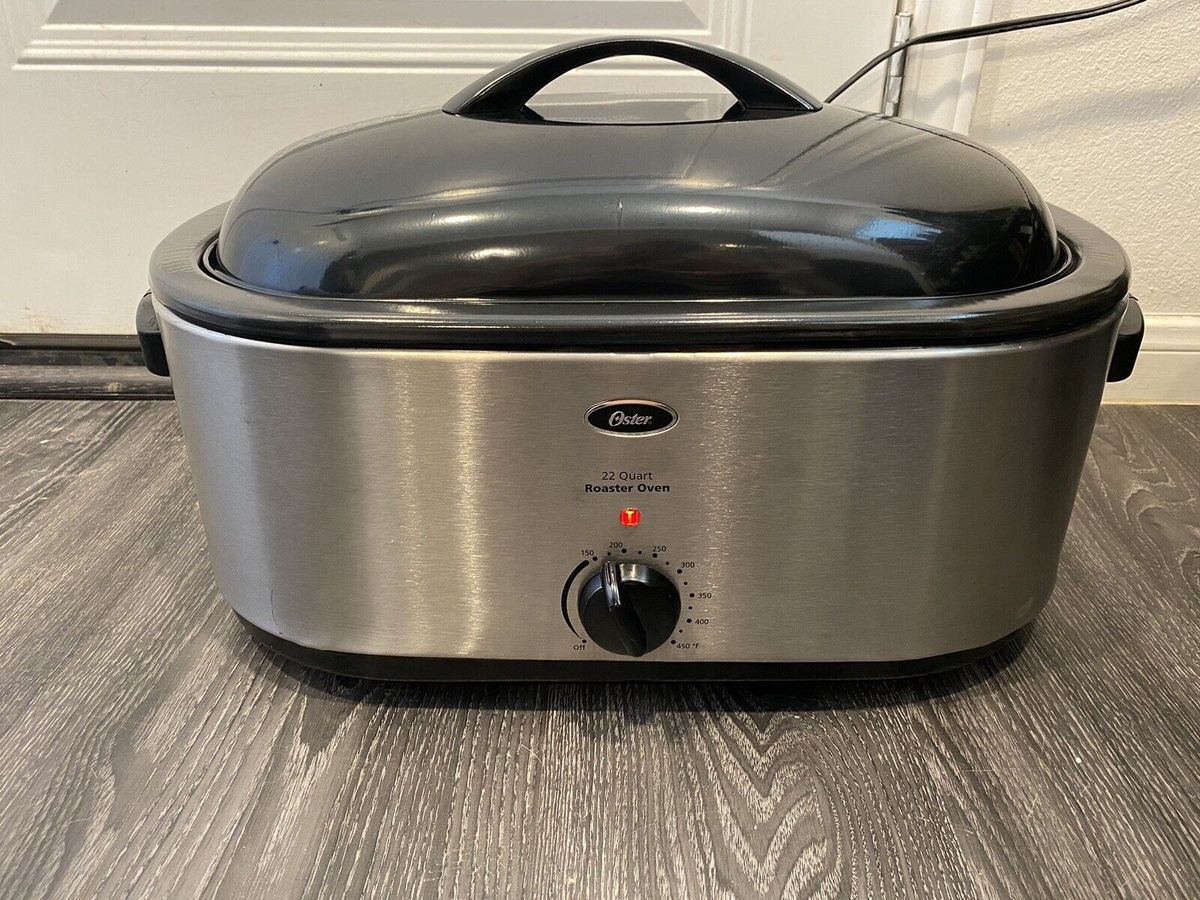
How To Bake A Cake In An Oster Roaster
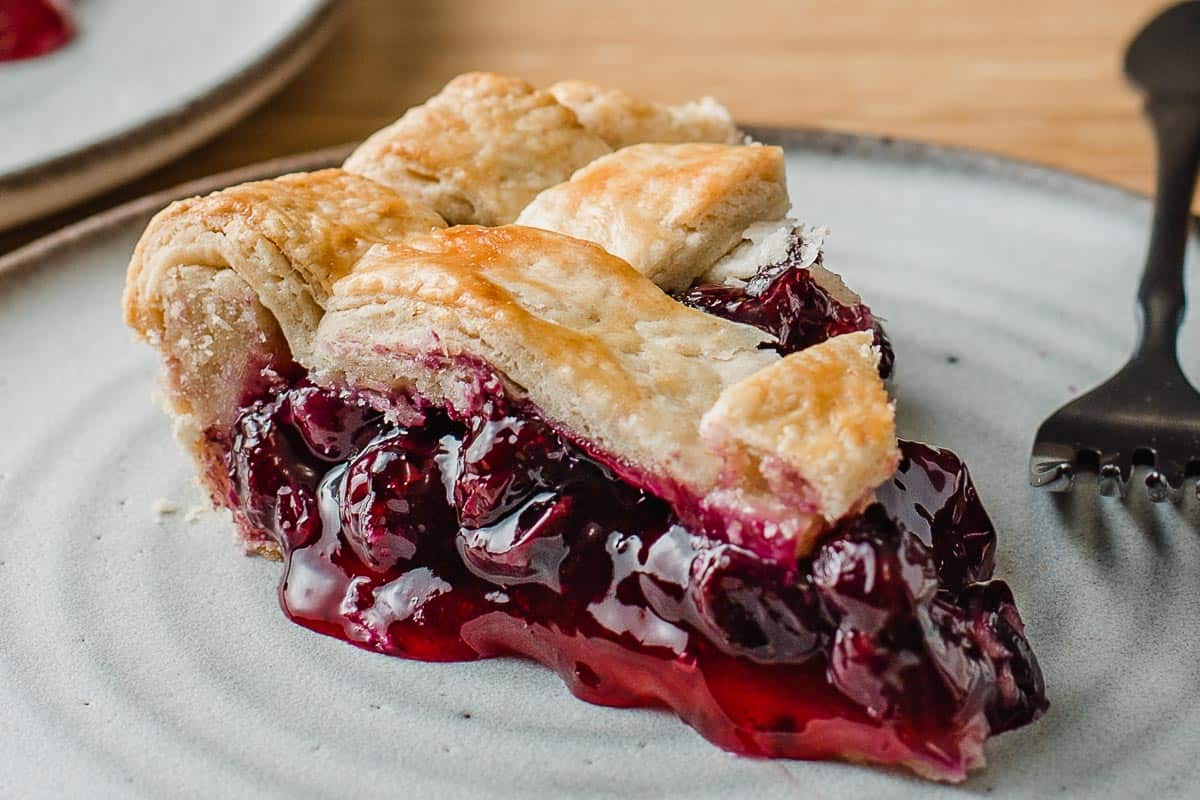
How To Bake A Blueberry Pie From Canned Filling
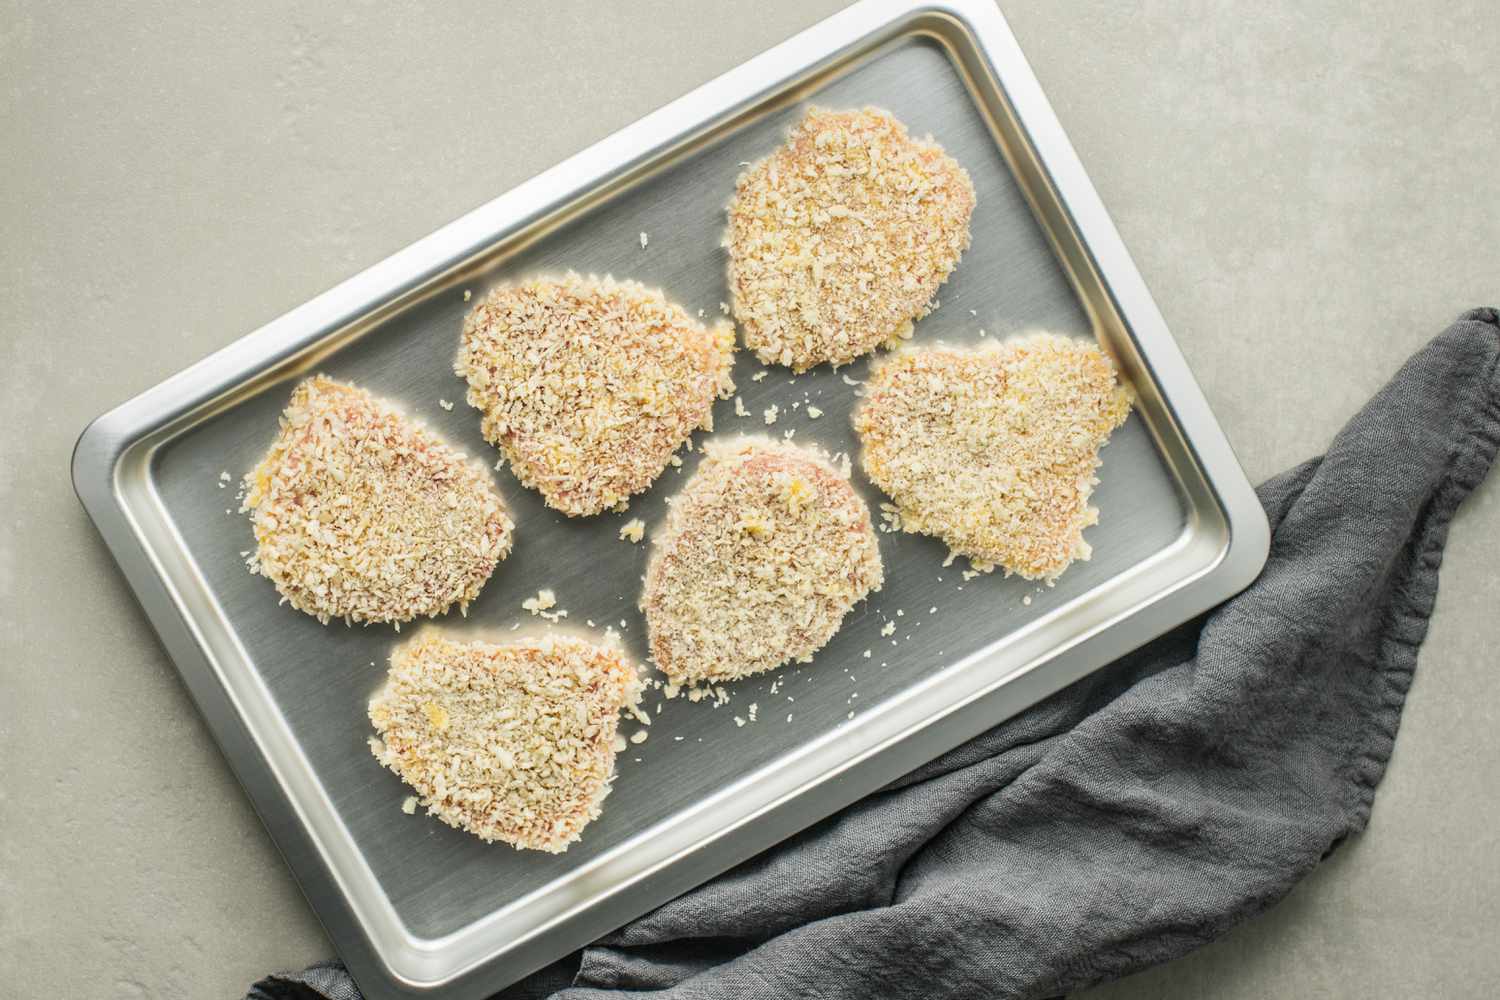
How To Bake Frozen Breaded Veal Patties
How To Bake Whole Foods’ Marinated Chicken Breast

How To Bake Whole Peeled Sweet Potatoes
How To Bake A Whole Fish In Foil
How To Bake White Sweet Potatoes