How to Make Delicious Cake Pops Using a Silicone Mold
Are you looking for a fun and delicious treat to make for your next party or gathering? Cake pops are a popular choice for any occasion, and with the help of a silicone mold, they are easy to make at home. In this guide, we will walk you through the simple steps to create mouthwatering cake pops using a silicone mold.
Ingredients:
- 1 box of cake mix (any flavor of your choice)
- 1/2 cup of frosting (match the flavor to the cake mix)
- Candy melts or chocolate chips
- Lollipop sticks
- Sprinkles or other decorations (optional)
Instructions:
- Bake the Cake: Follow the instructions on the cake mix box to prepare the cake batter. Once the batter is ready, pour it into a greased silicone cake pop mold. Make sure to fill each cavity to the top.
- Bake: Place the silicone mold on a baking sheet and bake in a preheated oven according to the cake mix instructions. Once baked, remove the mold from the oven and let it cool completely.
- Prepare the Filling: In a mixing bowl, crumble the baked cake and add the frosting. Mix until well combined. The mixture should be moist enough to hold its shape when rolled into balls.
- Form the Cake Balls: Using your hands, roll the cake and frosting mixture into small, uniform-sized balls. Place them on a parchment-lined baking sheet.
- Insert the Sticks: Melt a small amount of candy melts or chocolate chips and dip the tip of each lollipop stick into the melted chocolate. Insert the coated end of the stick into each cake ball, about halfway through.
- Chill: Place the cake balls in the refrigerator for about 15 minutes to allow them to firm up and the sticks to set.
- Melt the Coating: In a microwave-safe bowl, melt the candy melts or chocolate chips according to the package instructions. Stir until smooth and well melted.
- Dip the Cake Pops: Dip each cake pop into the melted coating, making sure to cover the entire surface. Allow any excess coating to drip off before placing the cake pop back onto the parchment-lined baking sheet.
- Add Decorations: While the coating is still wet, you can add sprinkles, edible glitter, or other decorations to the cake pops for a festive touch.
- Let Them Set: Once decorated, place the cake pops upright in a cake pop stand or styrofoam block to allow the coating to set completely.
- Serve and Enjoy: Your delicious cake pops are now ready to be served and enjoyed! They make a delightful addition to any dessert table and are sure to impress your guests.
With the help of a silicone mold, making cake pops at home has never been easier. Whether you’re hosting a party or simply want to indulge in a sweet treat, these delectable cake pops are sure to be a hit. Get creative with different cake and frosting flavors, and have fun decorating them to suit any occasion. Happy baking!
Want to share your experience baking cake pops in a silicone mold or discuss other tips and techniques? Join the conversation in the Baking and Desserts forum section!
FAQ:
Can I use any cake recipe to make cake pops in a silicone mold?
Yes, you can use any cake recipe to make cake pops in a silicone mold. Simply prepare the cake batter according to your chosen recipe and then proceed with the instructions for using the silicone mold.
How do I prepare the silicone mold for baking cake pops?
To prepare the silicone mold for baking cake pops, make sure to thoroughly grease the mold with cooking spray or oil to prevent the cake pops from sticking. This will also help in easy removal of the cake pops once they are baked.
What is the best way to fill the silicone mold with cake batter?
The best way to fill the silicone mold with cake batter is to use a small spoon or a piping bag to carefully fill each cavity of the mold. Be sure not to overfill the cavities to prevent the cake pops from spilling over the edges as they bake.
How long do I bake the cake pops in the silicone mold?
The baking time for cake pops in a silicone mold can vary depending on the size of the mold and the type of cake batter used. As a general guideline, bake the cake pops in a preheated oven according to the recommended time in your cake recipe, and then check for doneness by inserting a toothpick into the center of a cake pop. If it comes out clean, the cake pops are ready.
How do I remove the baked cake pops from the silicone mold?
Once the cake pops are baked, allow them to cool in the silicone mold for a few minutes. Then, gently press on the bottom of each cavity to release the cake pops. If the cake pops are sticking, carefully run a butter knife around the edges of each cavity to help loosen them before removing from the mold.
Can I decorate the cake pops after baking them in the silicone mold?
Yes, you can decorate the cake pops after baking them in the silicone mold. Once the cake pops have cooled completely, you can dip them in melted chocolate, sprinkle them with toppings, or decorate them as desired using icing or frosting.
How should I store the cake pops made in a silicone mold?
To store the cake pops made in a silicone mold, place them in an airtight container and keep them at room temperature or in the refrigerator, depending on the type of cake and any perishable ingredients used in the decorations. Enjoy the cake pops within a few days for the best taste and texture.
Was this page helpful?
Read Next: How To Bake A Box Cake In The Microwave
Related Articles
How To Bake Two Pound Cakes At The Same Time
How To Bake With Small Springform Pans

How To Bake In Pampered Chef Stoneware
How To Bake Angel Food Cake In A Sheet Pan
How To Bake Sole Fillets In An Oven

How To Bake Without Burning In A Toaster Oven

How To Bake A Store-Bought Quiche From Deli
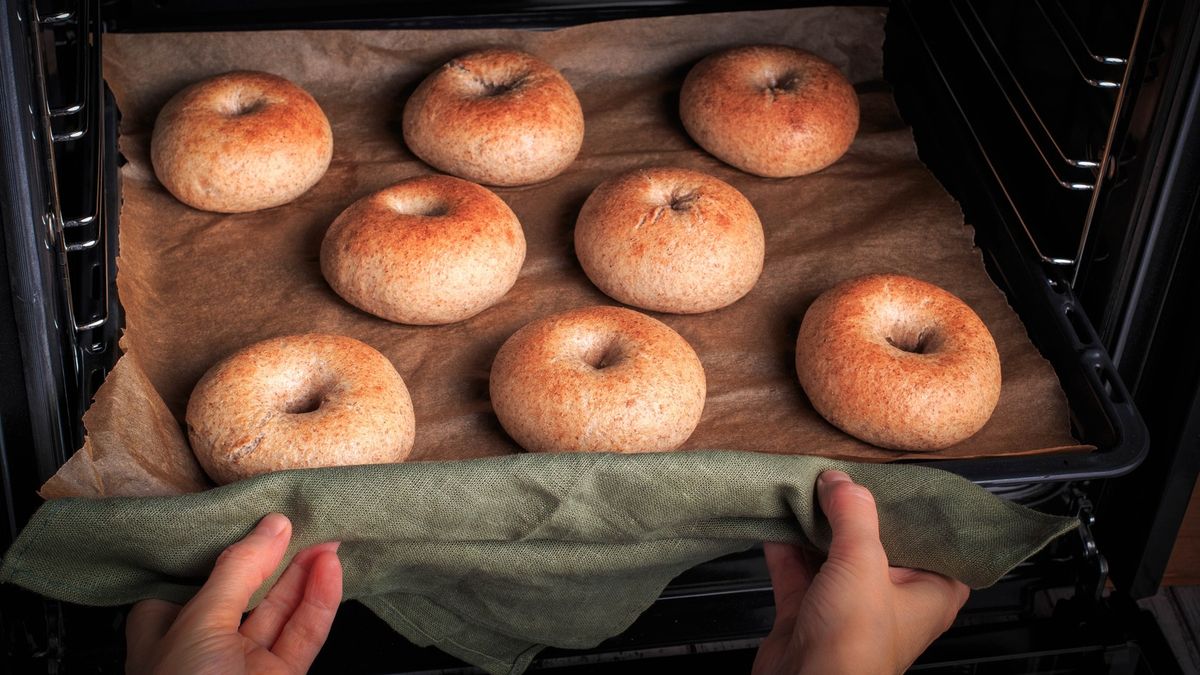
How To Bake The Perfect Bagel In The Oven
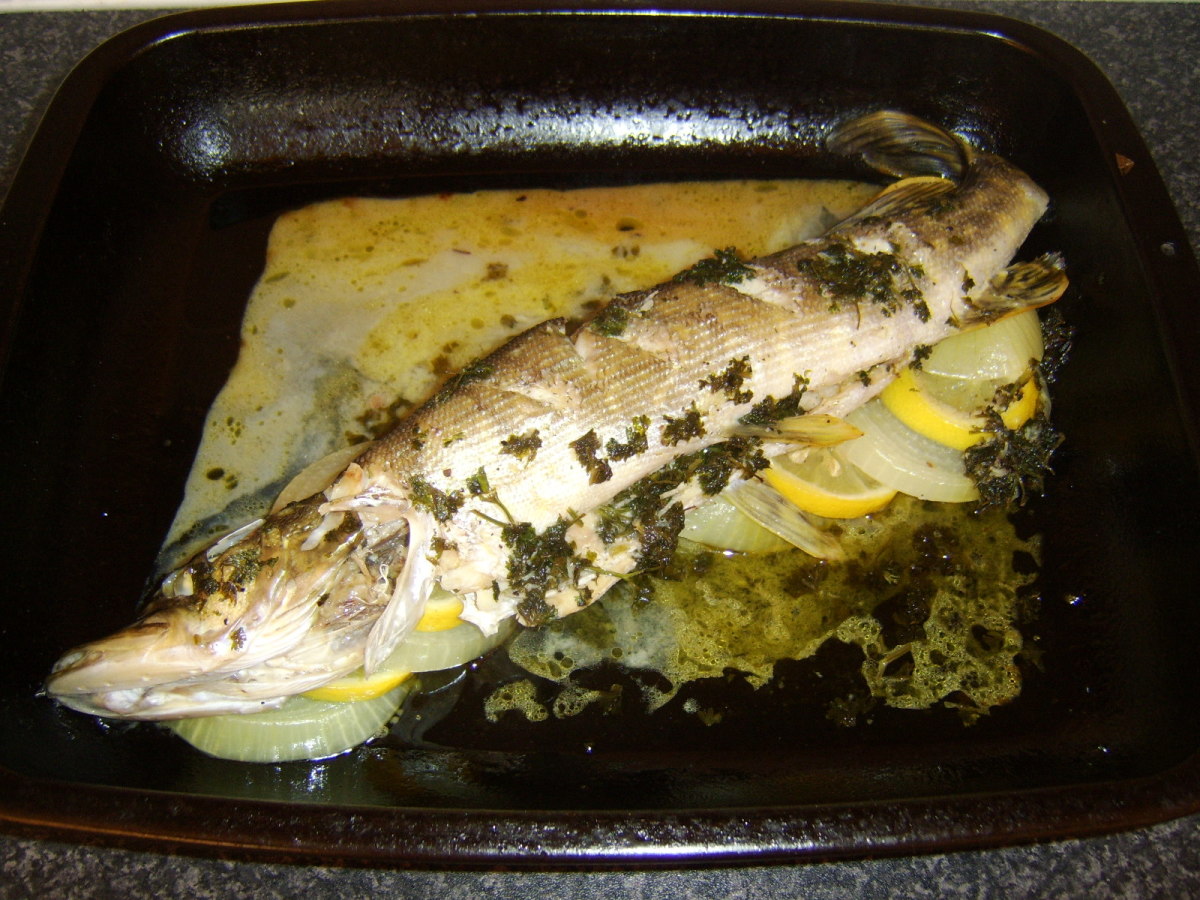
How To Bake A Northern Pike
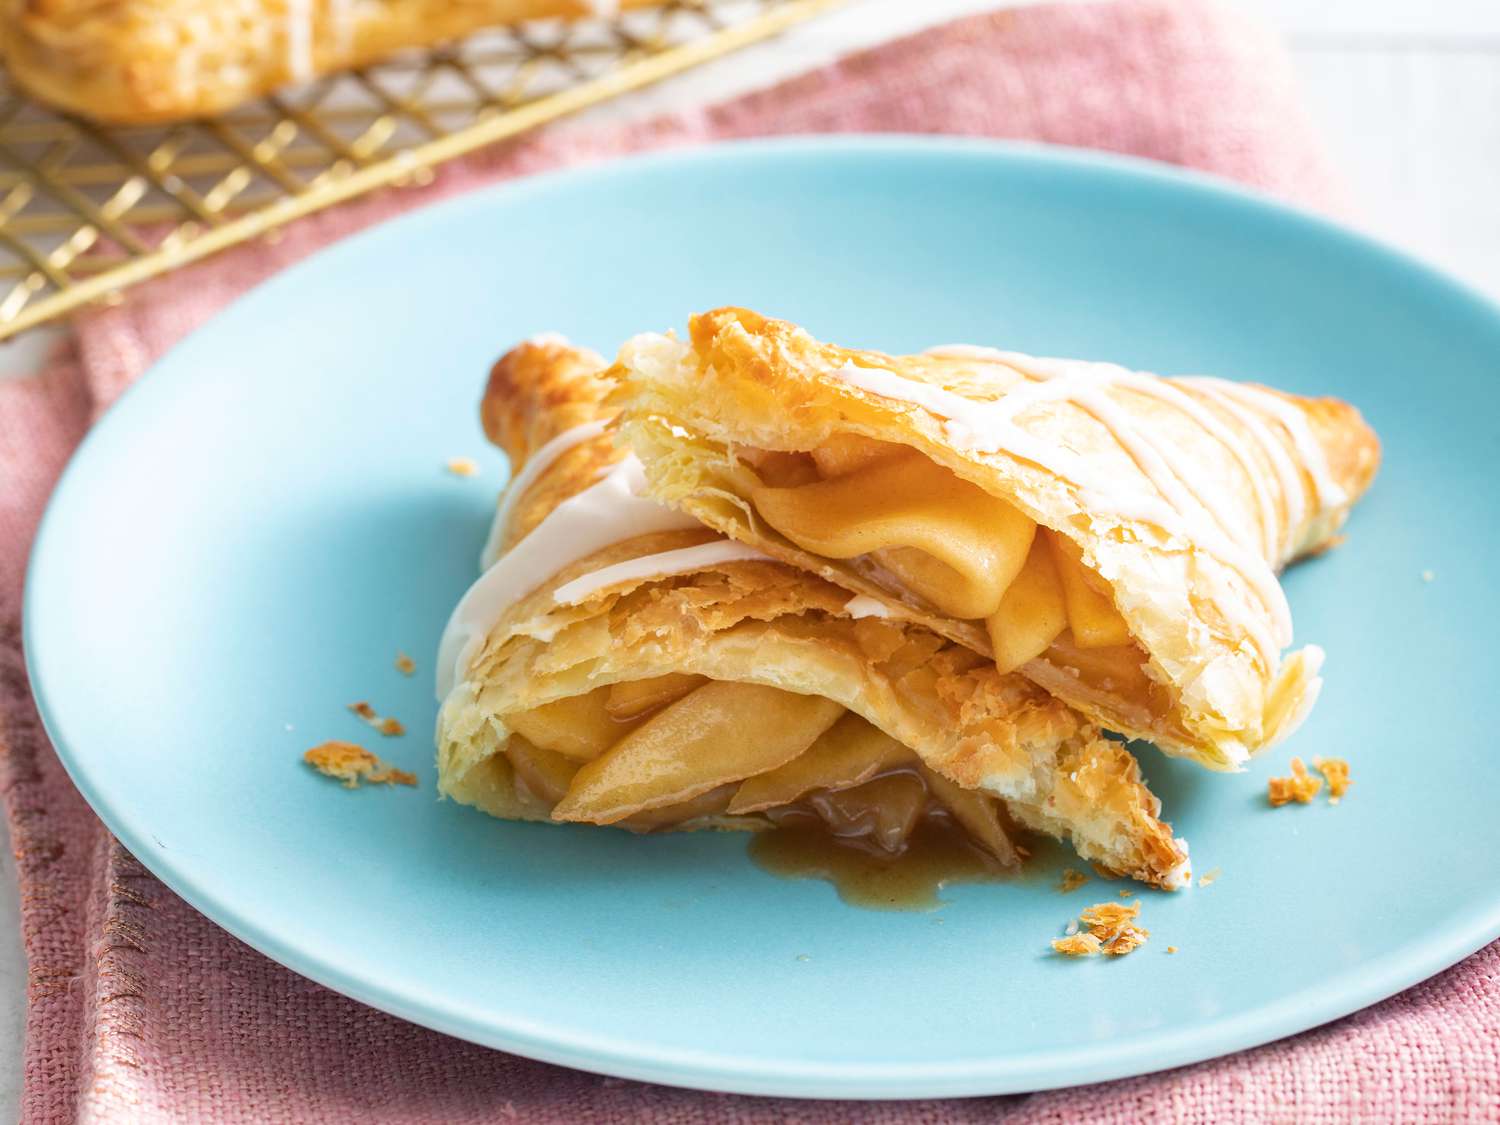
How To Bake Frozen Apple Turnovers

How To Bake Cookies Without An Oven At Home