Preserving Carrots with Vacuum Sealing
Carrots are not only delicious and nutritious, but they also have a relatively long shelf life. However, to extend their freshness even further, you can use a vacuum sealer to preserve them for an extended period. Vacuum sealing helps to remove air from the packaging, preventing the growth of bacteria and mold that can cause spoilage. Here’s a step-by-step guide on how to vacuum seal carrots to keep them fresh for longer.
Step 1: Prepare the Carrots
Start by washing the carrots thoroughly to remove any dirt or debris. Peel the carrots if desired, and then cut them into the desired size and shape for storage. It’s important to ensure that the carrots are completely dry before vacuum sealing them to prevent moisture from affecting the sealing process.
Step 2: Select the Right Packaging
Choose the appropriate packaging for vacuum sealing the carrots. You can use vacuum seal bags or rolls that are compatible with your vacuum sealer machine. Ensure that the bags are large enough to accommodate the carrots without overcrowding, which can affect the sealing process.
Step 3: Fill the Bags
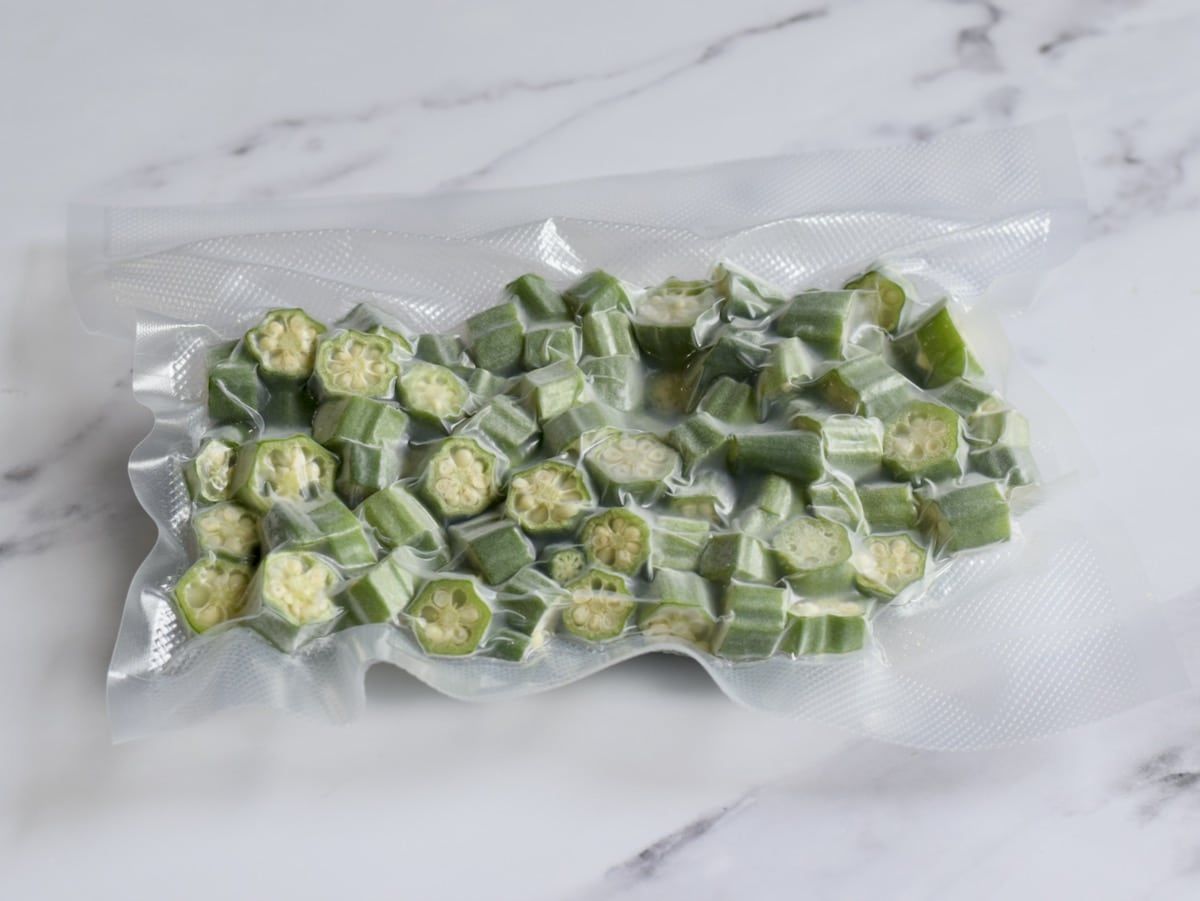
Place the prepared carrots into the vacuum seal bags, leaving some space at the top for sealing. It’s important not to overfill the bags to allow for proper sealing. For added flavor, you can also add herbs or spices to the bags before sealing them.
Step 4: Vacuum Seal the Carrots
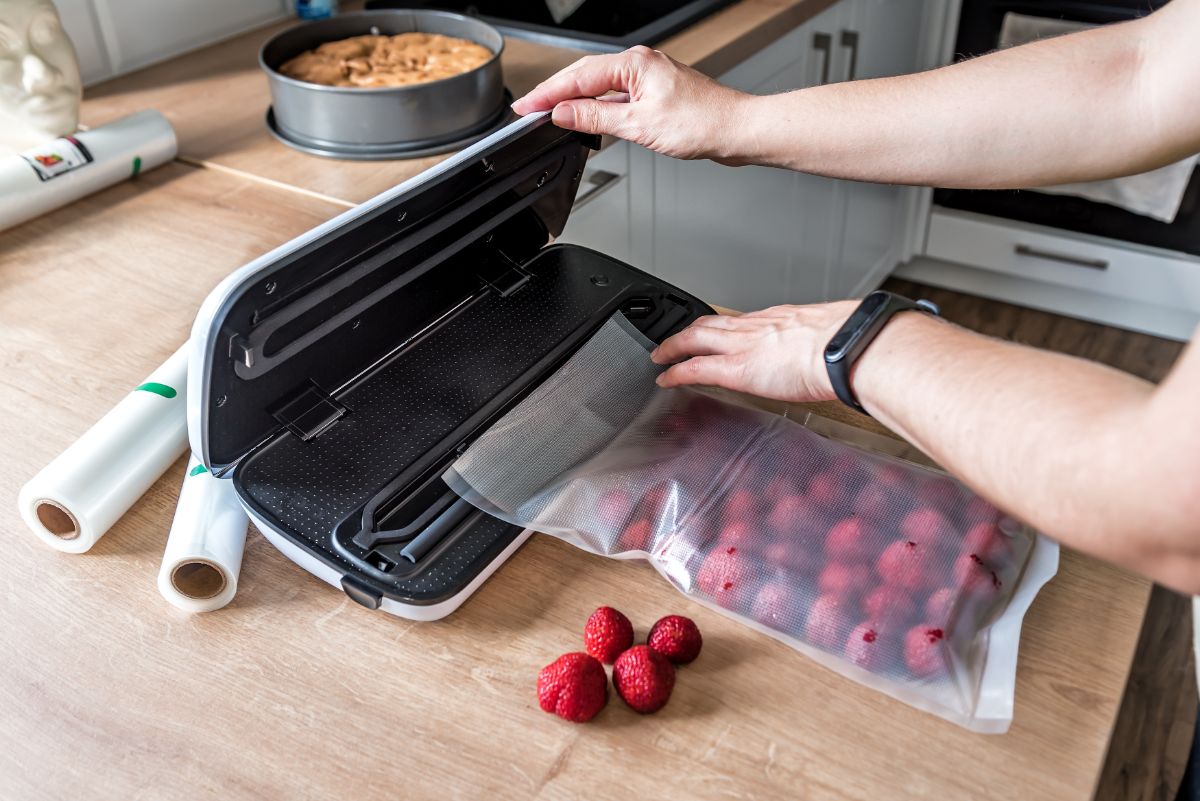
Once the bags are filled, carefully place them into the vacuum sealer machine. Follow the manufacturer’s instructions for sealing the bags. The machine will remove the air from the bags and create a tight seal to preserve the carrots. Make sure the seal is airtight to prevent air from entering the bags after sealing.
Step 5: Label and Store
After vacuum sealing the carrots, label the bags with the date of sealing to keep track of their freshness. Store the sealed carrots in a cool, dry place away from direct sunlight. Proper storage conditions will help maintain the quality of the carrots for an extended period.
Tips for Vacuum Sealing Carrots
- For optimal freshness, consider blanching the carrots before vacuum sealing them. Blanching helps to preserve the color, texture, and nutrients of the carrots.
- Remove any air pockets in the bags before sealing to ensure a tight seal and prevent freezer burn.
- Consider portioning the carrots into smaller bags for convenience. This allows you to thaw only the amount needed for a particular recipe without exposing the remaining carrots to air.
- Regularly inspect the sealed bags for any signs of damage or air leakage, and reseal them if necessary to maintain freshness.
Benefits of Vacuum Sealing Carrots
Vacuum sealing carrots offers several benefits, including:
- Prolonged freshness and shelf life
- Prevention of freezer burn and food waste
- Convenient storage and portioning
- Preservation of flavor and nutrients
By following these simple steps, you can effectively vacuum seal carrots to enjoy their freshness and nutritional benefits for an extended period. Whether you’re preserving a bountiful harvest from your garden or stocking up on carrots from the market, vacuum sealing is a practical method for extending the shelf life of this versatile vegetable.
For those who have mastered the art of vacuum sealing carrots, there are numerous delicious recipes to try out. One highly recommended dish is Honey Roasted Carrots, where vacuum-sealed carrots can retain their natural sweetness and texture. Another must-try is the Carrot and Ginger Smoothie, perfect for a refreshing and nutritious drink. Those looking for a comforting meal should consider Carrot and Coriander Soup, as the sealed carrots blend beautifully with the spices. For a unique twist, the Carrot and Chickpea Curry offers a rich and satisfying flavor profile. Lastly, Carrot Muffins are a great way to enjoy a sweet treat, with vacuum-sealed carrots ensuring they stay moist and delicious.
Was this page helpful?
Read Next: How To Vacuum Seal Apples For Later Use
