Welcome to the Ultimate Guide on Seasoning Your Blackstone Griddle for the First Time
Congratulations on your new Blackstone griddle! Whether you’re a seasoned outdoor chef or a beginner, properly seasoning your Blackstone griddle is essential to ensure its longevity and optimal cooking performance. Seasoning not only creates a non-stick surface but also protects the griddle from rust and corrosion. In this guide, we’ll walk you through the step-by-step process of seasoning your Blackstone griddle for the first time, so you can start cooking up delicious meals with confidence.
What You’ll Need:
- Blackstone griddle
- Cooking oil (flaxseed oil, vegetable oil, or canola oil)
- Paper towels or a clean cloth
- Heat-resistant gloves or tongs
- Heat source (outdoor grill or stovetop)
Step 1: Wash and Dry the Griddle
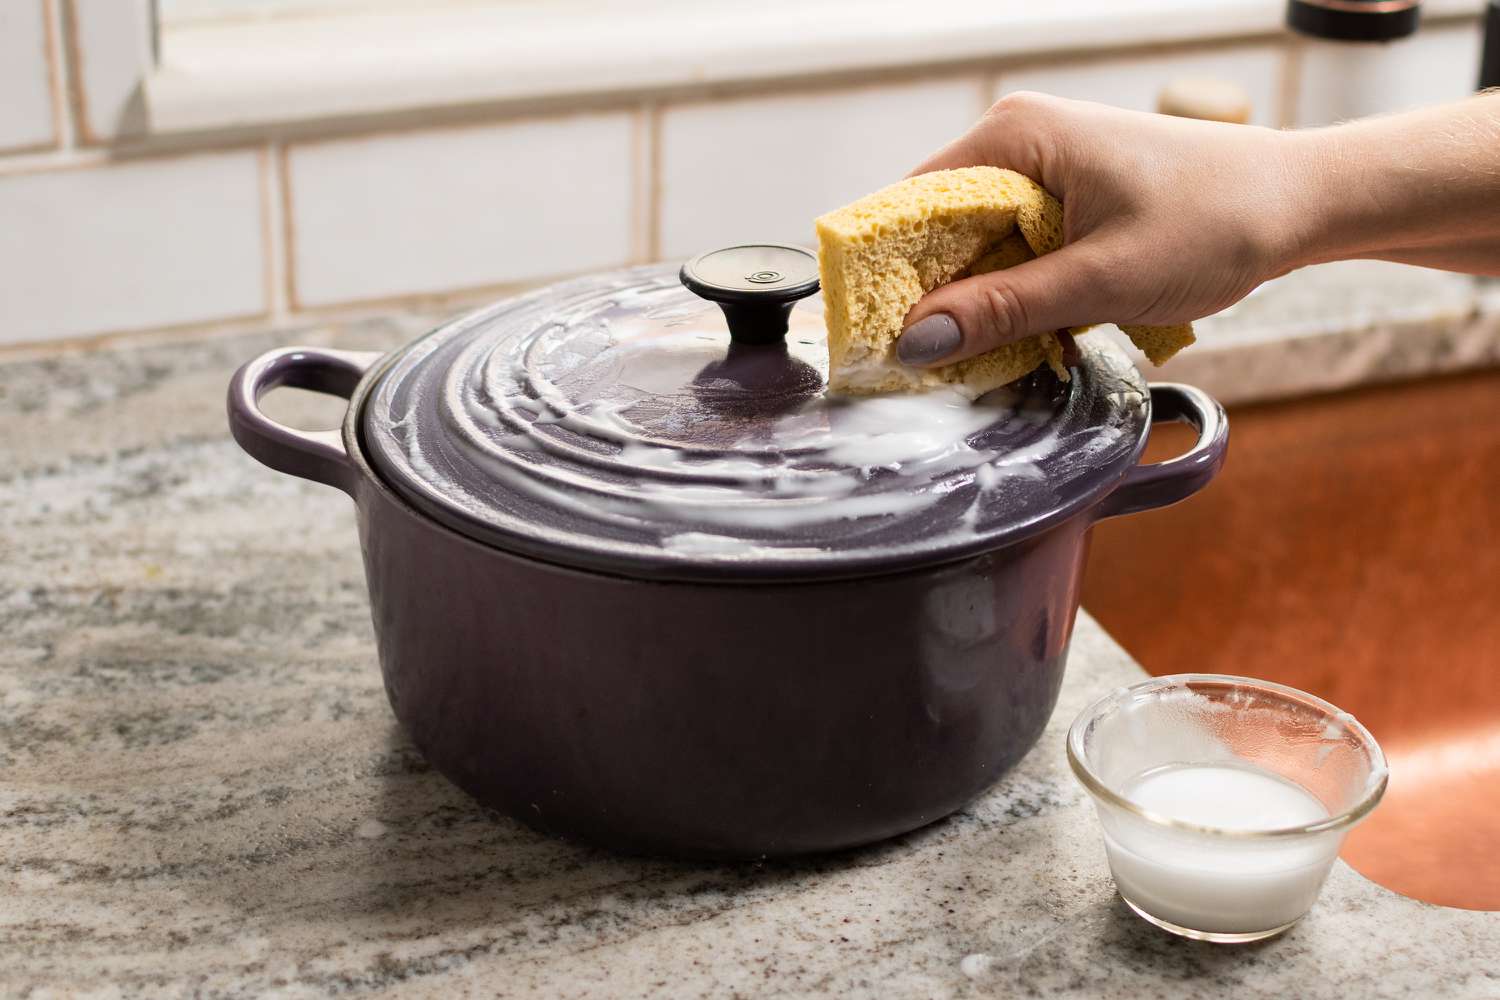
Before you begin the seasoning process, make sure to thoroughly wash the griddle with warm, soapy water to remove any factory residue or debris. Once cleaned, rinse it with water and dry it completely using a towel or paper towels.
Step 2: Apply Cooking Oil
Using a paper towel or clean cloth, apply a thin layer of cooking oil to the entire surface of the griddle, including the sides and corners. Make sure to use an oil with a high smoke point, such as flaxseed oil, vegetable oil, or canola oil, as it will create a durable seasoning layer.
Step 3: Heat the Griddle
Place the griddle on a heat source, such as an outdoor grill or stovetop, and heat it up until it starts to smoke. This process opens up the pores of the metal, allowing the oil to bond with the surface and form a protective layer.
Step 4: Cool and Reapply Oil
Once the griddle starts smoking, turn off the heat and allow it to cool down completely. After it has cooled, apply another thin layer of cooking oil and repeat the heating process. This step helps build up the seasoning layer, making the griddle more non-stick and resilient.
Step 5: Repeat the Process
For best results, repeat the oil application and heating process 2-3 times, or until the griddle develops a smooth, dark patina. This indicates that the seasoning layer has formed, providing an excellent non-stick cooking surface.
Step 6: Maintain the Seasoning
After seasoning your Blackstone griddle for the first time, it’s essential to maintain the seasoning by regularly applying a thin layer of cooking oil after each use. This helps prevent rust and keeps the griddle in top condition for years to come.
Enjoy Cooking on Your Newly Seasoned Blackstone Griddle!
Now that you’ve successfully seasoned your Blackstone griddle for the first time, you’re ready to start cooking up a storm! Whether you’re making pancakes, stir-fry, or sizzling burgers, your well-seasoned griddle will provide exceptional cooking results and easy cleanup.
Remember, the more you use your Blackstone griddle, the better the seasoning will become, so don’t be afraid to get cooking!
Happy griddling!
More Delicious Recipes to Try on Your Seasoned Blackstone Griddle
Once you've seasoned your Blackstone griddle, it's time to put it to the test with a variety of delicious recipes. From the sizzling Philly Cheesesteak Sandwiches to the savory Grilled Chicken Fajitas, each dish offers a unique way to enhance your culinary skills. For a quick and satisfying meal, try the Crispy Hash Browns or perhaps the Mongolian Beef Stir Fry for a more adventurous dinner. If you're in the mood for something exotic, the Korean BBQ Short Ribs are highly recommended for their rich flavors. Each recipe is designed to help you make the most of your seasoned Blackstone, providing not just a meal, but an experience.
Was this page helpful?
Read Next: How To Season Rusty Blackstone Griddle
