Quick and Easy Ways to Proof Frozen Croissants
So, you’ve got a box of frozen croissants, and you’re craving that delicious, flaky pastry. But you don’t want to wait hours for them to proof. No worries! We’ve got some quick and easy methods to help you proof your frozen croissants in no time.
1. Microwave Method
Step 1: Place a cup of water in the microwave and heat it for 2 minutes. This will create a warm and moist environment, perfect for proofing the croissants.
Step 2: Once the water is heated, place the frozen croissants on a microwave-safe plate and cover them with a damp paper towel.
Step 3: Microwave the croissants on the defrost setting for 3-5 minutes, or until they have doubled in size.
Step 4: Remove the croissants from the microwave and let them rest for a few minutes before baking.
2. Oven Method
Step 1: Preheat your oven to the lowest temperature setting, usually around 170°F (75°C).
Step 2: Once the oven reaches the desired temperature, turn it off and place the frozen croissants on a baking sheet lined with parchment paper.
Step 3: Place the croissants in the warm oven and let them proof for 1-2 hours, or until they have doubled in size.
Step 4: Once proofed, remove the croissants from the oven and preheat it to the baking temperature specified on the croissant packaging.
3. Dough Proofer Method
If you have a dough proofer, you can use it to quickly proof your frozen croissants.
Step 1: Set the dough proofer to 85-90°F (29-32°C).
Step 2: Place the frozen croissants on a baking sheet and place them in the dough proofer for 1-2 hours, or until they have doubled in size.
Step 3: Once proofed, remove the croissants from the proofer and preheat the oven to the baking temperature specified on the croissant packaging.
4. Instant Pot Method
Step 1: Pour 1 cup of water into the Instant Pot and place the trivet inside.
Step 2: Place the frozen croissants on a heatproof plate and place the plate on the trivet inside the Instant Pot.
Step 3: Close the Instant Pot lid and set the vent to the sealing position. Pressure cook on high for 30 minutes.
Step 4: Once done, allow the pressure to release naturally for 10 minutes, then manually release any remaining pressure.
With these quick and easy methods, you can enjoy freshly baked croissants in no time. Whether you opt for the microwave, oven, dough proofer, or Instant Pot method, you’ll be savoring that buttery, flaky goodness in no time!
Explore More: Delicious Recipes and Creative Uses for Your Croissants
Once you've mastered the quick proofing of frozen croissants, a world of delightful recipes awaits your culinary prowess. For a savory start, try the Ham and Cheese Croissant Bake—its rich flavors make it an irresistible breakfast or brunch option. If you're in the mood for something sweet, the Croissant Bread Pudding with Vanilla Sauce is a decadent choice that beautifully showcases the flaky layers of the croissants. For those hosting a more upscale brunch, the Croissant Sandwich with Smoked Salmon and Cream Cheese offers a gourmet experience that is sure to impress. Each recipe leverages the airy, buttery texture of croissants, transforming them into something uniquely delicious.
Was this page helpful?
Read Next: How To Proof Donuts At Home
Related Articles
How To Proof Apple Pie Moonshine

How To Proof Donuts At Home
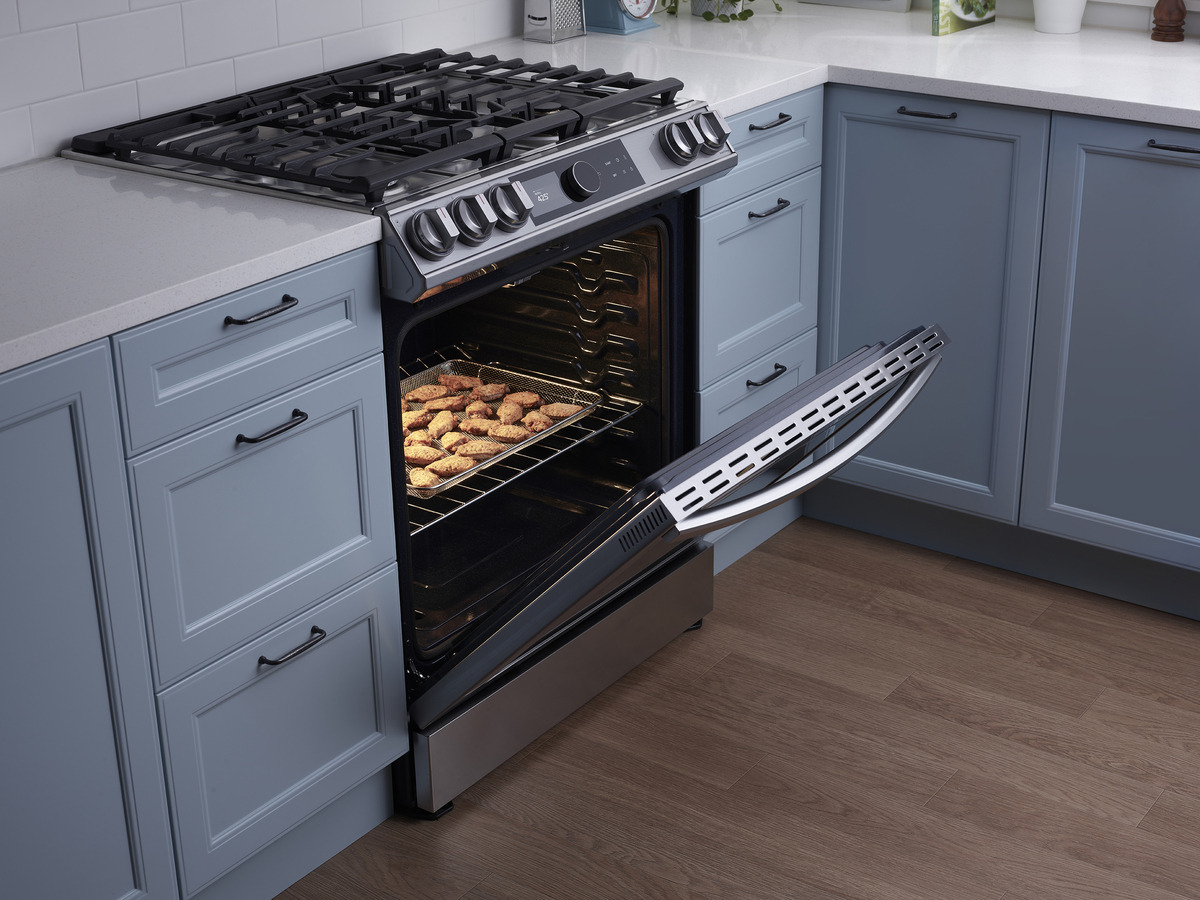
How To Proof Bread In Samsung Oven
How To Clarify Soup

How To Clarify A Consommé
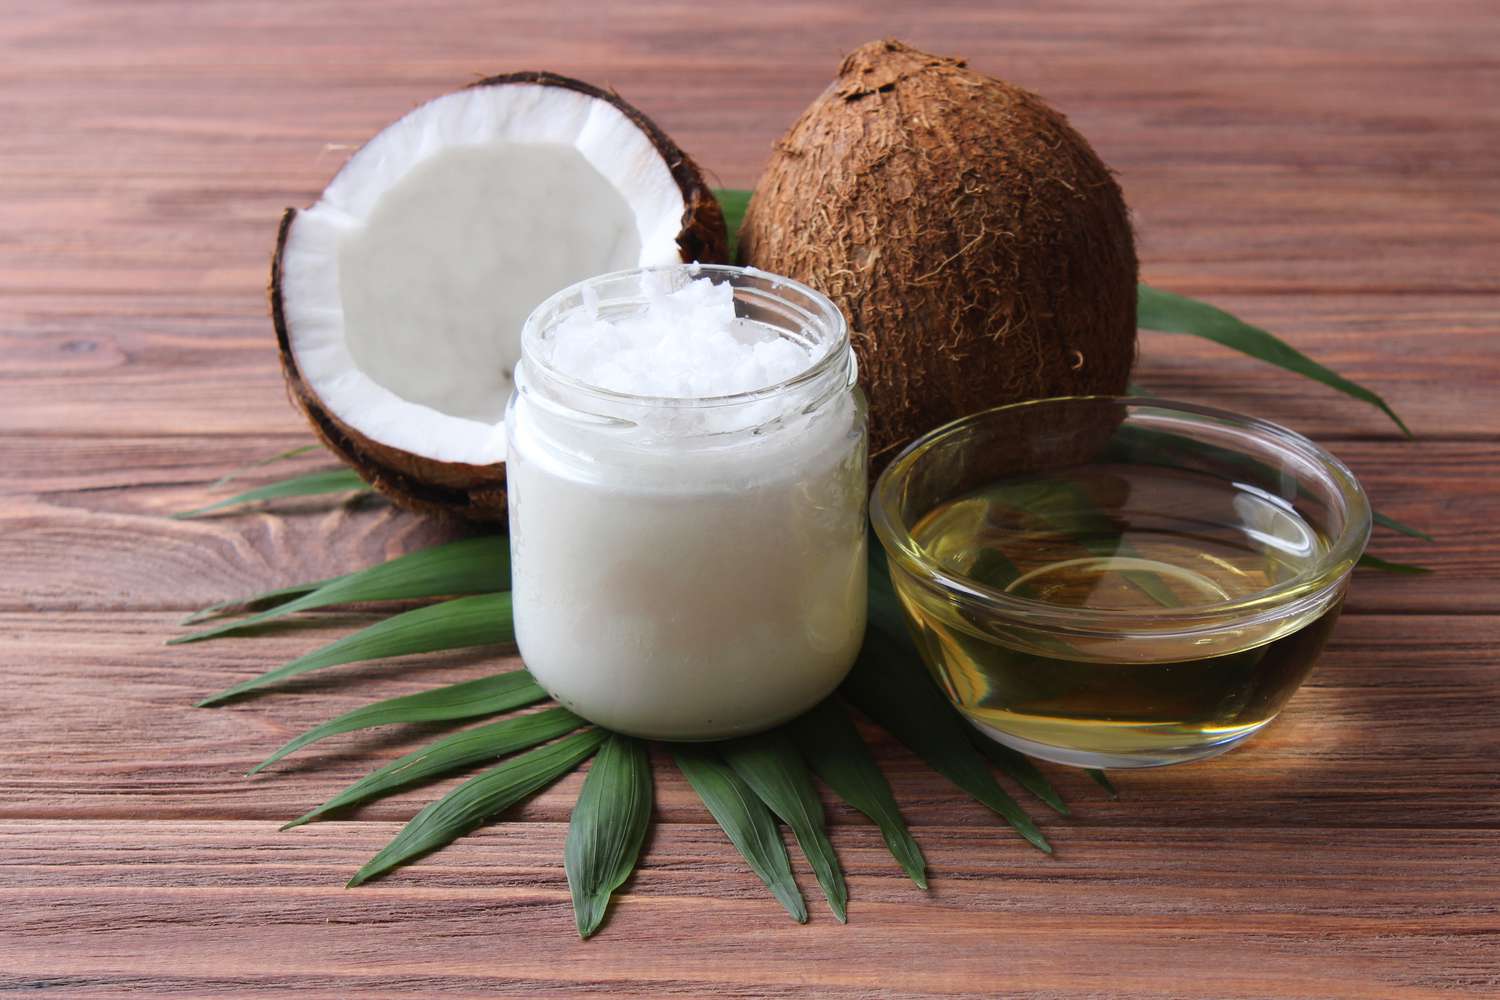
How To Clarify Infused Coconut Oil

How To Clarify Juice With Agar
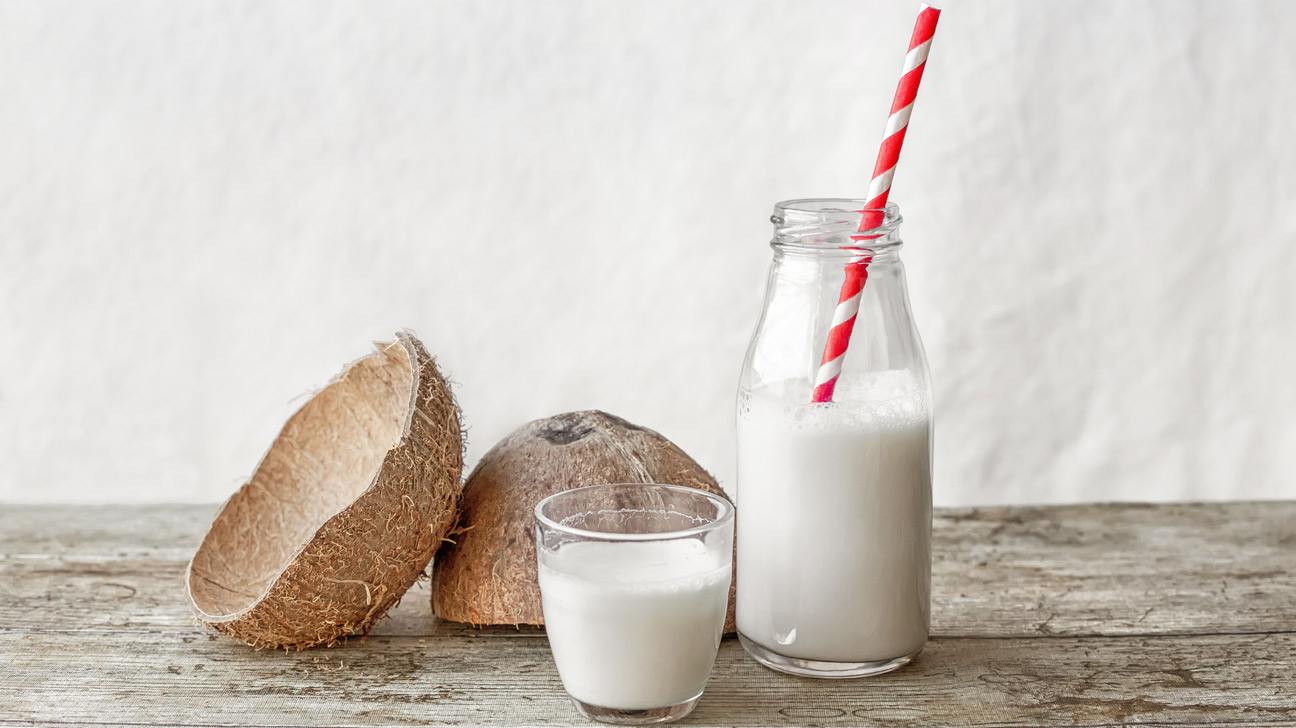
How To Clarify Coconut Milk For Cocktails

How To Clarify Liquor
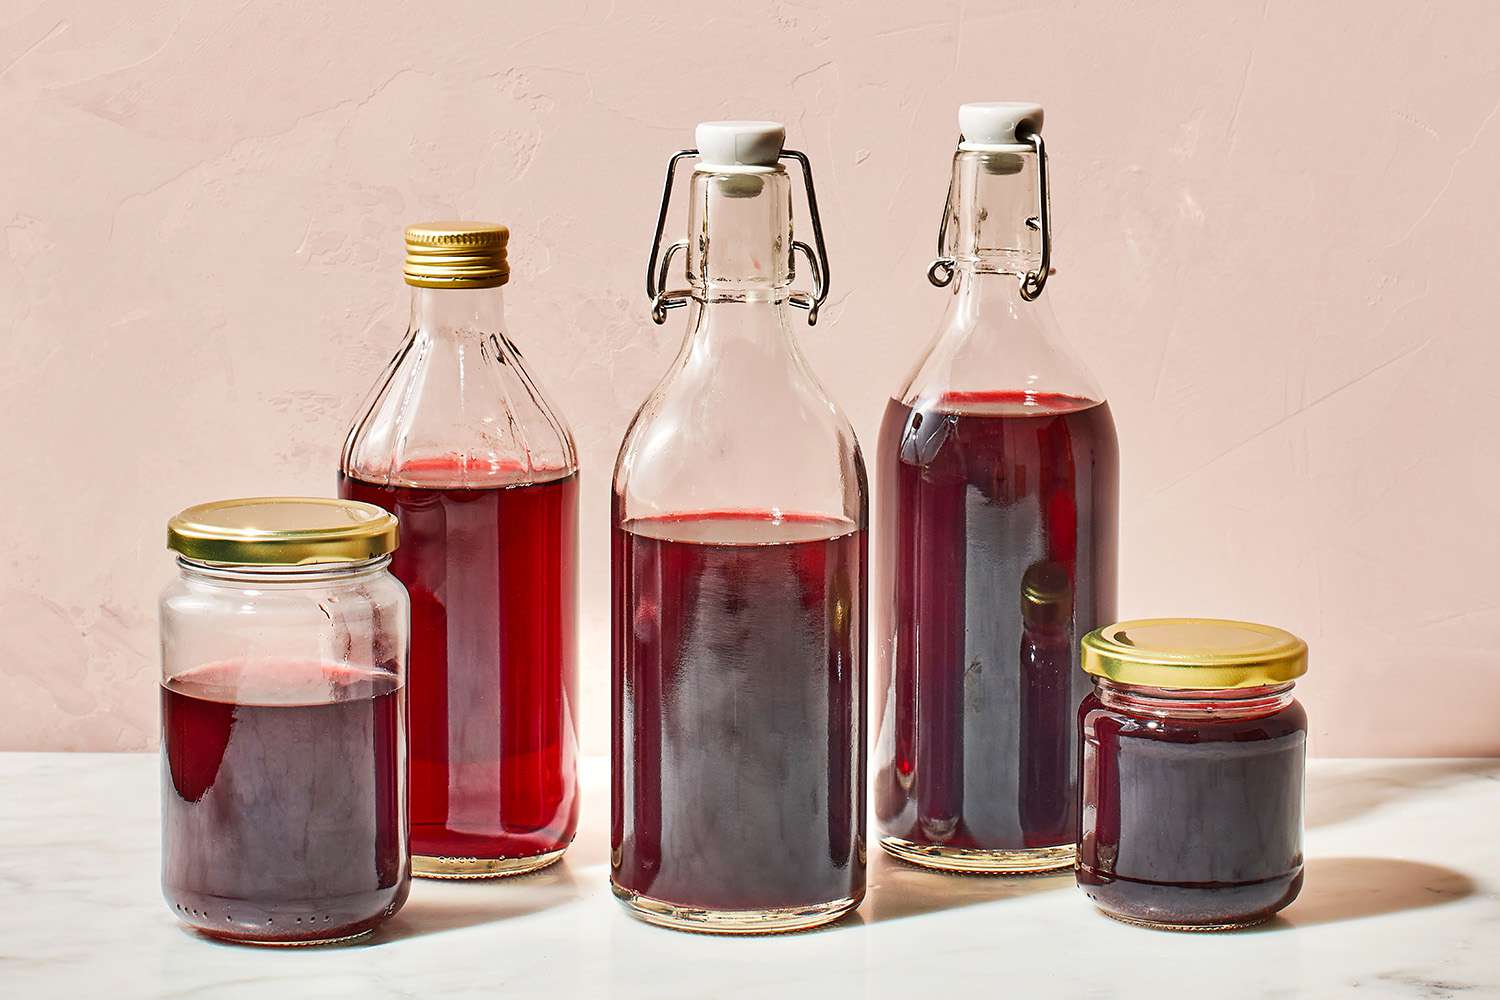
How To Clarify Homemade Red Wine Vinegar

How To Clarify Cooking Oil