Preserving the Freshness: How to Pickle Chives
Chives are a versatile and flavorful herb that can add a delightful touch to many dishes. If you have an abundance of chives in your garden or simply want to extend their shelf life, pickling them is a fantastic way to preserve their freshness and unique flavor. In this guide, we’ll walk you through the simple process of pickling chives so you can enjoy their delicious taste for months to come.
What You’ll Need:
- Chives
- Vinegar
- Sugar
- Salt
- Jar with a tight-fitting lid
Step 1: Prepare the Chives
Start by washing the chives thoroughly to remove any dirt or debris. Trim the chives to fit the height of your jar, leaving a little space at the top.
Step 2: Create the Pickling Liquid
In a small saucepan, combine vinegar, sugar, and salt. Bring the mixture to a boil, stirring until the sugar and salt are fully dissolved. Remove the pickling liquid from the heat and allow it to cool slightly.
Step 3: Pack the Jar
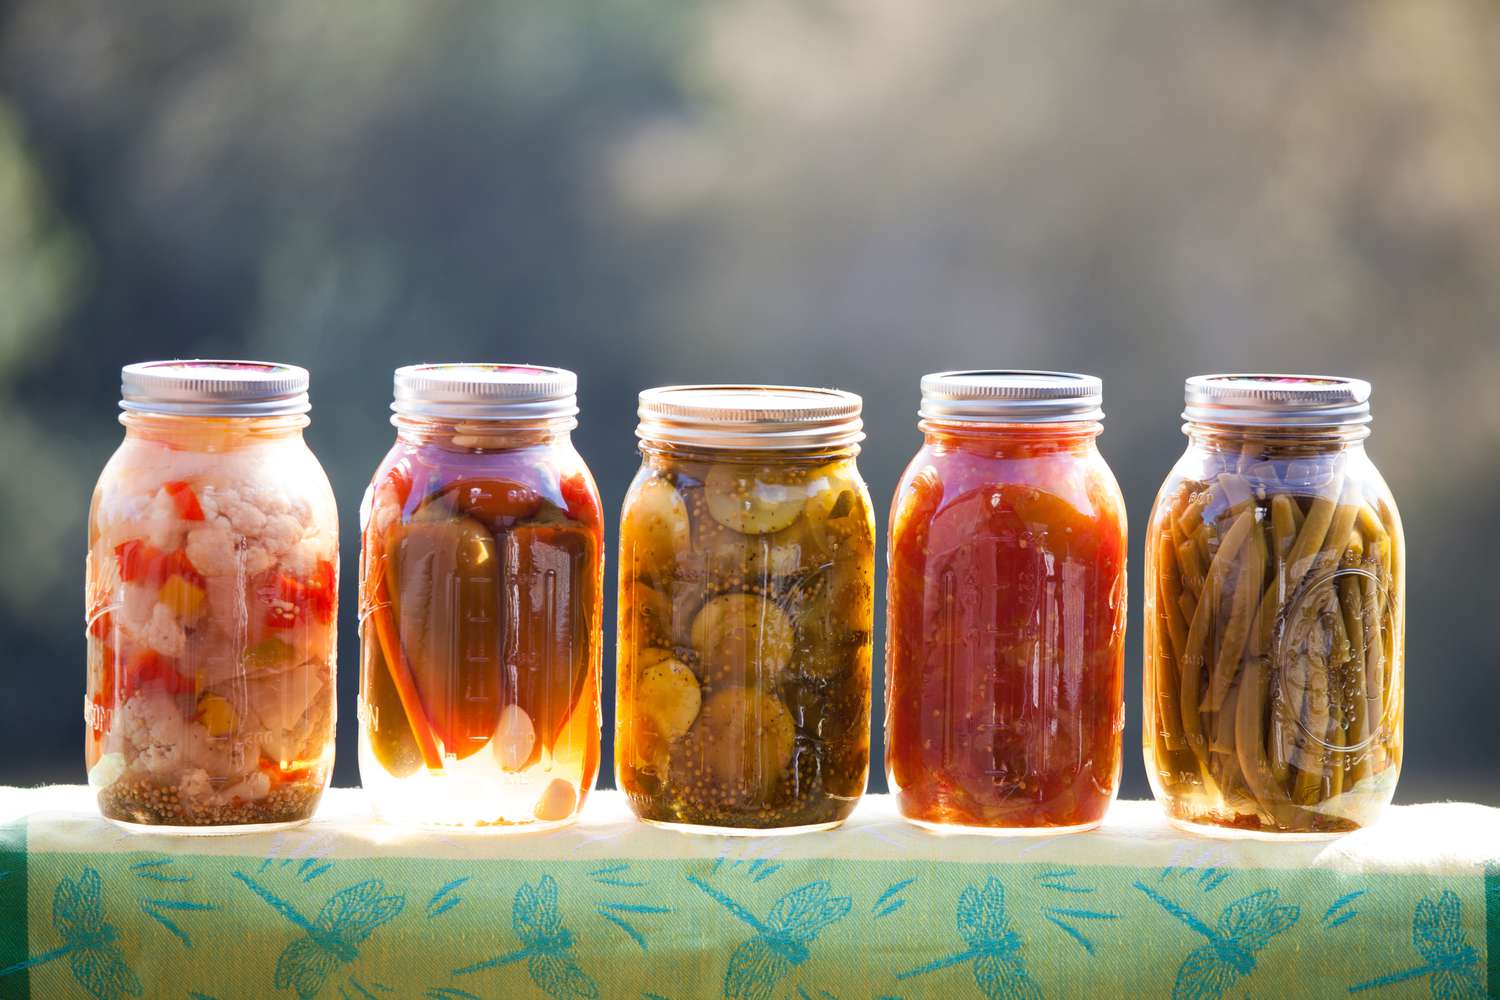
Place the chives in the jar, packing them tightly to ensure they fit snugly. Pour the pickling liquid over the chives, ensuring they are completely submerged. Leave a small amount of space at the top of the jar.
Step 4: Seal and Store
Secure the lid on the jar and store it in the refrigerator. Allow the chives to pickle for at least 24 hours before using them. The pickled chives will keep in the refrigerator for several months.
Ways to Enjoy Pickled Chives
Pickled chives add a burst of flavor to a variety of dishes. Here are a few creative ways to enjoy your homemade pickled chives:
- Sprinkle them over salads for a tangy kick.
- Add them to sandwiches or wraps for a pop of flavor.
- Use them as a garnish for soups or stews.
- Mix them into cream cheese or sour cream for a zesty dip.
By pickling your chives, you can savor their fresh taste long after the growing season has ended. Whether you’re a seasoned chef or a cooking novice, pickled chives are a fantastic addition to any kitchen. Give this simple pickling method a try and elevate your culinary creations with the delightful flavor of pickled chives.
More Delicious Recipes Featuring Pickled Chives
After mastering the art of pickling chives, you're ready to elevate your culinary creations. Try the Creamy Pickled Chive Potato Salad for a refreshing twist on a classic dish, or the Pickled Chive Deviled Eggs for a zesty appetizer that's sure to impress. For those who enjoy a bit of comfort food, the Grilled Cheese with Pickled Chives offers a delightful tangy flavor. We highly recommend the Pickled Chive Butter Spread for Artisan Breads, which pairs beautifully with any homemade or store-bought artisan bread. These recipes not only showcase the versatility of pickled chives but also enhance your meals with unique flavors and textures.
Was this page helpful?
Read Next: How To Pickle Crab
Related Articles
How To Pickle Crab
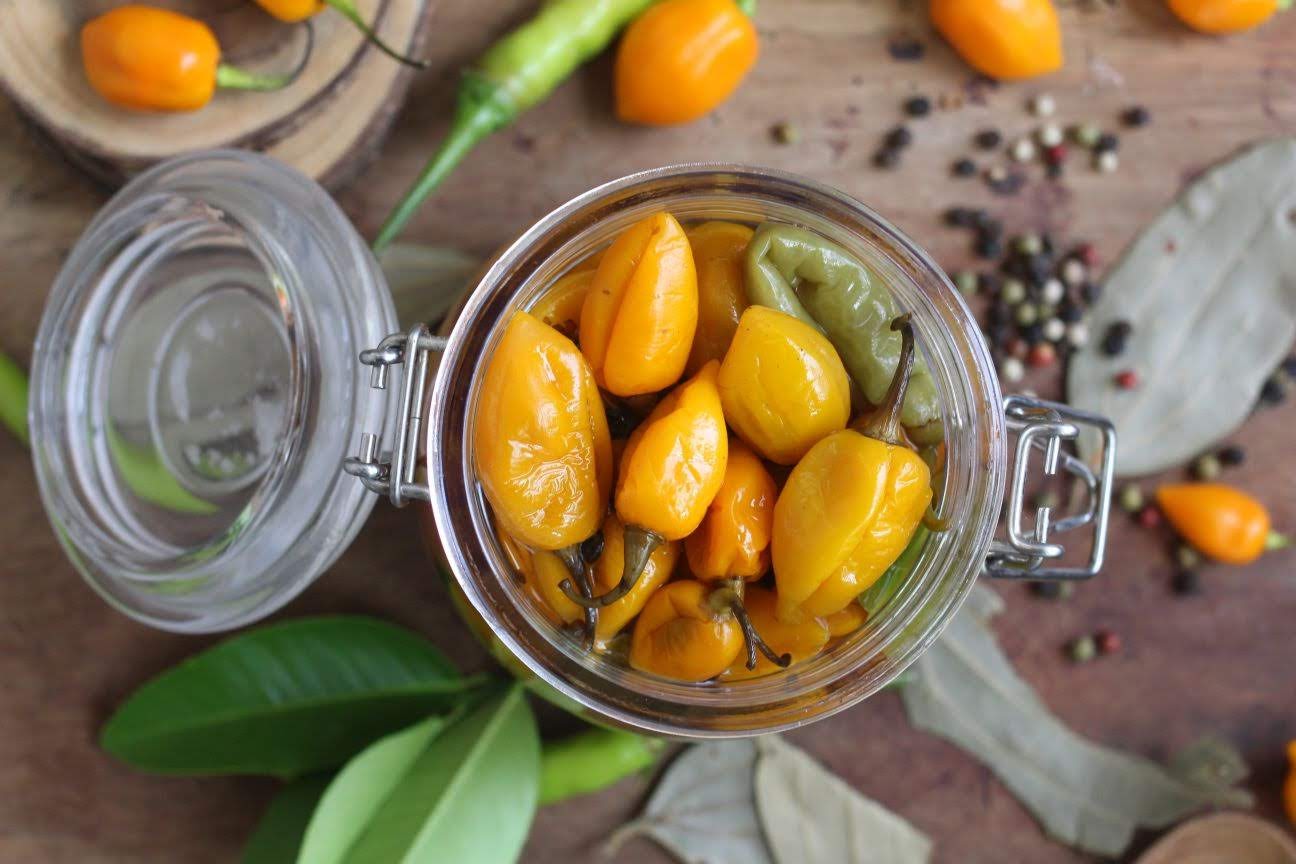
How To Pickle Peppadew Peppers
How To Pickle Tripe
How To Pickle Thistle
How To Pickle Thai Eggplants
How To Pickle Devils Club And Fiddleheads
How To Pickle Sweet Chestnuts
How To Pickle In Oil
How To Shred Paneer

How To Shred Gouda Cheese
How To Shred Cheese In A Magic Bullet