Tips to Bake Bread
Giving rise to a loaf of freshly baked bread is an art that brings joy to many. Whether you’re a seasoned baker or a novice in the kitchen, these tips will help you achieve that perfect homemade loaf.
1. Choose the Right Flour
Using high-quality flour is essential for baking bread that is both flavorful and has a satisfying texture. Opt for bread flour, which has a higher protein content, as it creates a stronger gluten network for a better rise.
2. Measure Accurately
Accurate measurements are crucial when it comes to baking bread. Invest in a kitchen scale to weigh your ingredients, as this will ensure consistency and precision in your recipes.
3. Activate the Yeast
Yeast is what makes your bread rise and gives it that delightful aroma. Activate your yeast by dissolving it in warm water (about 110°F) and a pinch of sugar. Let it sit for a few minutes until it becomes frothy before adding it to the dough.
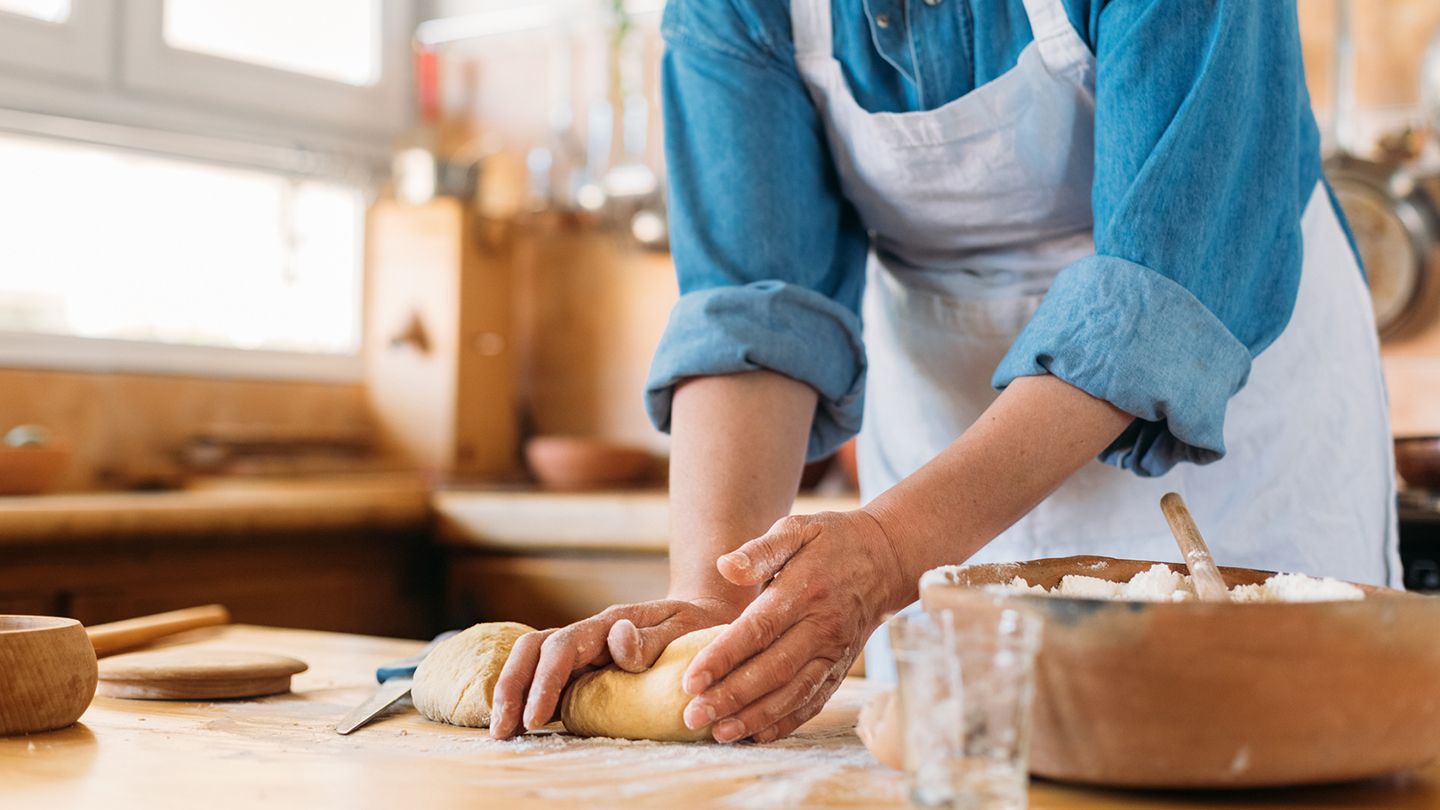
4. Knead the Dough
Kneading is a crucial step in developing gluten, which gives bread its structure. Whether by hand or with a stand mixer, knead the dough until it becomes smooth and elastic. This process typically takes around 8-10 minutes.
5. Allow for Proper Proofing
Proofing is the process of allowing the dough to rise before baking. Place the dough in a warm, draft-free area and cover it with a damp cloth or plastic wrap. It should approximately double in size, which can take anywhere from 1 to 2 hours, depending on the recipe and ambient temperature.
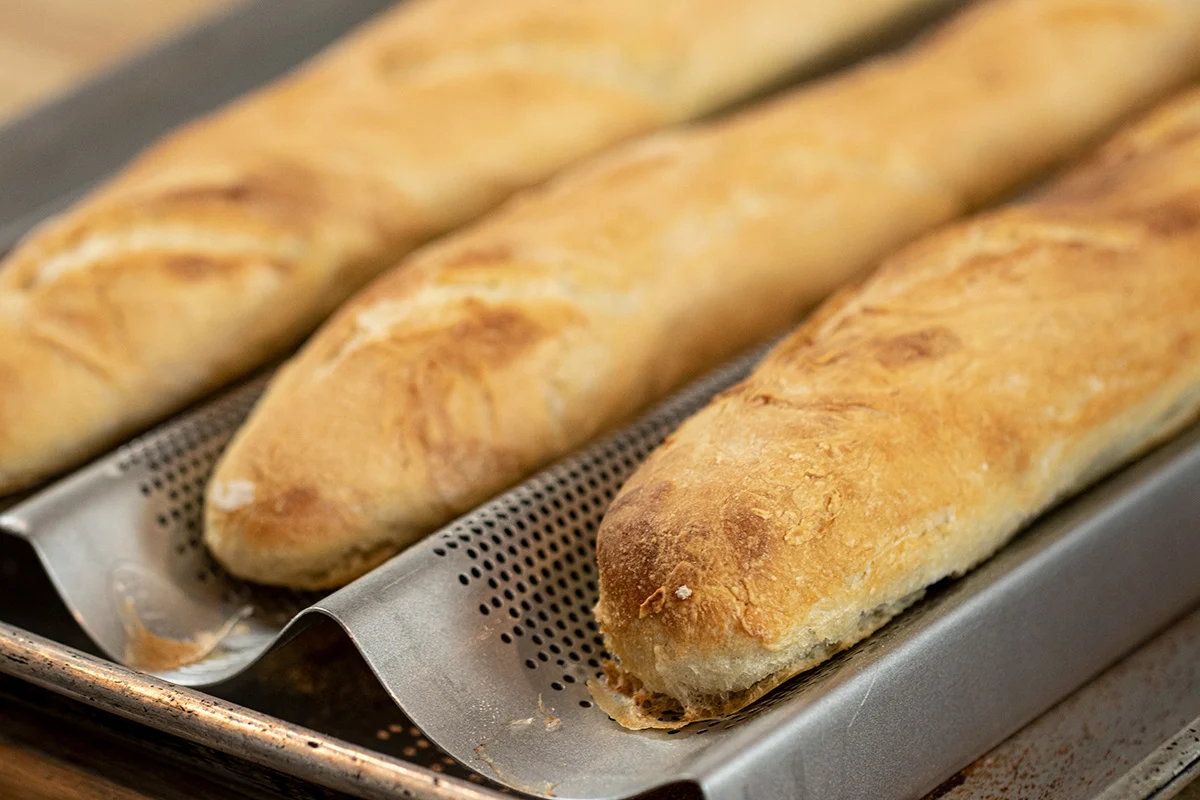
6. Create Steam
Steam plays a vital role in achieving a beautiful crust. Preheat your oven with a baking stone or sheet pan on the bottom rack. As you place the dough on the hot surface, toss a few ice cubes into the preheated pan to create steam. This will give the bread a crispy exterior.
7. Tap for Doneness
Checking for doneness is essential to ensure that your bread is baked perfectly. Once the baking time specified in the recipe is complete, give the loaf a gentle tap on the bottom. If it sounds hollow, it is done. If not, return it to the oven for a few more minutes.
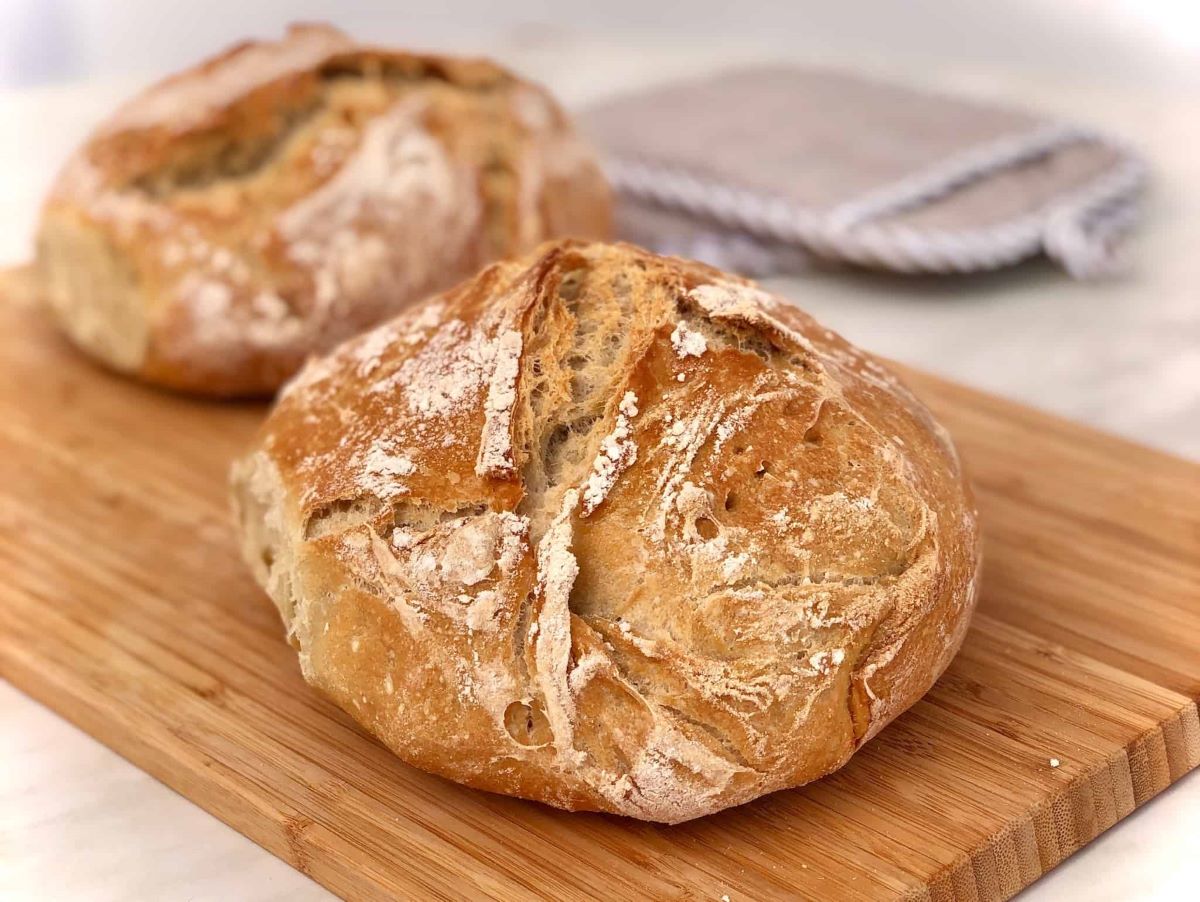
8. Let It Cool
Allow your bread to cool completely before slicing or devouring it. This will prevent it from becoming gummy and ensure a proper texture. Patience is key!
By following these tips, you’ll be on your way to baking wonderful bread that will impress both yourself and your loved ones. So put on your apron, gather your ingredients, and get ready to create the perfect loaf!
Was this page helpful?
Related Articles
How To Bake With A Baguette Pan
How To Bake Bread With Self-Raising Flour

How To Bake Cobia Fish

Baking Tools And Equipment Guide

Top Rated & Reviewed Comfort Foods

How Much Food To Serve At Cocktail Party
Top Baking Tips

A New Twist: Cheese Straws Seven Ways
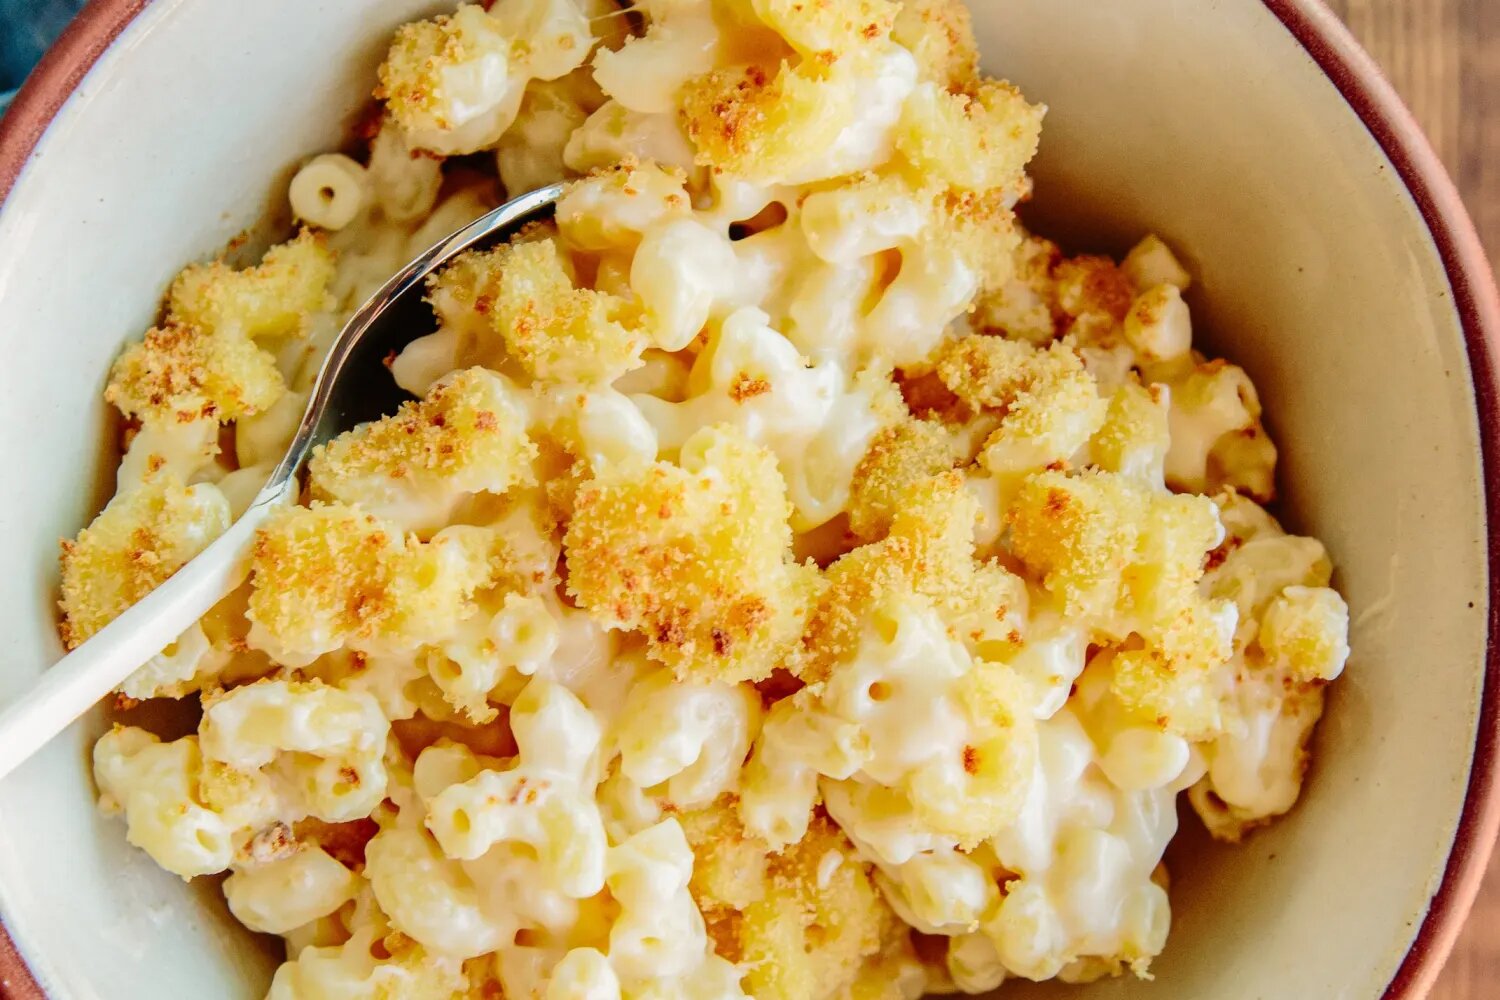
5 Ways To Take Boxed Mac And Cheese To The Next Level
Steak For A Crowd

7 Ways To Customize Cupcake Frosting