Grinding ragi batter at home might seem tricky, but with a few simple steps, anyone can master this skill. Ragi, also known as finger millet, is a nutritious grain, rich in calcium, iron, and fiber, making it a fantastic choice for health-conscious individuals. Whether you're aiming to whip up some delicious ragi dosas or fluffy idlis, getting the batter right is key. This guide will walk you through selecting the best ragi grains, soaking them correctly, and finally, grinding them into a perfect batter. Ready to elevate your home cooking with this wholesome ingredient? Let's get started.
Essential Ingredients for Ragi Batter
- Ragi (Finger Millet): 2 cups
- Rice: 1 cup
- Urad Dal (Split Black Lentils): 1/2 cup
- Fenugreek Seeds: 1 teaspoon
- Water: As required for soaking and grinding
- Salt: To taste
Necessary Tools for Crafting Ragi Batter
- High-Power Blender or Grinder
- Mixing Bowl
- Measuring Cups and Spoons
- Spatula
- Strainer (optional, for finer batter)
- Fermentation Container (with a lid)
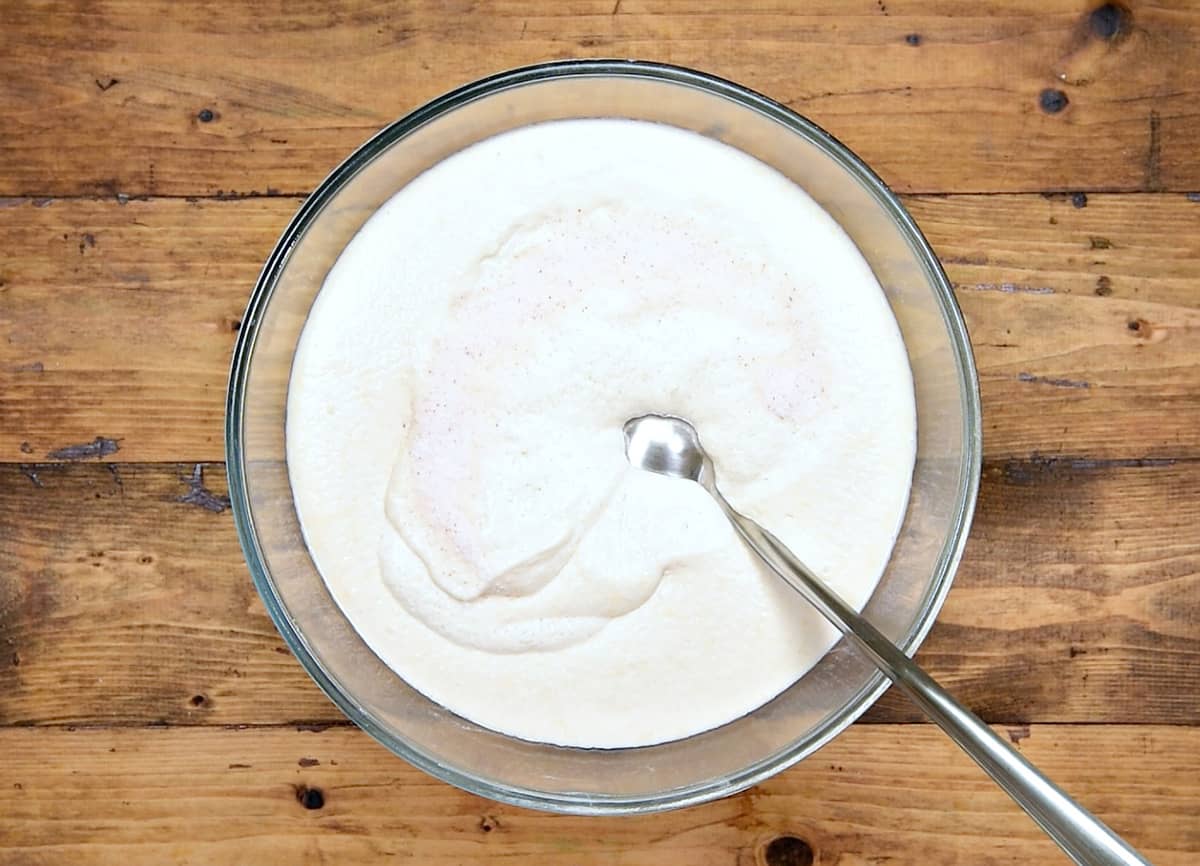
For smooth ragi batter, soak grains overnight. Blend with little water until fine. Strain for desired consistency. Perfect for pancakes or dosas, offering a nutritious twist to traditional recipes.
The Importance of Making Ragi Batter
Grinding ragi batter is a traditional process that transforms ragi grains into a versatile base for numerous dishes. This method not only preserves the nutrients and fiber of the grain but also enhances its flavor, making it a healthier alternative to refined flours.
Incorporating ragi into daily meals through its batter form increases calcium, iron, and dietary fiber intake. It's a simple yet effective way to boost nutritional value in our diet, promoting better digestive health and bone strength.
Your Step-by-Step Guide to Perfect Ragi Batter
-
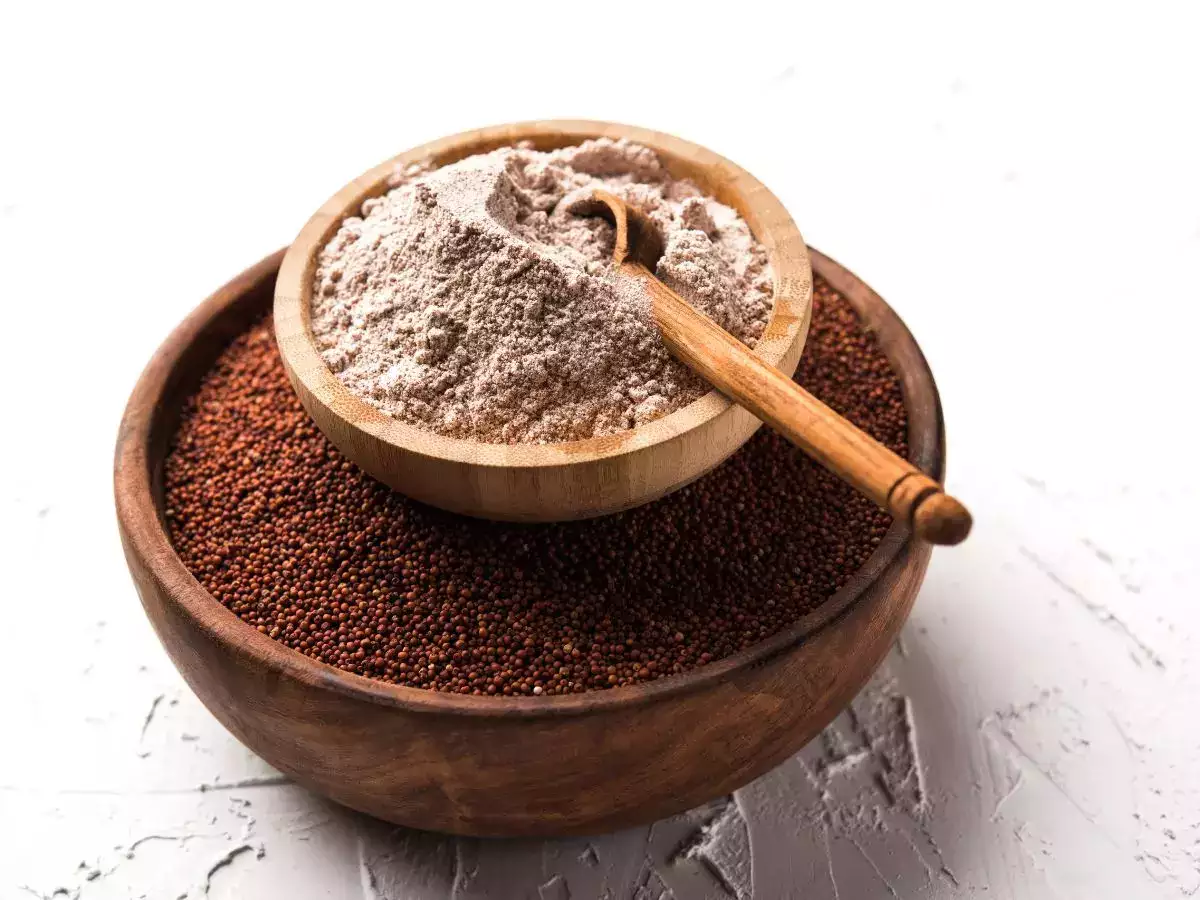
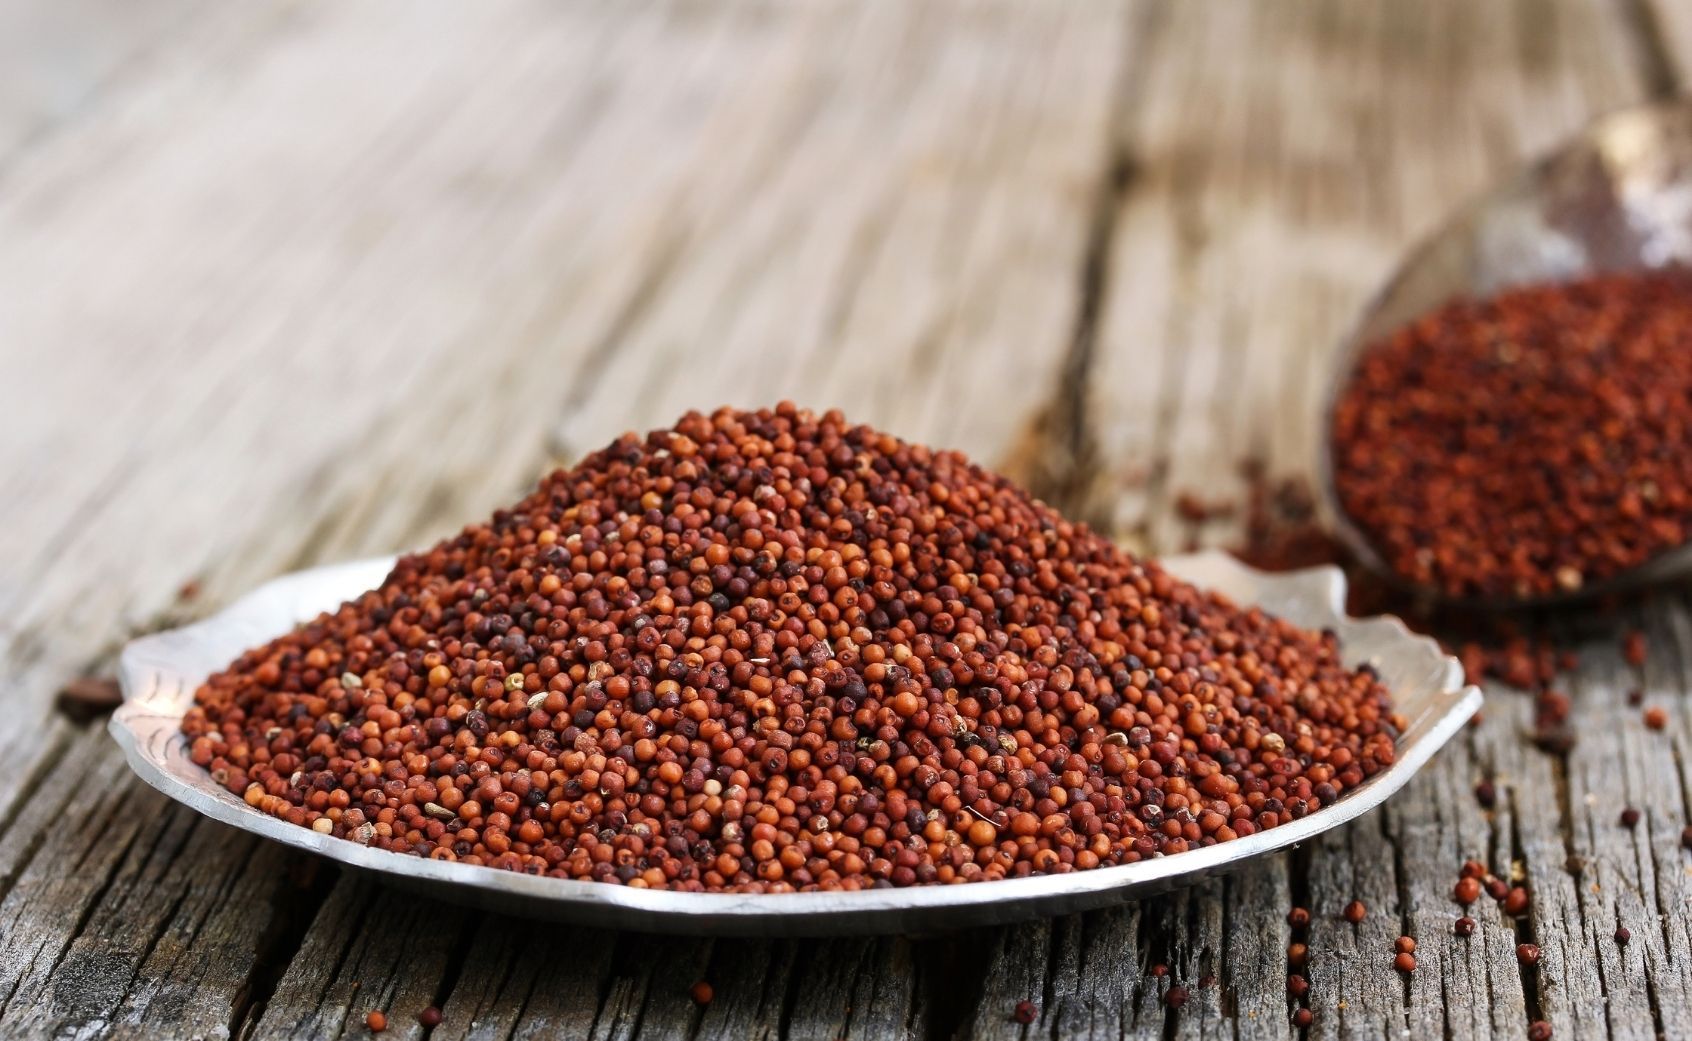
Select high-quality ragi grains: Begin with choosing fresh, clean ragi (finger millet) grains. Quality of grains directly impacts the batter's taste and texture.
-
Wash the ragi thoroughly: Place ragi grains in a large bowl. Rinse several times under running water until water runs clear. This step removes any dirt or impurities.
-
Soak the grains: After washing, soak ragi grains in enough water to cover them completely. Let them soak for at least 8 hours, or overnight. Soaking helps in softening the grains, making them easier to grind.
-
Drain the soaked ragi: Once soaked, drain the water from ragi grains using a colander. Ensure all excess water is removed to prevent the batter from becoming too watery.
-
Grinding the ragi: Transfer the soaked and drained ragi grains to a grinder or a high-power blender. Add a little water to facilitate smooth grinding. Grind until you achieve a fine, smooth batter. The consistency should be similar to pancake batter; not too thick nor too runny.
-
Adjust the batter consistency: If the batter is too thick, gradually add water and blend again. Be cautious not to make it too thin. The right consistency is crucial for the batter to ferment properly.
-
Ferment the batter: Pour the ground ragi batter into a large container. Cover with a lid and set aside in a warm place for fermentation. Fermentation time can vary from 8 to 12 hours, depending on the climate. Warmer climates facilitate faster fermentation.
-
Check for fermentation: After the resting period, check if the ragi batter has fermented. It should have increased in volume and have a slightly sour aroma. If not, allow it to ferment for a few more hours.
-
Stir the fermented batter: Once fermented, stir the ragi batter gently. This helps in mixing any water that may have separated on top.
-
Store or use the batter: Your ragi batter is now ready to be used immediately or stored. For storage, keep it in an airtight container in the refrigerator. Use within 3-4 days for best results.
Remember, the key to a perfect ragi batter lies in the quality of grains, proper soaking, and the right fermentation conditions.
Mastering the Art of Ragi Batter
Grinding ragi batter at home is a game-changer for anyone looking to incorporate healthier, gluten-free options into their diet. With the right proportions of ragi and water, a touch of patience during the fermentation process, and a bit of practice, you'll soon be whipping up delicious, nutritious dishes. Whether it's for fluffy idlis, crispy dosas, or a base for other recipes, homemade ragi batter not only elevates the taste but also boosts the nutritional value of your meals. Remember, the key to perfecting your batter lies in the consistency and fermentation. So, don't shy away from experimenting until you find what works best for your kitchen conditions and taste preferences. Happy cooking, and here's to a healthier, tastier kitchen adventure with ragi!
For those eager to use their freshly ground ragi batter, there are several recipes worth trying. Start with the Ragi Dosa Recipe for a crispy and nutritious breakfast. The Ragi Idli Recipe offers a fluffy and healthy alternative to traditional idlis. If you're in the mood for something simple, the Ragi Porridge Recipe is perfect for a quick, warming meal. For a unique twist, try the Ragi Upma Recipe, which combines the goodness of ragi with the comforting flavors of upma. And don't forget to satisfy your sweet tooth with the Ragi Nankhatai Recipe, a delightful cookie that pairs perfectly with tea.
All Your Questions About Ragi Batter Answered
Can I use a regular blender to grind ragi for batter?
Sure, you can use a regular blender to grind ragi, but keep in mind that high-powered blenders work best. They turn the grains into a fine powder more efficiently. If your blender isn't particularly strong, consider grinding in small batches to avoid overworking it.
What's the ideal ragi to water ratio for making batter?
For a smooth batter, start with a 1:3 ragi to water ratio. This means for every cup of ragi, you'll want to use three cups of water. Adjustments might be necessary based on the desired consistency and the specific blender you're using.
How long should I soak ragi before grinding?
Soaking ragi for at least 8 hours or overnight is key. This softens the grains, making them easier to grind and helping your batter ferment better.
Is it necessary to ferment ragi batter?
Absolutely, fermenting the ragi batter enhances its nutritional value, making it easier to digest and giving it a pleasant tangy flavor. Aim for at least 8 hours of fermentation, though times can vary based on climate.
Can I add other grains or flours to the ragi batter?
Mixing in other grains or flours is a fantastic way to experiment with flavors and textures. Common additions include rice flour or wheat flour. Just remember to adjust the water ratio accordingly.
How can I tell if my ragi batter is properly fermented?
You'll know your ragi batter is ready when it has doubled in volume and has a light, frothy appearance. A slightly sour smell is also a good indicator that fermentation has occurred successfully.
What's the best way to store leftover ragi batter?
Leftover ragi batter can be stored in the refrigerator for up to 3 days. Make sure it's in a tightly sealed container. Before using, you might need to add a little water to get back to the right consistency.
Was this page helpful?
Related Articles
How To Grind Dosa Batter In Wet Grinder
How To Ferment Ragi Flour
How To Eat Ragi Seeds
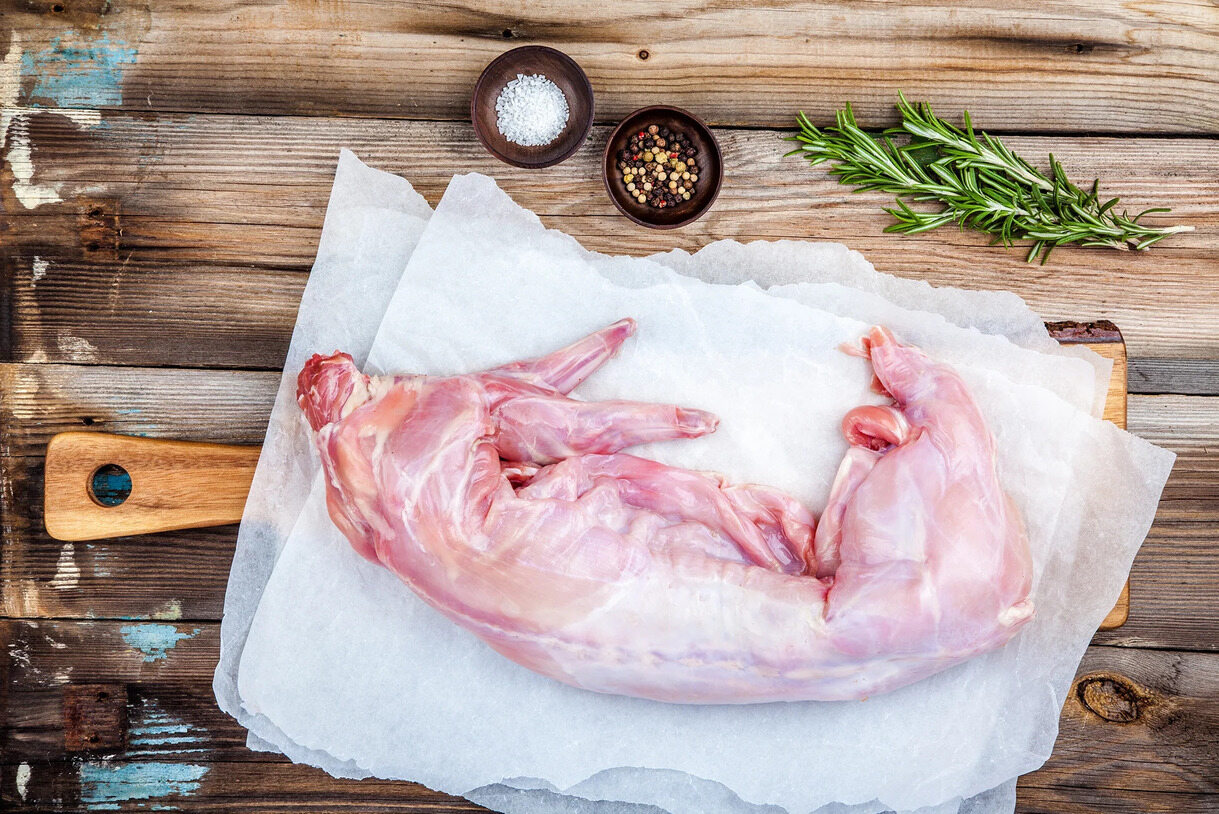
How To Grind Rabbit Meat
How To Grind Pumpkin Seeds Without A Grinder
How To Grind Pumpkin Seeds For Flour
How To Grind Psyllium Husk
How To Grind Poppy Seeds Using KitchenAid Grinder
How To Grind Poppy Seeds
How To Grind Peanuts In A Food Processor

How To Grind Oats Into Flour Without A Blender