Unlocking the Potential of Ragi Flour Through Fermentation
Are you looking for a nutritious and delicious way to incorporate ragi flour into your diet? Look no further than fermentation! Fermenting ragi flour not only enhances its nutritional value but also adds a delightful tangy flavor to your dishes. In this guide, we’ll walk you through the simple steps of fermenting ragi flour at home.
Why Ferment Ragi Flour?
Ragi flour, also known as finger millet flour, is a powerhouse of nutrients. It is rich in calcium, iron, and fiber, making it a highly beneficial addition to a balanced diet. However, the presence of anti-nutrients such as phytic acid can hinder the absorption of these nutrients by the body.
By fermenting ragi flour, you can reduce the anti-nutrient content and make the nutrients more bioavailable. Fermentation breaks down the phytic acid and other anti-nutrients, allowing your body to absorb the goodness of ragi flour more effectively.
Steps to Ferment Ragi Flour
Here’s a simple guide to fermenting ragi flour at home:
- Measure the Ragi Flour: Start by measuring the desired quantity of ragi flour in a clean, dry bowl.
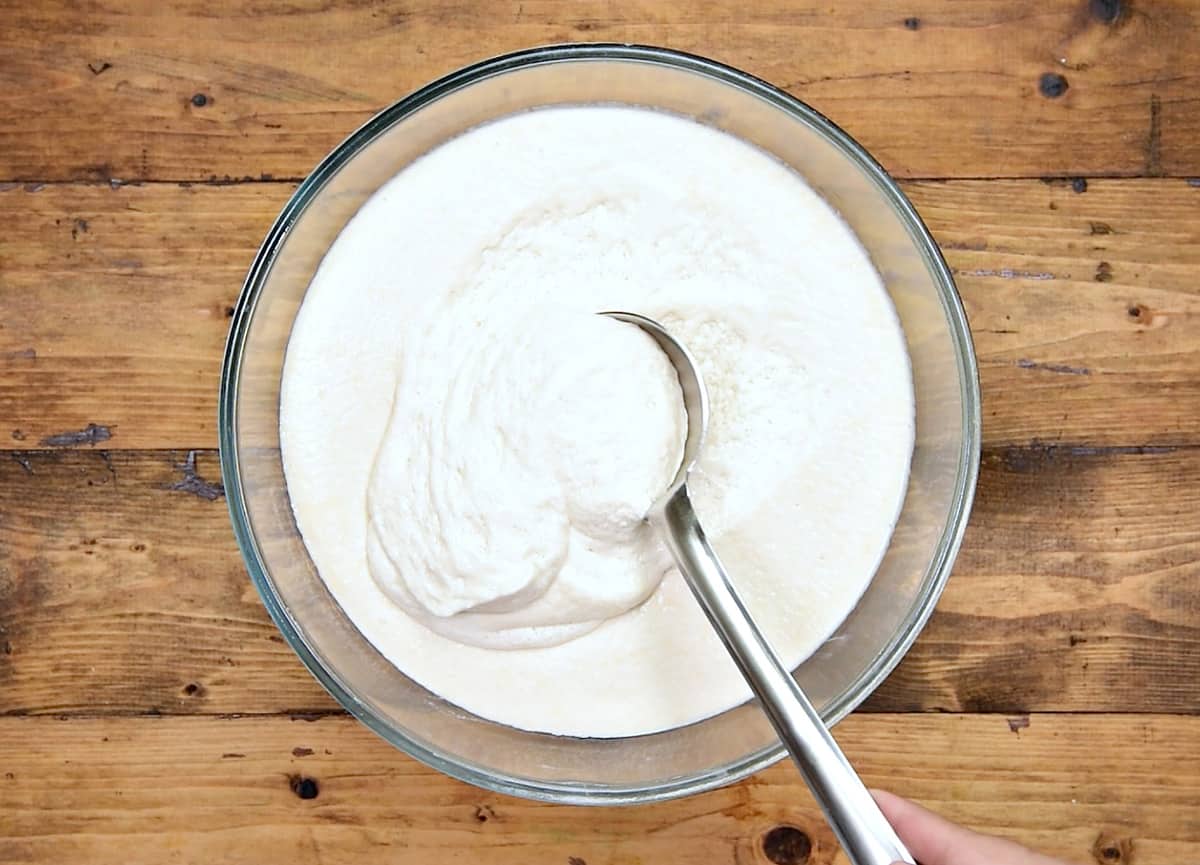
- Add Water: Slowly add water to the ragi flour, stirring continuously to form a smooth, lump-free batter. The consistency should be similar to that of pancake batter.
- Cover and Rest: Once the batter is ready, cover the bowl with a clean cloth and let it rest at room temperature for 8-12 hours. This allows the natural fermentation process to take place.
- Check for Fermentation: After the resting period, check the batter for a slightly sour aroma and tiny bubbles on the surface. This indicates that the ragi flour has fermented successfully.
- Store or Use: Once fermented, the ragi flour can be used immediately to prepare various dishes or stored in the refrigerator for future use.
Ways to Use Fermented Ragi Flour
Now that you have successfully fermented your ragi flour, it’s time to put it to good use. Here are some delicious ways to incorporate fermented ragi flour into your culinary creations:
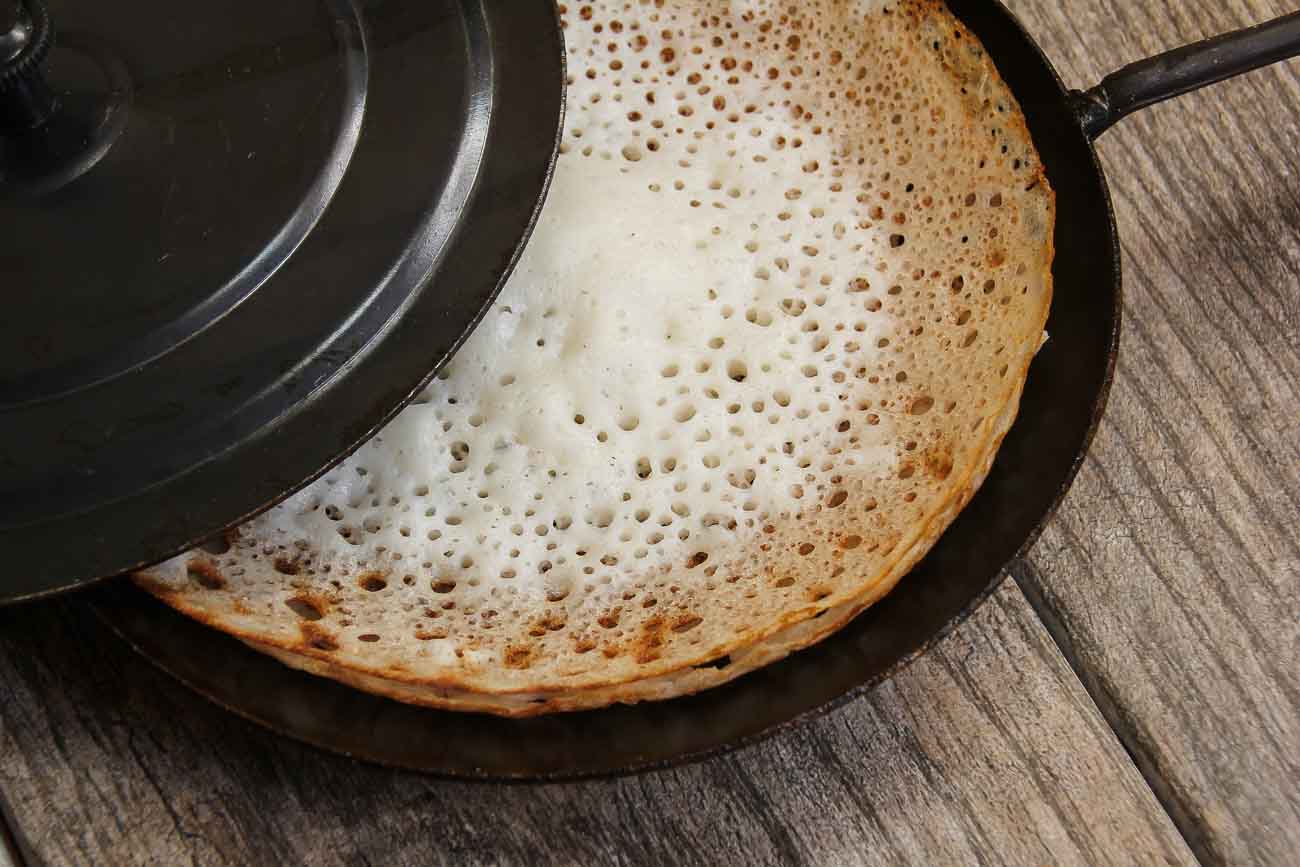
- Fermented Ragi Dosa: Use the fermented ragi flour to make crispy and flavorful dosas, a popular South Indian delicacy.
- Fermented Ragi Idli: Prepare soft and fluffy idlis using fermented ragi flour for a nutritious breakfast option.
- Fermented Ragi Bread: Experiment with using fermented ragi flour in bread recipes to add a unique tangy taste and boost the nutritional profile of your bread.
- Fermented Ragi Porridge: Create a comforting and nourishing porridge by cooking fermented ragi flour with milk or water and adding your choice of sweeteners and flavorings.
Final Thoughts
Fermenting ragi flour is a simple yet powerful way to elevate its nutritional benefits and culinary appeal. By following the steps outlined in this guide, you can unlock the potential of ragi flour and enjoy a variety of delicious dishes that are not only tasty but also packed with essential nutrients. Whether you’re a fan of traditional Indian recipes or looking to add a healthy twist to your meals, fermented ragi flour is a versatile ingredient that deserves a place in your kitchen.
So, go ahead and embark on your ragi flour fermentation journey – your taste buds and your health will thank you!
Was this page helpful?
Read Next: How To Ferment Vegetables With Probiotics
Related Articles
How To Ferment Dosa Batter Quickly

How To Ferment Dog Food

How To Ferment Grapes For Wine
How To Ferment Dosa Batter Quickly
How To Ferment Appam Batter Quickly
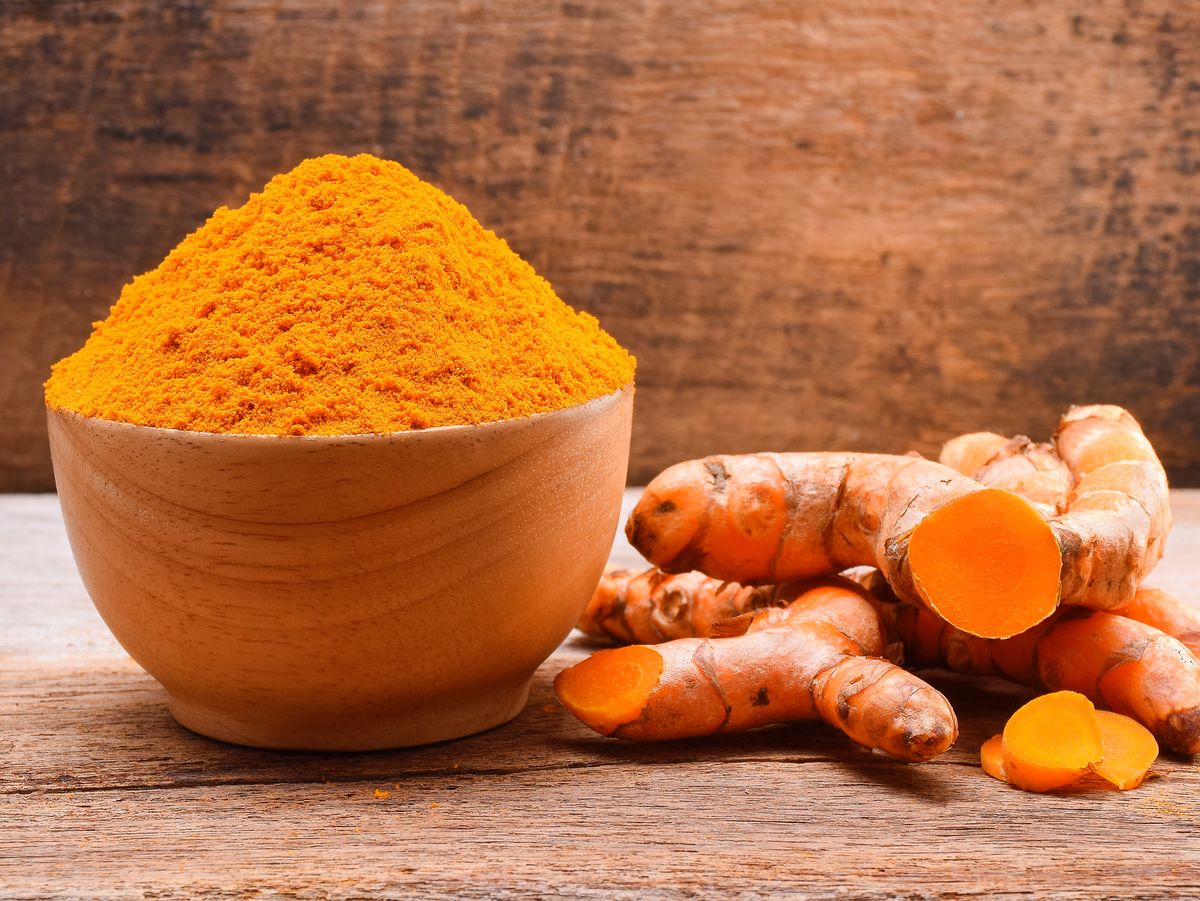
How To Ferment Turmeric At Home
How To Ferment Dog Food

How To Ferment Shiitake
How To Ferment Broccoli And Cauliflower
How To Ferment Apples

How To Ferment Apple Juice Into Alcohol