Perfecting the Art of Glazing a Challah
Challah, a traditional Jewish bread, is known for its rich flavor and beautiful braided appearance. One of the final steps in making a perfect challah is applying a glaze to give it a glossy finish and a touch of sweetness. Whether you’re a seasoned baker or just starting out, mastering the art of glazing a challah is a skill that will take your bread to the next level.
Choosing the Right Glaze
Before you start glazing your challah, it’s important to choose the right type of glaze. There are several options to consider, each offering a unique flavor and appearance:
- Egg Glaze: A classic choice for challah, an egg glaze gives the bread a golden-brown color and a shiny finish.
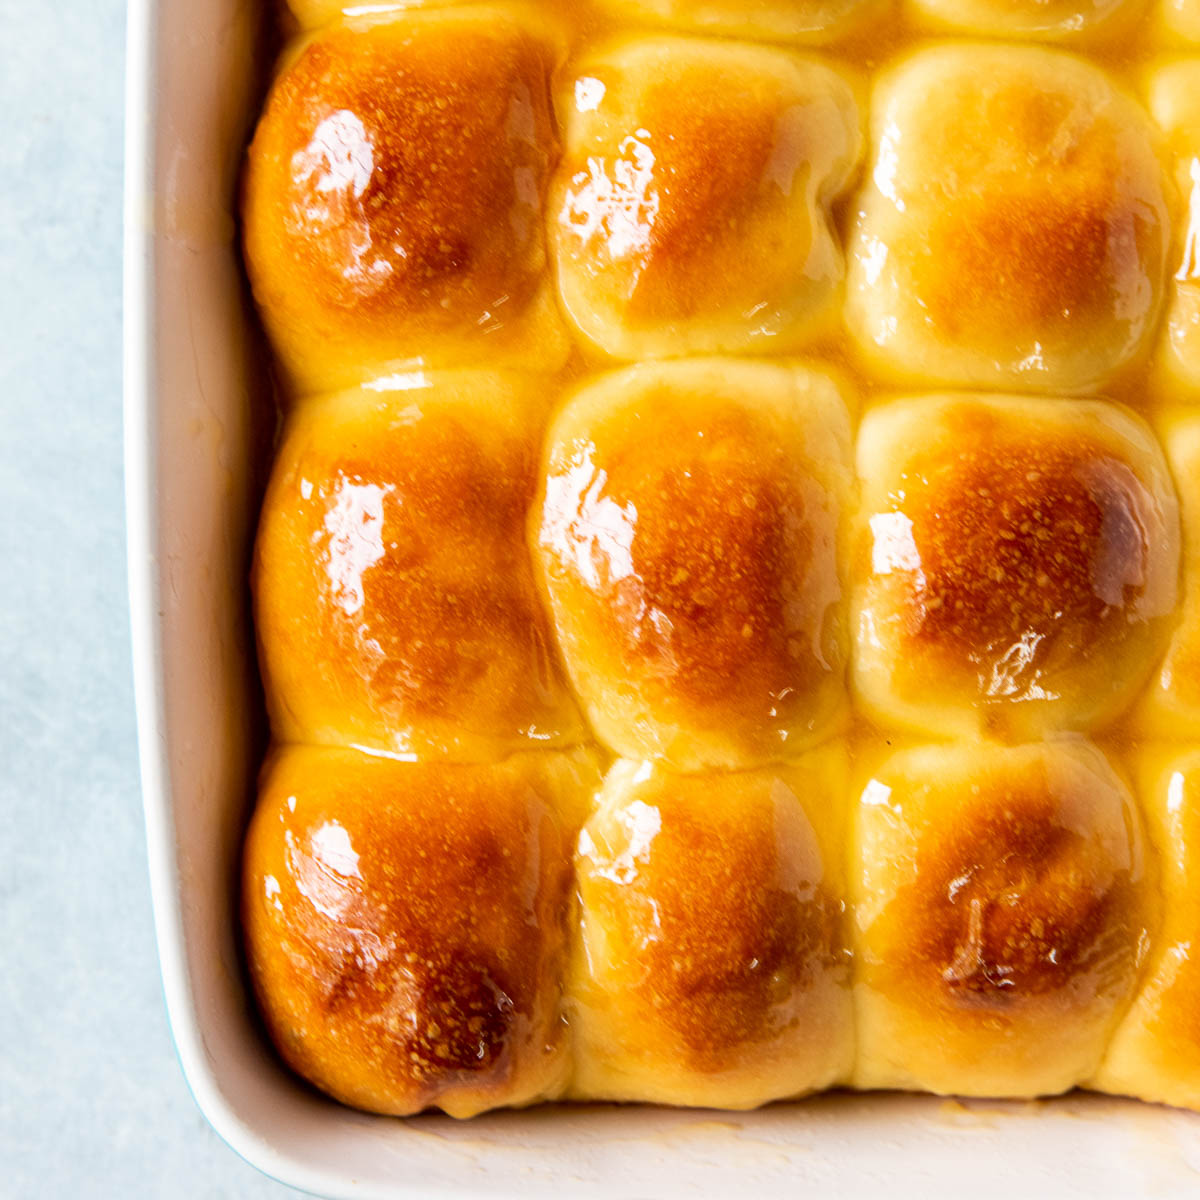
- Honey Glaze: For a touch of sweetness, a honey glaze can be brushed onto the challah before baking, adding a beautiful sheen and a hint of flavor.
- Sugar Glaze: A simple mixture of water and sugar can be brushed onto the challah to create a shiny, slightly sweet coating.
Applying the Glaze
Once you’ve chosen the perfect glaze for your challah, it’s time to apply it to the bread. Follow these simple steps to achieve a professional-looking finish:
- Prepare the Glaze: Mix your chosen glaze ingredients together until well combined. If using an egg glaze, you can add a splash of water to thin it out slightly.
- Brush It On: Using a pastry brush, gently and evenly brush the glaze over the entire surface of the challah. Be careful not to press too hard and deflate the dough.
- Double Coating (Optional): For an extra glossy finish, you can apply a second coat of glaze after the first one has dried slightly. This step is optional but can result in a more polished appearance.
Enhancing the Presentation
Glazing a challah isn’t just about adding flavor – it’s also an opportunity to enhance the bread’s visual appeal. Consider these additional tips for making your glazed challah truly stand out:
- Seeds and Sprinkles: Before applying the glaze, consider sprinkling sesame seeds, poppy seeds, or a dusting of cinnamon sugar on top of the challah for added texture and flavor.
- Braiding Accents: If you’ve braided your challah, carefully tuck thin strips of aluminum foil between the braids before glazing. This will help the braids maintain their distinct shape during baking.
- Decorative Scoring: Using a sharp knife, make decorative cuts or patterns in the dough before glazing. As the challah bakes, these designs will become more pronounced, adding a decorative touch to the finished bread.
Final Thoughts
Mastering the art of glazing a challah takes practice and patience, but the results are well worth the effort. Whether you prefer a classic egg glaze or want to experiment with honey or sugar, the glazing process is a final touch that can elevate your challah from delicious to truly extraordinary. So, next time you bake a challah, take the time to perfect your glazing technique and watch as your bread becomes a work of art.
For those keen to master the art of glazing a challah, there are several recipes to explore. The Honey Glazed Challah is a delightful start, offering a sweet and rich finish that complements the soft bread. The Cinnamon Sugar Challah adds a touch of spice and sweetness, perfect for a cozy morning treat. For a savory twist, the Garlic and Herb Challah provides a fragrant, mouth-watering variation. Those looking for a unique flavor can try the Lavender Infused Challah with Honey Lavender Glaze, an aromatic and sophisticated option. Each of these recipes highlights different techniques from the guide, making them excellent choices for honing your skills.
