How To Fry Chicken In An Electric Skillet
If you love the crispy goodness of fried chicken but don’t want to deal with the hassle of a deep fryer, an electric skillet can be your new best friend. With the right technique and a few simple steps, you can achieve perfectly juicy and delicious fried chicken right in your own kitchen. Let’s get started!
What You’ll Need:
- A bone-in chicken pieces (such as drumsticks, thighs, or wings)
- All-purpose flour
- Seasonings of your choice (salt, pepper, garlic powder, paprika, etc.)
- Vegetable oil
- An electric skillet
- Tongs or a slotted spoon for flipping and removing the chicken
- Plate lined with paper towels for draining
The Step-by-Step Process:
Follow these simple steps to achieve crispy and flavorful fried chicken using an electric skillet:
- Prep the Chicken: Start by washing the chicken pieces and patting them dry with paper towels. This helps in removing excess moisture and promotes better browning.
- Season the Chicken: In a bowl, combine all-purpose flour with your choice of seasonings. Coat each chicken piece thoroughly with the seasoned flour mixture, ensuring every nook and cranny is covered.
- Preheat the Electric Skillet: Set your electric skillet to a temperature of around 350°F (175°C). It’s important to preheat the skillet to ensure even cooking and crispy results.
- Add Oil: Pour enough vegetable oil into the skillet to cover the bottom surface. The exact amount may vary depending on the size of your skillet, but a ¼ inch (0.6 cm) layer is typically sufficient.
- Fry the Chicken: Carefully place the coated chicken pieces into the hot oil, ensuring not to overcrowd the skillet. You may need to fry in batches if your skillet is small. Allow the chicken to cook for about 10-12 minutes per side, or until golden brown and cooked through. Use tongs or a slotted spoon to flip and remove the chicken from the skillet.
- Drain and Serve: Transfer the fried chicken to a plate lined with paper towels to drain excess oil. Let it rest for a few minutes before serving to allow the flavors to settle. Serve hot and enjoy the crispy and succulent delight!
A few tips to keep in mind:
- Make sure the chicken pieces are at room temperature before frying for more even cooking.
- Don’t overcrowd the skillet to avoid reducing the oil temperature and compromising the crispiness of the chicken.
- Monitor the heat and adjust as needed to maintain a constant frying temperature.
- Experiment with different seasonings and spices to customize your fried chicken to your taste preferences.
By following these steps, you can enjoy the delectable taste of fried chicken cooked to perfection using your electric skillet. Whether you’re craving a classic fried chicken dinner or planning a delightful snack, this method is sure to satisfy your cravings. Happy frying!
Do you have any favorite tips or tricks for frying chicken in an electric skillet? Share them with us in the comments below!
Explore More Delicious Recipes and Uses for Your Electric Skillet
After mastering the art of frying chicken in an electric skillet, the culinary adventure doesn't stop there. The skills you've honed are perfectly transferable to a variety of mouthwatering recipes. For a classic comfort dish, try the Southern Buttermilk Fried Chicken, which combines traditional flavors with crispy perfection. If you're in the mood for something with a bit of zing, the Cajun Spiced Fried Chicken offers a spicy kick that's hard to resist. For those who enjoy a sweeter profile, the Honey-Glazed Fried Chicken balances sweetness with the savory depths of fried chicken. Each recipe utilizes the electric skillet technique, ensuring juicy results with a golden crust. Dive into these dishes to continue refining your frying skills and impress at any dining table.
Was this page helpful?
Read Next: How To Fry Salt Pork
Related Articles
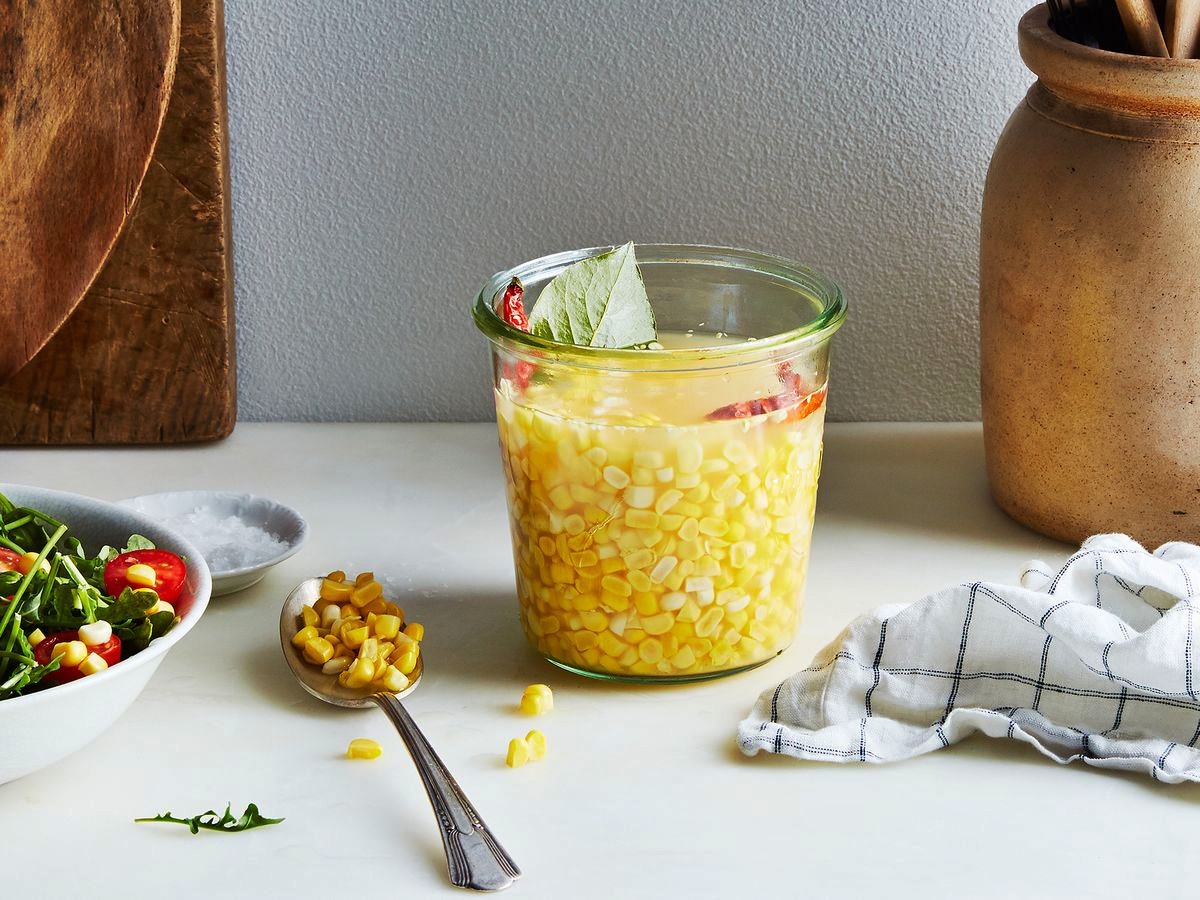
How To Fry Pickled Corn
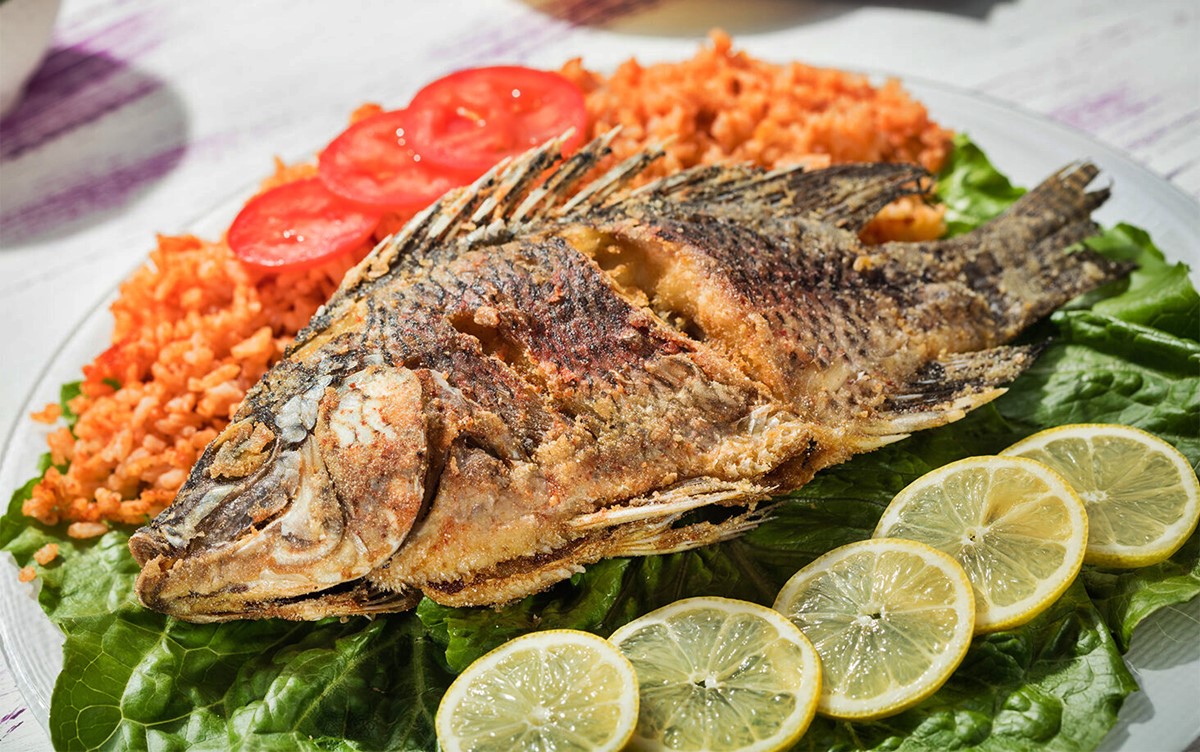
How To Fry Whole Tilapia
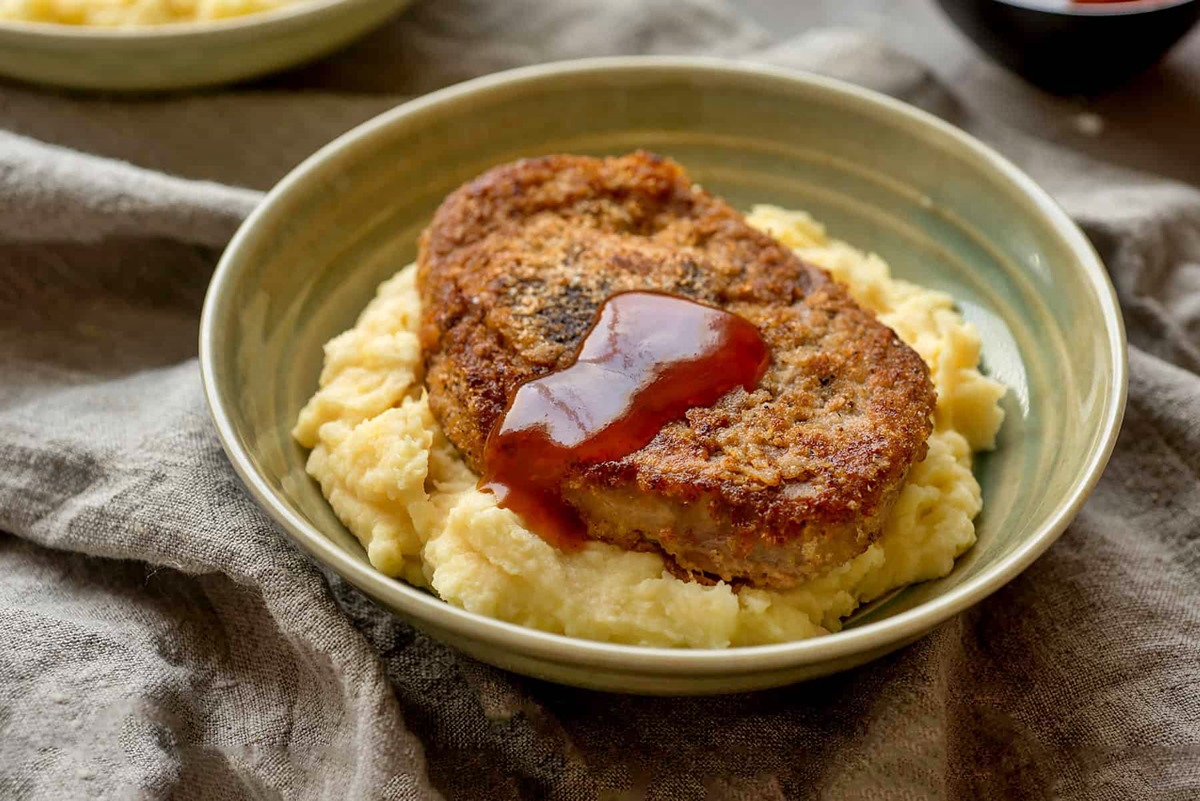
How To Fry Turkey Chops
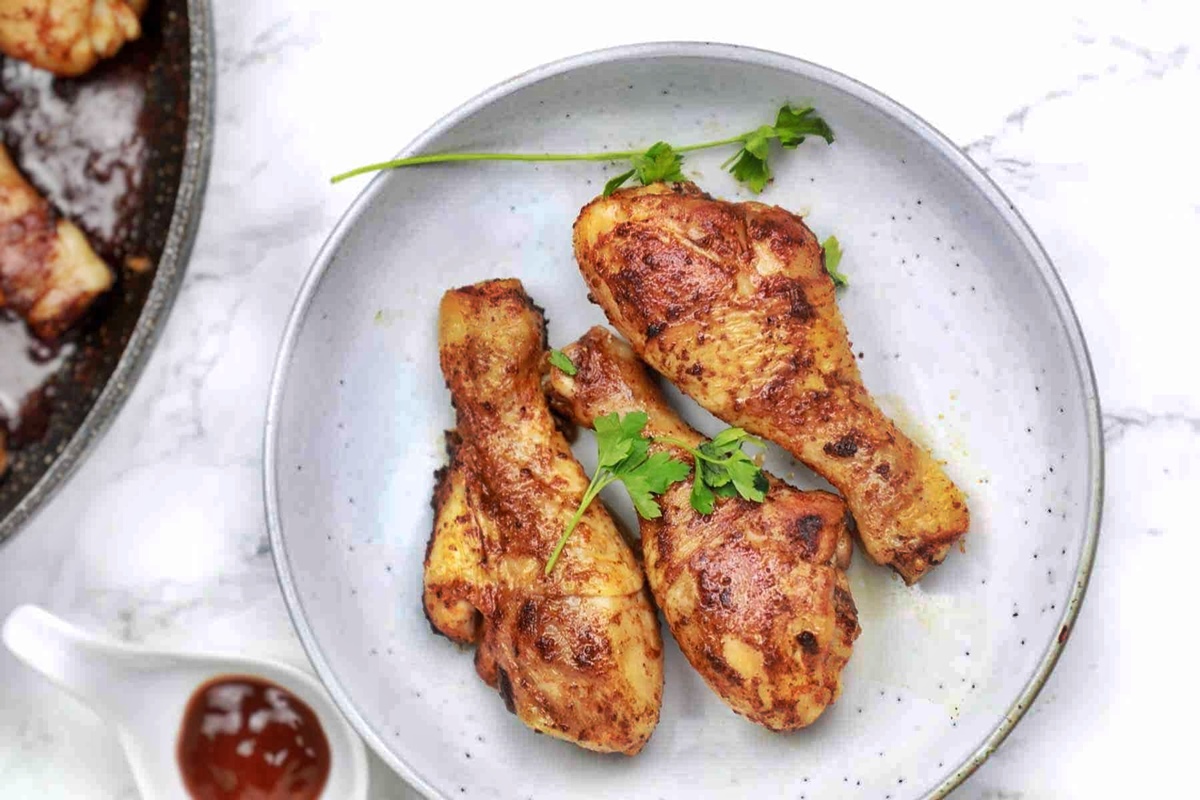
How To Fry Chicken Drumsticks In A Pan
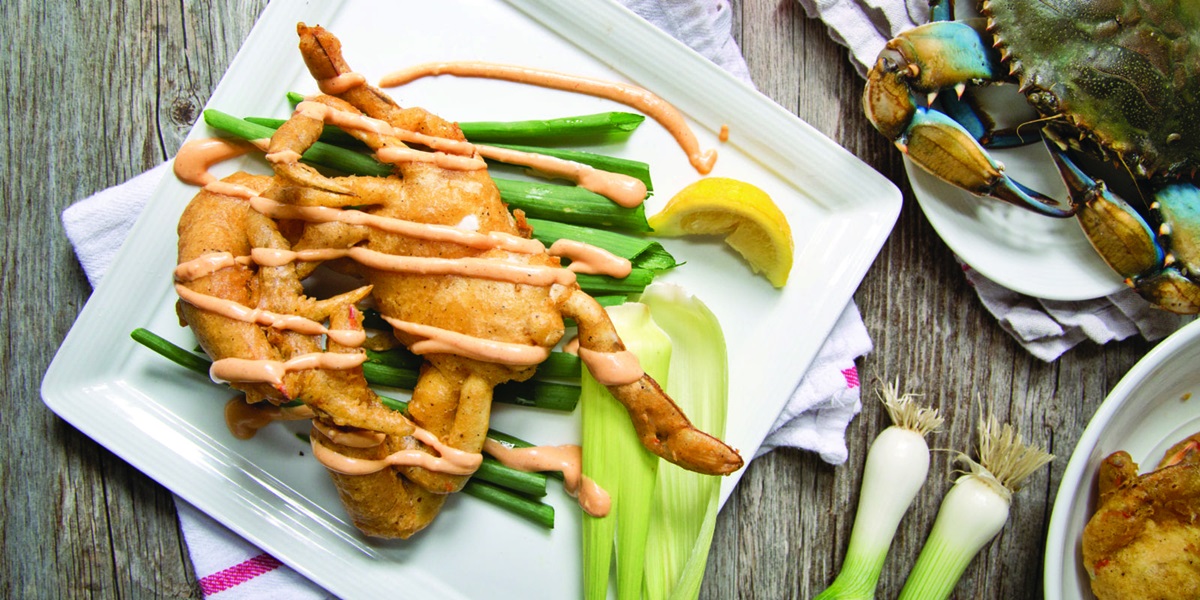
How To Fry Blue Crab
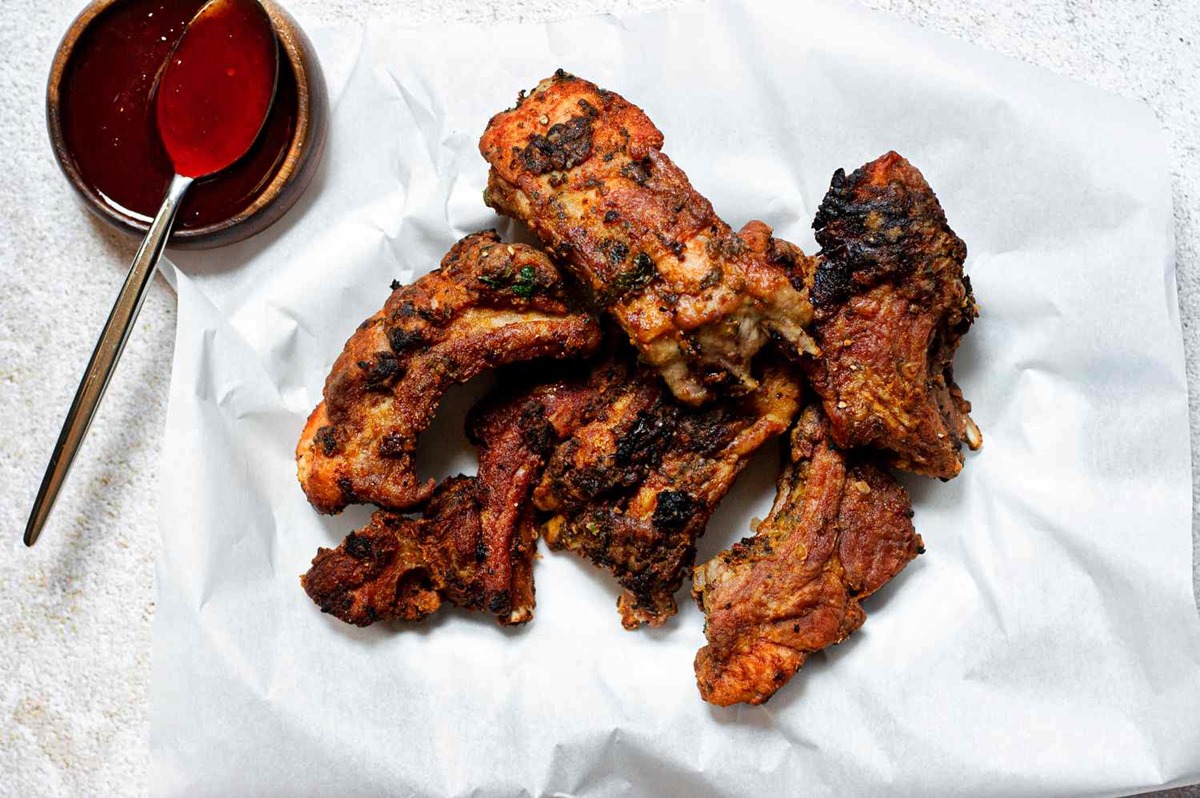
How To Fry Pork Ribs
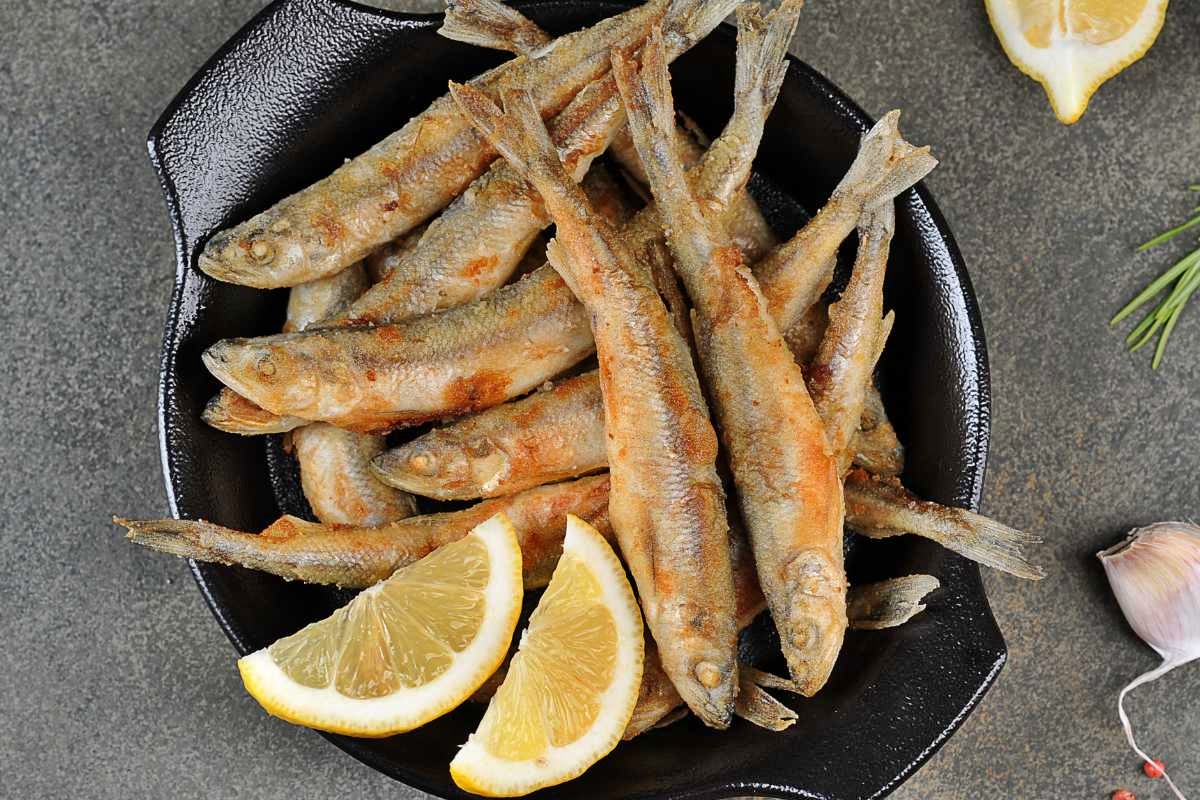
How To Fry Smelt
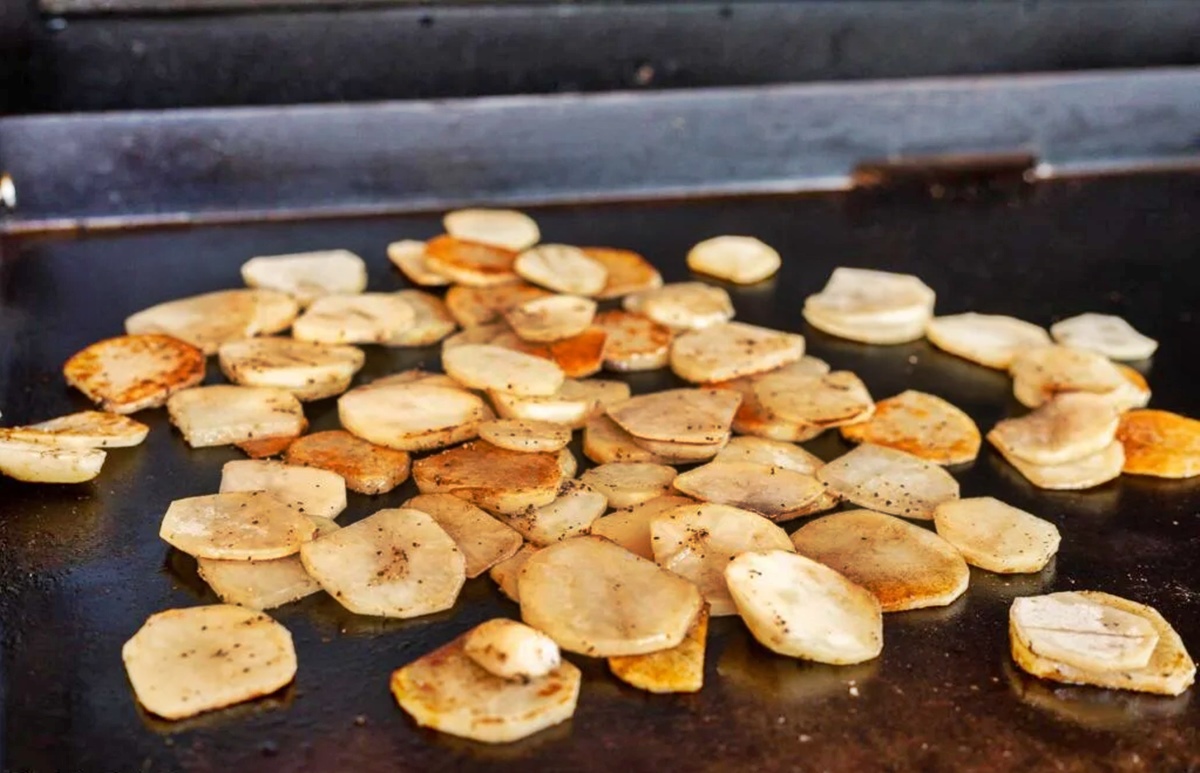
How To Fry Potatoes On Flat Top Grill

How To Fry Squash Without Flour
How To Fry Eggplant In Air Fryer
How To Fry Deer Meat Without Flour