Emulsifying Aloe Vera and Oil: A Step-by-Step Guide
Emulsifying aloe vera and oil is a great way to create a nourishing and moisturizing blend that can be used for various beauty and skincare purposes. Whether you want to make a soothing lotion, a hydrating hair mask, or a rejuvenating body oil, emulsifying aloe vera and oil is a simple process that can yield fantastic results.
What You’ll Need
Before you get started, gather the following ingredients and tools:
- Aloe vera gel
- Carrier oil (such as coconut oil, olive oil, or almond oil)
- Emulsifying wax
- Essential oils (optional, for fragrance)
- Double boiler or microwave
- Glass jars or bottles for storage
Step 1: Prepare Your Ingredients
Begin by measuring out the desired amount of aloe vera gel and carrier oil. For a light lotion, use a higher ratio of aloe vera to oil. For a richer cream or body butter, use a higher ratio of oil to aloe vera. If you’re using essential oils, have them ready to add to the mixture later.
Step 2: Melt the Emulsifying Wax
If you’re using emulsifying wax to bind the aloe vera and oil together, melt the wax in a double boiler or in the microwave according to the package instructions. Emulsifying wax is essential for creating a stable, creamy emulsion that won’t separate over time.
Step 3: Combine the Ingredients
Once the emulsifying wax is melted, slowly pour the aloe vera gel and carrier oil into the wax, stirring gently to combine. If you’re using essential oils, add them to the mixture at this stage. Continue stirring until the mixture is well blended and smooth.
Step 4: Allow the Mixture to Cool
After combining the ingredients, allow the mixture to cool to room temperature. As it cools, it will thicken and take on a creamy consistency. This is the perfect time to transfer the emulsified blend into glass jars or bottles for storage.
Step 5: Enjoy Your Emulsified Creation
Once the emulsified aloe vera and oil blend has cooled and set, it’s ready to use! Apply it to your skin as a moisturizer, use it as a hair treatment, or incorporate it into your daily beauty routine for a natural and nourishing boost.
Emulsifying aloe vera and oil is a versatile and rewarding process that allows you to create customized skincare and beauty products tailored to your specific needs. With a few simple ingredients and a little bit of time, you can enjoy the benefits of a luxurious and effective emulsified blend that will leave your skin and hair feeling pampered and rejuvenated.
Was this page helpful?
Read Next: How To Emulsify Egg And Oil
Related Articles
How To Emulsify Alcohol And Oil
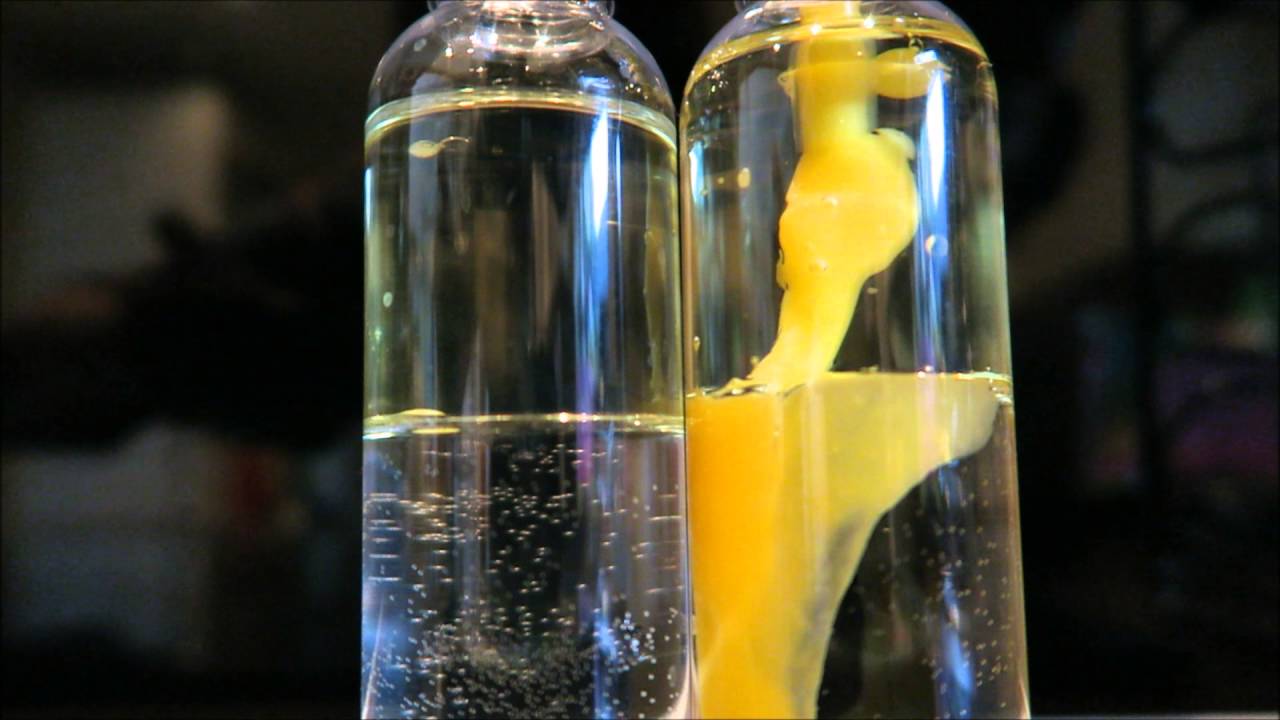
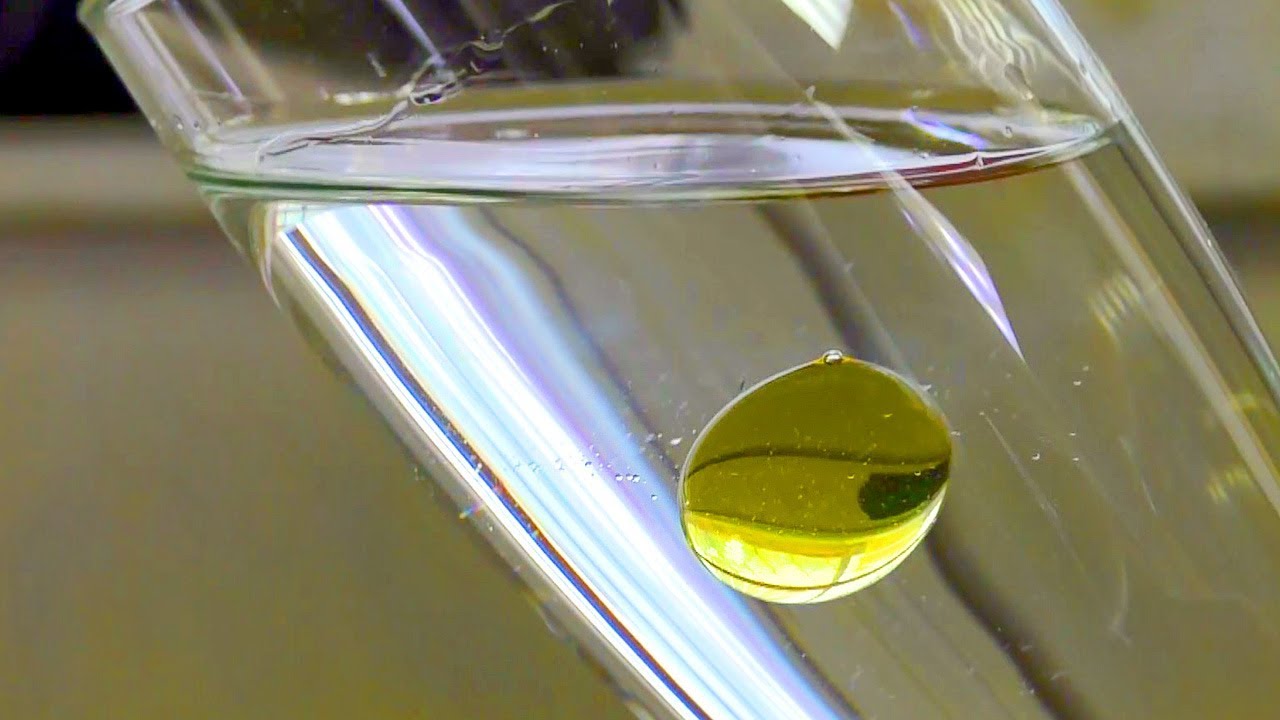
How To Emulsify Oil And Water
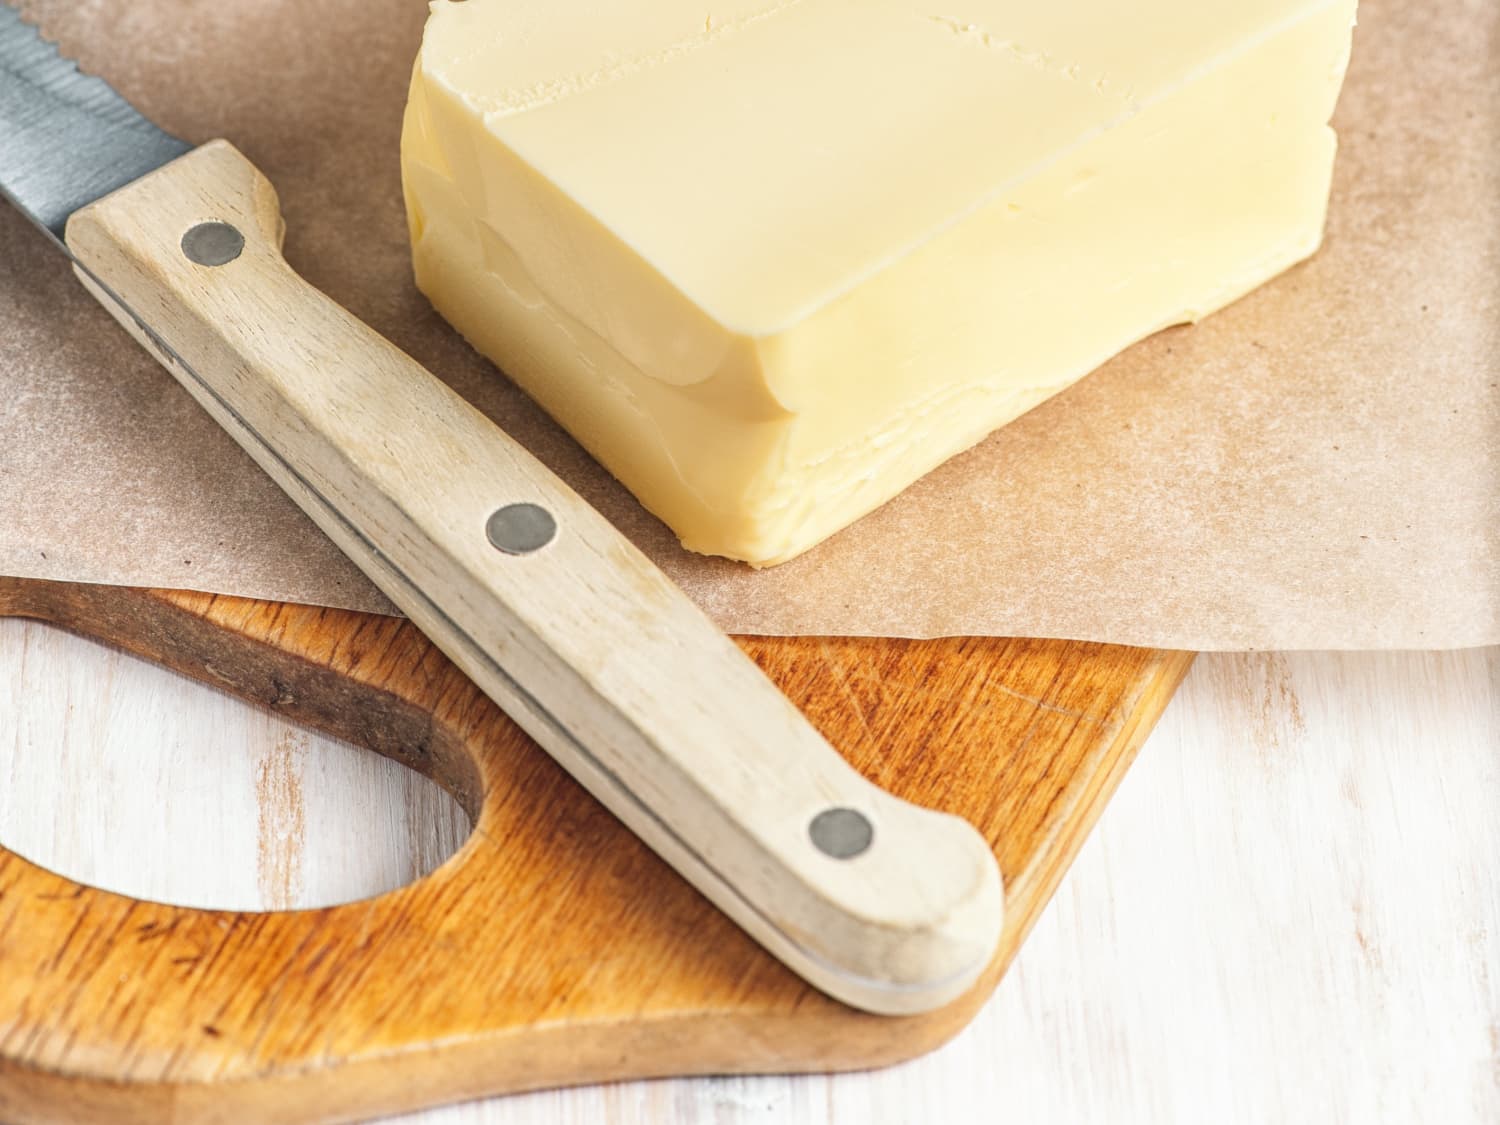
How To Emulsify Butter
How To Emulsify Alcohol And Oil
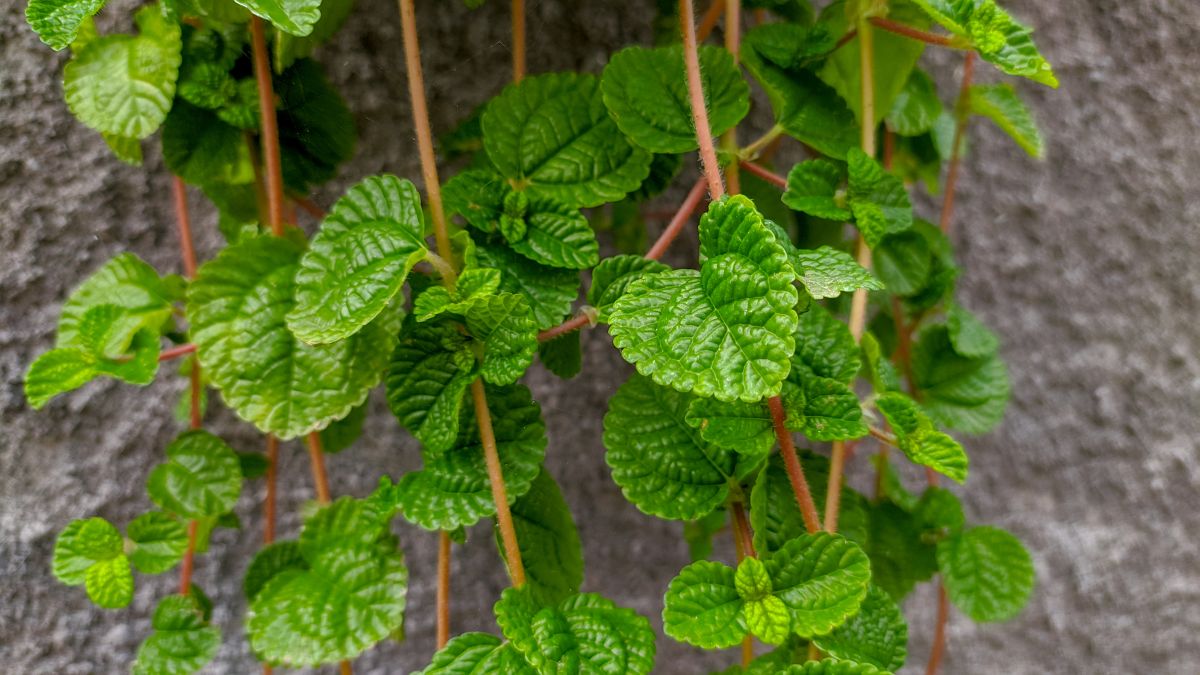
How To Macerate Creeping Charlie
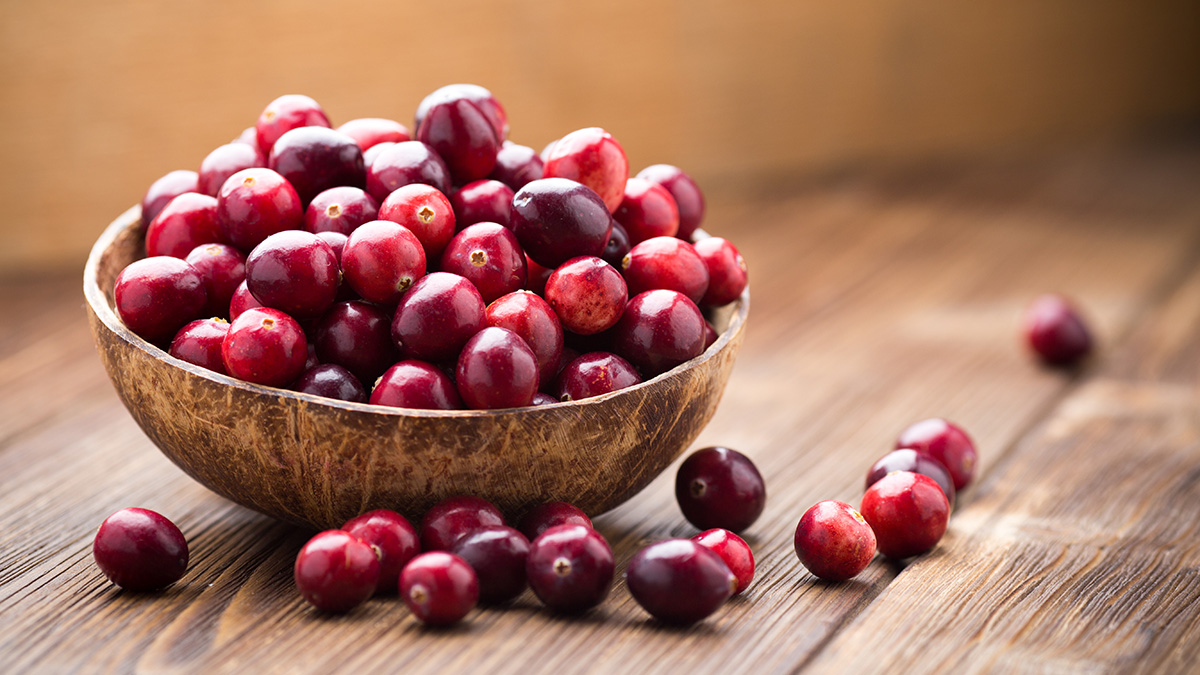
How To Macerate Cranberries
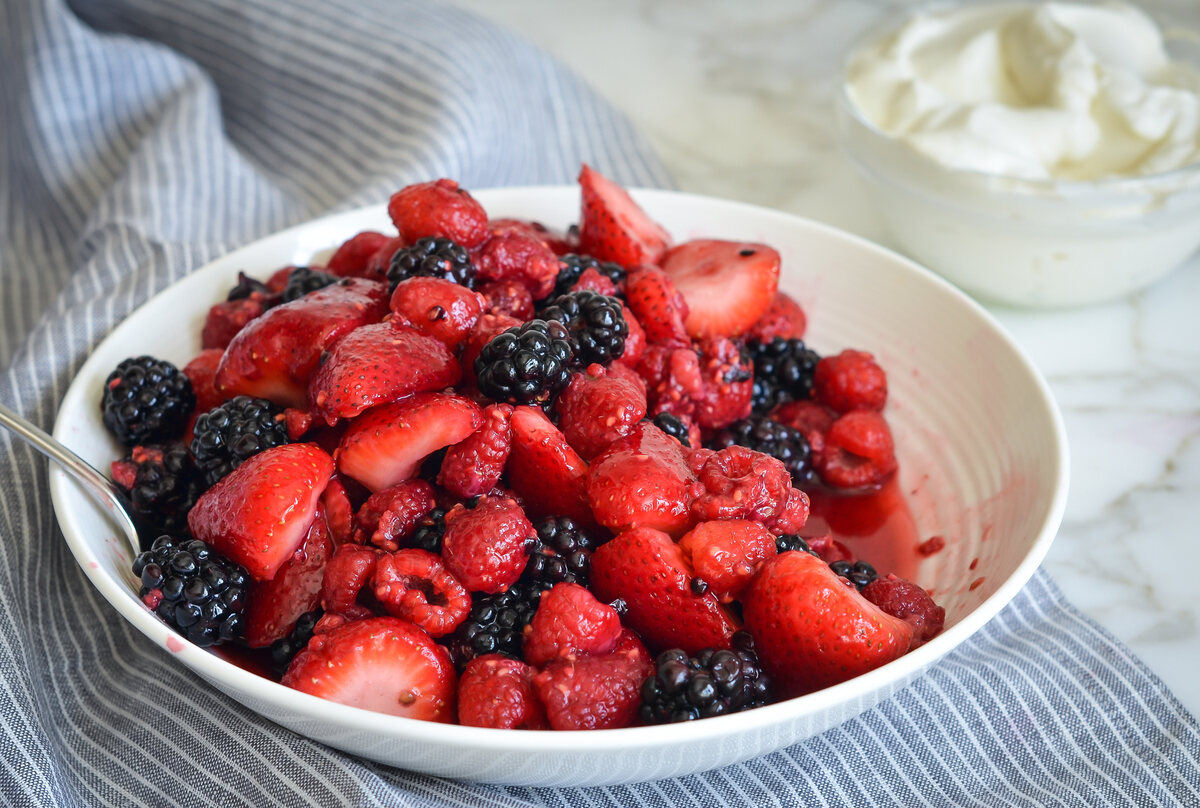
How To Macerate Berries
How To Emulsify Butter
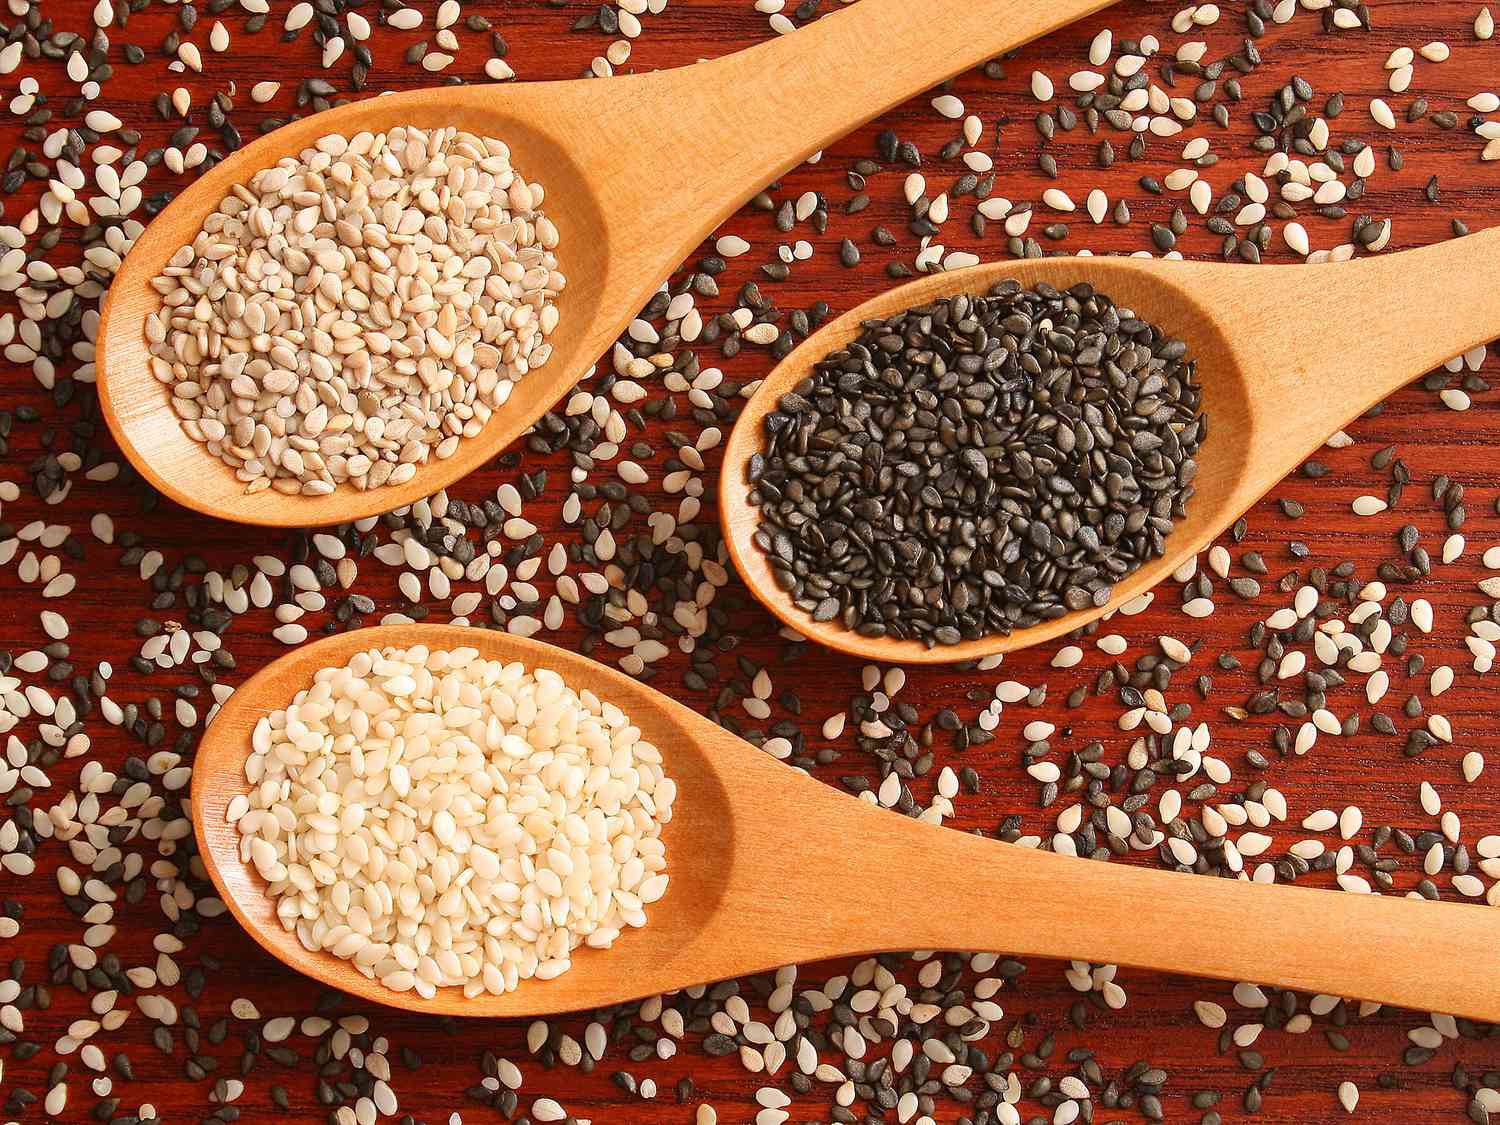
How To Hull Sesame Seeds
How To Hull Millet At Home
How To Hull Sunflower Seeds