How to Dry-Age Duck at Home
Welcome to our expert guide on how to dry-age duck in the comfort of your own home. Dry-aging is a culinary technique that enhances the flavor and tenderness of the meat, and it’s not just limited to beef. With some proper preparation and a little patience, you can achieve succulent and flavorful dry-aged duck to impress your family and friends. Here’s how:
1. Choose the Right Duck
When it comes to dry-aging duck, it’s important to start with a high-quality bird. Look for fresh whole ducks from reputable sources, preferably with the skin on. Seek out ducks that have been ethically and sustainably raised for the best flavor and texture.
2. Prep and Season
Before you begin the dry-aging process, it’s essential to properly prep and season the duck. Remove any giblets or excess fat from the cavity, and pat the bird dry with paper towels. Season the duck generously with your favorite herbs, spices, and a liberal amount of kosher salt.
3. Create the Ideal Aging Environment
Aging meat requires the right conditions to ensure optimal flavor development and safety. The ideal temperature for dry-aging duck is between 34°F to 38°F (1°C to 3°C) with a humidity level of around 85%. You can achieve this by using a dedicated aging refrigerator or by repurposing a small refrigerator.
4. Place the Duck in the Aging Fridge
Once you have set up the proper aging environment, carefully place the seasoned duck on a rack inside the fridge, ensuring there is enough space for air circulation. By elevating the duck on a rack, you prevent it from sitting in its own juices and promote even drying.
5. Allow for Adequate Aging Time
The duration of dry-aging depends on your personal preference and the size of the duck. As a general guideline, it’s recommended to age the duck for at least 7 to 14 days. However, some enthusiasts prefer longer aging periods for more intense flavors. Remember to check the duck’s condition regularly and be attentive to any signs of spoilage.
6. Check for Mold
Mold development is a natural part of the dry-aging process and can add depth to the flavor. However, it’s crucial to differentiate between beneficial mold and harmful mold. Beneficial mold appears as a powdery white or blue-green layer, while harmful mold is fuzzy, black, or slimy. If you spot any harmful mold, discard the duck immediately.
7. Final Preparations and Cooking
When the duck has aged to your desired time, remove it from the aging fridge. Carefully trim off any excess dry or discolored portions, but leave a thin layer of fat intact to maximize flavor during cooking. Now you’re ready to apply your favorite cooking method, whether roasting, pan-searing, or grilling.
Remember, dry-aging duck at home requires careful monitoring and attention to detail. But with practice, you can achieve a delicately flavored, tender, and indulgent dish that will impress any food lover. So, why not give it a try and elevate your culinary skills to a whole new level?
Happy dry-aging!
For those eager to try their hand at dry-aging duck, there are several recipes that can showcase this skill beautifully. Consider starting with Dry-Aged Duck Breast with Red Wine Reduction, which pairs the rich flavors of aged duck with a deeply flavored sauce. Dry-Aged Peking Duck is another must-try, offering a crispy and succulent twist on the classic dish. If you're looking for something a bit more adventurous, Dry-Aged Duck Tacos with Hoisin Sauce provide a delightful fusion of flavors. And for a comforting, hearty meal, Dry-Aged Duck Cassoulet is perfect for showcasing the complex taste of dry-aged duck. These recipes not only highlight the unique flavors developed during the aging process but also provide a diverse range of culinary experiences to enjoy.
Was this page helpful?
Related Articles
How To Season A Philly Cheese Steak
How To Coddle An Egg Without A Coddler

How To Season Ground Beef For Pizza Topping
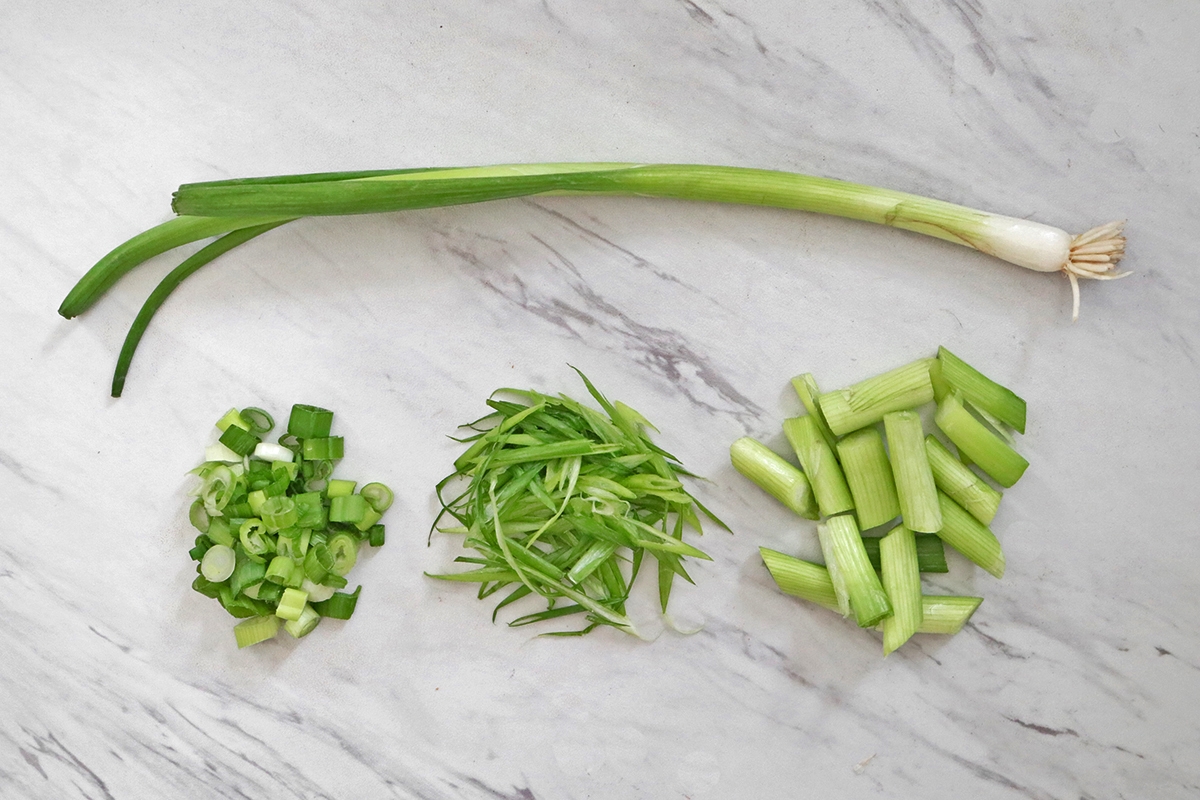
How To Slice Scallions
Quick Tip: How To Substitute Bacon For Pancetta
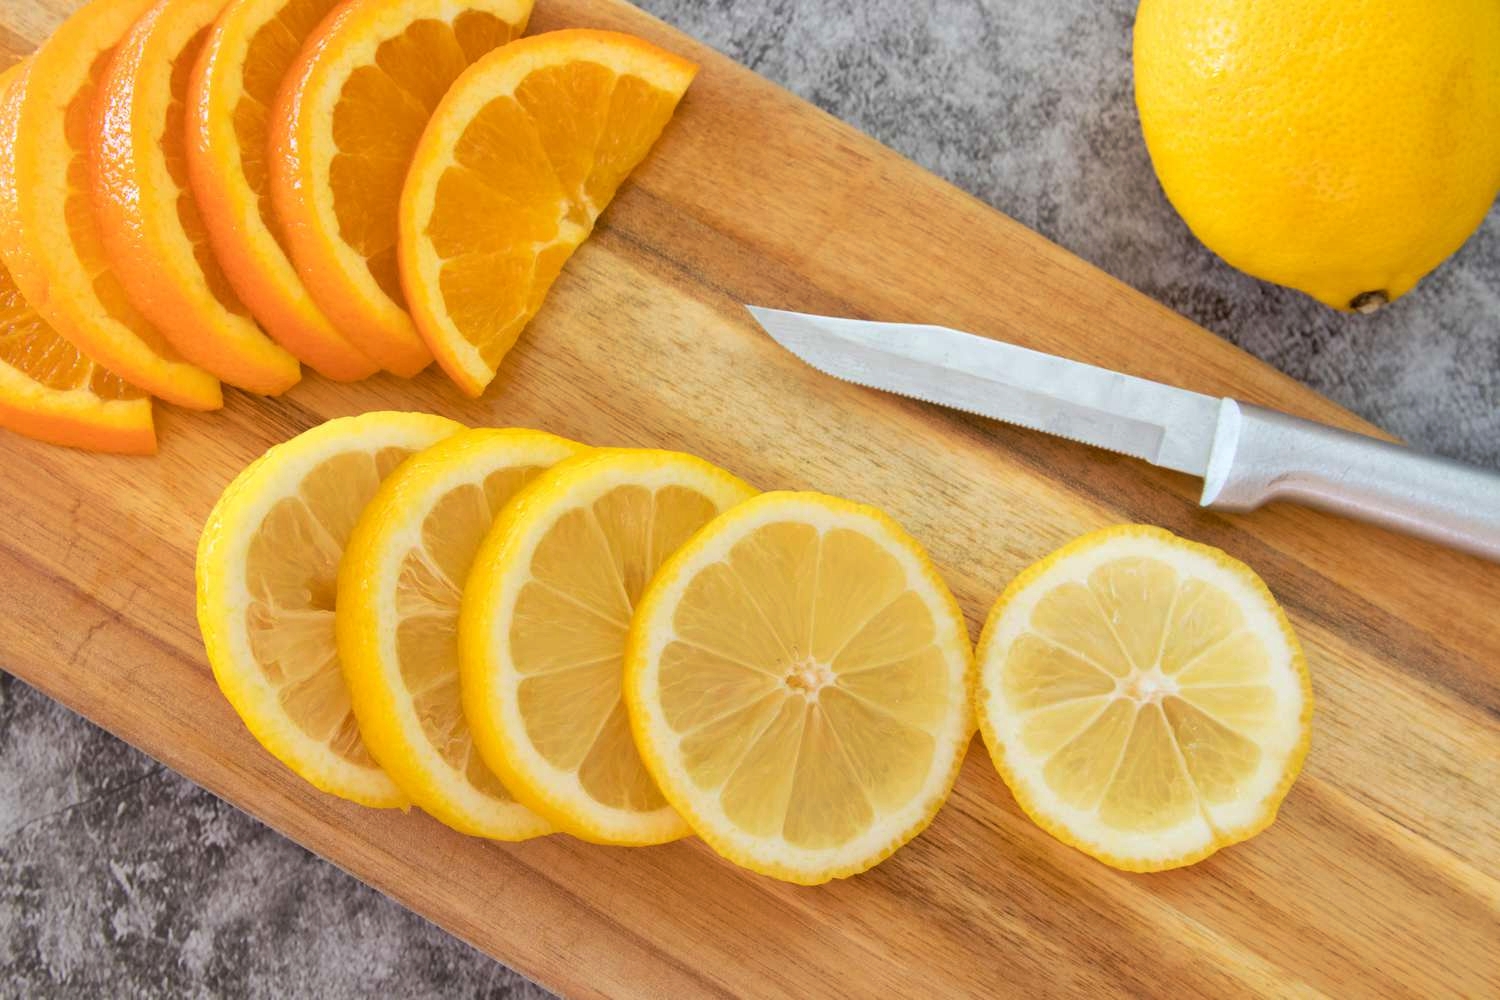
How To Cut Citrus Fruit Into Wedges, Slices, And Suprèmes
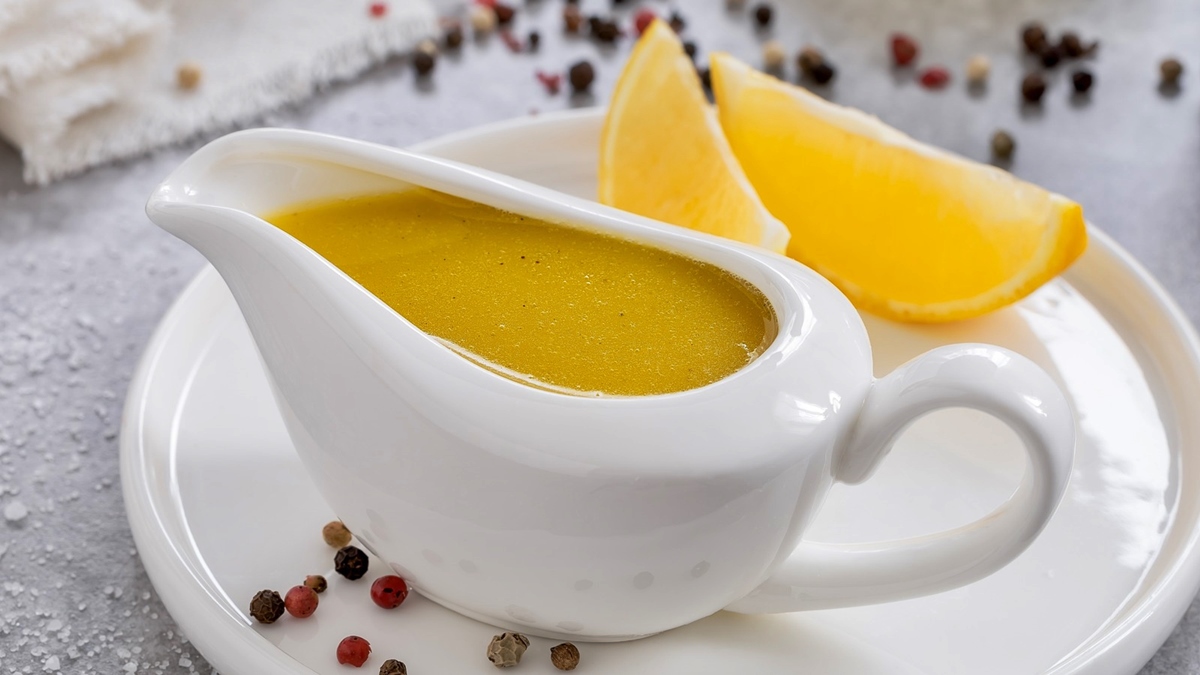
How To Fix A Broken Sauce Or Vinaigrette
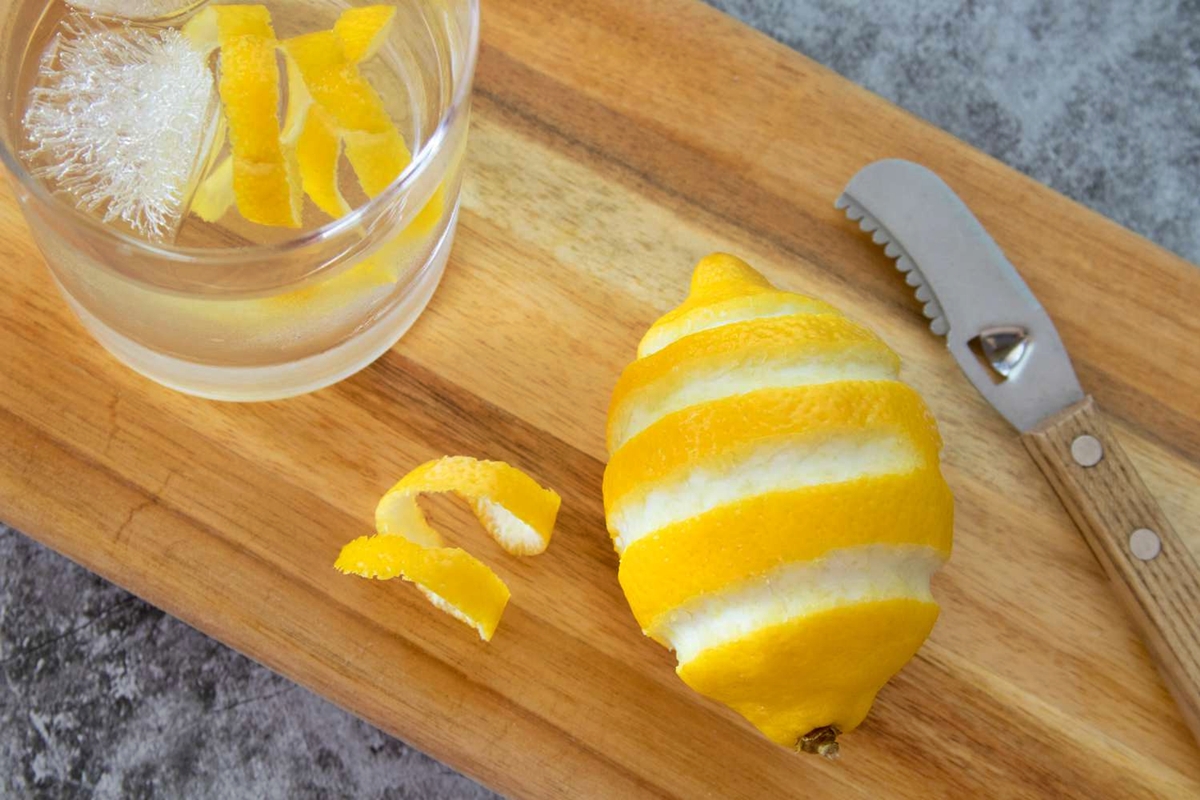
Cocktail: How To Garnish With A Citrus Twist
For The Best Candied Yams, Make A Proper Syrup First
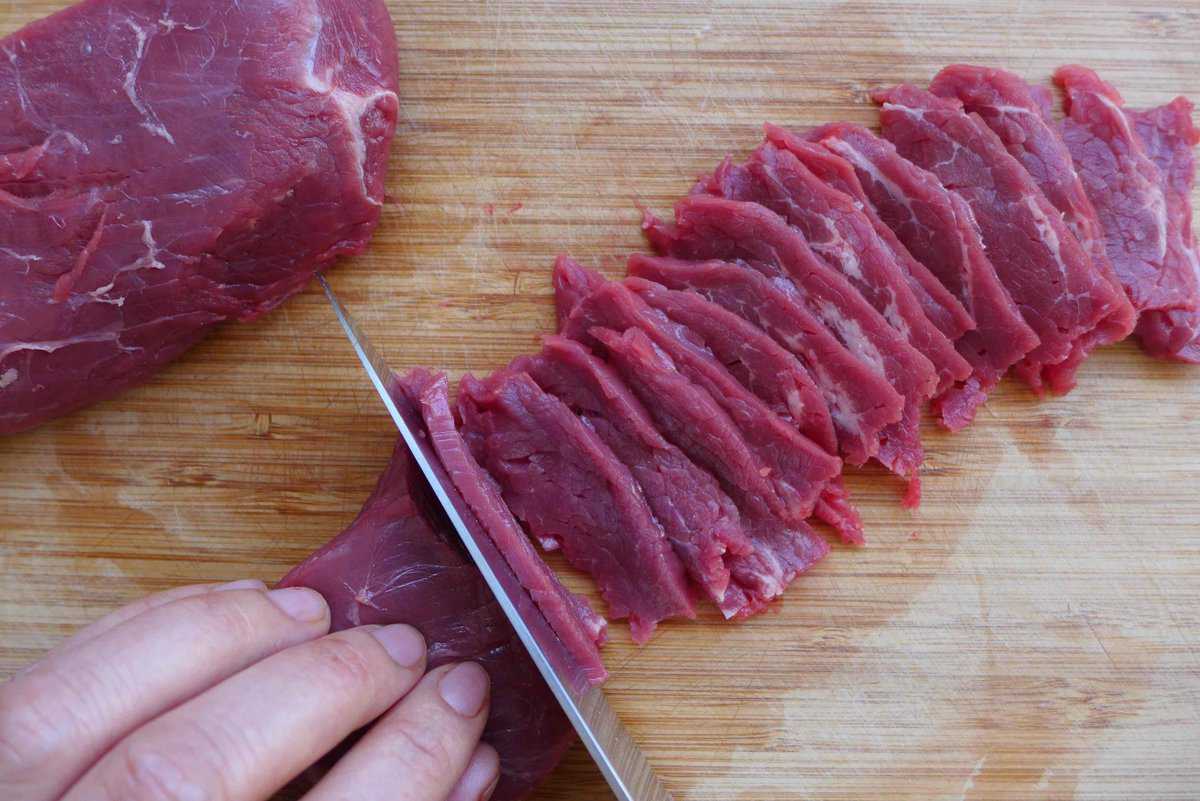
How To Cut Beef For Stir Fries
How To Bake A Pie With Frozen Fruit